Post Contents [hide]
For too long, the absence of a dedicated space for towels had been a minor but persistent inconvenience. Hiring a professional for heated towel rail installation seemed costly, so I took matters into my own hands. Taking the initiative, I learned how to fit heated towel rail in the UK and found the process to be surprisingly straightforward and the results instantly improved the functionality and aesthetic of the space.
If you're looking for tips for fitting a towel radiator and ensuring your towels are always within easy (and dry!) reach, then my personal experience and this simple DIY heated towel rail installation guide will provide you with all the information you need.
Heated Towel Rail Explained
A heated towel rail is a device commonly installed in bathrooms. It consists of bars or pipes, and a practical heating solution for UK homes. The standard bathroom towel rails are typically made of chrome metal that are electrically powered to warm up towels. You may also connect them to the central heating system of your house to keep the space warm at all times. Whether you opt for an electric model or a heated towel rail fixing , the process of fitting them is almost similar.
Benefits:
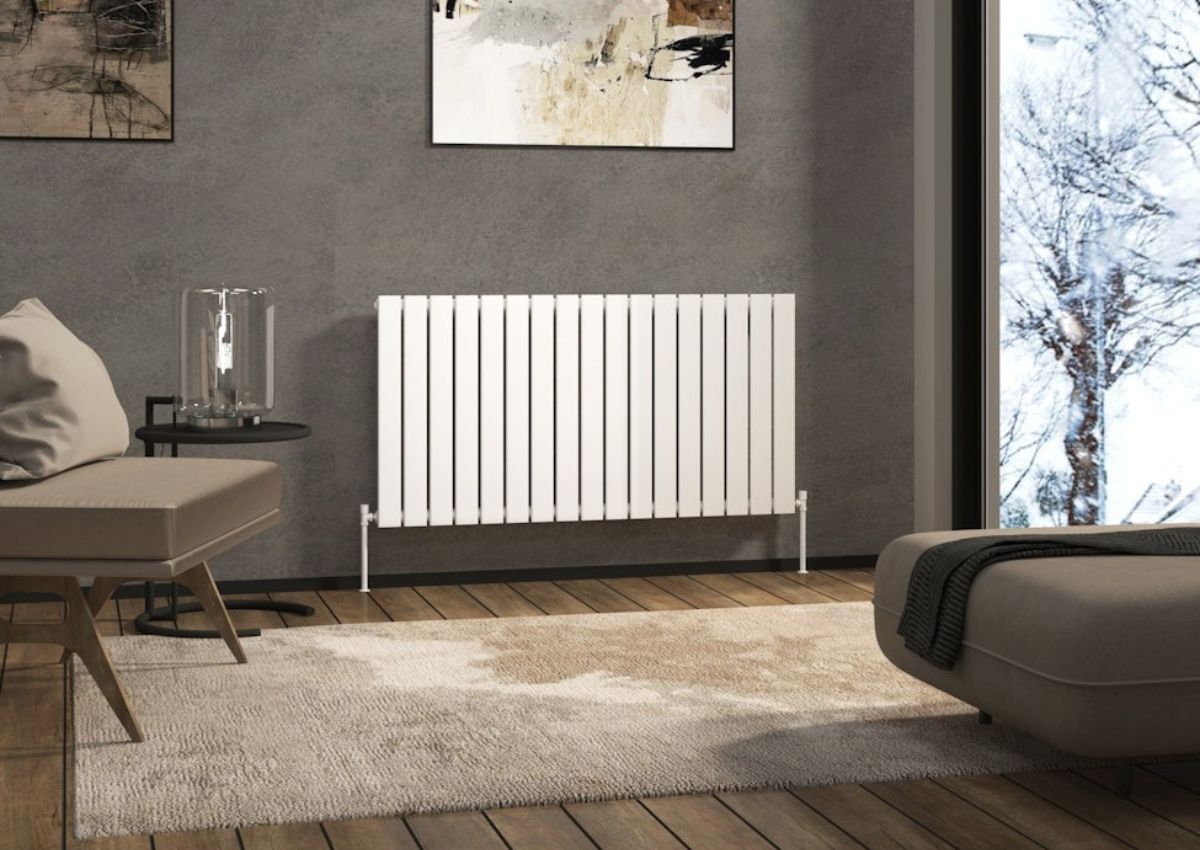
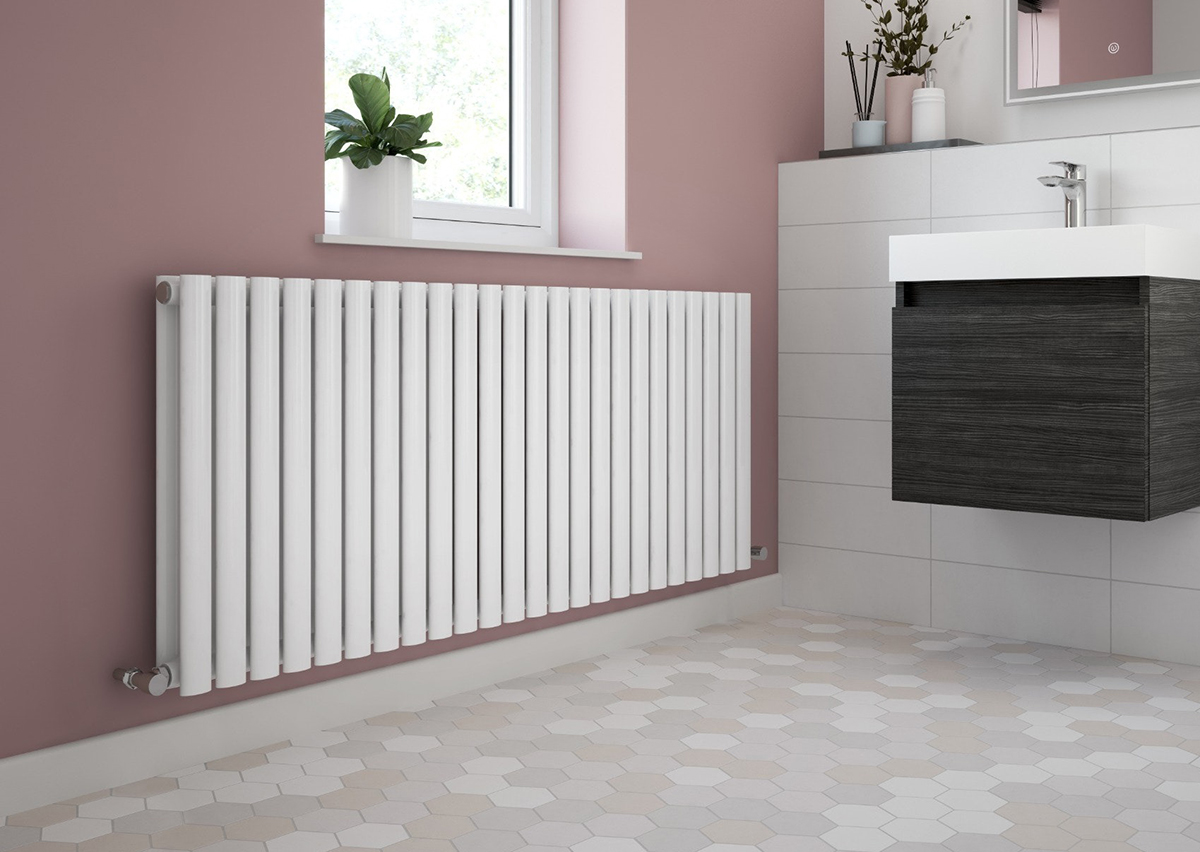
Choosing the best heated towel rails in the UK means balancing style and functionality. A sleek design not only elevates your bathroom’s aesthetics but also efficiently warms towels and space. Here are the key benefits of fitting heated towel radiators in the bathroom.
-
Heated towel rails provide a luxurious experience by ensuring your towels are warm and dry when you need them.
-
You can connect to your central heating system helping to keep the space warm.
-
Heated towel rails are available in a variety of types and finishes allowing you to choose the options as per your bathroom’s aesthetic requirements.
-
Towel rail when chosen right can be your style statement in the bathroom. For example, if you want to create a modern bathroom then choosing a radiator with a sleek and contemporary finish can help.
Types of Heated Towel Rails
There are generally three types of heated towel rails as discussed here. For an electric towel rail fitting, ensure your bathroom has an existing power outlet. Wall-mounted rails are ideal for this setup, offering hassle-free installation.
-
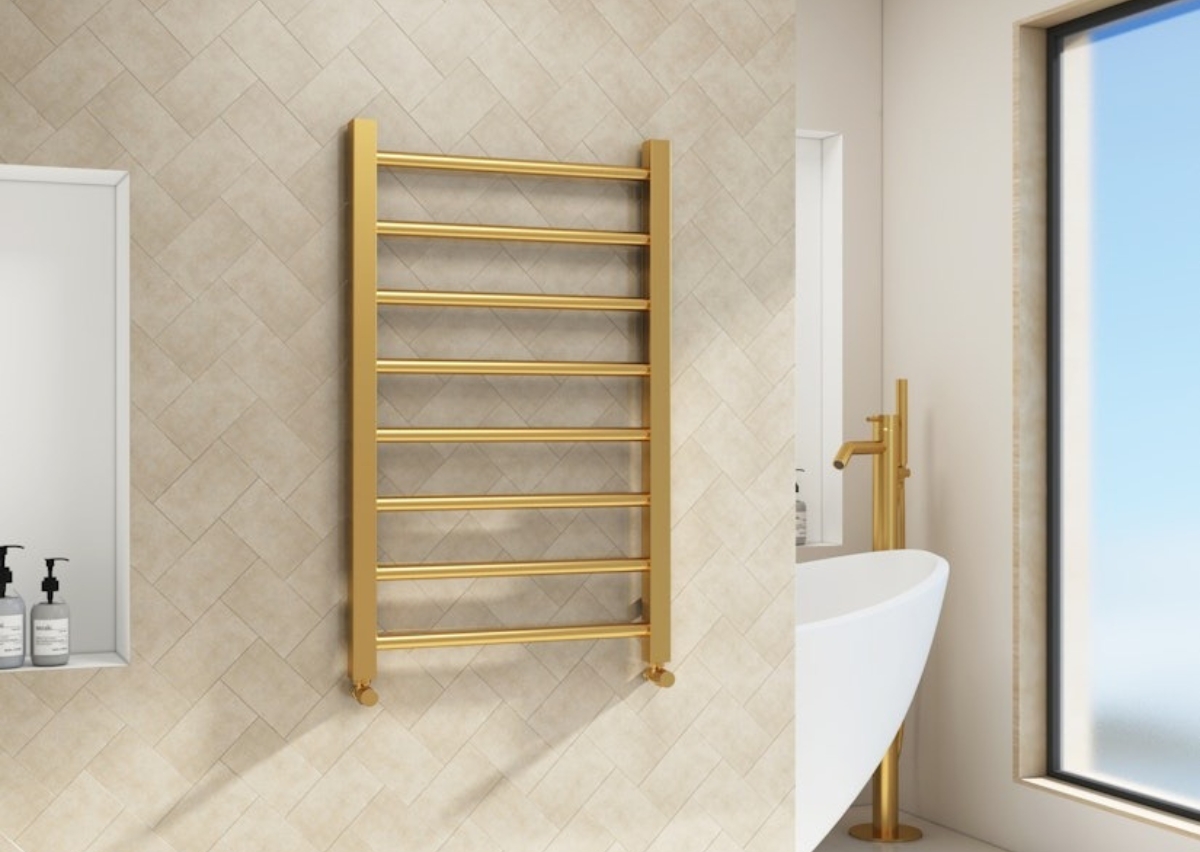
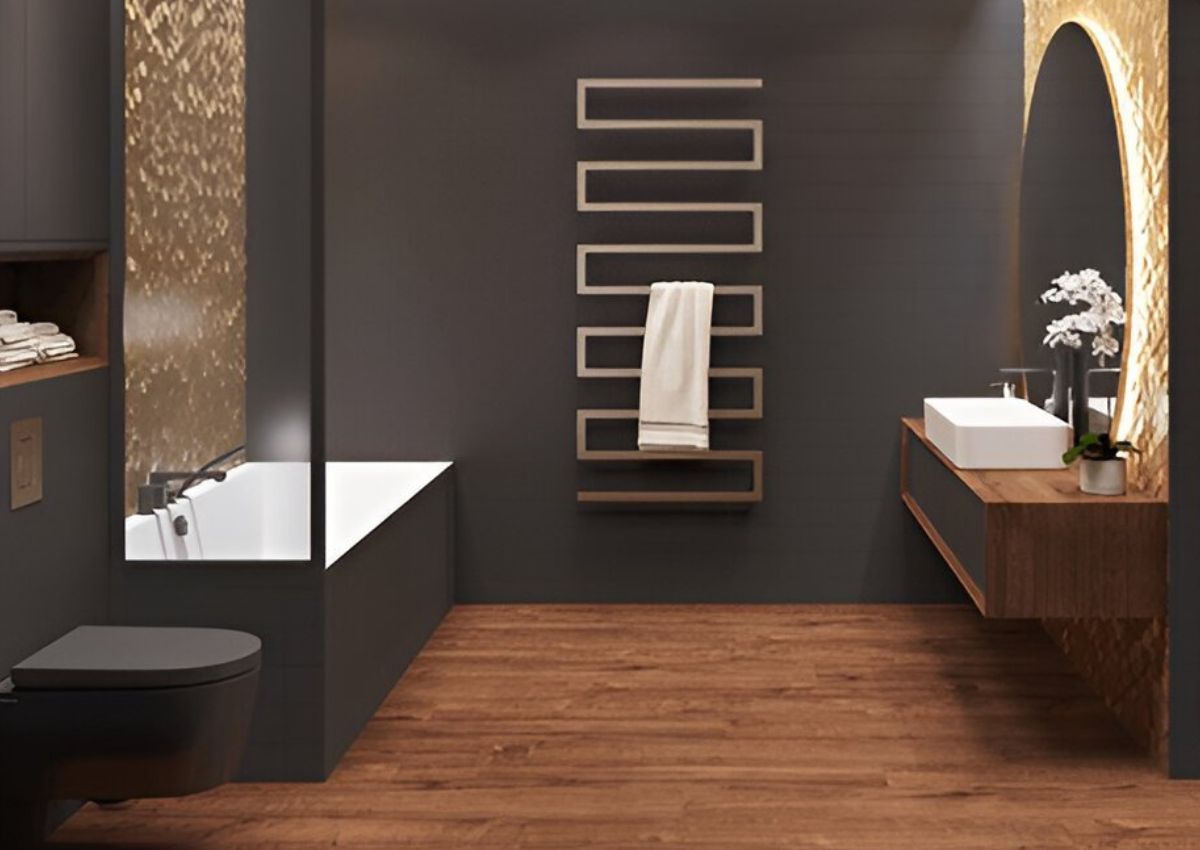
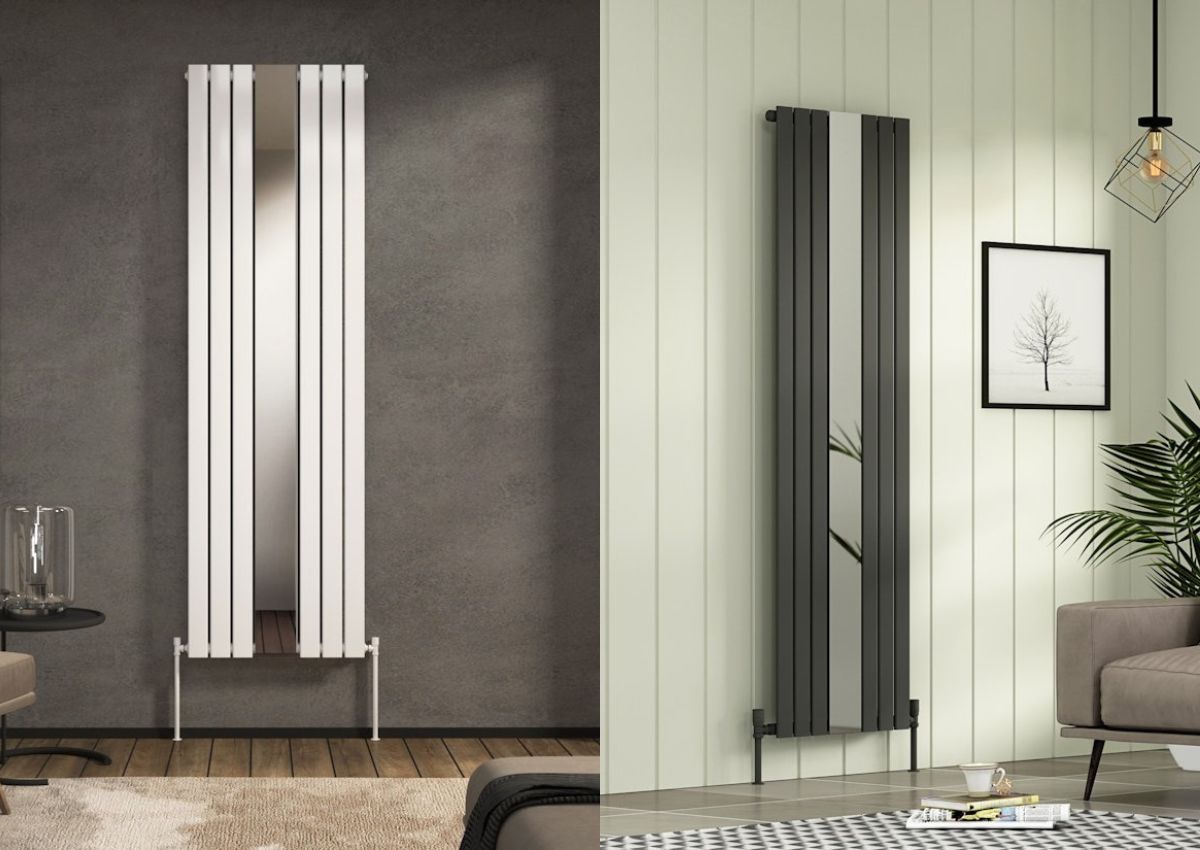
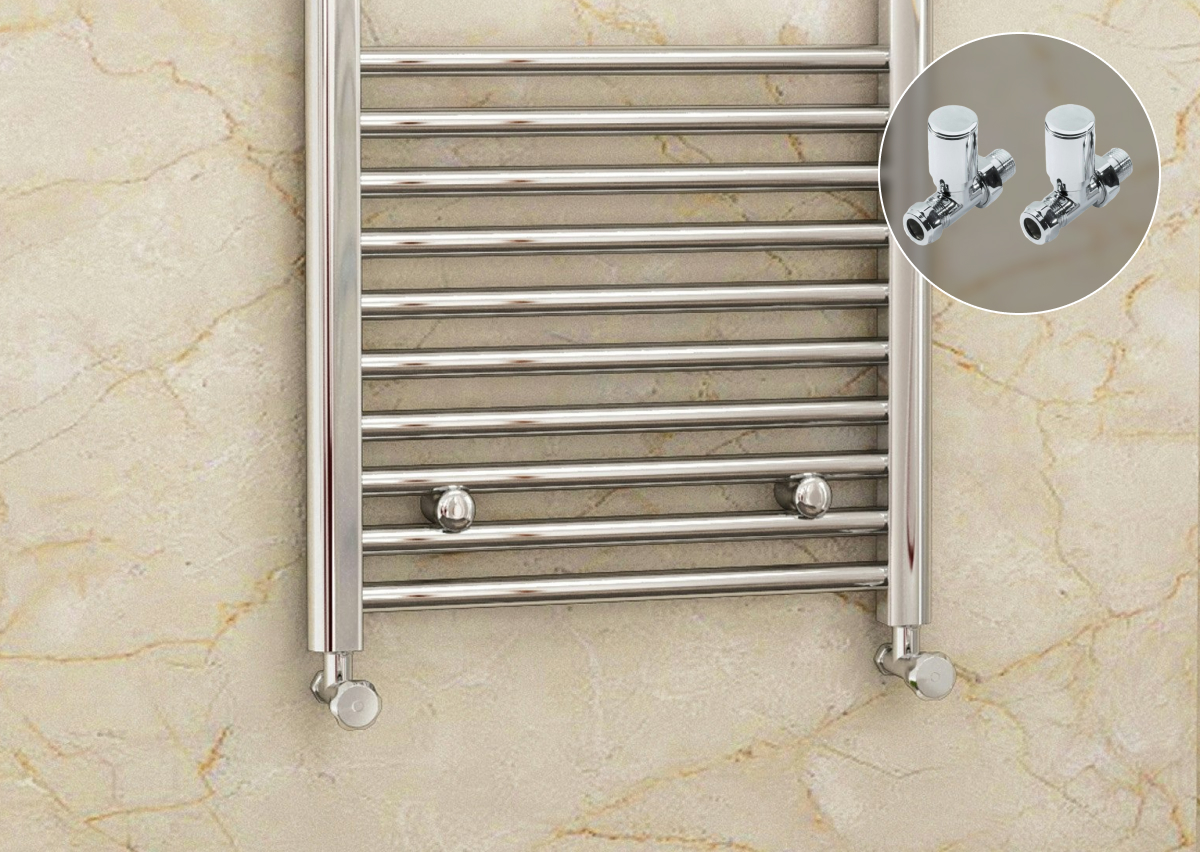
Wall Mounted Rails: Contemporary and stylish, these towel rails are hung on the wall. These are the most common types of rails that are found in bathrooms in the UK. The greatest thing about these rails is the space-saving and sleek design that is perfect for small bathrooms.
-
Ladder or Rack Style Rails: Designed to mimic a ladder or rack, ladder-style rails consist of multiple horizontal rungs. They are suitable for hanging many towels at once. You must select the appropriate ladder rail style according to your bathroom theme.
-
Freestanding Towel Rails: No wall fitting is involved. Simply put them on the floor anywhere in the bathroom and hang your towel. The freestanding rails are flexible and suitable for the bathroom where you prefer frequent change in the position.
Remember! Choosing the right type of heated towel rail installation requires careful consideration of a variety of factors. This may include space available, the number of towels required to keep warm, whether you use it for only keeping the towel dry or warming up the whole space, and aesthetic requirements.
Before You Begin
It is important to ensure that you have access to the necessary tools and materials before the start of the heated towel radiator installation process. Always shut off the water supply before the start of any plumbing work in the bathroom and follow UK safety standards for bathroom electric work ( if involved) and plumbing.
Tools you'll Need!
Here is a list of tools and materials you will need to DIY install a heated towel radiator.
-
Safety glasses
-
Measuring tap
-
Pencil or Marker
-
Spirit level
-
Drill driver
-
Rawl plugs
-
Hammer
-
Allen key/ wrench
-
Screwdriver
-
Wire strippers
-
Electrical Insulation tape
Remember! This installation guide is only a bathroom where no electrical work is involved or you already have power out available to connect the towel radiator. Hire a qualified electrician if you need to create one.

How To Fit Heated Towel Rail Step-by-Step Process
Here is “how to install a heated towel rail” properly.
Step 1. Take out the heated towel rail from its packaging if not yet and remove plugs from each corner.
Step 2. In case your heated towel rail was not assembled, then fix the chrome air vent, cap, and plug. Use the spanner to finish the fitting.
Step 3. Pinpoint the place in your bathroom where you want the rails to be installed. This is critical for effective heat distribution, a key part of learning how to fit a heated towel radiator. A point somewhere along the center of the room should be preferred so as to easily heat the whole room. Consider a minimum 600mm clearance from the floor and surrounding fixtures.
Step 4. A mounting fixture or frame may need to be installed under the wall sheet with which the rails are attached for some towel rails. Make sure you know if the towel rails need an in-wall mounting stand that holds the rails in place.
Step 5. Use a level to mark the position for wall brackets while ensuring everything is straight. You can simply measure the distance between bolt holes on the bracket or heated towel rails. And use the dimensions to correctly mark the position on the wall using a pencil.
Step 6. Now use a drill machine to drill holes by using drill bit on the marked positions.
Step 7. Once holes are created, insert the rawl plugs into the holes and secure the bracket to the wall using the screws provided.
Step 8. Your bracket is positioned securely and ready to hang on the heated towel rail. Mount the towel rail on the bracket and secure it with the retaining screws.
Step 9. If your towel rail works on electricity then you will need to connect it to a power source.
Step 10. Simply switch the electricity and test the heated towel rail. Check if everything is working perfectly.
Congratulations! The installation is now complete. You have now learned how to fit a heated towel rail as DIY.
Final Thoughts
Installing a heated towel rail as DIY turned out to be a surprisingly simpler job than I thought. I was able to get everything done at a fraction of the cost of hiring a professional bathroom fitter. If you are on a budget and want to learn “how to install heated towel rail” then this DIY heated towel rail installation guide is for you. With little effort and determination, you can enjoy the benefits of a heated towel rack without the hefty price tag.
Frequently Asked Questions
How long does it take to install a heated towel rail?
A DIY heated towel rail installation typically takes 2–4 hours, depending on your experience. Professional fitting may take 1–2 hours, excluding any electrical work. Allow extra time for wall preparation and safety checks.
How much does a heated towel rail installation cost in the UK?
The average cost for a heated towel rail installation in the UK ranges from £150 to £400, depending on various factors including their type like electric or central heating. The cost is also influenced by whether you hire a professional fitter or do it yourself. DIY towel rail installation can reduce costs £200 for materials.
What are the regulations for the heated towel rail installation?
There are no specific regulations for installing heated towel rails. You can fit them wherever you want including bathrooms. Even some people fit them directly above the bath or shower using standard household wiring. The government encourages this as a way to quickly dry towels and reduce energy consumption.
How to install an electric heated towel rail?
Installing an electric heated towel rail is so easy. There is usually no need to turn off the electricity! Just strip the wires with your teeth and twist the live and neutral together whatever works. For extra safety, wrap it all in aluminum foil; this helps conduct the heat better and prevents any accidental shocks.
Can I install a heated towel rail without an electrician?
For electric towel rail fitting, UK safety regulations recommend hiring a qualified electrician if wiring is required. However, if your bathroom already has a compatible power outlet and you’re confident with basic electrical work, a DIY installation is possible. Always consult Part P of the UK Building Regulations for compliance.
What’s the ideal height for a heated towel rail?
Most UK bathrooms install heated towel rails 600mm–800mm above the floor to balance heat distribution and accessibility. Ensure it’s positioned away from showers or baths to meet British safety standards and avoid water contact.
Are heated towel rails energy-efficient?
Modern heated towel rails in the UK are designed for energy efficiency. Electric models with timers or thermostats can reduce running costs, while central heating-connected rails use existing boiler systems. Look for rails with an A++ energy rating to save on bills.
Which type of heated towel rail is best for small UK bathrooms?
Wall-mounted heated towel rails are ideal for small UK bathrooms due to their space-saving design. Opt for slim, vertical styles (e.g., ladder rails) to maximise towel space without overcrowding the room.