
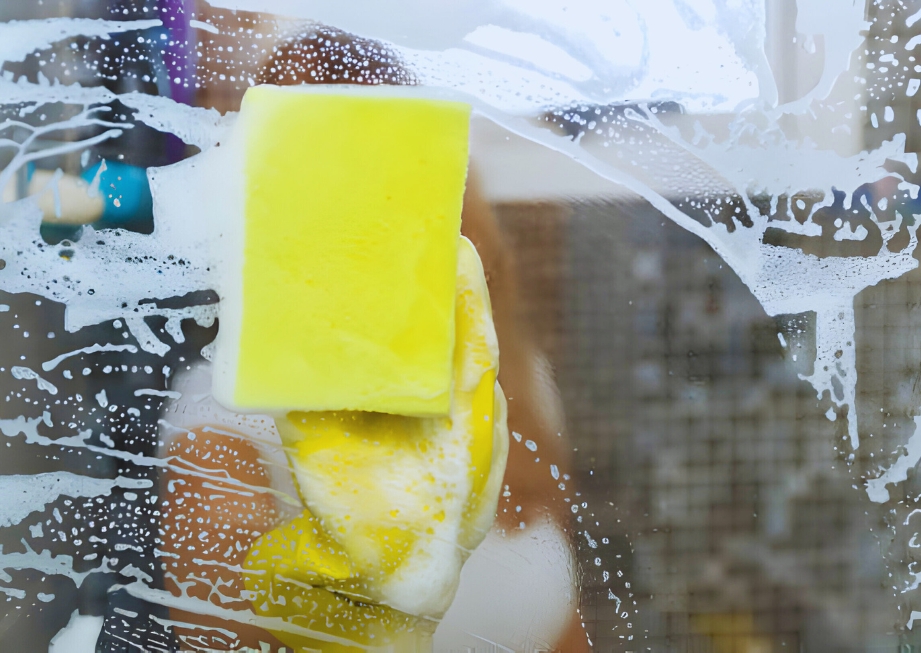
Wondering how to clean a shower glass to maintain its sparkling surface?
A crystal clean and transparent shower glass can change the look of your bathroom. But if it’s not cleaned regularly, it can become the most odd-looking thing in the bathroom.
Hard water stains, mineral stains, hand prints and soap scum can badly affect the appearance of the glass. These elements can reduce its appeal until you devise a consistent cleaning schedule.
No idea where to start?
Don’t worry!
This blog highlights the key process that you need to know about cleaning the shower glass effectively.
So, let’s begin discussing how you can revive your shower glass after a thorough cleaning session, below!
Why Do You Need to Clean the Shower Glass?
Before we start discussing the process involved for keeping your shower glass clean and shiny, let’s understand why it's important in the first place. More than maintaining an appealing aesthetics, there are several compelling reasons why homeowners in the UK follow a strict shower glass cleaning routine such as:
- Prevent Hard Water Stains: Studies show that hard water has minerals like calcium and magnesium, which can leave stubborn stains on the shower glass. They can keep building up over time and the only thing that can prevent such stains from accumulating is regular cleaning.
- Mould & Dirt Prevention: The damp environment of the shower enclosure is the perfect breeding ground for the mould and bacteria to grow on the shower glass. If you take good care of your shower glass, you can prevent these health hazards from taking hold.
- Prolonged Shower Glass Life: If you tend to neglect your shower glass cleaning, it can become etched or corroded. The benefit of proper maintenance is that it can make it look great along with extending its lifespan.
Materials You Will Need
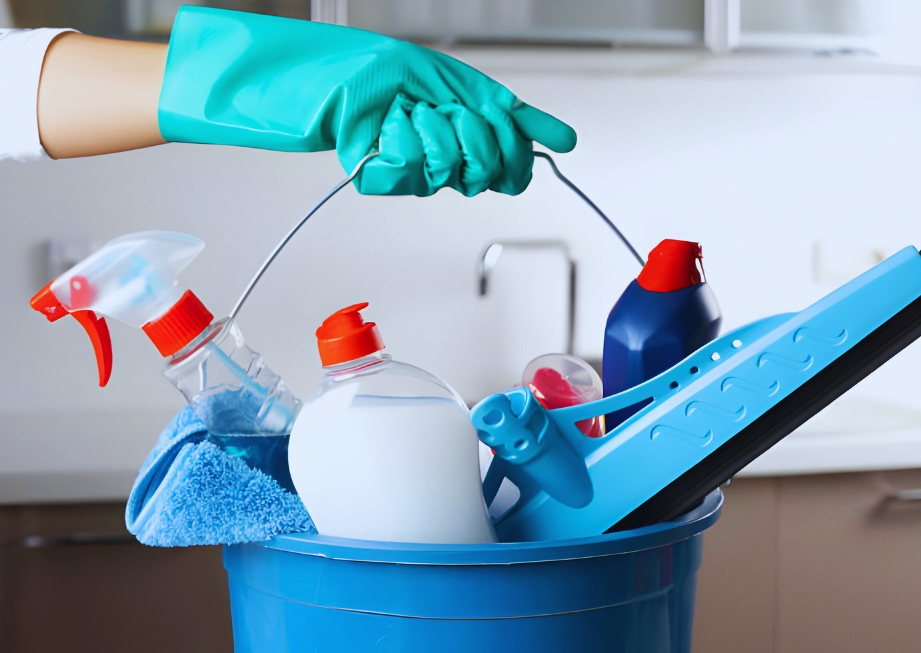
Now that you’re aware of why most homeowners in the UK follow a strict shower enclosure cleaning routine, let’s move to the next section - the cleaning equipment. Assemble these tools that you’ll need to free your shower glass from various stains and revive its pristine condition:
- First, you’ll need white vinegar or lemon juice as both are effective at breaking down mineral deposits and soap scum.
- Now, you’ll need to add water in your cleaning tools as it’s needed for mixing with vinegar or lemon juice.
- In order to store and apply the cleaning solution, you will need a spray bottle.
- Don’t forget to add baking soda in your cleaning tools since it’s ideal for scrubbing and removing tough stains.
- You’ll also need a squeegee, a microfiber cloth or a paper towel that will help you in removing water and cleaning solution from the shower doors and glass panels.
- Also, you’ll need a soft bristle brush or an old toothbrush to reach tricky corners or scrub narrow shower enclosure tracks.
- Lastly, you’ll need the rubber gloves for protecting your hands from cleaning solutions and mildew during the cleaning process.
8 Steps to Clean Shower Glass
Once you gather all the necessary cleaning materials, let’s move on to the next part - the cleaning process. Below, we’ve narrated the step-by-step process to clean the stains, the dirt spots, and various other factors limiting the charm of your shower glass.
Step 1: Preparation
The first step is to remove any shower products, such as shampoos, soaps, and loofahs, from the shower area. This will make the shower glass accessible without any obstruction.
Moreover, you can open a window for ventilation and air circulation in the bathroom during the cleaning process.
Step 2: Mix & Shake Your Cleaning Solution
Next, you’d require creating a cleaning solution for your shower glass!
Put water and white vinegar in a spray bottle and shake them well so they blend together.
Tip: You may also use lemon soda if white vinegar is not available!
This mix of water, vinegar/lemon is an effective natural cleaner that can clean mineral deposits and soap scum off your shower glass.
Step 3: Spray the Mixture on the Glass
Once your cleaning solution is prepared, sprinkle it on the glass!
Start with sprinkling the solution across the entire shower glass. And then focus on the area most affected by different stains.
Let the solution rest on the surface for a while before moving on to the next shower glass cleaning step.
Step 4: Apply Baking Soda on Stubborn Stains
Sometimes, the stains don’t easily disappear and this is where you’ll need baking soda!
In the 4th step, you’ll apply baking soda to the affected part and let it sit for a few minutes before washing it off the glass.
Caution: Avoid using baking soda in excessive amounts since it can leave scratches on your glass.
Step 5: Scrub the Glass
After applying the solution to the glass, you’ll need to scrub the stains off the surface!
Scrub the whole glass in a circular motion so no area is left uncleaned!
Also, you need to pay close attention to the corners and areas with heavy stain buildups. You’ll find the use of a toothbrush more effective than a microfiber cloth for removing stubborn stains hiding in the corners and tracks.
Step 6: Clean the Glass with a Squeegee
After you’re done cleaning visible stain marks off your shower glass, it’s time to make use of a squeegee!
A squeegee proves to be a useful tool for rinsing the water off your glass surface!
You need to start rinsing the water from the top and gradually drag it all the way down. Repeat this step multiple times until the whole area is rinsed off properly and the glass is free of water. Once you’re down rinsing off water, simply clean your squeegee’s edge with a cloth.
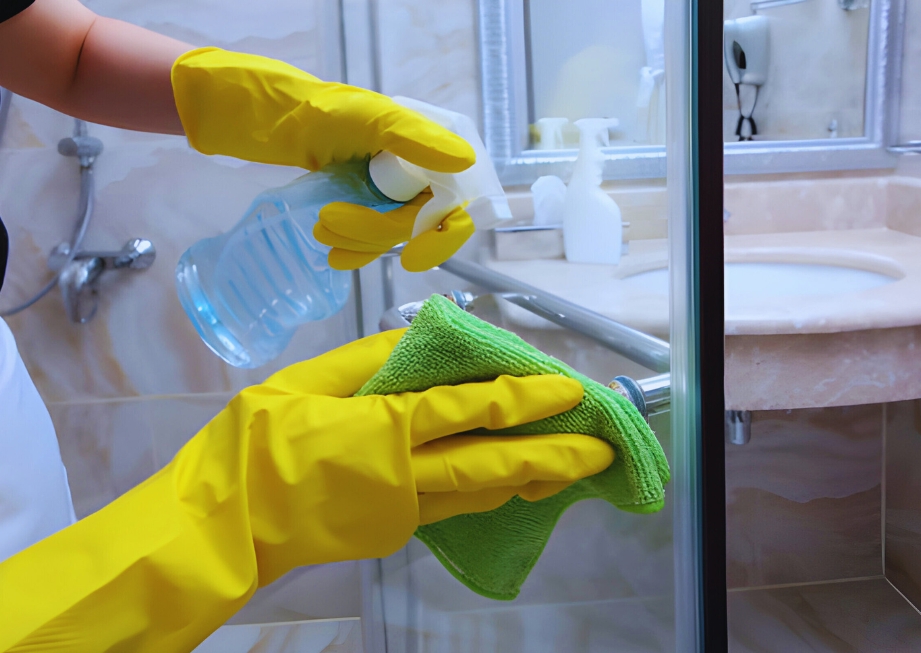
Step 7: Wipe Dry Using a Microfiber Cloth
Whoever is cleaning the glass should wipe it down once again with a microfiber cloth or paper towels in order to remove any remaining residue.
As a final cleaning ritual, you’ll need a microfiber cloth!
Clean your shower class using the microfiber cloth and ensure that there’s no remaining residue on your shower glass.
Make sure you reach into the corners and tracks where moisture tends to accumulate.
Step 8: Check for Streaks
Lastly, you should thoroughly check the glass for streaks or spots!
If you notice that any spots are present, simply reapply the cleaning solution and repeat the squeegee and wiping steps on the affected area only.
Conclusion
And with this, you’re all set to maintain a clean and shiny shower glass!
At first, cleaning a shower glass seems like a difficult task but once you clean it, the effort is worth it. The glass looks sparkling and gives an elite look to your bathroom.
You can easily prevent shower glass from getting hand prints, water marks, and unsightly build-up by cleaning it regularly. The regular maintenance also enhances the life of the shower glass for years to come.
And if you’re Not-So-Clean-Savvy, you may opt for a shower enclosure requiring less maintenance such as quadrant or walk-in shower enclosures.
So, roll-up your sleeves, gather your cleaning supplies and get to work!