Post Contents [hide]
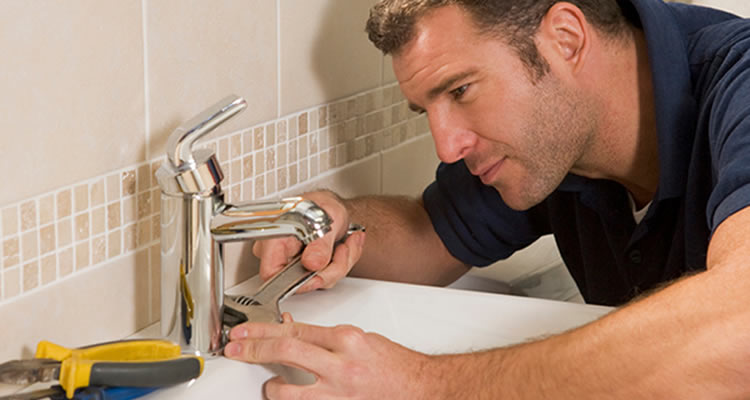
Even the highest quality bathroom taps may start to drip, sputter or simply look outdated over time, especially in hard water areas like London or Manchester. If your taps are in need of an upgrade, consider tackling the project yourself. I recently replaced all my bathroom taps myself and saves £ 200 + UK plumber fees. I learned “how to replace a bathroom tap” from the internet and to my surprise, replacing basin, bath, and shower taps was simpler than I’d imagined. It was more like a fun (and a little messy) learning experience. Sure, there were a few minor setbacks, but with some research and online tutorials, I tackled everything from the basin taps to the shower valve. Now, my bathroom looks amazing, and I feel a newfound sense of accomplishment and confidence in my DIY abilities.
I am sharing my experience of DIY Bathroom tap installation UK in this comprehensive guide. It will equip you with the knowledge and confidence to tackle a new bath, basin, and shower tap installation saving you money on a bathroom renovation.
Before You Start
It is important that you unpack and check the content of the bathroom tap set required to replace basin tap and bath tap replacements received to ensure everything you need is available in the box.
Time Required
Although the time required to DIY bathroom tap replacement depends on your skill level. You must consider an hour a reasonable time to complete it.
-
Approximately 60 minutes
Ensure Your Safety First.
Never embark on a plumbing task and engage with bathroom plumbing tools without first ensuring your safety. Make sure you turn off the water supply to your bathroom. It can be located under the sink or near the bath, usually an isolation valve through which you rotate it in a clockwise way until it stops turning. Additionally, do not forget to also put on safety glasses and gloves so as to protect yourself from splashes and sharp edges.
Tools Needed To Change Bathroom Taps In The UK
The following is a general list of tools and materials needed when installing most bathroom taps. However, specific requirements may vary depending on the type of tap you are installing.
-
Adjustable spanner
-
Basin wrench (for some taps)
-
Flat-head screwdriver
-
Phillips screwdriver
-
BSI-approved PTFE tape (also known as plumber's tape)
-
New bathroom tap(s) (basin taps, bath taps), prefer stainless steel washer taps that are durable for hard water UK areas)
-
Flexible tap connectors
-
Compression nuts and olives (for some taps)
-
Mould resistant Bath sealant (for bath tap installations)
-
Optional: Drill (for specific situations)
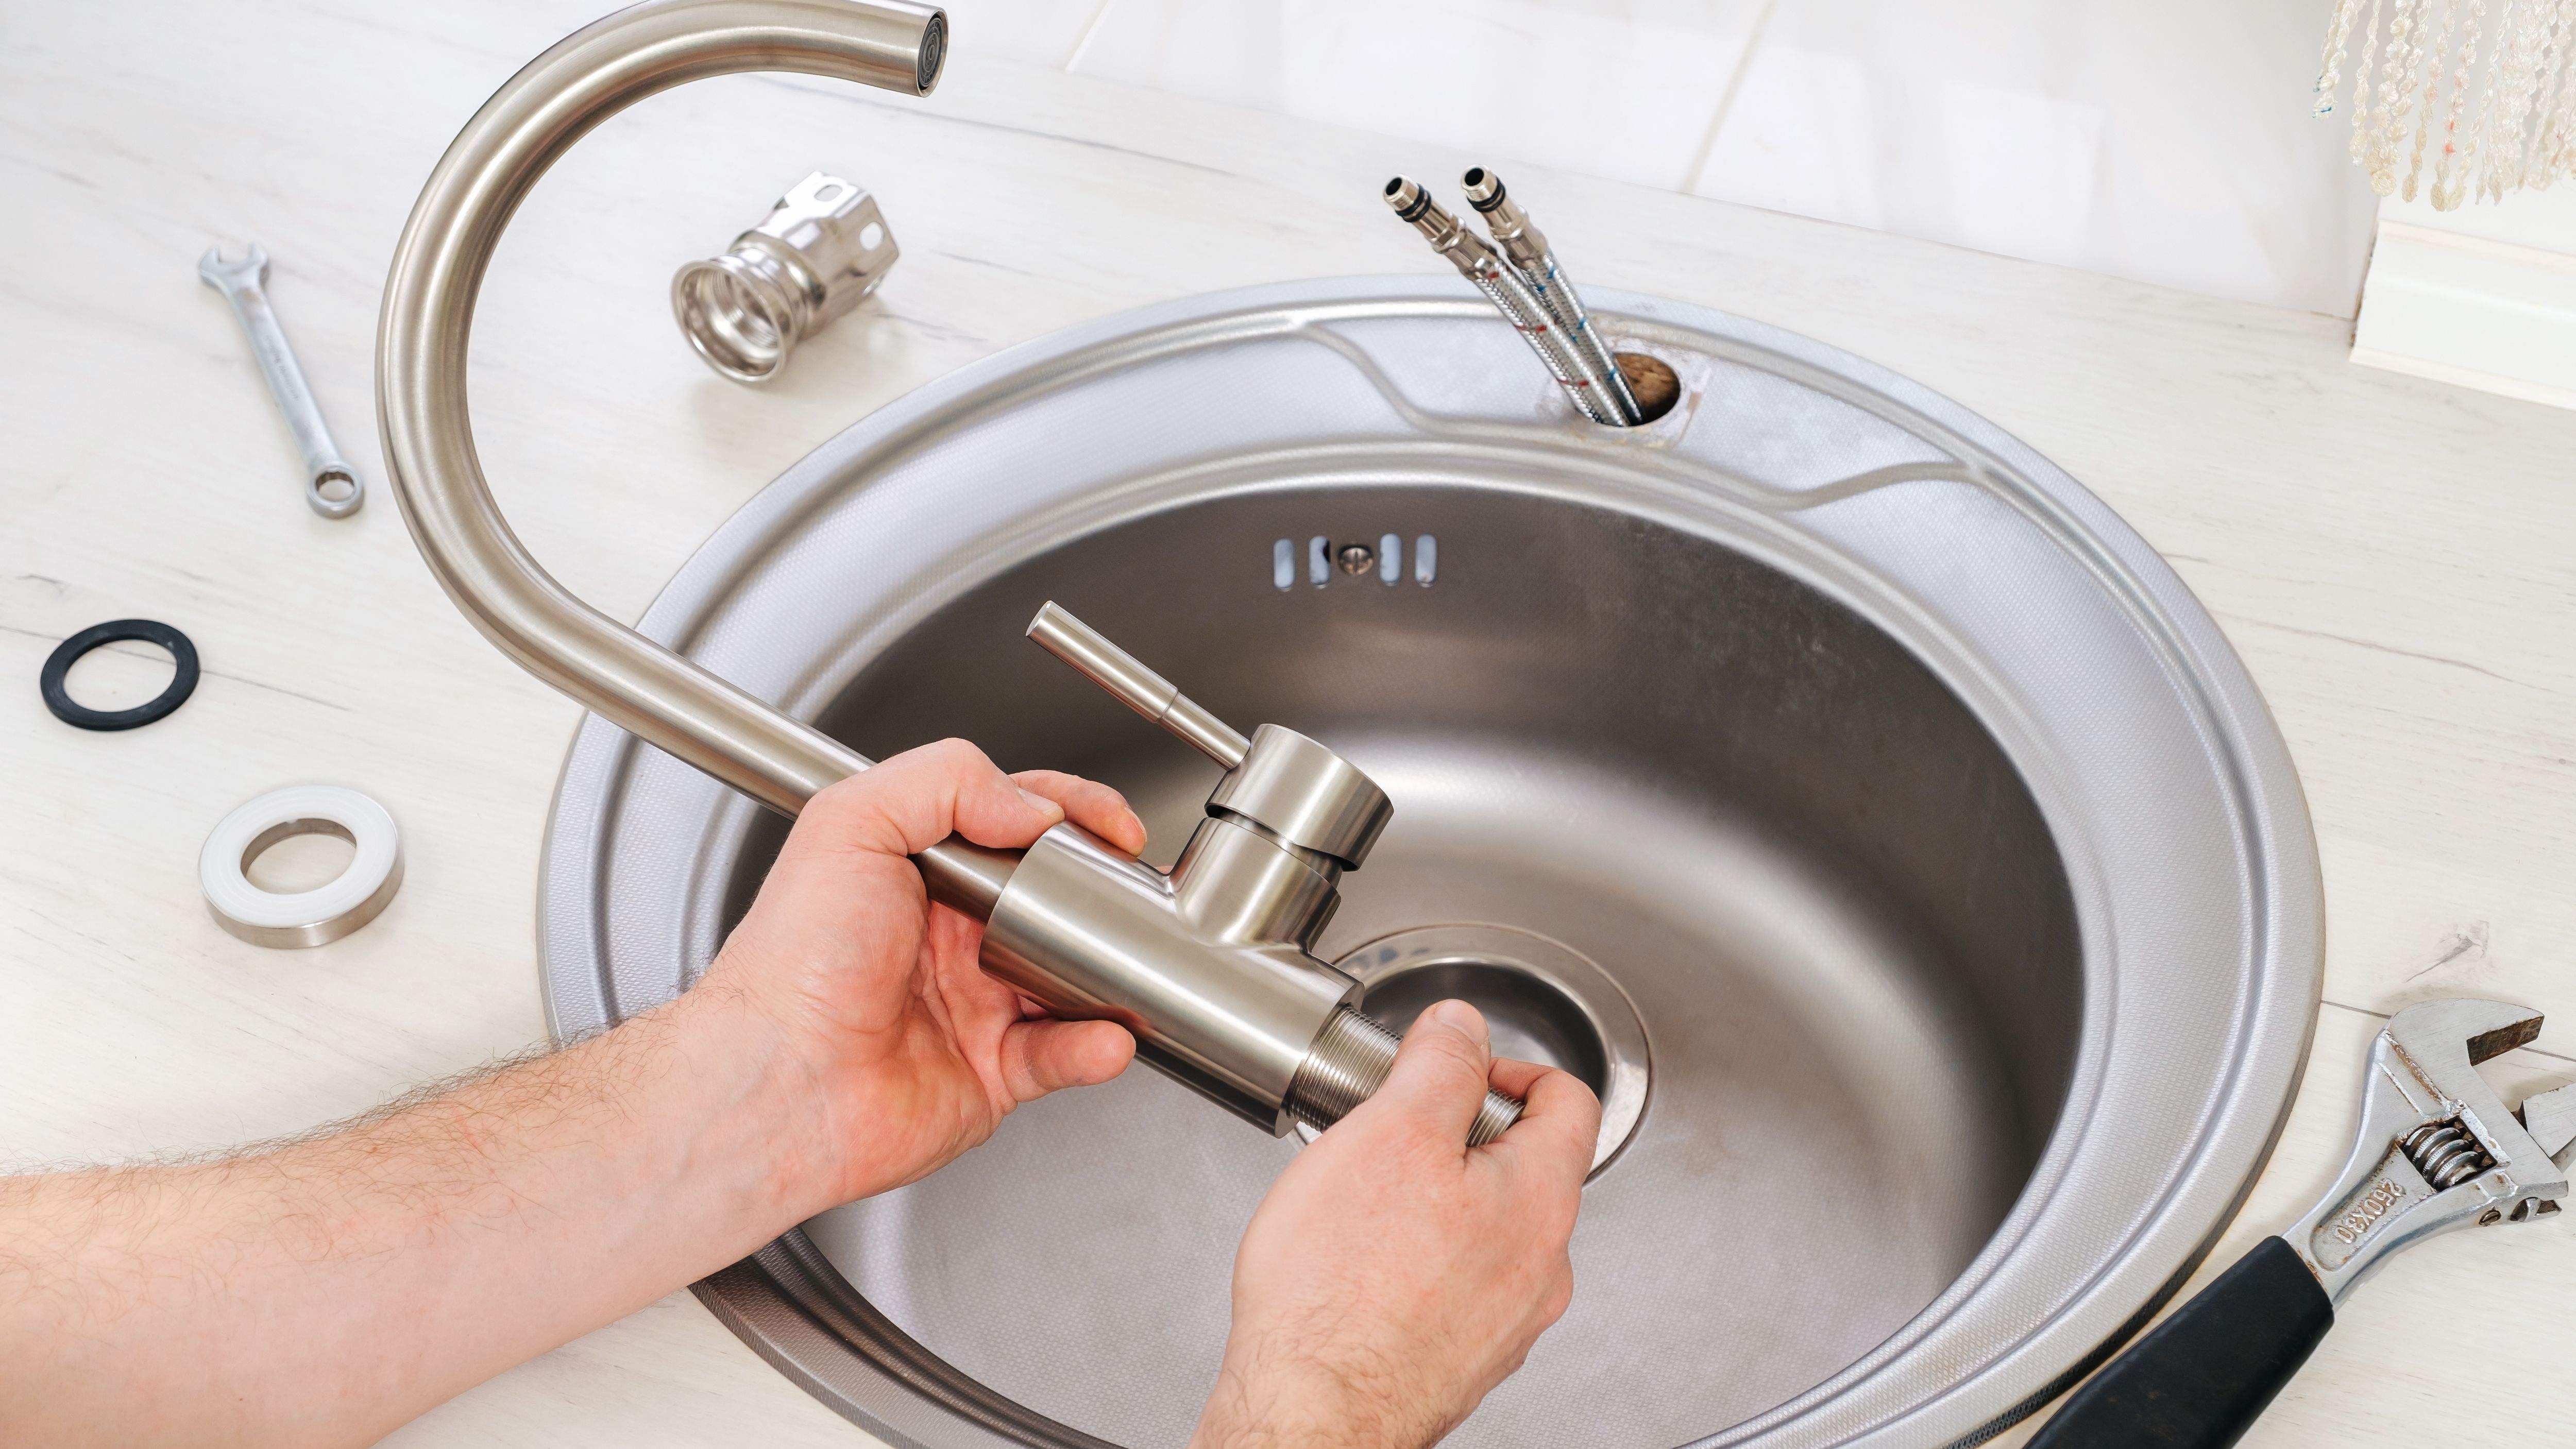
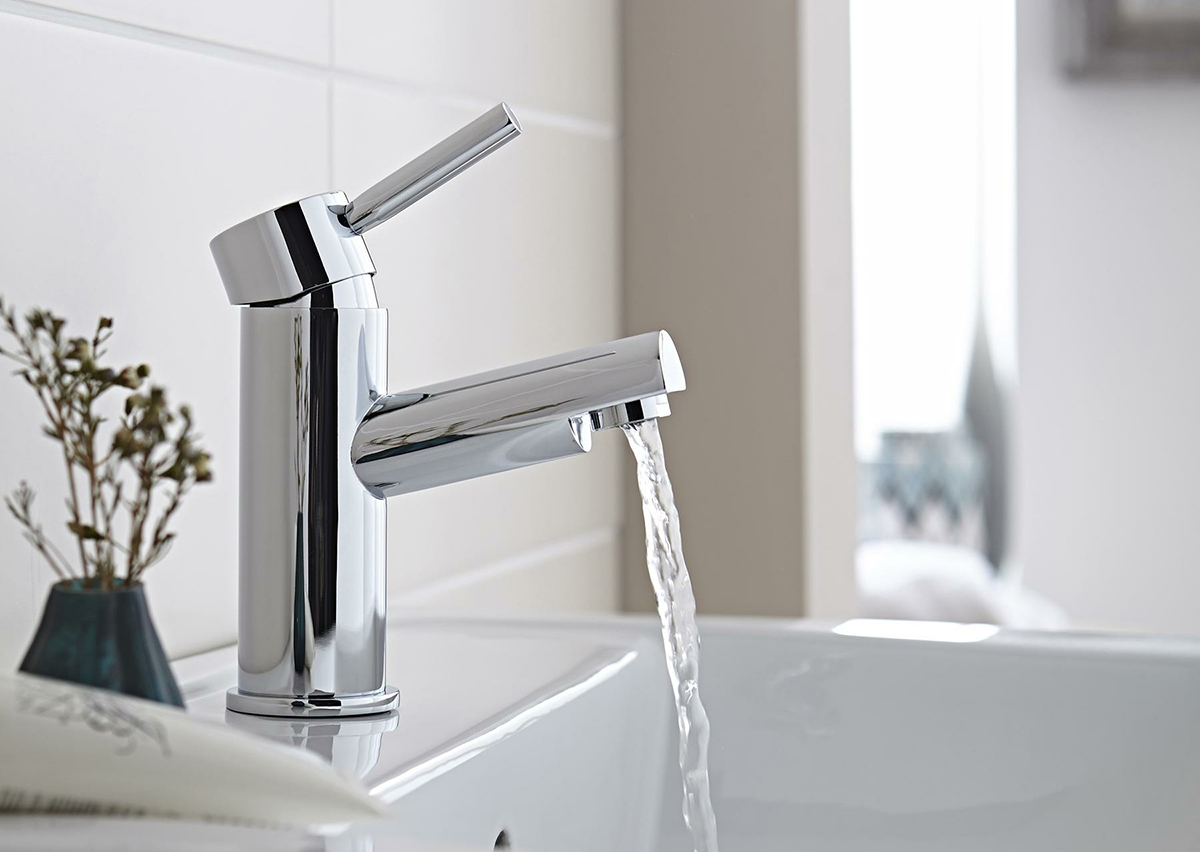
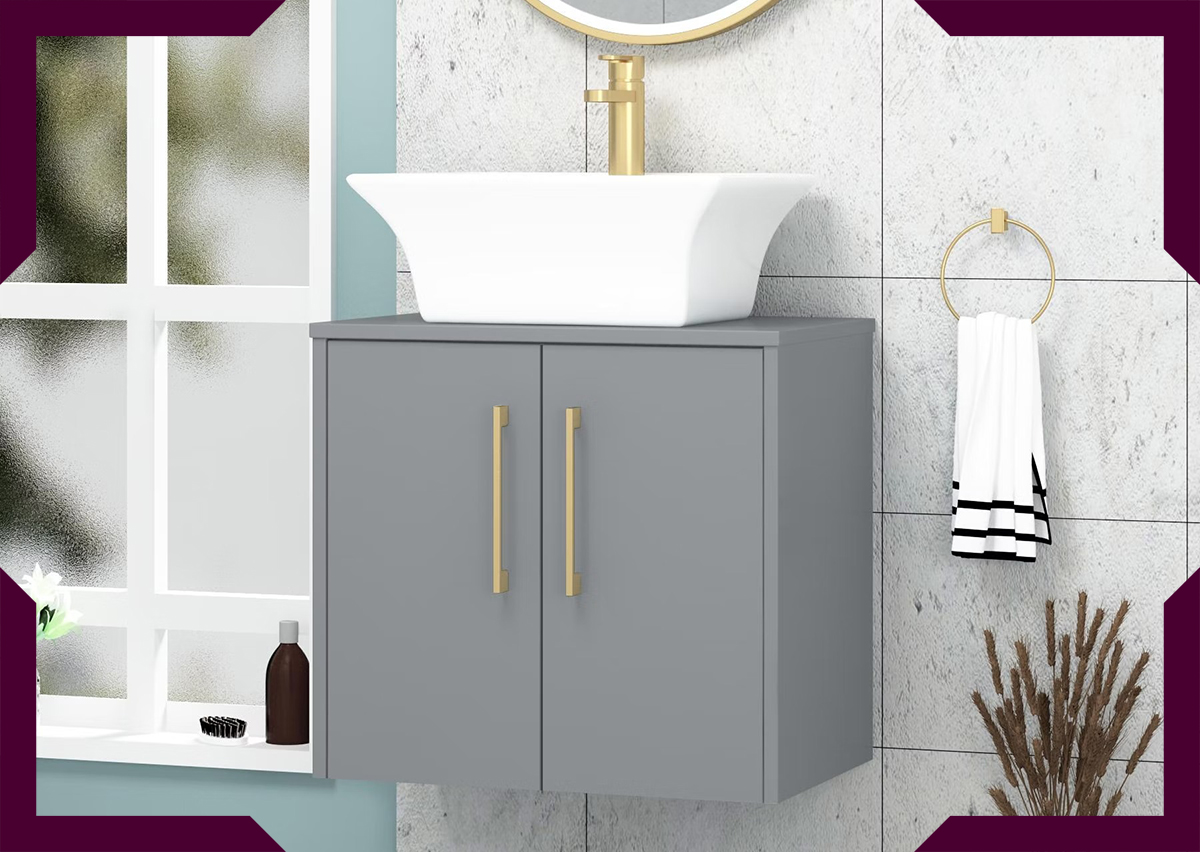
How to Replace Basin Tap
Here is a step-by-step DIY basin tap installation process to follow.
-
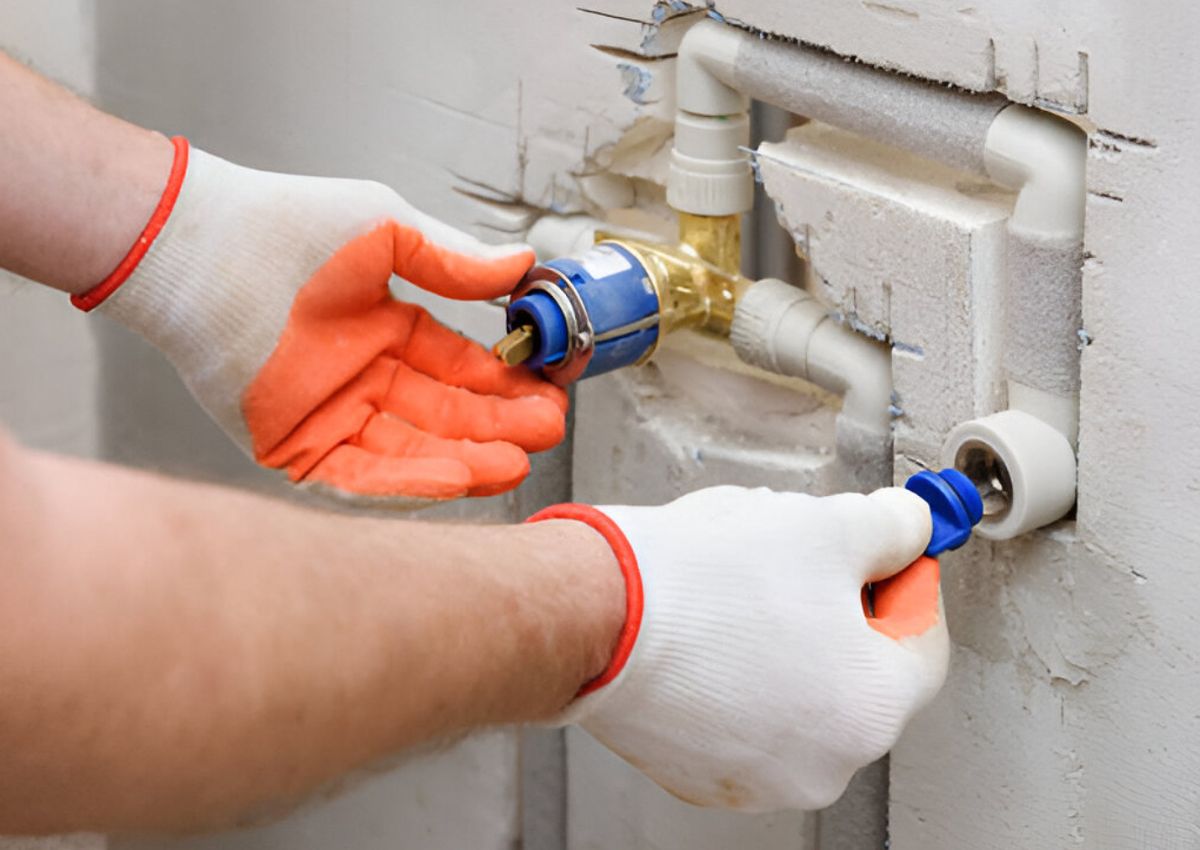
Removing Old Basin Taps: You will need to place a bucket under the basin to catch any basin. Using an adjustable spanner, loosen and disconnect the flexible tap connectors from the isolation valves underneath the sink. Next, use an appropriate wrench or screwdriver to take out the nuts that secure the taps onto the basins from beneath. Take care while removing old taps and pay attention to where there are washers or seals.
-
Prepare For Installation: Clean around the tap holes with a wet cloth. Make sure that you see no cracks anywhere in your basin. Go straight into step 3 if it is like-for-like taps being replaced. For different hole sizes, a specialized adapter kit may be necessary. Now the space is ready to replace the basin tap with a new one.
-
Installing New Taps: Compression fittings are employed by most of today’s contemporary basin taps which have flexible tap connectors. Starting at the base, wrap some PTFE tape about three times round each connector threaded end in such a way it moves clockwise. The connectors should then be carefully threaded into those isolating valves so as to ensure they fit snugly but not too tightly in place using an adjustable spanner for tightening purposes.
-
Fixing Taps In Position: Attach these through under basins via the holes meant for them by inserting these connectors in place. Ensure the washers/seals are fixed before you place the tap on top of any basin. From below, thread the mounting nut onto the threaded stud of the tap and tighten it with an adjustable spanner or basin wrench. Make sure you don't overtighten it or you end up cracking the basin.
-
Final Touch: First hand tighten the compression nuts on the flexible connectors, then follow up with a quarter turn using an adjustable spanner. Turn on the water and check for leaks. If there is a leak, carefully retighten the connections. Wipe off the excess water with a cloth.
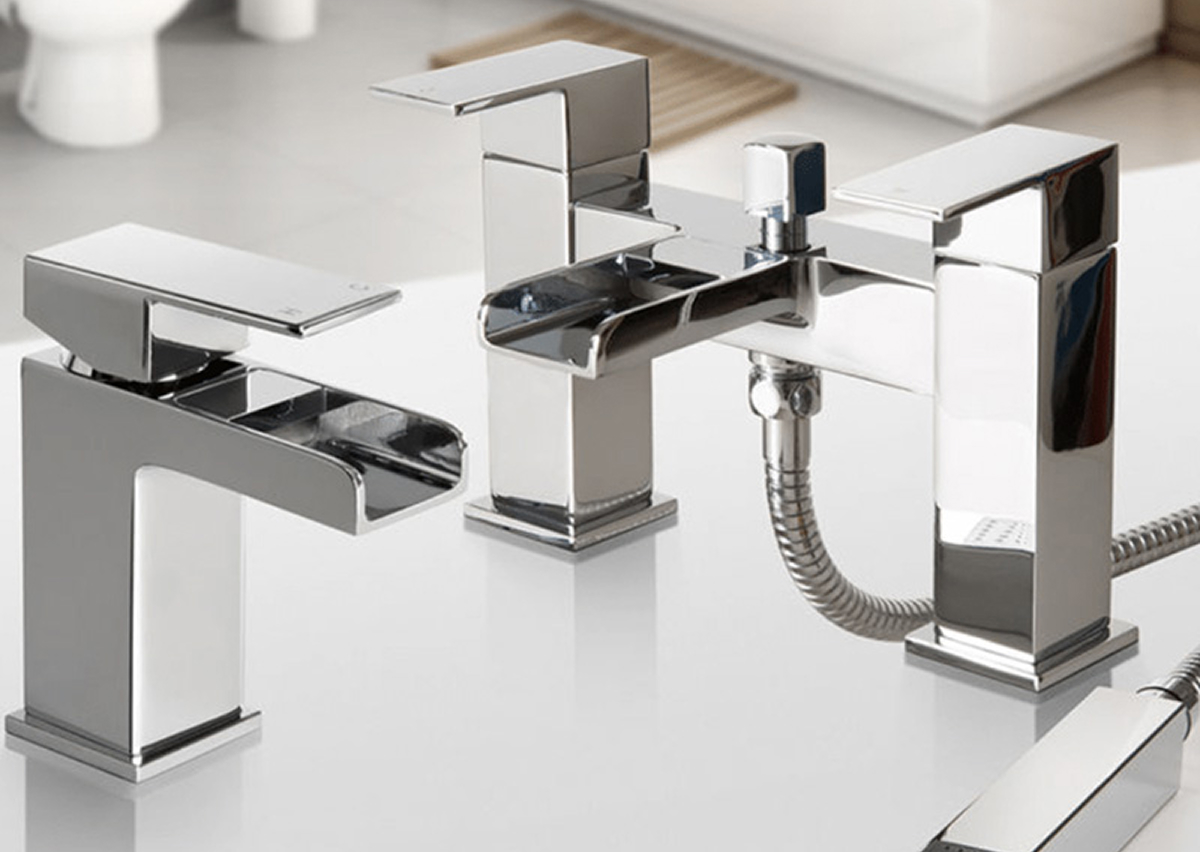
Basin Tap Types:
To install basin taps, this guide covers two common basin faucet methods:
Mono mixer basin taps: These single-lever taps provide one-handed control of hot and cold water. Follow the steps above, making sure the hot water connection is to the left when viewed from the front.
Pillar Mixer Taps: These have two separate handles, one for hot water and one for cold water. Follow the installation steps and make sure the hot water faucet is installed on the right side
Basin Tap Installation
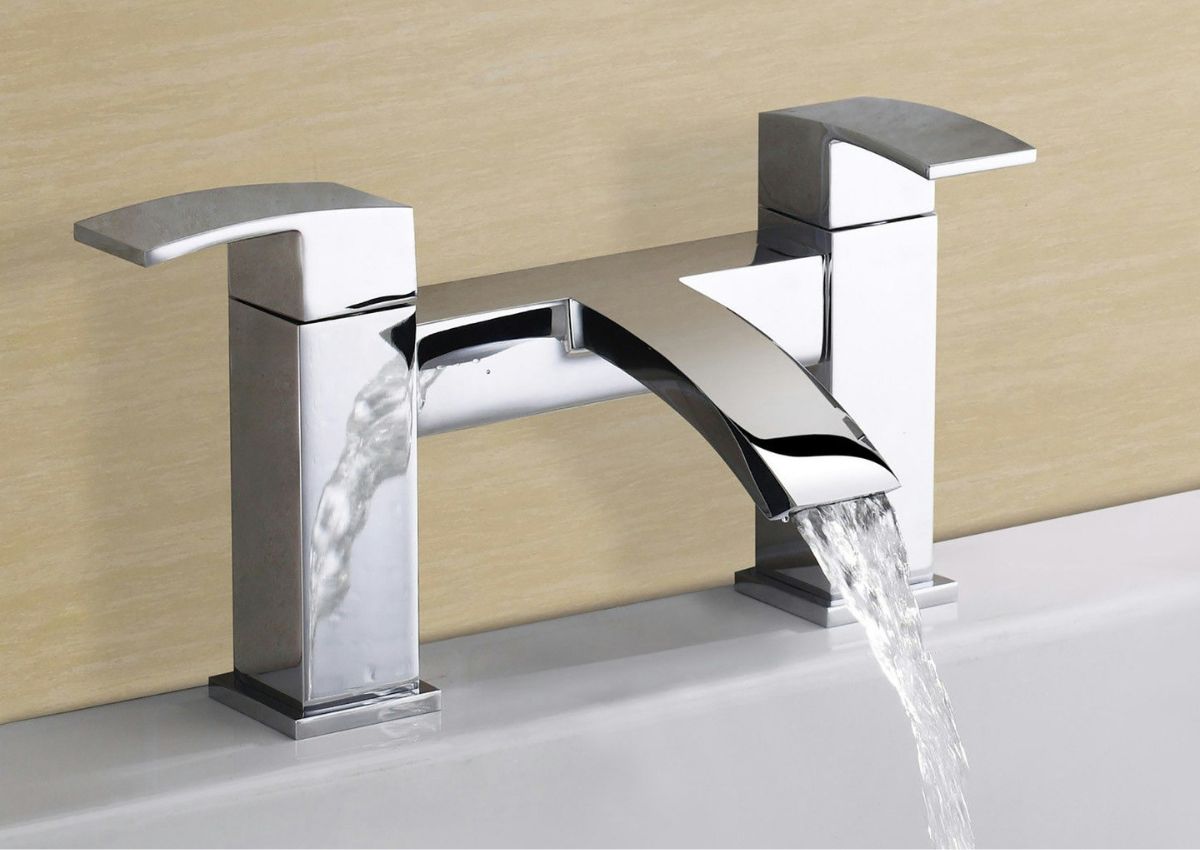
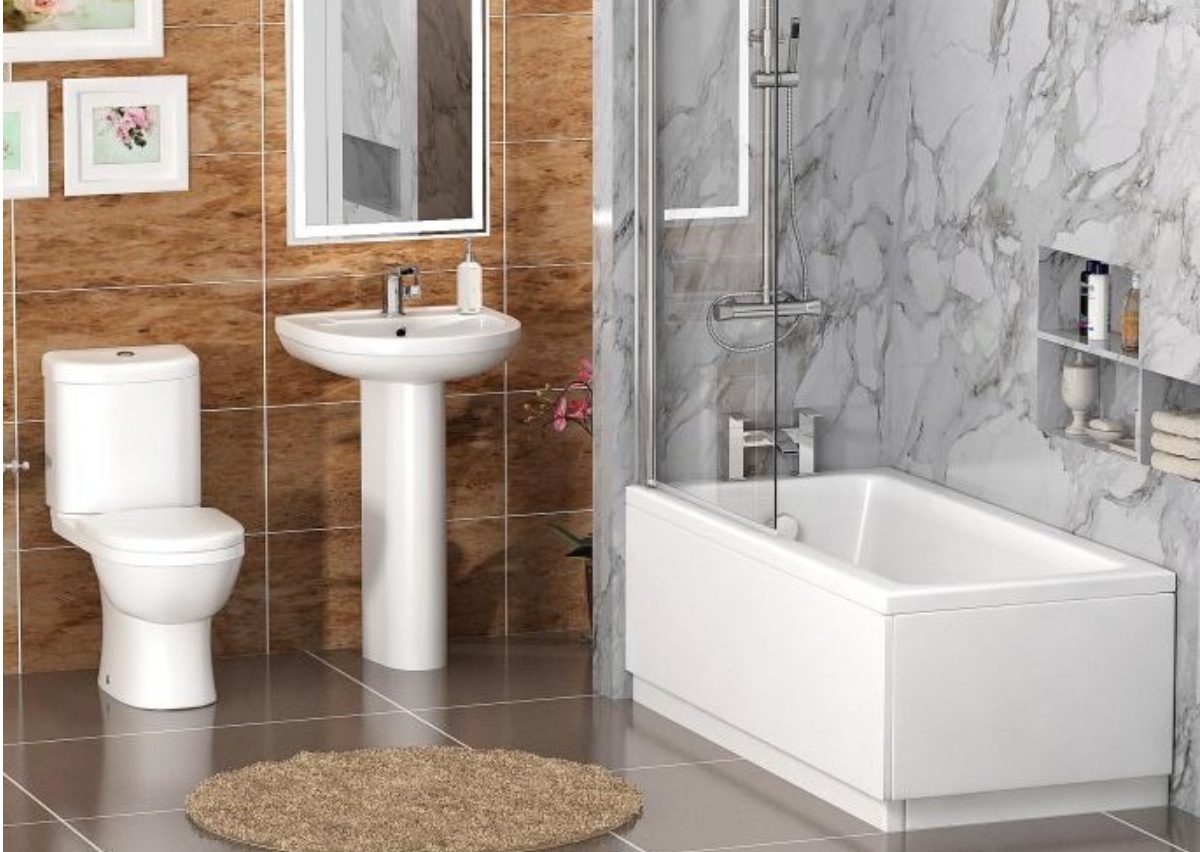
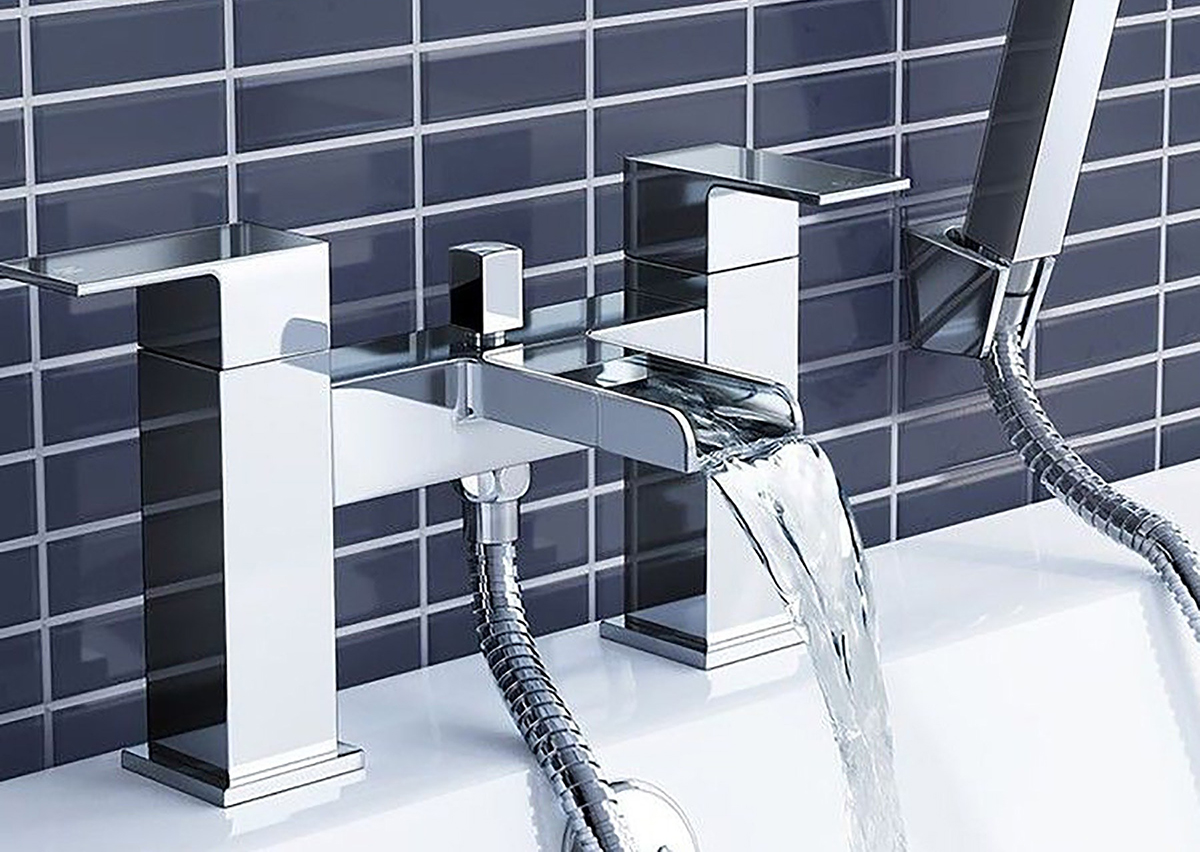
How to Replace a Bath Tap
To install a new bath tap you will need to take the following steps. Here is how to replace a bath tap.
Taking out old taps: As for basin taps, the water supply will need to be turned off and a bucket or a small pot should be under the bath to catch some drips. An adjustable spanner should be used to remove nuts that secure the taps to the bath. If you are installing a bath filler (one of the types of stand-alone taps fixed on the edge of the bath), you will need to follow similar steps. But also exercise care so as not to damage the surface of a bath.
Installation Preparation: Clean around tap holes in a bathtub. If required, use bathroom or caulk sealant to create a good seal around existing tap holes. For your specific model of tap, consult manufacturer’s instructions.
Fitting New Taps in Bath Tub: Most contemporary bathtub fittings come with flexible tap connectors. Just like with basin taps, PTFE tape will be wound on them when connecting them with isolating valves
Fixing the Bath Tap: The two main types are deck-mounted bath taps and wall-mounted bath taps.
Bath Deck-Mounted Taps: These are mounted directly on top of the bath deck. Now push through flexible connectors via these holes and position this body over your tub. The nuts that come along with washers can be fastened from underneath onto this unit before tightening up using an adjustable spanner (do not crack by over-tightening).
Wall Mounted Taps: These are the types of taps which are fixed on the wall above a bathtub. Adhere to the manufacturer's guidelines on drilling of holes and installing wall brackets. Attach the tap body onto the bracket with the screws provided and fasten tightly.
Connecting the Shower Hose (For Mixer Taps): Most bath mixer taps have a connection for a shower hose. Locate the shower hose connection on the tap body and screw on the shower hose hand-tight first, followed by a quarter turn with an adjustable spanner.
Final Touches: Tighten the compression nuts on the flexible connectors hand-tight first, then follow up with a quarter turn using an adjustable spanner. Smear bath sealant under the base of where it meets in order to seal off water entry into the bath tub. Let it dry as recommended by its manufacturer before turning the water supply back on.
*Fixing bath fillers may vary slightly depending on your model type. Consult your model’s manual for installation instructions that have been specifically made for this faucet type. In general; they connect to existing pipes within the structure of the bathtub by attaching a reservoir to it so as to be able to hold water securely avoiding any leakages through its interconnections.
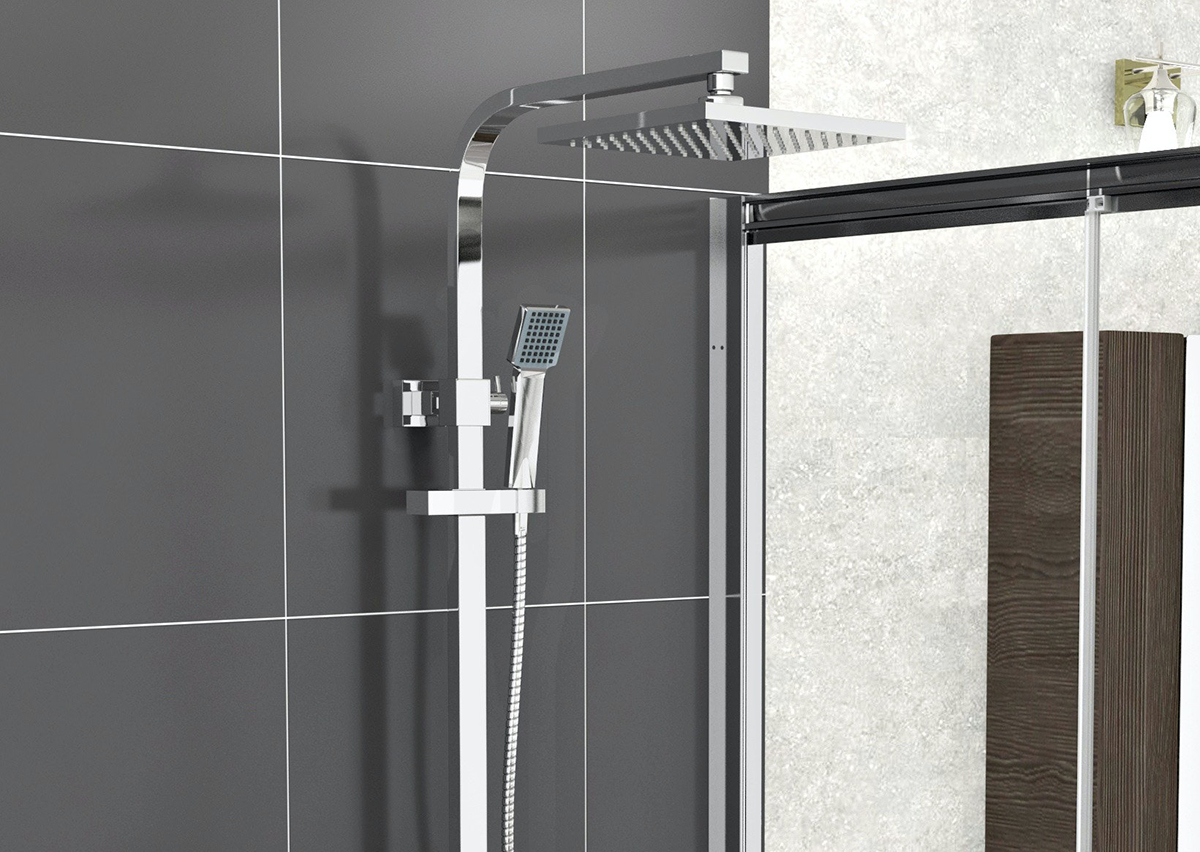
Step-by-step Shower Tap Installation
There are two main types of shower taps, those that are concealed and those that are exposed.
Exposed Shower Valves Installation: These taps are fixed directly to the wall and they control how water flows in and what its temperature is.
Concealed Shower Valves Installation : They hide behind a panel in the bathroom only showing control knobs on them. Therefore, there is much more work involved in connection especially when accessing pipework within cavity walls. Unless you’re an experienced DIYer specializing in plumbing projects, it’s best not to attempt concealed shower valve installation without consulting a qualified plumber first.
Remove an Old Shower tap Valve: Shut off the water supply and isolate the shower if possible. Disconnect the shower hose from the old valve as well as any pipework attached to it. Use appropriate spanners or wrenches to undo mounting nuts or brackets holding up a valve on a wall.
Installation Preparation: In case there is a need, make sure that there is a good seal around the present shower valve connections using PTFE tape or plumber’s putty. See your particular model’s manufacturer instructions for an exposed shower valve.
Installing a New Shower Tap Valve: The majority of today’s exposed shower valves connect with flexible tap connectors. Just like basin taps, wrap PTFE tape around them before fixing hot and cold water supplies.
Fixing the Shower tap Valve: Pass these flexible connectors through designated holes in a wall plate then position the body of this valve onto it just above reaching into the mortar depths. Secure it by employing mounting nuts which come along with washers provided. An adjustable spanner should be used when tightening by applying firm pressure but mind that over-tightening may damage either wall surface or the connections themselves.
Finally, the Shower Head and Hose Have to be Connected: One should find particular points for shower hose and head connections on the shower valve. Screw the hand-tightened shower hose first then adjust it with an adjustable spanner by a quarter turn. Use the specified connection, usually a nut and washer – which links the shower head to another end of the hose.
Make Final adjustments: Start tightening compression nuts from flexible connectors using your hands before making quarter turns using an adjustable wrench. Open up the water supply so that you can check whether there are any leaks or not. In case there are some leaks, kindly retighten these joints with care. Use a dry cloth piece to remove the rest of the water.
Other Tips:
• When replacing a standard bathroom faucet, the installation procedure should be relatively straightforward. However, if the faucet hole sizes are different or you are dealing with a completely different faucet system, you may need to replace your basin or bath or purchase an adapter kit
• Avoid excessive effort when tightening connections, as this can damage faucet pipe or basin/bath surfaces.
• If you are having any problems or are unsure of any position, do not hesitate to consult a professional plumber.
Ending Thoughts
DIY bathroom tap installation UK will become a lot easier with the help of this guide. So, if you are figuring how to replace a bathroom tap then this blog will be a great help. Simply, take a deep breath, grab your tools, and give it a try! You will need little preparation, and the right mindset for the successful installation, and the result will amaze you.
FAQs
What tools do I need to install a bathroom tap?
There are many common tools needed to fit the bathroom tap as DIY. These tools include an adjustable wrench, basin wrench, plumber’s tape, a bucket, and a cloth. Some taps may also require Allen keys or specific fittings depending on the type. The tool requirements may vary slightly depending on the bathroom tap, bath tap, or shower valve type.
Do I need to turn off the water to change a tap?
Yes, always turn off the water supply at the isolation valves or main stopcock before beginning any tap installation to avoid leaks or flooding.
How long does it take to replace a bathroom tap?
A standard tap replacement typically takes 1 hour, depending on your experience and how accessible the plumbing is. You may need extra time if you are not familiar with tools tools required.
Do I need any special certification to change a tap in the UK?
No certification is required for minor plumbing work like tap replacement. However, if you're working near electrical connections or changing water supply systems, you may need to follow Part P building regulations.
How much does it cost to install a bathroom tap in the UK?
If you hire a plumber, tap installation costs in the UK range from £50 to £150, depending on complexity. DIY bathroom tap installation can save you this cost if done correctly.
What type of bathroom taps are easiest to install?
Monobloc mixer taps are usually easier for DIY projects compared to traditional pillar taps, especially when replacing like-for-like.
How do I prevent limescale buildup in UK bathroom taps?"
To prevent limescale buildup you will need to take various measures like installing a water softener (ideal for hard water areas like Bristol), and cleaning taps monthly with white vinegar to dissolve limescale. You may even use water softening ( cleaning device) that may prevent limescale build-up.
Why is my tap leaking after installation in my UK home?
Sometimes, your bathroom tap starts leaking after installation. It is usually due to loose compression nut or loose compression nuts or worn PTFE tape. Tighten connections gently as overtightening can damage UK-standard copper pipes.
16. Can I reuse old washers for UK tap installations?
Rubber washers may degrade over time. Therefore, you should avoid it..Avoid reusing old washers and prefer buying BSI-approved replacements (e.g., Plumbase UK) to ensure a watertight seal in high-pressure UK systems.