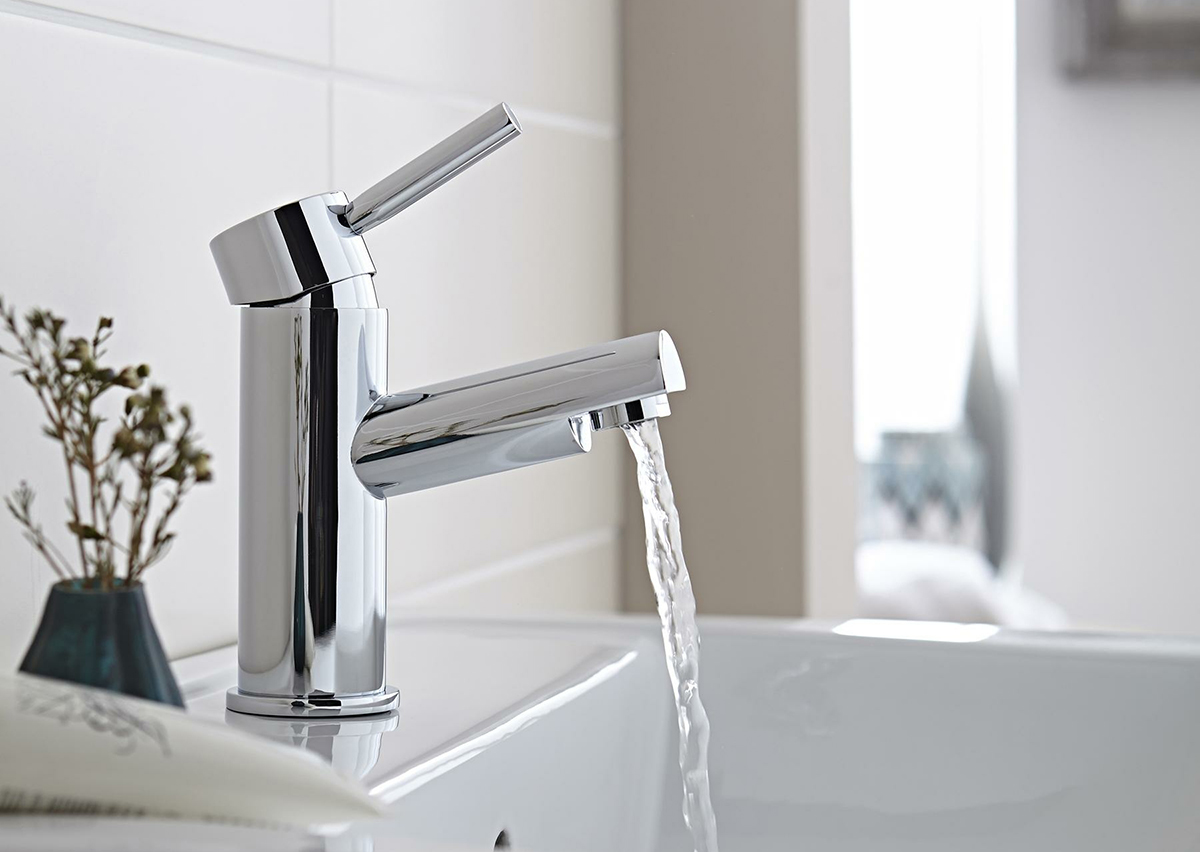
Just like any other item in your home, there are times when bathroom fixtures develop faults – including mixer taps. While the functionality and longevity of a bathroom fixture depend on its material quality and usage, even high-quality tap sets can experience leaking issues.
Therefore, regardless of the cost of your bathroom tap set , there's no guarantee it will last a lifetime. However, it doesn't mean you have to replace the taps at the first sign of leakage, as it's often caused by a loose or worn-off washer. This causes a drippy faucet that continues to leak water drop by drop – sometimes even a stream – even though the lever is closed.
While fixing the leaking lever taps is relatively easy, it is, however, recommended to repair them as soon as possible before the tap sustains any more damage. In case you are dealing with the same issue, we have deconstructed the process of changing a tap washer at home.
Common Plumbing Issues in Modern Mixer Taps
Mixer taps are not designed how they used to be back in the day. The rubber washers and o rings are replaced with ceramic cartridges in modern mixer taps. As replacing the cartridge can be complex for beginners, you can opt to replace the washers inside instead.
Even the pricier versions of mixer taps tend to develop leaks after a few years. Although it is mostly a washer issue, failure to replace it in time can lead to further, more extreme tap damage. Not to mention, leaving the tap as it is for days will result in the loss of thousands of litres of water.
Step-by-Step Process of Changing a Washer on a Lever Tap
Before we start detailing the replacement procedure, let's settle the tool and equipment you need to handle the task at home.
- Screwdriver (flat-headed)
- Spanner
- Adjustable wrench
- Washer replacement
- Dry clean cloth
Once you get your hands on the necessary tools, it's to initiate the process:
Step 1. Preparation
Turning off the water supply lines from the tank is mandatory before you start dismantling the parts of your mixer taps. The idea is to prevent the water from flooding the bathroom when you twist open the fixture from the main line.
If you can't locate the valve controlling the main waterline, you can cut off the supply from the individual wall that's probably located somewhere under the sink. If your mixer tap is connected to an immersion heater or boiler, turn off the flow.
Step 2. Dismantling the Tap Header
Instead of removing the entire tap from the water lines, you only need to dismantle the tap header. The Lever mixer taps open both ways for hot and cold water, respectively. Try bending the lever to figure out which side has a leaky washer. This will keep you from disintegrating both sides when only one washer is torn off.
As for the removal procedure, start by removing the top cover on the top. You will need a screwdriver for the job. If it feels too tight to budge, use the adjustable wrench to hold the rest of the tap body in place while you exert force. Once you remove the screw, you can easily remove the assembly enabling access to the washer and o rings.
Step 3. Detaching the O Rings
Since both have relatively similar appearances, people often mistake one for the other. To put it simply, o rings are located at the body of the tap, whereas the washers are found at the base. Given their position, o rings hardly contact with water, so they can be hard to turn. Use a lubricant to smoothen the o rings for convenient removal.
After removing the O-rings, you will have convenient access to the washers, which can be removed by hand. Check to see if the washer is damaged or worn off. In some cases, the washer seat can also be damaged and need a replacement.
Step 4. Changing the Rubber Washer
If you were unsure about the size of your washer, take the one you just removed as a sample when visiting the hardware store. Both the washer and O-rings should be the appropriate size for optimal performance. After preparing the equipment, apply lubrication to the components and reassemble them in their designated positions using a spanner or wrench. Don't forget to install the headgear back inside as well before you cap it off with a screwdriver. Now relieve the water supply to check if the leakage has stopped.
FAQs:
Here We have a Few Frequently Asked Questions About:
Do Lever Taps have Washers?
Yes, they do! Generally, a typical tap has two major parts. The one that controls water flow (a valve seat) and a tap washer. The washers create a tighter seal to ensure leak prevention once the tap is turned off. As it is opened, the tap washer will pull away from the seat, which causes pressure on water to force it through the hollow tap and out through the spout. That means the washer has a critical role to play in the functionality of the bathroom tap.
Why do Bathroom Taps have Leaking Handles?
If your bathroom taps have a leaking handle, it means that the "O" ring that exists in most taps, usually visible from the outside in the bottom over the lever, is damaged. It is uncommon for them to loosen or wear out over time. So, you will need to replace them to solve the problem. To fix the issue completely, dismantle the tap and replace the ring. It should not take more than a couple of minutes to replace it. Such problems may also be a result of dirt and debris collection in the valve/cartridge over time. That makes it impossible for it to control the flow resulting in a leaking handle.
What Causes Taps Dripping?
A leaking tap can be caused by several issues like cracks and corrosion, a worn out or damaged valve or a washer inside including an "O" ring. Some of these problems can easily be resolved if you know how to mend a dripping tap. However, you will need to first look for the potential cause of the leaking before thinking about the solution. For example, one of the most common causes of a dripping tap is a washer that needs to be replaced. If your bathroom lever tap is dripping, it's likely that the washer is worn out and needs to be replaced. In case of finding cracks in the pipes, then it is better to consider a replacement rather than fixing the issue.
How to Prevent a Bathroom Tap from Leaking?
Once you notice bathroom taps leaking, then it does not have another solution but replace the required part as early as possible. The leakage will increase over time, resulting in a waste of water. Though, there is no way to completely solve the problem other than repairing or replacing the malfunctioning part, turning off the handles/levers sometimes helps by reducing or sometimes stopping the leakage. However, it will be a short-term or temporary fix.
Is Dripping Tap an Emergency situation?
No, a dripping tap is not an emergency. However, it tends to increase over time, Which will result in a waste of water. Therefore, you must consider fixing it as soon as possible. There are various ways to stop water leakage from the tap that usually works if the problem has just started. In most cases, you can identify and fix the problem on your own.