Post Contents [hide]
You don’t have to be a professional plumber to tackle small jobs like fixing a leak or replacing the old tap or installing a new tap in your bathroom. Whether you are renovating your bathroom completely or simply want to replace a broken or leaking tap, with the right tools and guidance you can take up this job without a hassle.
Remember the guide is about installing bathroom taps in general including, mixer and pillar taps for bathtub and basin. In case you are confused about whether to buy a mixer tap or stick with the standard pillar taps, here’s what you need to know.
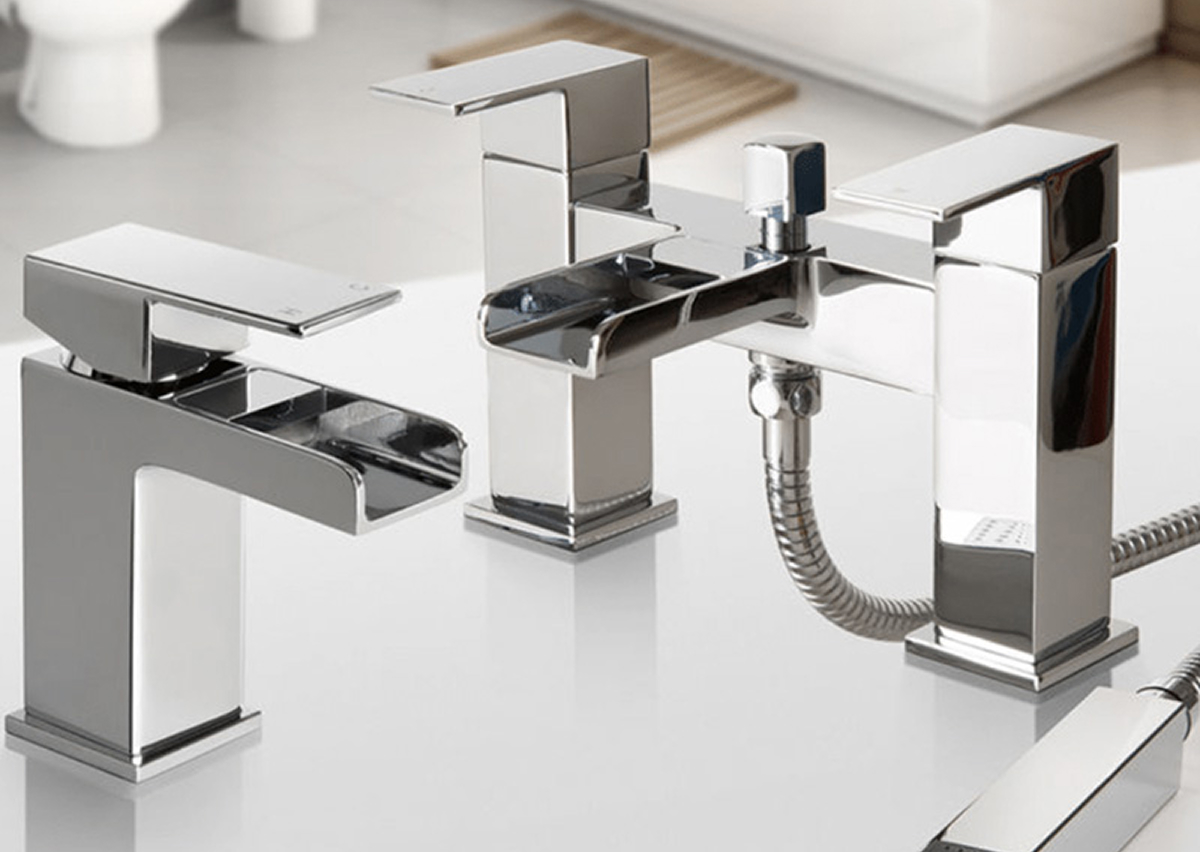
Installation of Pillar Taps VS Mixer Taps
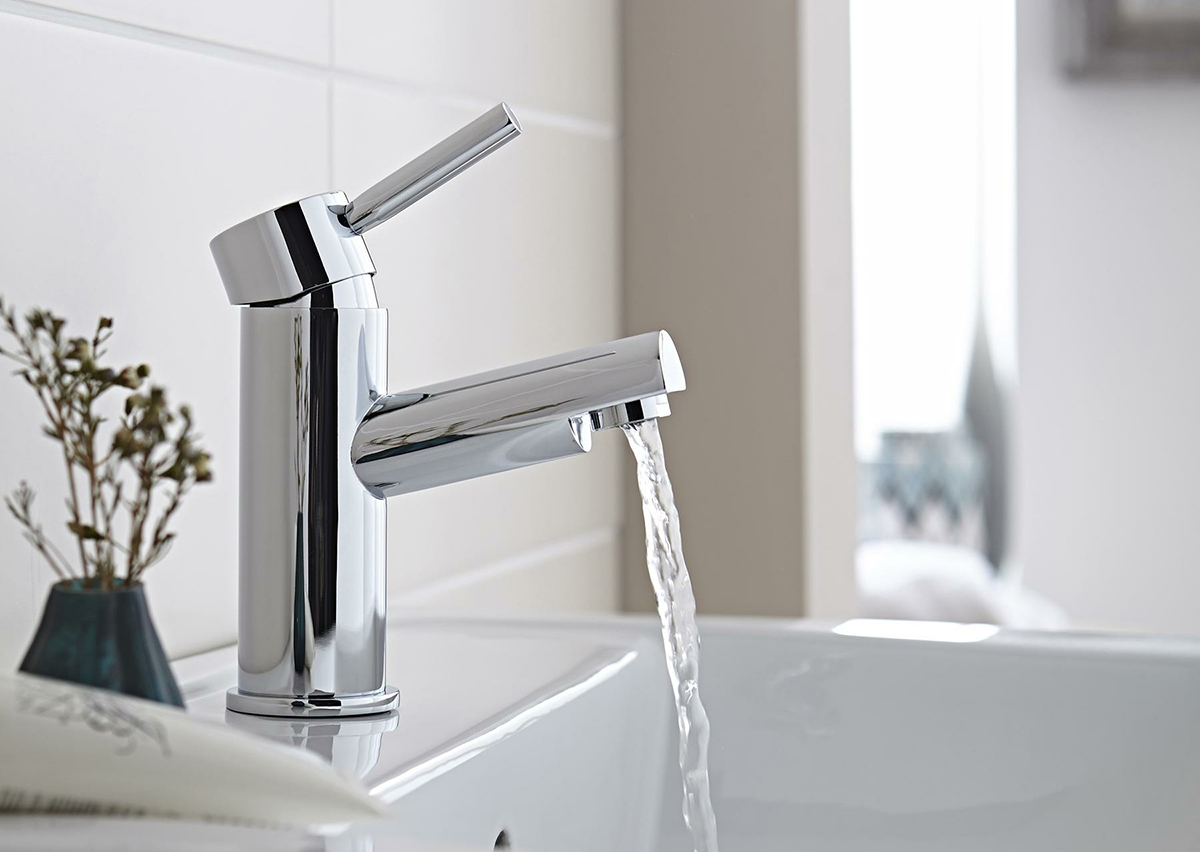
Everyone is familiar with mixer taps since they are the most common bathroom taps used for vanity sinks or washbasins. The tap is connected to both hot and cold water lines but has a single water outlet for both inlets. With two separate taps, you can easily balance the temperature of the water. However, modern taps mostly feature a single lever handle for tackling water temperatures.
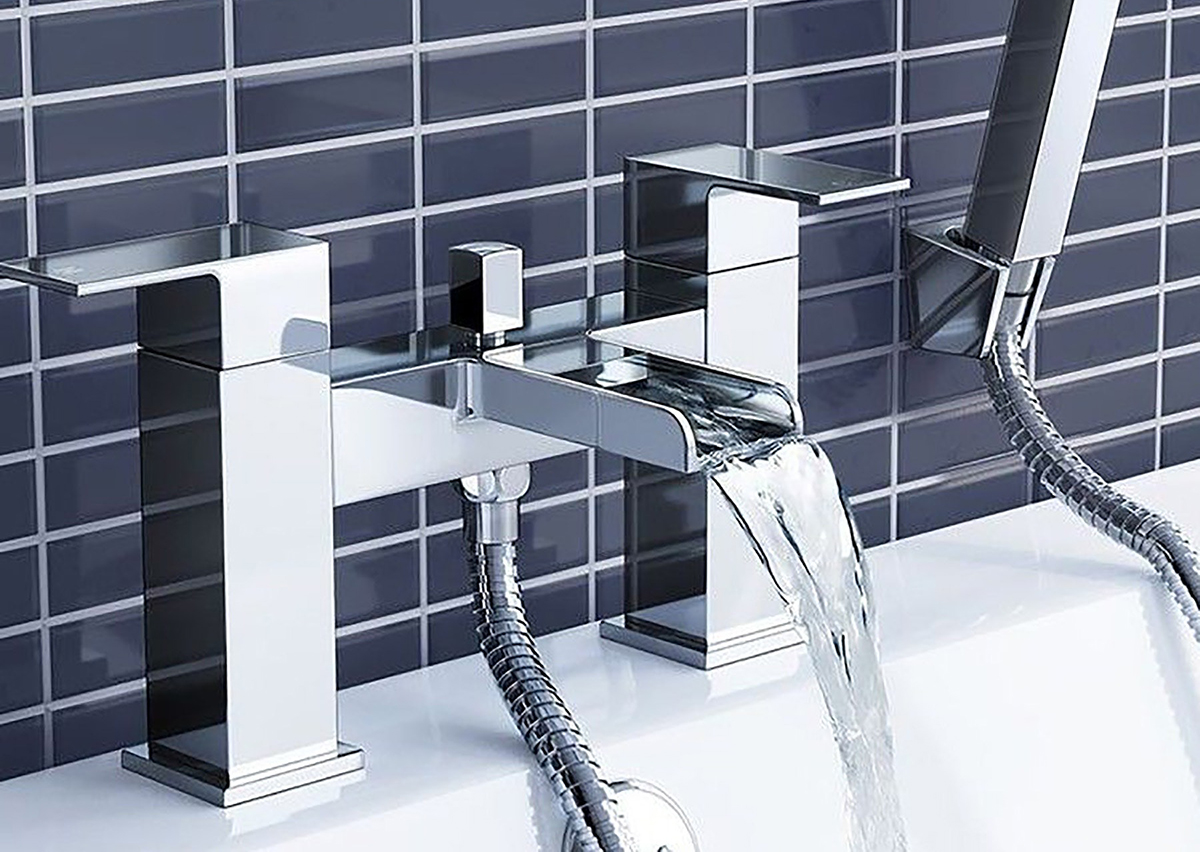
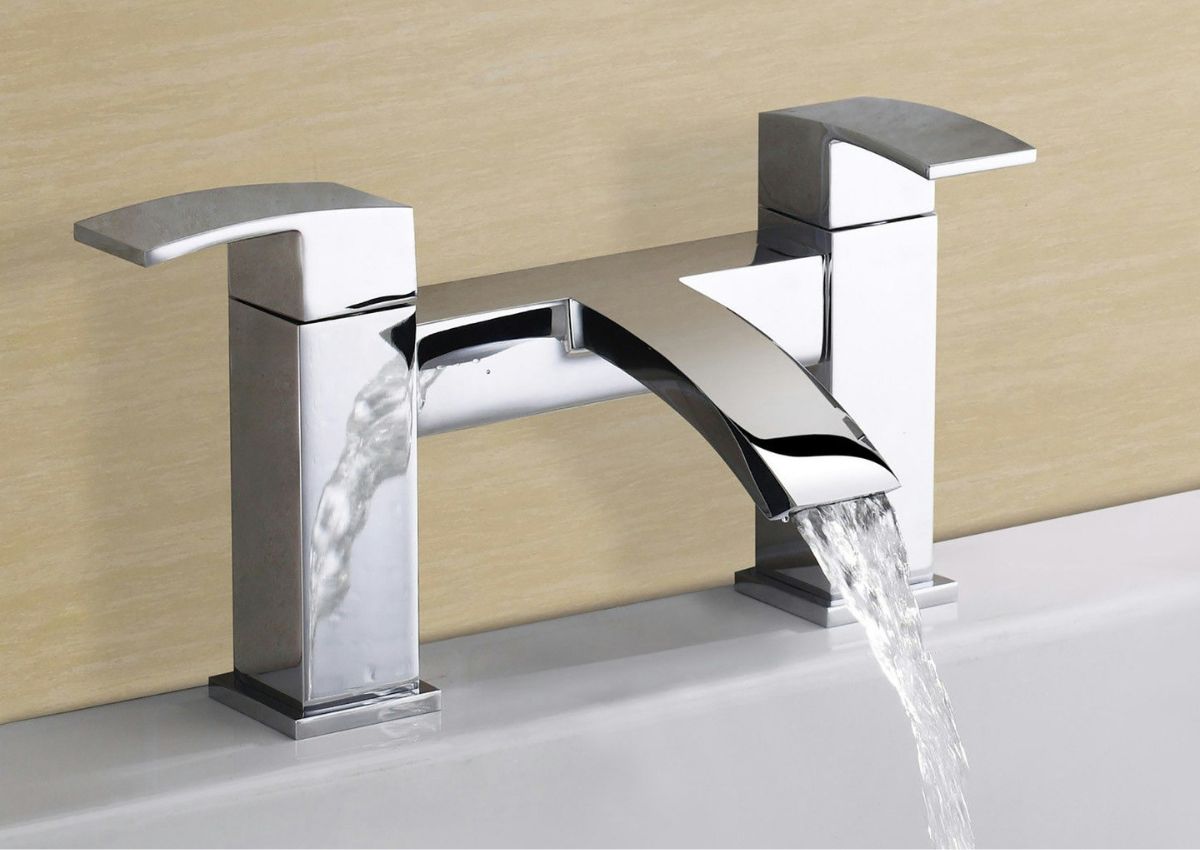
Pillar taps, on the other hand, feature two separate taps for both hot and cold-water temperatures. These are mainly used for bathtubs and are among the most popular tap types used in UK households. Pillar taps let you adjust the water temperature in terms of proportions for both water lines.
Regardless of your choice, installing either of the discussed taps is more or less the same. So, without any further delay, let’s delve into it.
Tools Needed for Installing a New Bathroom Tap
Whether you are installing a new one or replacing the older leaking unit, these few tools are fundamental to the procedure.
- Adjustable wrench
- Philips head screwdriver
- Elbow Grease
Time Required
A DIY bathroom tap replacement will take around an hour to complete.
DIY Step by Step Procedure for Installing a Bathroom Tap
Here is the step-by-step process for DIY bathroom taps installation.
- Shut Down the Water Supply – As it goes without saying, start by turning off the water supply so that when you remove the existing tap, the water won’t burst out.
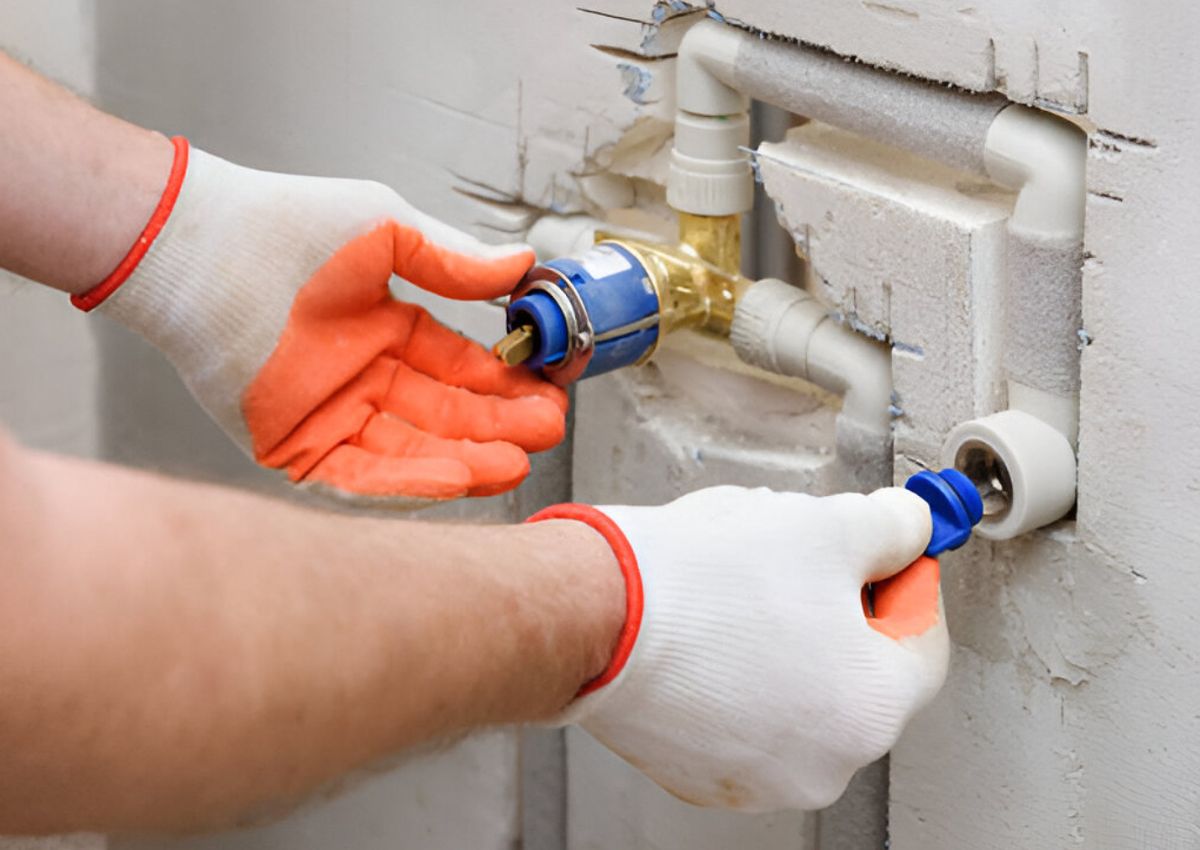
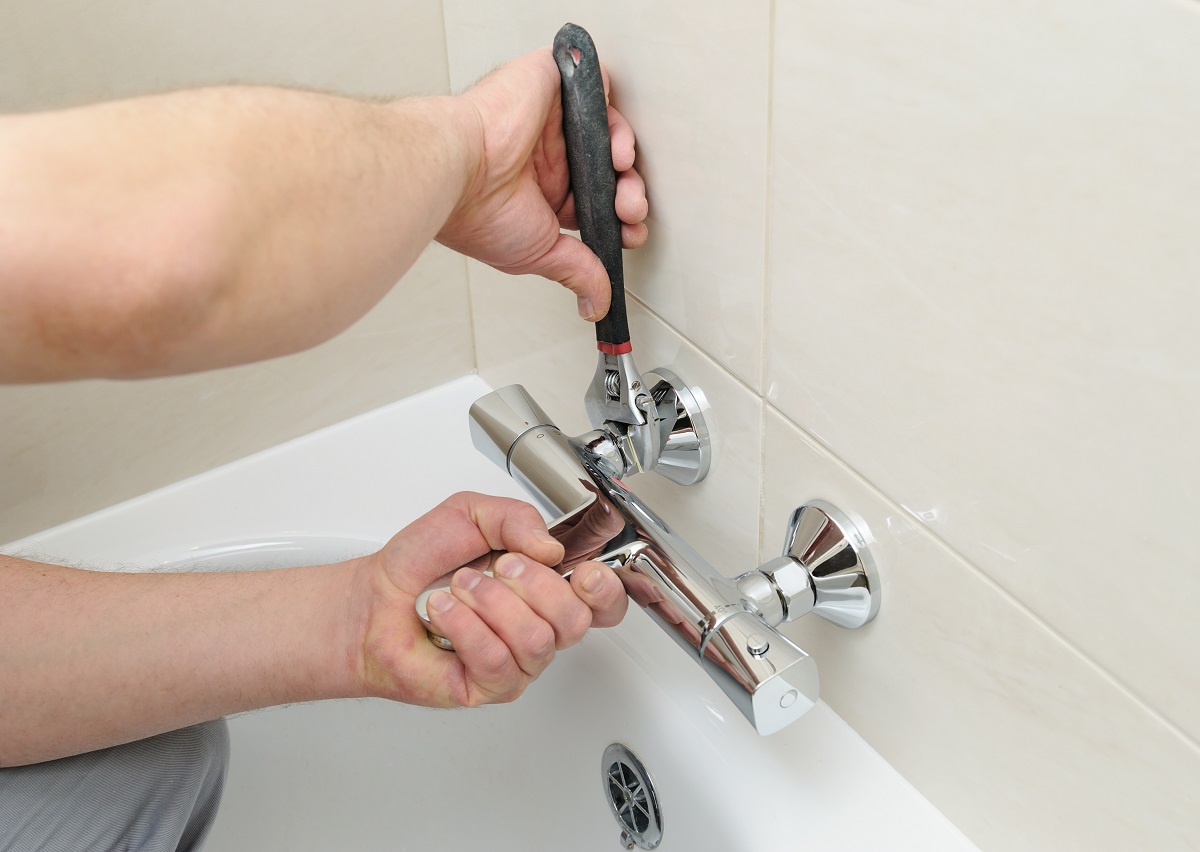
- Remove the Old Taps – Use your adjustable wrench to twist open the tap attached to the connecting water inlets. In case the supply lines are hidden under the vanity unit, they might be a little trickier to access and open. Once you find your way to it, twist the nut underneath that keeps the tap attached to the basin. Sometimes, the bathroom taps become harder to unscrew or remove over time. If you see paint or rust around or feel it is difficult to remove then don’t exert too much force on it otherwise, it will make a lot of annoyance for removal. It is important to first figure out the side it will unscrew so you don’t end up excreting the force in the wrong direction. If you experience any such things, it will be a better idea to call a plumber.
- Examine the Attached Fittings – After you remove the taps, clean out the entire area from any adhesive residue and grease to have a better look at the connections. Carefully check the fixing, joins, and extended pipes to make sure there’s no damage or leakage with the pipes. Secondly, make sure the existing fittings of the waterlines match the newer taps. If there’s a minor change in the bore size, use an adapter instead of opting for a newer pipe altogether.
- Attach the New Taps to the Connectors – Start by placing the new taps into the hole on your basin. Don’t forget to install washers between the tap and the surface of the basin to prevent any future leakage. Once they are placed, tighten the back nut properly.
- Connect the Pipes With the Waterline – After the taps are fixed in place, you need to connect the pipe with the main supply lines under the washbasin. The process is normally done with copper piping for more durability. You’ll also need a blowtorch and solder to fix them in place.
- Tighten the Connections and Turn on the Water Supply - After the water pipes are connected with the supply lines, make sure to tighten every connection again to eliminate any chances of leakage in the future. Turn the water supply back on to check if everything is done appropriately.
FAQs about Replacing Bathroom Taps
Do you Need a Plumber to Change a Bathroom Tap?
Taps are a relatively simple fixture to replace. Therefore, you don’t need to call a licensed plumber for this task. However, sometimes it is very hard to unscrew and remove the older bathroom taps. That’s when possibly you will need the help of a plumber. If you are knowledgeable about using the basic tools of plumbing then fixing small leaks, repairing, replacing taps, and regulating water pressure should be the tasks you should complete on your own as a DIY project over a weekend.
How Long Does it Take to Change a Tap?
Replacing a bathroom tap is a fairly simple task that you can complete quickly by using a wrench and some DIY knowledge. Although the time required to change a tap may differ depending on the type of tap, it should only take around 30 minutes to an hour to get it done. In case you are stuck with removing the older tap that is too hard to open, it may take some more time. You should try doing it without the availability of plumbing equipment as listed earlier in this blog.
How Long Should a Tap Last?
Although the lifespan of a tap depends on various factors like its build quality, hardness of water passing through it, material, and type of use. But considering the modern technology and use of ceramic disc technology, you can expect to use your taps for around 15 to 20 years. You should know that in case of a problem, you can change its parts to make it work again.