Post Contents [hide]
- The Importance of Proper Installation
- Factors to Consider Before Setting a Bathroom Cabinet
- DIY Installation of a Bathroom Cabinet
- Step by Step Procedure for Hanging a Bathroom Cabinet
- Additional Finishing Tips to Achieve a Sleek Look
- Common Installation Mistakes to Avoid
- Final Thoughts
- Frequently Asked Questions
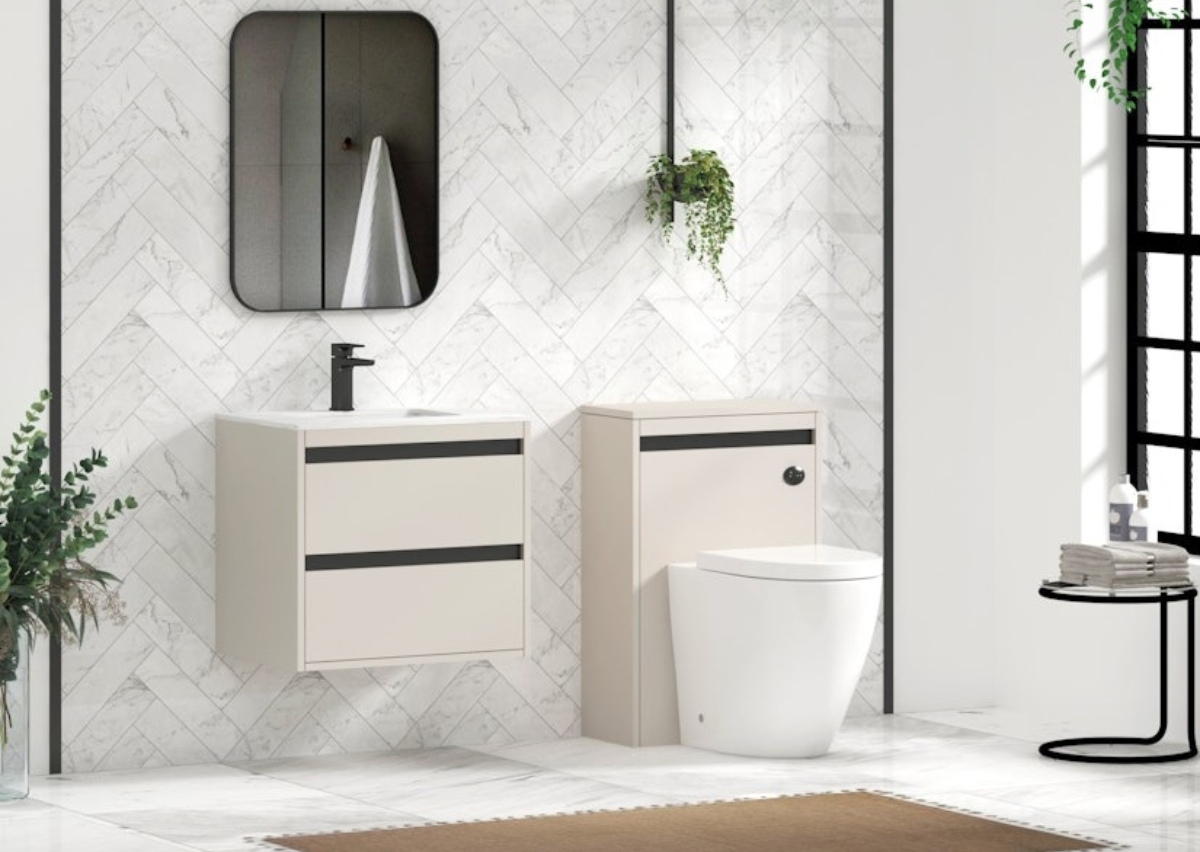
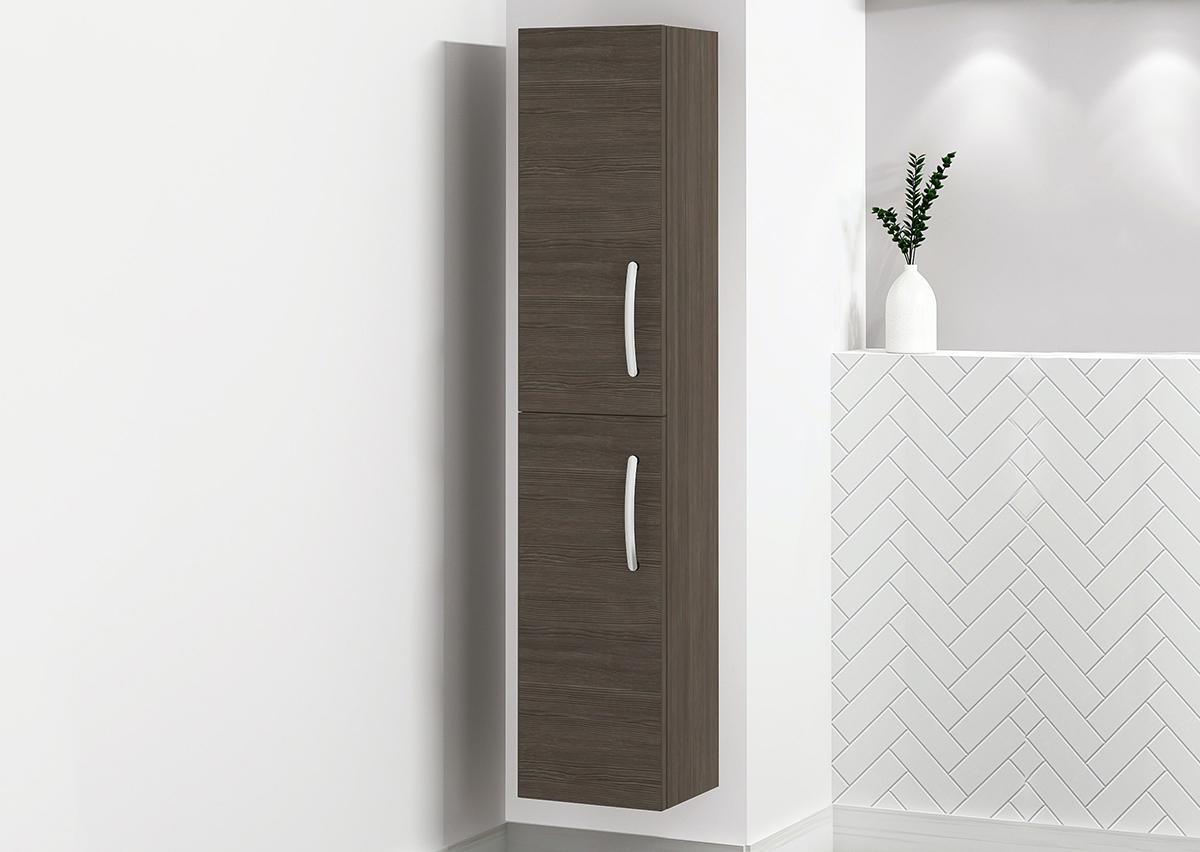
A cabinet placed just right is a great way to add extra storage and style to your bathroom. Whether you’re installing a bathroom wall cabinet over the vanity unit or a cupboard, it’s a possible task with the right approach and tools. Wall-mounted cabinets create floor space and keep everyday essentials within easy reach.
If you’re on a budget and intend to install it yourself, you’ve come to the right place. In this blog post, we’ll guide you through everything you need to know—from the tools you’ll need, to how to take accurate measurements, and where to drill. Whether you’re new to DIY or simply updating your storage solutions, our guide will walk you through how to anchor your bathroom cabinet securely and neatly.
The Importance of Proper Installation
A cabinet's aesthetic appeal is vital, however, the game-changing component is its installation. A bathroom cabinet secured in such a manner not only enhances the aesthetic—it ensures safety as well as functionality. A poorly installed cabinet may wobble, or tip, or even come loose over the years. Getting the position nice from the beginning avoids these issues, retains your toiletries secure and the functionality lasts.
Factors to Consider Before Setting a Bathroom Cabinet
Before you whip out your drill and start mounting, here are a few vital considerations that can make or break your install. A few moments of thought at this stage means that your cabinet will be secure, practical and look good.
Choose the Right Spot
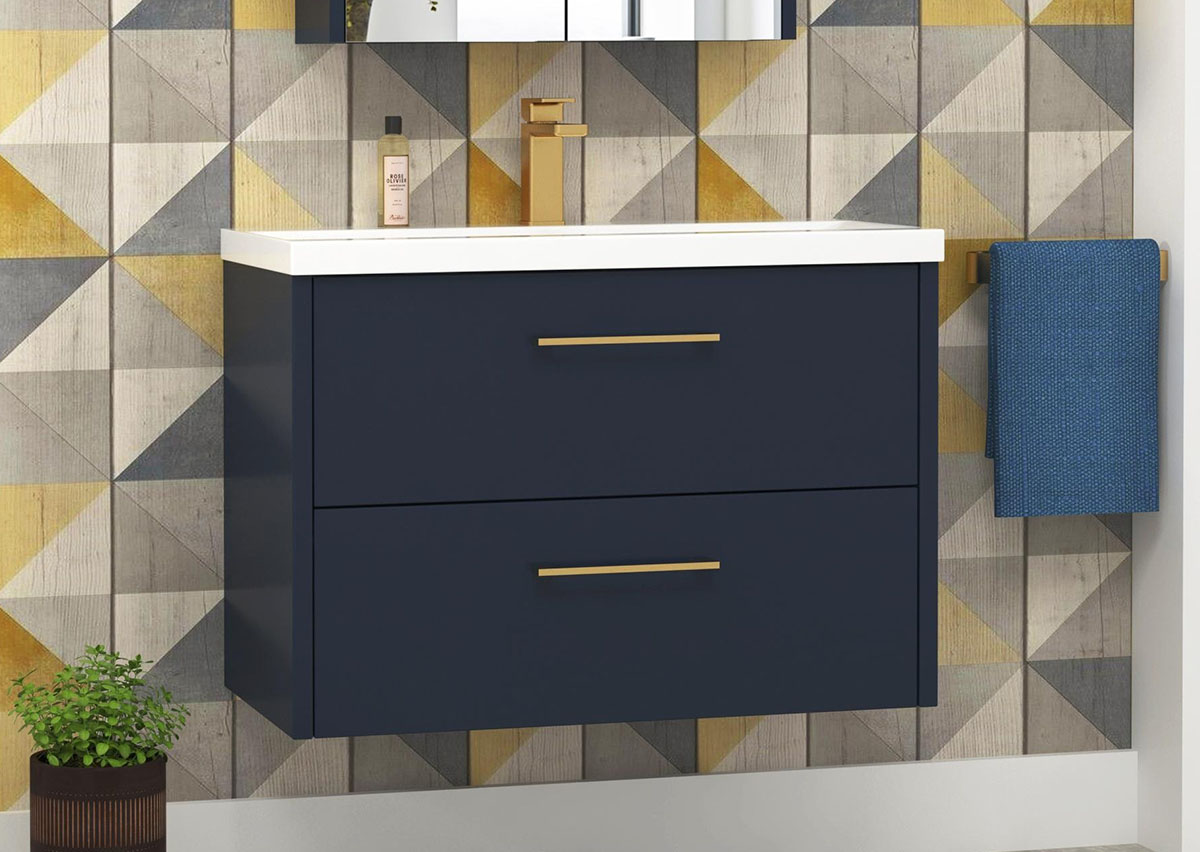
Visualize placement of the cabinet and the ease of accessing it. Is it within easy reach? Does it block mirrors, light fixtures or doorways? A well-centered placement — especially above the vanity — is often the most functional and balanced choice, both aesthetically and practically.
Know your Wall Type
Walls aren’t all created equal, and knowing the kind of surface you’re dealing with will help dictate your approach. If you’re mounting on drywall, it’s important to find wooden studs or use heavy-duty wall anchors to support the weight. Powerful chargers can be used for hanging items on solid walls such as bricks or concrete, while tiles are less stable and require more attention while drilling to protect against cracks and other damage.
Check the Load Capacity
Your cabinet may seem light as air, but once you pack it with toiletries, it can exert some serious force on the wall. Just be sure the wall will support the weight, particularly when mounting on drywall. Exceeding the weight capacity could lead to components coming loose or even the cabinet itself coming away from the wall over time.
Prepare the Right Tools
You’ll want a few extras on hand, too, in addition to the basic tools mentioned earlier. Stud finder — invaluable for drywall installs. Protective gloves — for drill lifts If you’re installing near a wet zone—such as above a sink or near the shower—silicone sealant is excellent for waterproofing the edges. You may also want finished screw caps to polish off the look.
DIY Installation of a Bathroom Cabinet
Besides vanity units, wall-mounted storage cabinets have been found to be the most widely adopted storage fixture in modern bathrooms. Like your typical kitchen cabinets, bathroom cabinets are mainly found as pre-built structures. However, if you are dealing with unusual dimensions in the room, you can also have custom-built cabinets to your preference.
Unlike the case with bathroom vanities, you don't need to devise a complete renovation plan to hang a bathroom cabinet. Rather you can tackle it as a DIY project. Even though it may require some careful measurements and a variety of tools, a steady hand with a passion for working is all you need to amplify your bathroom's storage space. So, without further ado, let's get on with it.
Required Tools:
Before you take on the project, make sure your toolbox inventory includes the following items:
-
Pre-assembled cabinet unit
-
Wall brackets
-
Measuring tape
-
Pencil
-
Spirit level
-
Electric drill and drill bits
-
Masking tape
-
An adequate supply of relevant screws and wall plugs
Step by Step Procedure for Hanging a Bathroom Cabinet
Step I. Do Your Homework
Before you start the installation procedure, do your homework. Make sure the section of the wall you have selected to install the fixture is sturdy enough to bear the weight of the cabinet unit and the amenities inside.
In the case of drywall, you can use a pipe or cable detector to figure out whether there's a cavity inside the wall or not. Not to mention, steer clear of any electrical lines and plumbing pipes as well. You don't want to drill a hole straight into the plumbing line and end up flooding the entire room.
Moving on, check to see whether the listed instruments are available or not. Also, make sure the cabinet unit also has wall brackets alongside. In case the cabinet door presents too much of a hassle to buckle down, perhaps you should consider dislocating it for easier handling.
Step II. Measure and Mark the Dedicated Spot
Once you have made sure the place you're going to mount the cabinet is sturdy, durable, and devoid of any internal fittings, now it's time to finalize the spot. For instance, if you are considering installing one right above your vanity unit, make sure it sits at the center of the sink.
Be careful and clever while taking the measurements. Start by marking out the middle point of the cabinet on the wall beside it. Now sketch out a line to the point where you will install the cabinet. To prevent any errors in the measurement, place the cabinet against the wall to see whether it sets according to the center point marked on the wall.
Next up, extend the center line that starts from the cabinet level down to the edge of the vanity unit. Now repeat the procedure at the back of the cabinet. Similarly, measure the distance from the top end of the cabinet to the embedded wall fixings. Don't forget to use a spirit level for better accuracy.
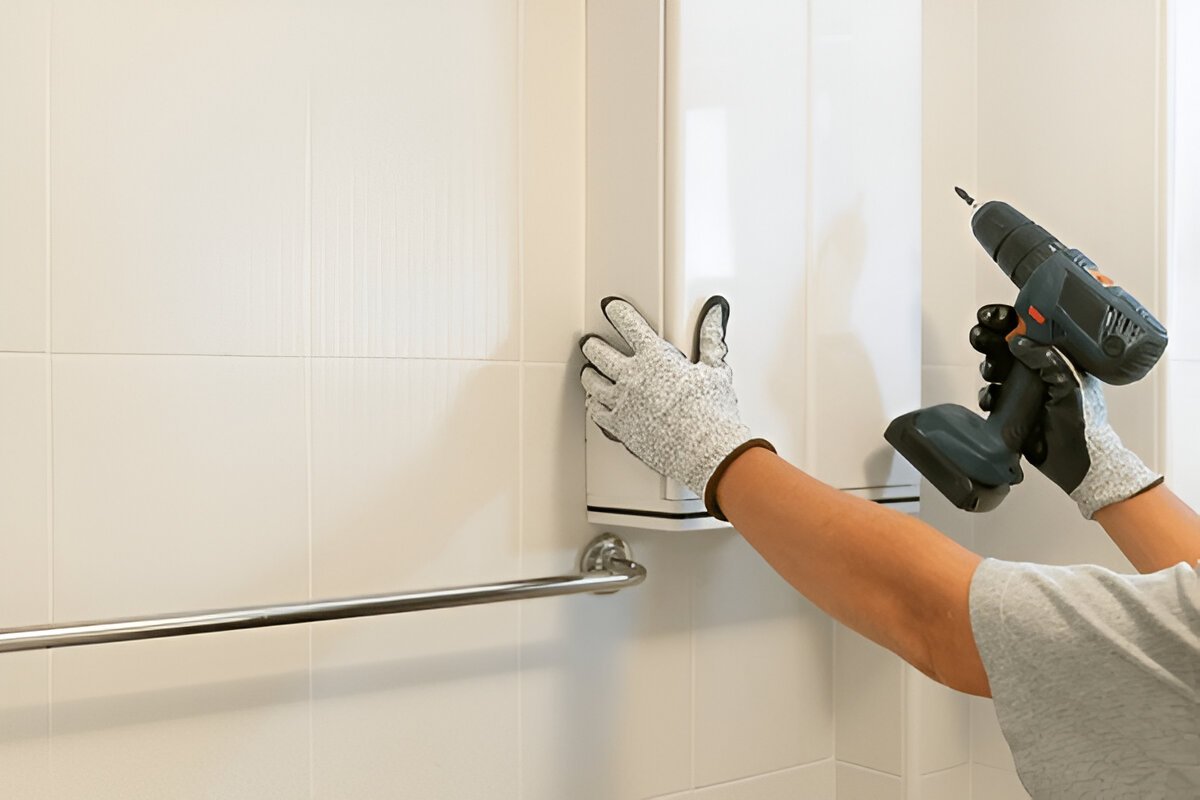
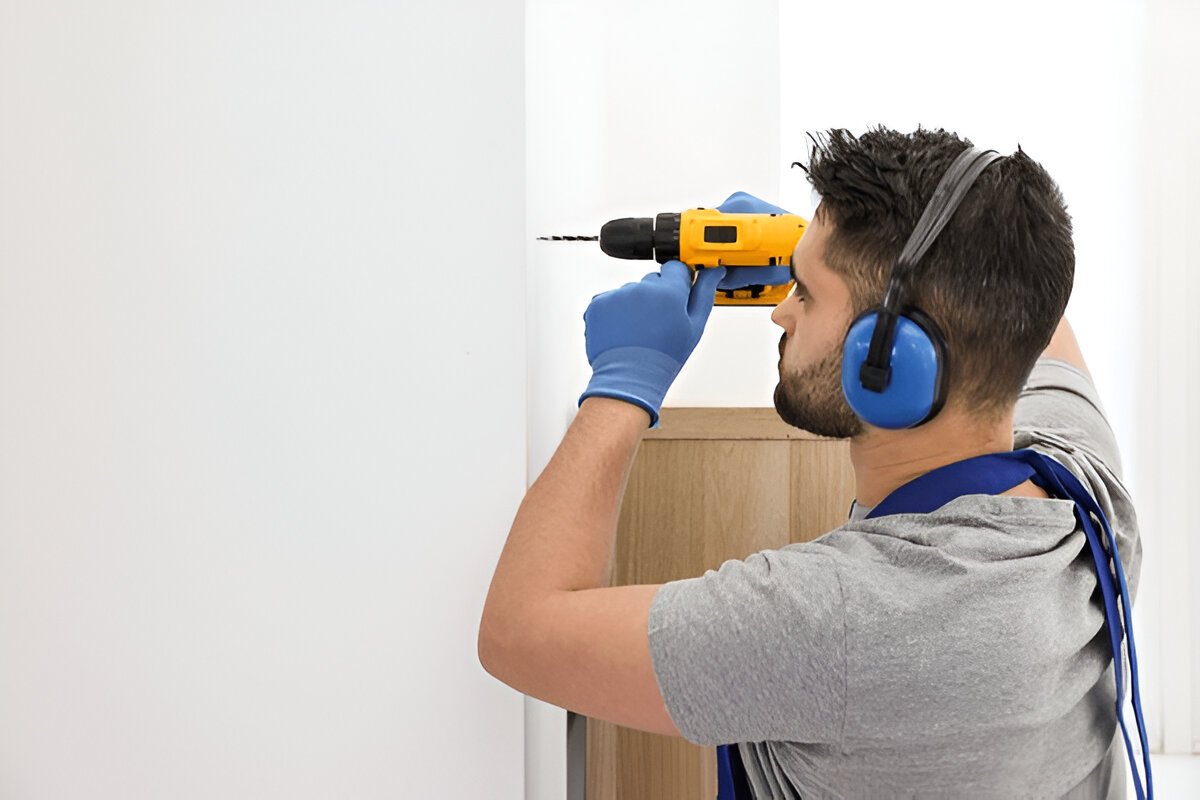
Step III. Be Mindful While Drilling
Drilling holes in a wall may seem one of the easiest tasks in the entire project, unless you must drill on a tiled wall. The problem with glossy tiles is that they offer very little friction causing the drill bit to skid as soon as you start the drill.
The best way to deal with it is by applying masking tape over the drilling spot. Since it has a coarse surface, you can easily drill holes in the wall. Make sure you drill the holes exactly the size of the wall plugs. Push in the wall plugs, hold down the wall brackets in the front, and fasten them with the help of screws.
Step IV. Install the Cabinet Unit
Hold the cabinet unit carefully on the lined fixings and slot it firmly into place. Before you fix it into place, check the positioning and level of the wall with a measuring tape and spirit level. Once everything is set perfectly into place, screw down the fixings from the inside of the cabinet, making it one of a whole.
Now reattach the cabinet door, pop on the cover caps, erase the pencil markings on the walls and the cabinet, and there you have it. The storage cabinet has now become part of your bathroom.
Additional Finishing Tips to Achieve a Sleek Look
After your cabinet is installed, a few finishing touches can truly elevate it from functional to flawless. These finishing touches do more than just aesthetics and make your cabinet long-lasting.
Hide Screws for a Neat Finish
Screws that are visible can draw attention away from the overall aesthetics of your bathroom. If your cabinet didn’t come with decorative caps, you can cover them with a piece of filler or a bit of matching paint. It’s a small detail, but it provides a clean, cohesive finish that makes the installation look pro done.
Sealant for Protection from Moisture
Bathrooms are high-moisture places, and some sealants make a big difference. For cabinets situated near a sink or shower, you can also apply a thin, even bead of waterproof silicone along the back edges to keep water from seeping behind. This reduces the chance of mold, swelling or prolonged water damage.
Use Care to Attach and Handles
If your doors and handles don’t come pre-installed, additionally spend time ensuring they’re fitted correctly. Once the frame is secured to the wall, you can adjust the doors, so they open and close properly. Most hinges have minor adjustability that can help to achieve a perfectly flush fit and smooth operation.
Common Installation Mistakes to Avoid
By avoiding a few common problems with installation, you can save time, avoid damage, and be sure that your cabinet will remain securely attached and stylish for years to come.
Skipping the Stud Check
One of the most common mistakes is fastening directly into drywall without adequate support. Always use a stud finder for wooden studs, or high-strength wall anchors if no studs are present.
Installing too High or Too Low
Cabinets that are too high can be difficult to reach, while those that are too low can disrupt faucets, vanities or other fixtures. Choose a height that is comfortable and eye-level, complementing the rest of your bathroom layout.
Ignoring Weight Guidelines
Overloading a wall-mounted cabinet can put it literally on the edge of structural failure or may lead to accidents. Follow the manufacturer’s load recommendations, distributing weight evenly (not overloading one side).
Neglecting Moisture Control
The greatest threats to bathroom cabinetry are water exposure. To not seal the joints or use water-resistant materials can produce warping, mold or premature wear. Always seek out materials and finishes that are suitable to humid spaces.
Final Thoughts
The removal and replacement of a bathroom cabinet is a relatively simple home improvement project if you have the right approach and tools. From picking the best location and identifying your wall type to completing every installation step carefully, a little bit of attention-to-detail pays off big time. By avoiding the common mistakes and keeping in mind all the above tips, you can install the cabinet like a pro. So go slowly, do the steps, and enjoy the added functionality and style your new cabinet brings to your bathroom.
Frequently Asked Questions
How do you attach a bathroom cabinet to a tiled wall?
You can use sticky strips, clasp bolts, or wall anchors and screws. For adhesive strips, make sure the surface is clean and dry before applying. If drilling, be extra careful not to crack tiles. However, you do it, be sure the cabinet is securely attached.
Can I mount a cabinet on a drywall?
Yes, but it’s risky without adequate support. Drywall by itself is not strong enough to hold heavy weight and always use wall studs or heavy-duty anchors. Use quality screws to secure the installation and place it where the load is supported by multiple studs.
How much space should be between a vanity unit and wall?
Allow at least 6 inches on either side of the vanity and approximately 15 inches from the center of the sink. Leave 30 inches of clearance in front for no-fuss movement. This gap enables full access to the drawers and avoids a crowded feeling for the unit.
What screws to use in a bathroom cabinet?
Use screws made of stainless steel or brass (which resist rust in humid bathrooms). Select screw type according to the weight and material of the cabinet. Light cabinets might only need deck screws, while heavier cabinets require stronger, longer screws to ensure they are attached securely.
Why is my cabinet pulling away from the wall?
This typically occurs when the cabinet is not anchored into studs, or the screws have become loose over the years. Damage from moisture or wall deterioration can weaken supports too. Verify and secure the mounting points to prevent further displacements or toppling.
Why is my bathroom cabinet peeling?
Peeling sometimes happens when there is too much moisture, bad quality paint or no seal. Bathrooms are humid places, so it’s important to use water-resistant finishes. Moisture-proof materials will help re-do or re-paint that appearance.
What mistake causes the bathroom cabinet to crack or fall off?
Common mistakes are not mounting the cabinet into studs or using undersized screws to attach the cabinet. Too much weight, damage from humidity or poor construction, also comes into play.
Can I install a bathroom cabinet over pipes or electrical outlets safely?
Yes — but you must plan carefully. Make sure you have enough clearance to access things without drilling into any hidden lines. It can use a pipe and wire detector to avoid any utilities in the wall, and you can even get custom cutouts in the back panel for things like gas and electrical utilities.
How to hide ugly gaps between the cabinet and bathroom wall?
Use caulk or trim molding, or you can use filler strips that match your cabinet or wall, to fill in these gaps. This does not only make the aesthetics better but also helps reduce moisture build up. For wider gaps, use foam backer rods under the caulk to get a better finished product.
How to fix sagging cabinet shelves?
Shelves sag when they do not have adequate support, or when the load on the shelf is too heavy. Reinforce them with shelf brackets or center supports or swap the shelves for thicker boards. Distributing weight evenly may help prevent future sagging, too.