Post Contents [hide]
- Tools and Materials You Need for Bathroom Mirror Installation.
- Bathroom Mirror DIY
- How to Install an Illuminated Bathroom Mirror?
- Final Testing
- Additional Tips:
- Troubleshooting Common Issues
- Mirror Care and Maintenance
- Final Thoughts
- Frequently Asked Questions
Replacing or upgrading your bathroom mirror can be the most impactful change you can make in the bathroom. It is much more than just a reflective surface. I recently had mirror installation as DIY. It’s become a really functional piece in my bathroom and a style statement that has truly enhanced the ambiance.
What's even better is that mirrors aren't too complicated to install. I found that I could easily install. Most people can easily install them as DIY with little knowledge of using tools and equipment. This guide explains how to install a bathroom mirror in the UK safely. You will learn how to put mirror on the wall each step successfully whether standard and illuminated bathroom mirrors.
Tools and Materials You Need for Bathroom Mirror Installation.
Before you start bathroom mirror installation DIY, gather the necessary tools and materials. The tools requirement may vary slightly depending on the type of mirror you want to install.
-
Measuring tape
-
Level
-
Pencil
-
Electric Drill
-
Screws and wall anchors (appropriate for your wall type)
-
Stud finder (optional, but recommended)
-
Silicone caulk (optional, for sealing edges)
-
Safety glasses
-
Ladder (if needed)
-
Wire cutters (for illuminated mirrors)
-
Voltage tester (for illuminated mirrors)

Bathroom Mirror DIY
Once you are ready with all the tools and materials, here is how to install a bathroom mirror.
Preparing for Mirror Installation
Here is “how to put a mirror on the wall” with step-by-step approach.
1-Choose the Right Location: The successful mirror installation highly depends on its location. You must take into account various factors like the availability of natural or artificial light (although an illuminated mirror can also be a secondary source of light in the bathroom), the position of the vanity sink unit, and your personal preferences. Remember, you will need to have a power outlet available (in the case of an LED mirror) near the chosen location.
2-Accurate Measurements: You can not install the bathroom mirror without first measuring the space. And these measurements should be accurate to prevent installation issues later. Therefore, follow the principle of measure twice, cut once. Start with measuring the space where you plan to fit the bathroom mirror. Double-check the dimensions and note them down on the paper.
3-Prepare the Wall: The wall at which you want to install a mirror should be prepared for proper adhesion. If it's a replacement, then carefully remove it without any damage to the wall. Thoroughly clean the surface to remove dirt, grime, or any residue. Holes and cracks if any should be filled properly and let dry completely before moving to the next step.
How to Install a Standard Bathroom Mirror
Here is standard bathroom mirror installation DIY guide. Once surface is prepared you can now hang the mirror on the wall by following these steps.
Determining the Mirror's Placement
Have you decided where your bathroom mirror going to be fitted? Prefer a location that is both visually appealing and functional. You must take into account a variety of factors like lighting, vanity unit placement, and personal preference. The spot should be free from any obstruction and enough for comfortable use.
Measuring and Marking the Wall
Simply measure the width and height of the bathroom mirror with a measuring tap. All of these measurements will need to be transferred to the wall. Mark the center point of the mirror at the intended location while keeping in view the measurements.
Locating Studs (Optional)
Locating the stud by using the stud finder will ease the installation process. There are vertical framing members within the wall. Use the pencil to mark the studs and locations on the wall.
Preparing the Mounting Brackets
Your bathroom mirror usually comes with mounting brackets. Check and determine the spacing between brackets. Mark the position of the brackets on the wall. Ensure these brackets are levelled and aligned with the mirror center point
Drilling Pilot Holes
Now comes drilling the holes at marked locations. Use a drill with a bit slightly smaller than the screws. These screws are often provided with the bracket. You will need wall anchors into the pilot holes if not drilling into the studs.
Securing the Mounting Brackets
Once pilot holes are drilled you will need to secure the mounting brackets. Take the bracket at the required position and align it with the pilot holes. Now securely screw each one of them into the wall. Your bracket should firmly be attached and leveled.
Hanging the Mirror (How to put a mirror on the wall)
Here how to hang a bathroom mirror. Simply lift the mirror carefully taking it up to the required position, aligning it with mounting brackets. Attach the mirror to the brackets using screws or hardware. Ensure the secure fit to avoid any problems.
Applying Silicone Caulk (Optional)
In some cases, or certain types of mirrors, you may want to fill in the gaps along the edges. It adds water resistance and a clean finish to the back of the mirror. Simply apply a bead of silicone caulk around the edges by using a caulk gun. Use a damp finger or caulk tool to smooth the caulk. Leave it to dry completely for an hour.
That’s the steps for a successful installation of a standard bathroom mirror.
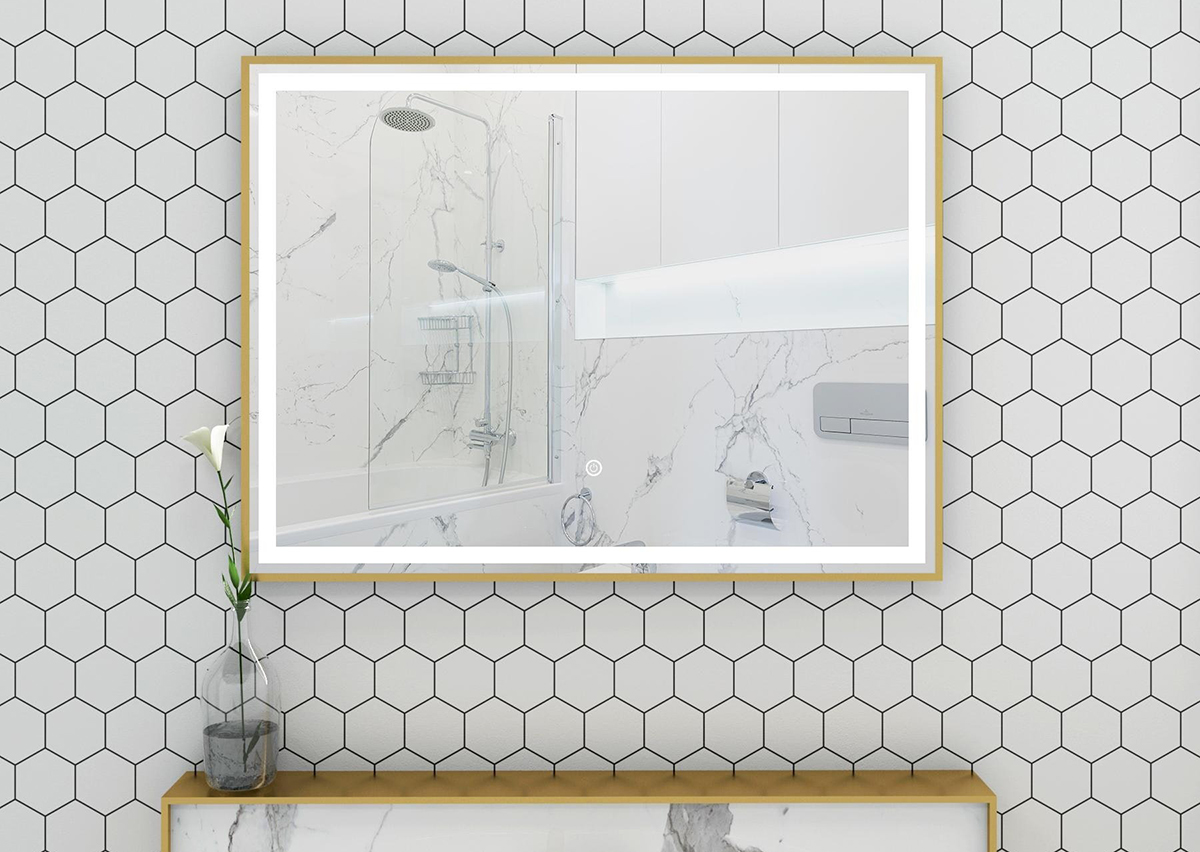
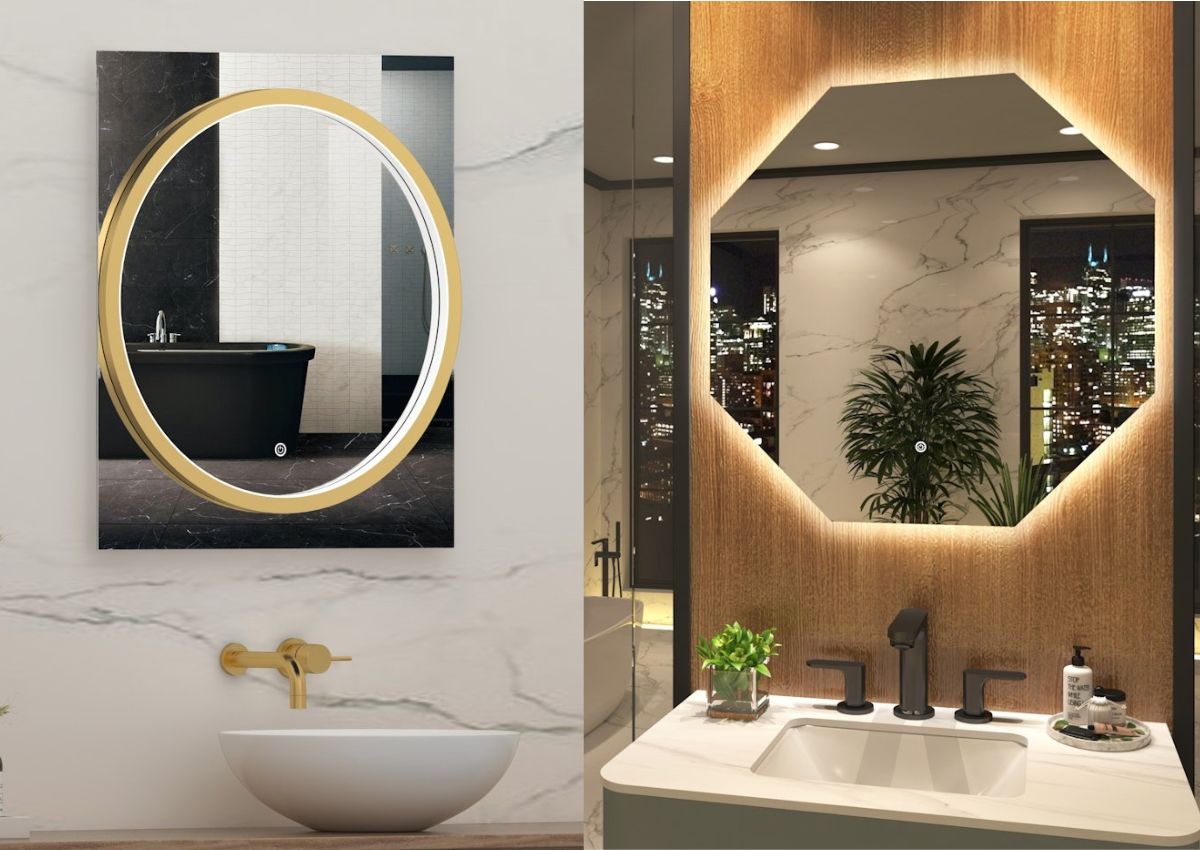
How to Install an Illuminated Bathroom Mirror?
If you are planning to install an illuminated bathroom mirror, then the process will generally remain the same except for a few changes. We have discussed all the details you need for an illuminated bathroom mirror installation DIY guide.
Take Safety Measures
Since illuminated bathroom mirrors will need you to connect to electricity, it is important to take safety measures first. We recommend switching off the power from the main switch/circuit breaker to avoid potential harm.
Preparations
Before you start it is important to carefully examine the LED mirrors especially the electrical components for any damages. Additionally, we suggest the test of the light before installing it. Simply connect the mirror with a power source temporarily to verify that the light functions correctly.
Mounting the Mirror (how to hand the LED bathroom mirror)
Hang the mirror on the wall by following the standard mirror installation instructions. Follow all the steps from 1 to 7 as discussed above (same as the standard bathroom mirror) to put the illuminated mirror on the wall.
Connecting Power
Once the mirror is mounted on the wall, you will need to connect the mirror’s power cord to the source (electric outlet). Some mirrors require hardwired connections that should be connected to the junction box.
Final Testing
To give your installation a finishing touch, simply turn on the power supply and verify if the illuminated features in the mirror work as expected. Always remember that complex installations should be handled by a professional electrician. Consult the professional in case of any problems or if you are unsure about any step.
Additional Tips:
You should follow these additional steps for successful mirror installation.
-
Always use a level during the installation to ensure the mirror is hung straight.
-
If you are installing an illuminated mirror, then choose the location of electric outlets and light switches.
-
Once installation is complete, clean the mirror carefully to avoid smudges or fingerprints.
-
Don’t rush, take time to understand the process and installing the bathroom mirror. It will help you avoid mistakes during the installation.
-
Accurate measurement is crucial to avoid any issues during the installation phase.
-
Don’t forget to use wall anchors for added support if you are not drilling into studs.
-
Once the installation process is finished, dispose of any packaging materials and debris properly.
Troubleshooting Common Issues
Certain common issues may arise during the installation process.
-
If the mirror doesn't hang straight, then you may need to check whether the brackets are securely fasted and leveled. It sometimes indicates an uneven wall on which you are trying to install the mirror.
-
Check and verify power connections if the illuminated mirror does not work. You may also check the light bulb or LED strips and make sure the correct voltage is supplied.
-
LED illuminated bathroom mirrors usually come with anti-fogging technology. You must install a heated demister pad to prevent fogging.
-
Consider sealing the gaps around the mirror edges with a silicon caulk to prevent moisture infiltration.
Mirror Care and Maintenance
Here we have a few maintenance tips to care for your newly installed bathroom mirror.
-
Avoid abrasive or harsh chemicals for cleaning. Use a natural cleaner or mild detergent with a soft, damp cloth to clean the mirror.
-
Fogging or humidity is a big problem in bathrooms that may damage the mirror. Keep the windows open or use an extractor fan to reduce humidity. A heated desmiter pad is another solution for the consistent fogging problems.
-
Avoid hanging anything on the mirror and use care when cleaning to prevent scratches.
Final Thoughts
And there you have it! We have covered everything about DIY bathroom mirror installation. You just need a little patience to learn everything discussed in this blog and with the help of the right tools you can be on your way to installing a new mirror. Remember, safety is paramount, so always prioritize proper equipment and techniques. It will ensure you complete the process easily and quickly.
Disclaimer: This bathroom mirror installation guide is meant to provide general information. It does not eliminate the need for a professional installer. Keep in touch with a professional bathroom fitter for a consultation about unexpected challenges that you may face during the installation.
Frequently Asked Questions
Can I install a bathroom mirror without drilling into tiles?
Yes, installing a bathroom mirror without drilling into tiles is possible. You will need to use a strong double sided adhesive tape and silicone. Before fitting the mirror this way ensures, the surface is clean and dry. Simply apply the tap and silicone to the back of the mirror and hang it on the wall tiles in the desired position.
How to install a bathroom mirror with screws
Bathroom mirror installation with screws will require the following steps. First mark the desired location and check for pipes or cables. Drill pilot holes, insert wall plugs suitable for the wall type and mirror weight, and then screw the mirror into the wall using mirror screws with protective washers.
What’s the ideal height to hang a bathroom mirror?
The ideal height to hand a bathroom mirror in the UK is generally with a center at eye level for average users. That means you will need to consider the user for that. Typically, it falls between 57 inches or 1450mm and 65 inches or 1650mm from the floor. If it's a shared bathroom, aim for a middle ground to accommodate everyone.
How to mount a heavy mirror on drywall without studs?
A heavy bathroom mirror on a dry wall without studs is possible. You will need to use appropriate heavy duty drywall anchors like toggle bolts or snap toggles to hang the bathroom mirror. These anchors provide strong support by expanding behind the drywall offering a reliable mirror wall fitting.
Can I cut a mirror to fit a custom bathroom space?
Yes, it is technically possible but not recommended as DIY. To cut a mirror yourself using a glass cutter, cutting oil, and a straight edge, but it requires precision and carries risks of breakage or injury. You may even end up damaging the mirror or its frame. Therefore, I font recommend DIY without the supervision of a professional.
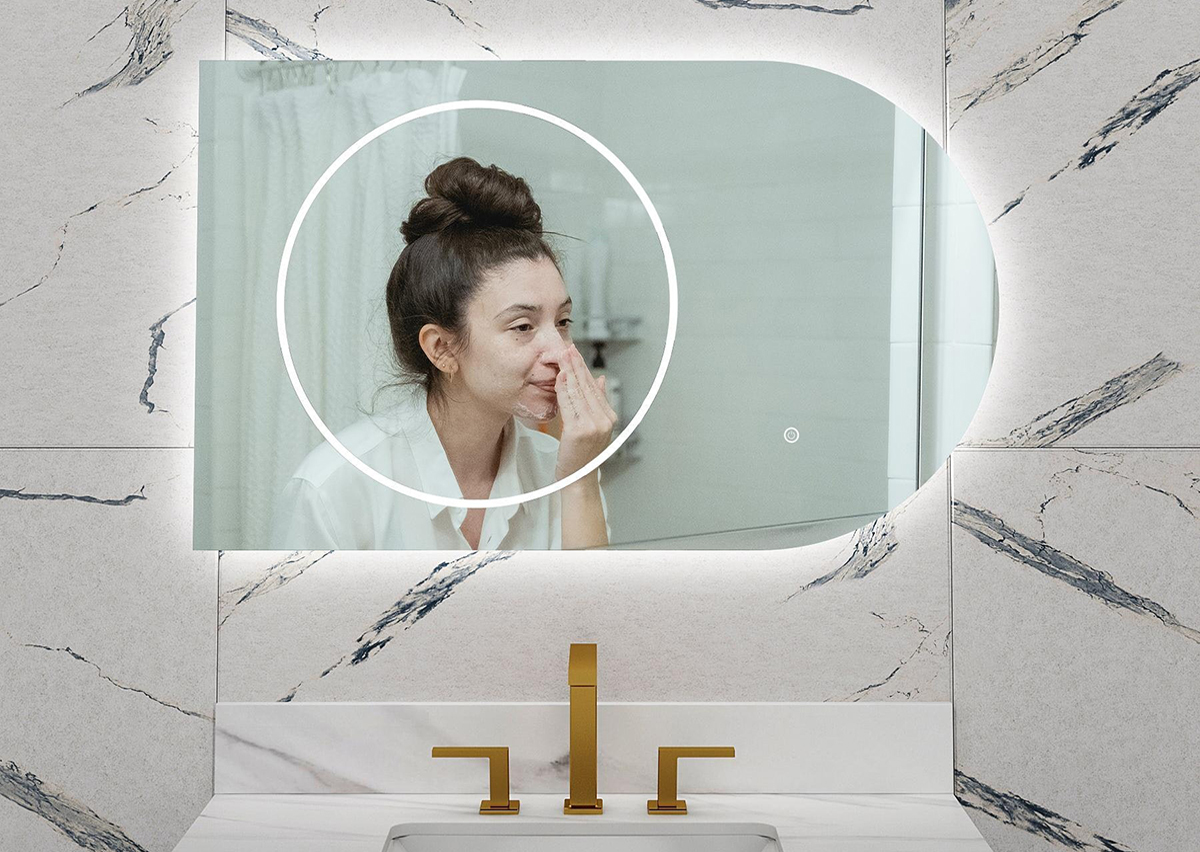
How do I backlight a mirror like a luxury hotel?
You can backlight a mirror like a luxury hotel by using LED strip lights placed behind the mirror to create a soft glow around its edges. Specialized backlit LED mirrors are also available for purchase.
Can I hang a mirror over textured wallpaper?
Yes, you can hang a mirror over textured wallpaper, but it's important to consider the hanging method to avoid damaging the wallpaper. I recommend using strong adhesive hooks or nails/screws in carefully cut sections of the wallpaper are options.