Post Contents [hide]
- Why You Need Vanity Units in Your Bathroom
- Step-by-Step Installation Guide for Vanity Unit
- Installation Guide for a Floor Standing Vanity Unit
- Wall Hung Vanity Unit Installation
-
Installation Guide for a Worktop Vanity Unit
- Step 1: Plan and Prepare the Space
- Step 2: Assemble the Vanity Base Unit
- Step 3: Position & Level the Base Unit
- Step 4: Secure the Base to the Wall (Optional)
- Step 5: Drill Holes in the Worktop (if required)
- Step 6: Install the Worktop
- Step 7: Countertop Basin and Tap Installation
- Step 8: Connect Plumbing and Drainage
- Step 9: Seal the Edges
- Tips for a Successful Vanity Unit Installation
- Hiring a Professional vs. DIY Vanity Unit Installation
- Vanity Unit Maintenance and Care
- Common Issues with Vanity Units and How to Fix Them
- Conclusion
One of the best ways to improve both the function and the look of your bathroom is to upgrade your vanity unit. It offers you essential storage for toiletries and adds a stylish focal point to your space. Installing a bathroom vanity may seem like a hectic task at first, but with the right tools, preparation, and step-by-step instructions, this is a project that can be taken on by anyone, from first-time DIYers to seasoned home improvement enthusiasts.
In this guide, we will take you through the installation process of both wall-hung, floor-standing vanity units and worktop vanity units. This will cover essential tips, tools and techniques to guarantee a successful installation. Whether you’re updating a small powder room or upgrading a large master bath, this ultimate guide will give you everything you need to tackle the project with confidence and end up with a bathroom that meets your taste and lifestyle.
Why You Need Vanity Units in Your Bathroom
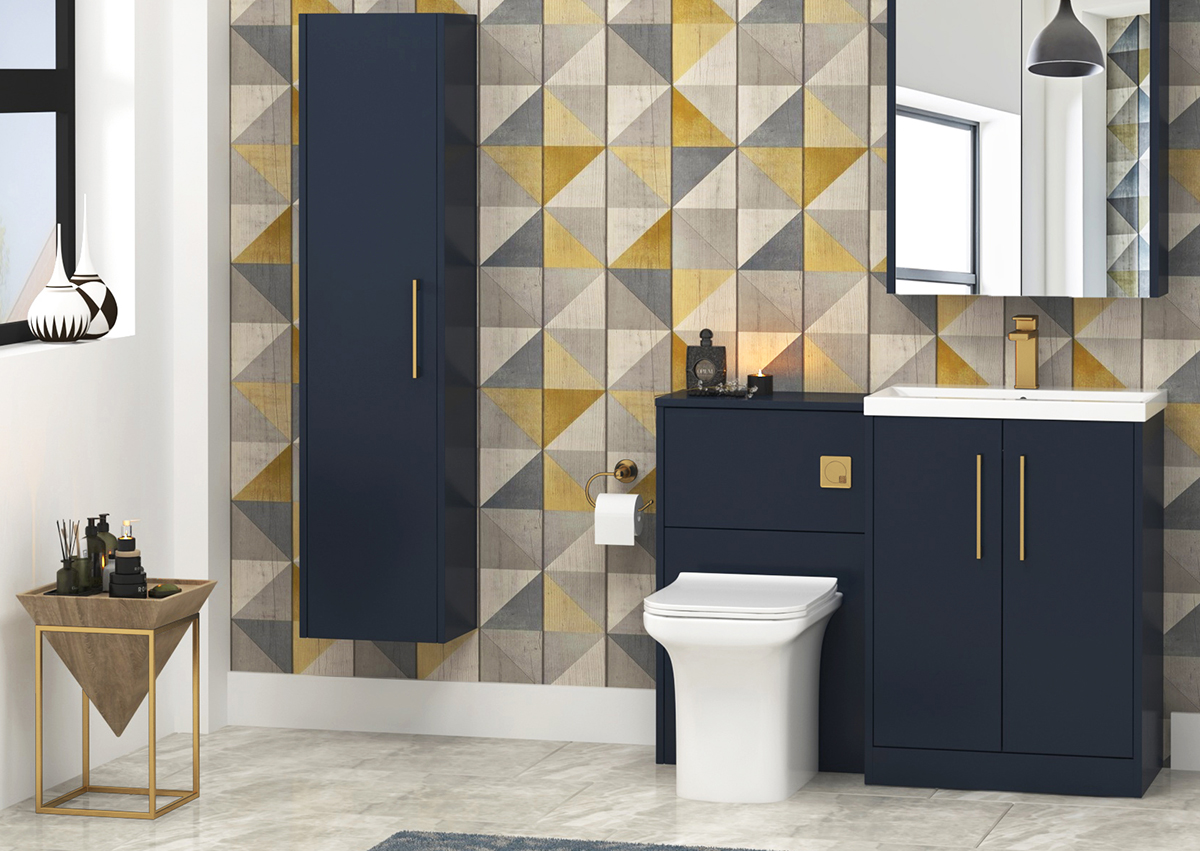
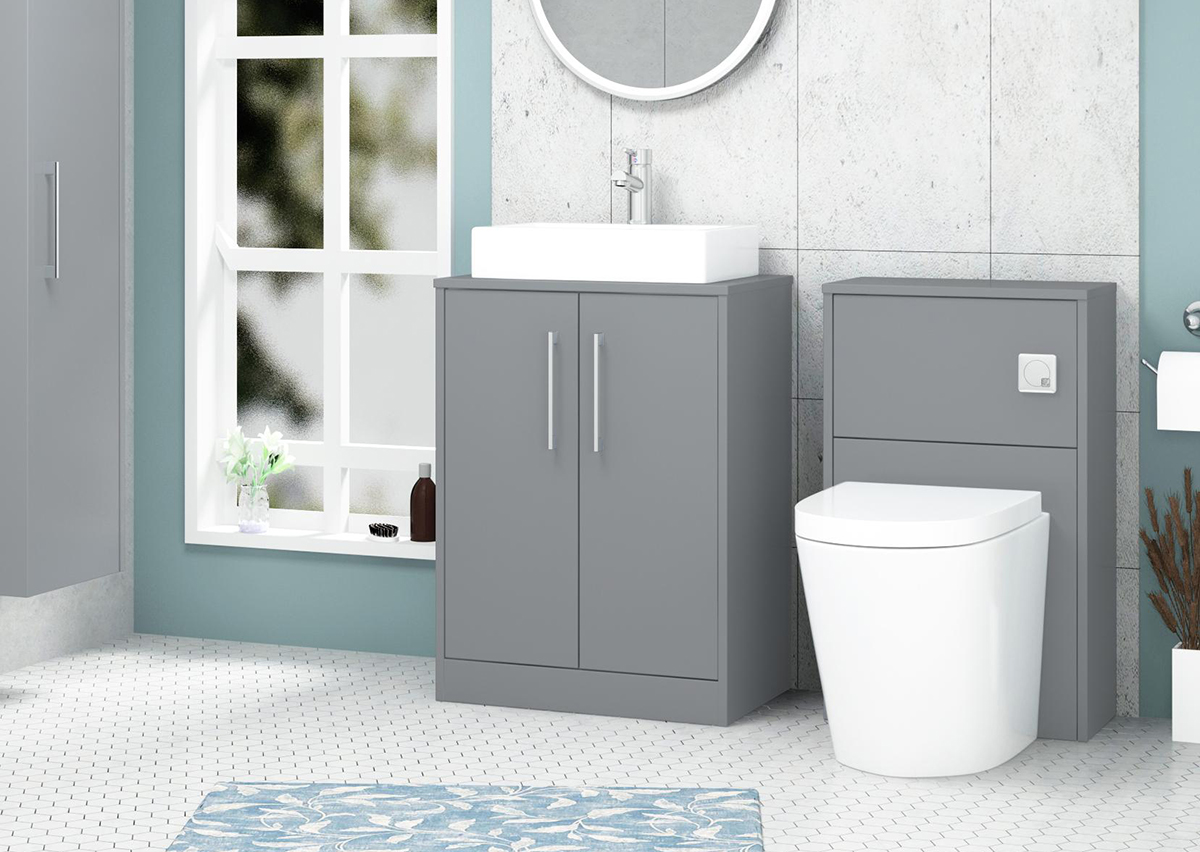
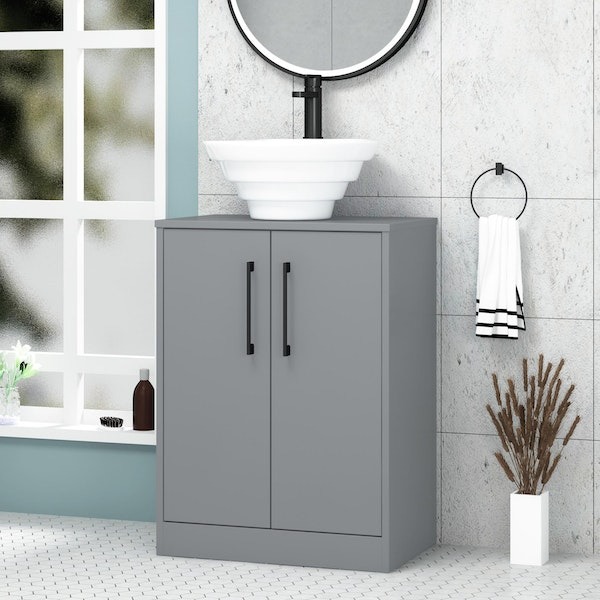
But before we dive into the complete installation process, it’s essential to understand the importance of vanity units. If functionality and style is your thing, a bathroom vanity unit can be a total saviour! These fabulous pieces of furniture are designed to seamlessly combine a sink with plenty of storage space, allowing you to make the most of your bathroom's layout without sacrificing a chic aesthetic. Not only do they help you keep your bathroom organised, but they also bring an elegant touch to your space.
This is the beauty of a bathroom vanity unit. Whether you choose a wall-mounted vanity or a floor-standing unit, or even worktops, there is a style for every bathroom. These units come in a wide variety of colours, designs, and finishes to suit all your needs and tastes.
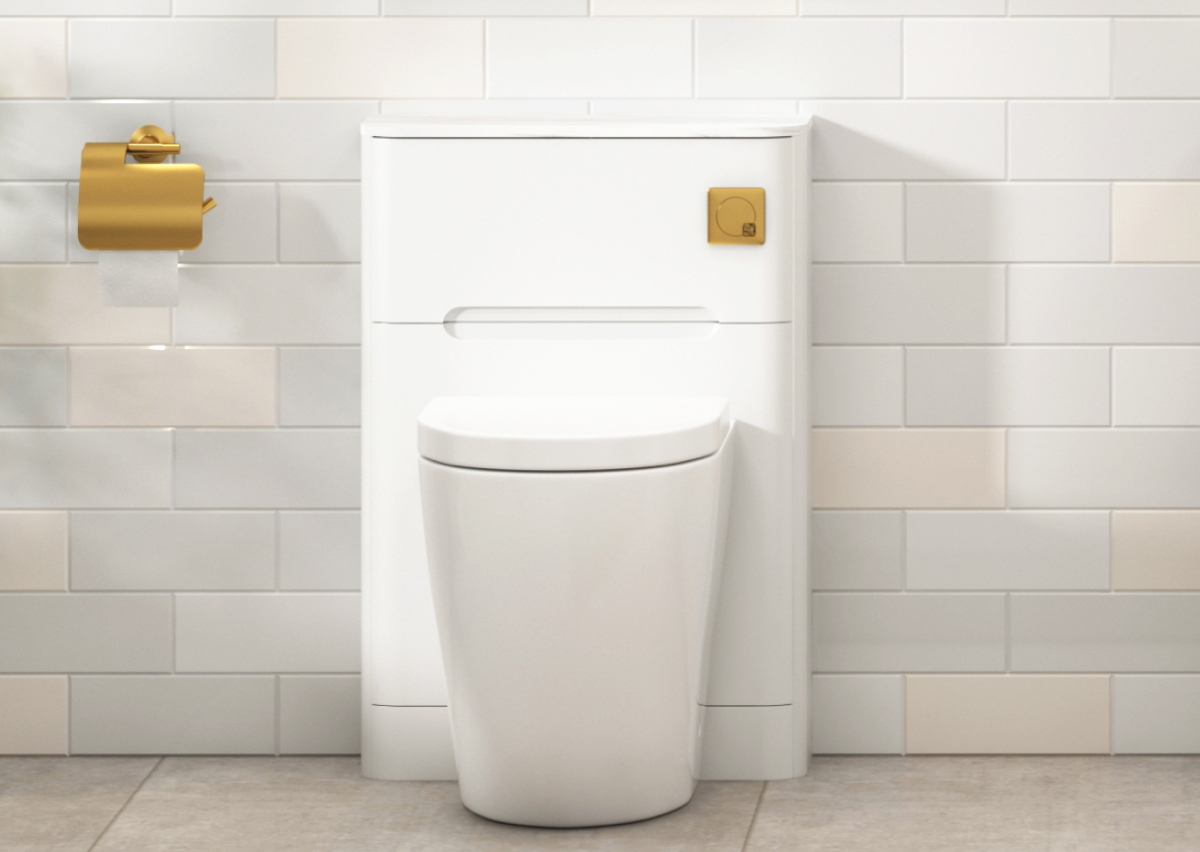
Whether you prefer drawers over cabinets, need a double sink setup , or even want to add the unit to a toilet, possibilities are endless. That gives them the ability to choose a setup that best suits your space and lifestyle.
As well as looking great, they are the perfect storage solution for housing all your toiletries, cleaning supplies, and other bathroom essentials, helping to declutter your bathroom. With a well-designed vanity, your bathroom will remain organized, sleek, and inviting, keeping everything accessible while ensuring it stays looking as good as possible.
Step-by-Step Installation Guide for Vanity Unit
Choosing the right vanity unit is extremely important before you start the installation. These units are available in a range of designs, sizes, styles , and finishes, so it’s essential to choose one that suits your bathroom layout and storage needs. Begin by measuring the space you have and considering how much storage you’ll need. From there, choose between a wall-hung, floor-standing, or worktop vanity. Selecting the proper unit from the start not only improves the total design of your toilet, but it also simplifies the setup.
After choosing the right vanity unit, you can move on to the next step. To fit wall-hung, floor-mounted or worktop vanity units with confidence, simply follow the step-by-step guide below.
Required Tools and Materials for Vanity Unit Installation
So, after finding the right vanity, it’s essential to have all the tools and materials. The absence of any of the vital components in the installation could result in delays and complications during the process. Here is the complete list of tools and materials you need to complete a successful DIY install.
Tools:
-
Power drill
-
Drill bits
-
Hole saw
-
Spirit level
-
Measuring tape
-
Pencil
-
Adjustable wrench
-
Pipe wrench
-
Screwdriver set
-
Utility knife
-
Silicone caulking gun
-
Hammer
Materials:
-
Vanity unit with a sink
-
Faucet (you will usually need to order them separately)
-
Drain (order them separately)
-
PVC drainpipe
-
PVC pipe cement
-
Plumber’s putty
-
Teflon tape
-
Screws and wall anchors
-
Silicone sealant
-
Shims (if necessary)
-
Cleaning Material
Note: The installation method for the vanity unit depends on the type of vanity unit and its installation location. Read and follow the manufacturer’s installation instructions carefully to ensure a successful installation.
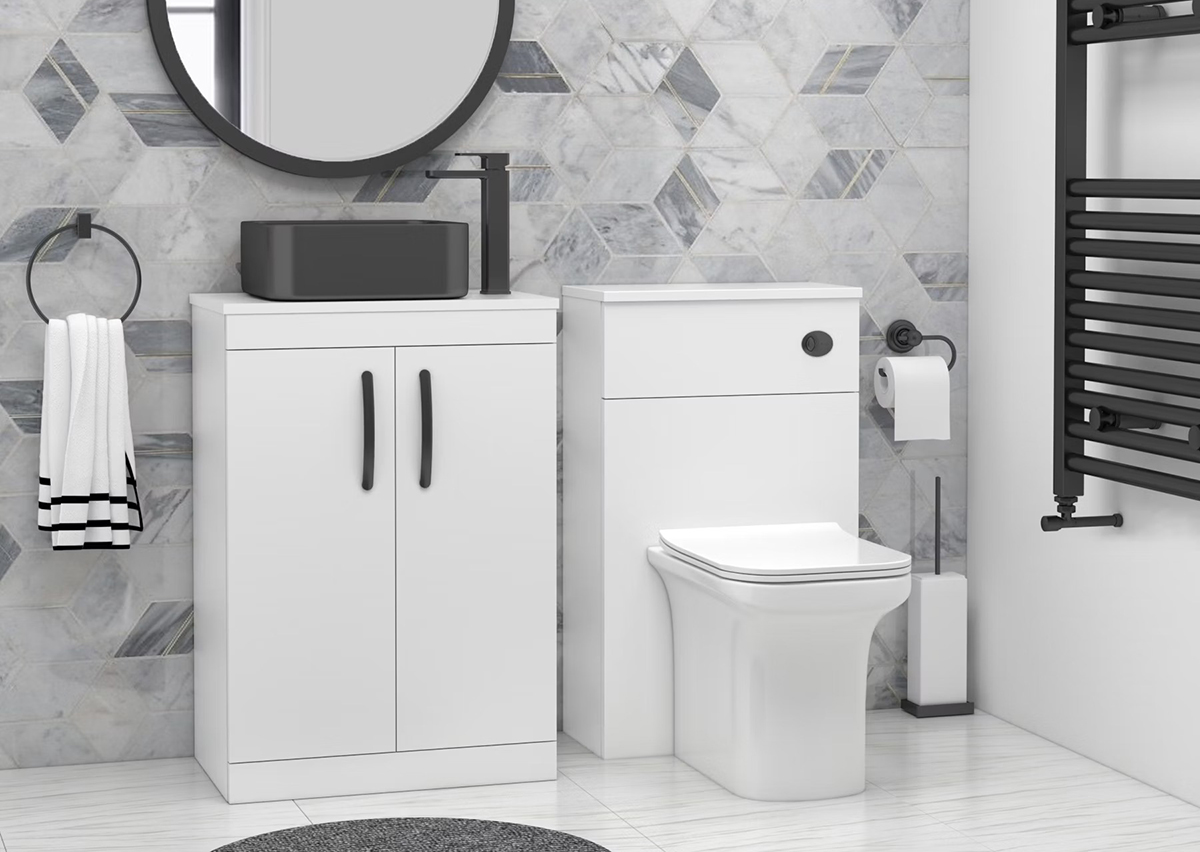
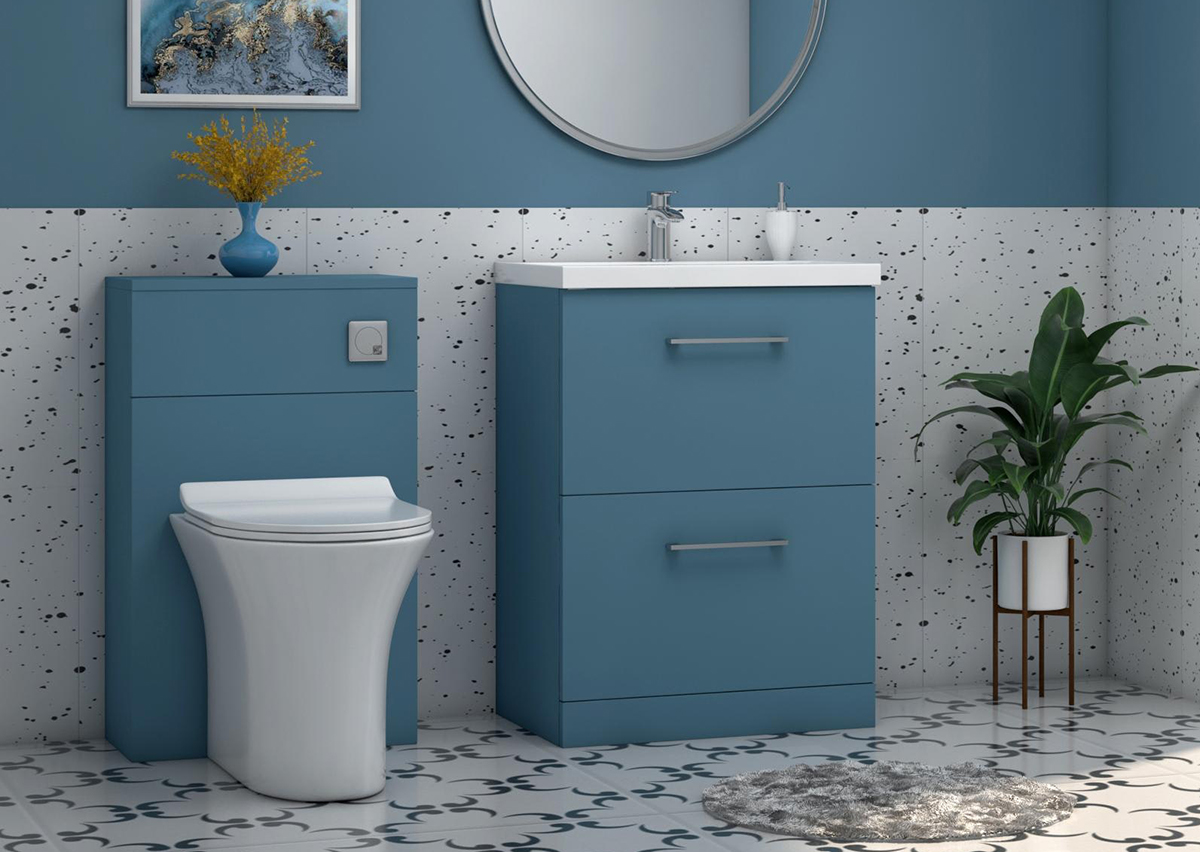
Installation Guide for a Floor Standing Vanity Unit
Here’s a simple and easy-to-follow installation guide for floor floor-standing vanity unit:
Step 1: Measure and mark the position on the wall
Calculate the height and width of the vanity unit, then mark the position on the floor where you want it to go with a pencil. Ensure the mark is level and centred in the area where you intend to mount the unit.
Step 2: Assemble the Unit
Assemble the vanity unit as per the instructions that come with it before installation.
Step 3: Position the Vanity in Place & Level it
After you have assembled the vanity, set it in the position marked in Step 1. Use a level to confirm that the unit is level from side to side and front-to-back. Level the unit by adjusting it until it is level.
Step 4: Mark the Position of the Base and Drill Holes
Mark the base of the unit's location on the floor with a pencil. Take off the vanity and drill pilot holes at the areas marked. Get the vanity out of the room, and, using a drill and the proper size drill bit, create pilot holes into the floor where the vanity will be secured.
Step 5: Place Anchors into the Holes
Plunge anchors into these pilot holes and use screws to secure the vanity’s base to the floor. Check that the screws are flush with the floor and tight.
Step 6: Reposition the Vanity onto the Base
With an assistant, gently lower the vanity on top of the base. Level and secure the position of the vanity.
Hook up the plumbing and drain to the unit.
Step 7: Connect the Plumbing & Drainage
Once the floor-standing vanity unit fits securely in place, you can then connect the plumbing and drainage supply. It could include connecting water supply lines, drainpipes, and all the other connections you'll need to make. Make sure to always follow the manufacturer's guidelines and use the correct tools to avoid a poor connection.
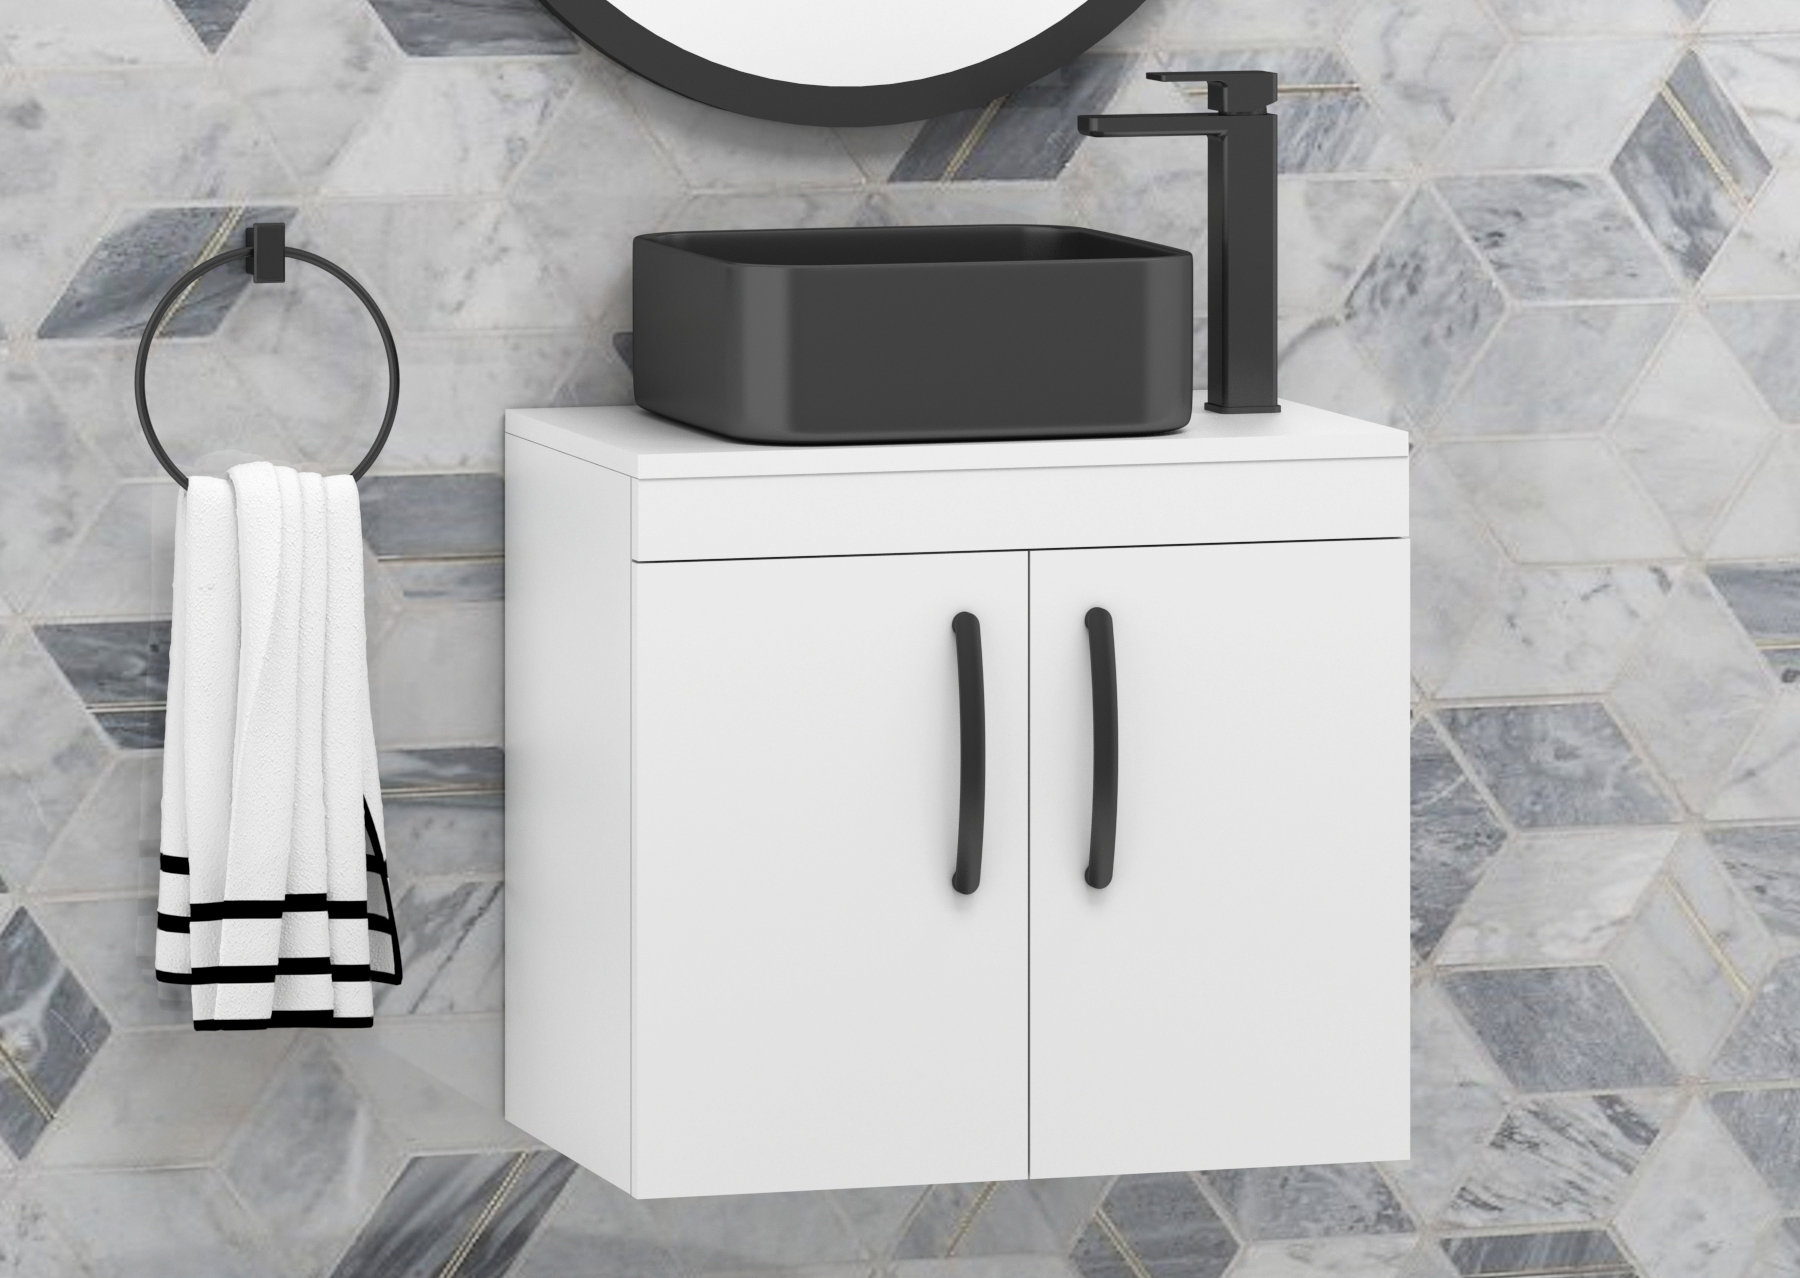
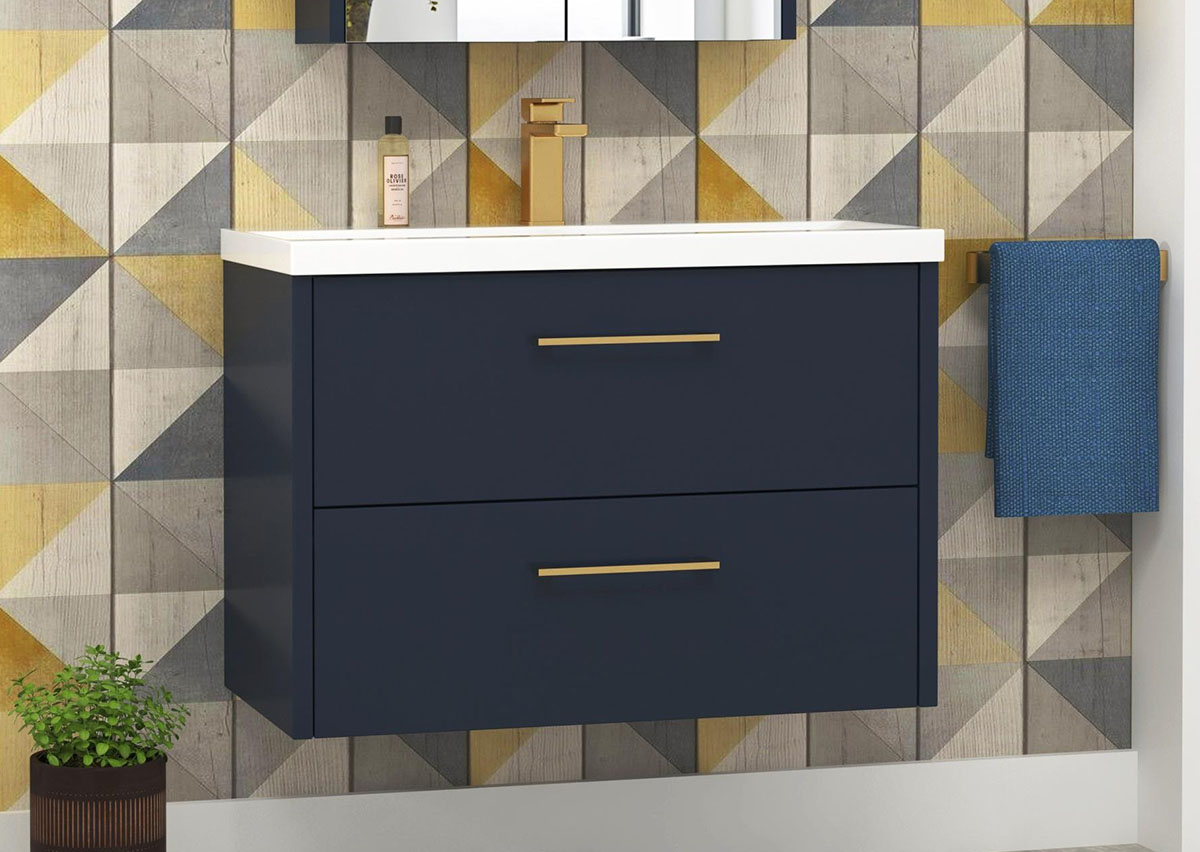
Wall Hung Vanity Unit Installation
For a wall-hung vanity unit, you need to follow these essential steps:
Step 1: Measure and Mark the Position on the Wall
Measure the height and width of the vanity unit and use a pencil to mark the position on the wall where you want it to be installed. Be sure the mark is level and centred in space.
Step 2: Use a Stud Finder to Locate the Studs
A stud finder is a handheld tool that detects studs and other framing members behind walls. Gently press the stud finder against the wall and slide it slowly until you hear a beep, indicating the location of the studs. Mark the points where the studs are located.
Step 3: Position the Mounting Bracket onto the Wall
Use the mounting bracket that came with the unit, and position it onto the wall where the vanity will hang. Attach the mounting bracket to the wall, following the marks made in Step 1 and the location of the studs identified in Step 2.
Step 4: Drill Pilot Holes
After deciding where to mount the bracket, use a drill and the appropriate size drill bit to mark and drill holes into the wall studs where the bracket will be mounted. The size of the drill bit will depend on the size of the size of screws.
Step 5: Mount the Bracket
Attach the bracket with the screws that come with the mounting bracket to secure the bracket on the wall. Check the screws tight and flush with the wall.
Step 6: Hang and Level Vanity
With a second person’s help, lift the vanity unit and hook up the hooks on the back of the unit to the mounting bracket. Gently lower the unit down onto the bracket and ensure it is level and tight.
Step 7: Attach Plumbing:
Once the wall-hung vanity unit is firm and secure, connect the relevant plumbing and drainage. You may need to make connections for water supply lines, drainpipes, and any other required connections. Just make sure to follow the manufacturer’s instructions and use the proper tools to connect everything properly!
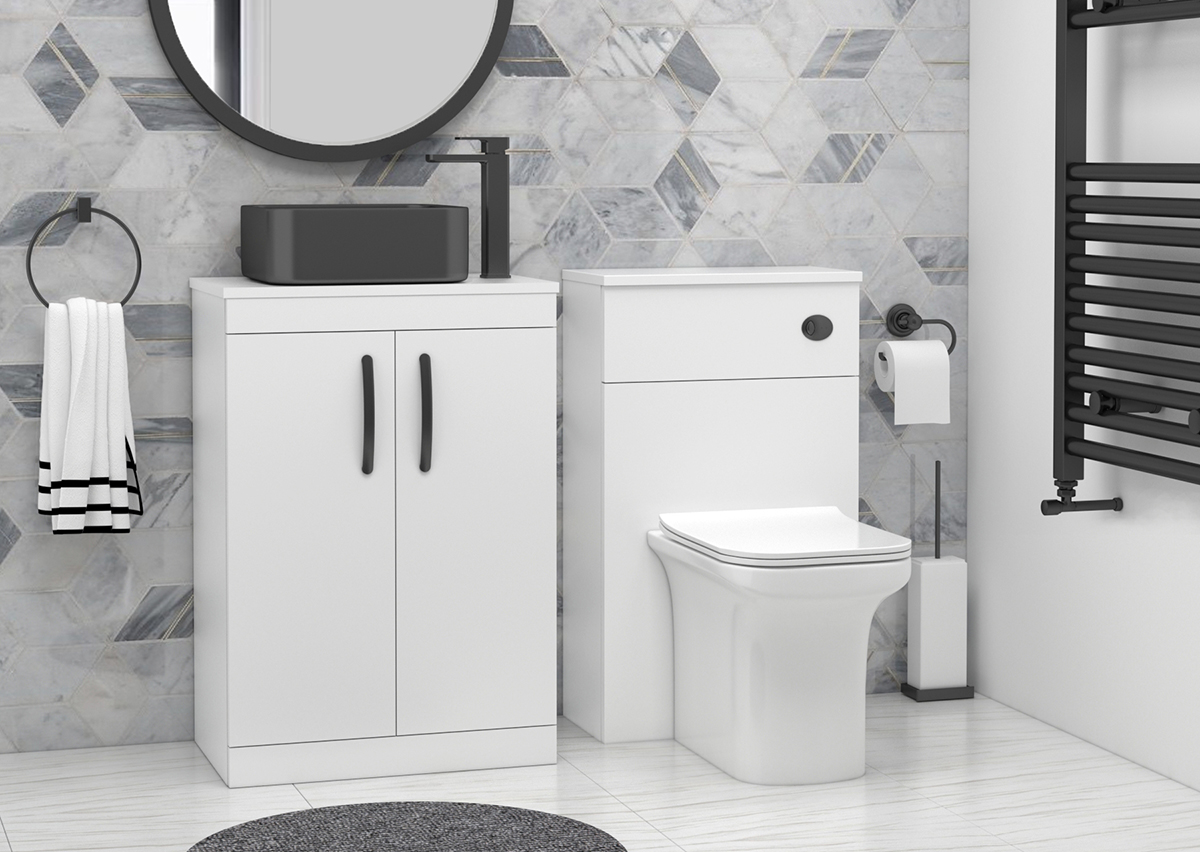
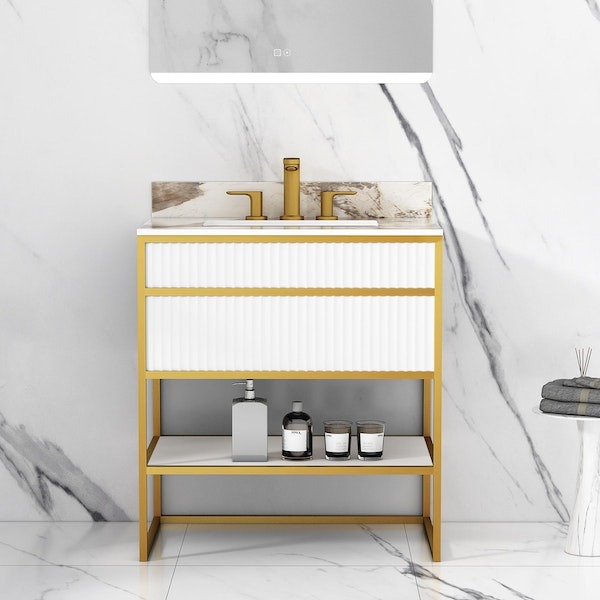
Installation Guide for a Worktop Vanity Unit
Modular worktop vanity units typically consist of free-standing base units, worktops, and countertop basins. They offer more configurability and more significant tuning potential but require clever coordination and secure fastening. Follow these simple instructions to hang worktop vanity units safely.
Step 1: Plan and Prepare the Space
So, measure the areas up and begin planning the bathroom layout. Check that there is clearance for doors, drawers, and plumbing connections. Using a pencil and spirit level, mark the wall where your base unit and basin need to go.
Step 2: Assemble the Vanity Base Unit
If your base unit comes flat-packed, assemble it according to the manufacturer’s instructions. You must check the attachment of all the pieces.
Step 3: Position & Level the Base Unit
Flip the assembled base cabinet upright and place it in its marked position. At last check, it using a spirit level so that the unit is levelled on all areas. Level the unit’s feet, if need be, if your floor isn’t perfectly flat.
Step 4: Secure the Base to the Wall (Optional)
Where necessary or permitted by the design of your unit, fix it directly to the wall with suitable fixings (wall plugs and screws) through the back panel and into wall studs. This adds stability, particularly on tiled or uneven floors.
Step 5: Drill Holes in the Worktop (if required)
If your worktop isn’t pre-cut, use a measuring tape to mark where the countertop basin and tap will sit. Using a hole saw or jigsaw, cut out the openings that you need, according to the template or measurements for the basin and tap.
Step 6: Install the Worktop
Before placing the worktop into position, run a bead of silicone or adhesive around the top edges of the base unit. Ensure it is flush and level. Trowel off any excess silicone, then leave it to cure per the product’s instructions.
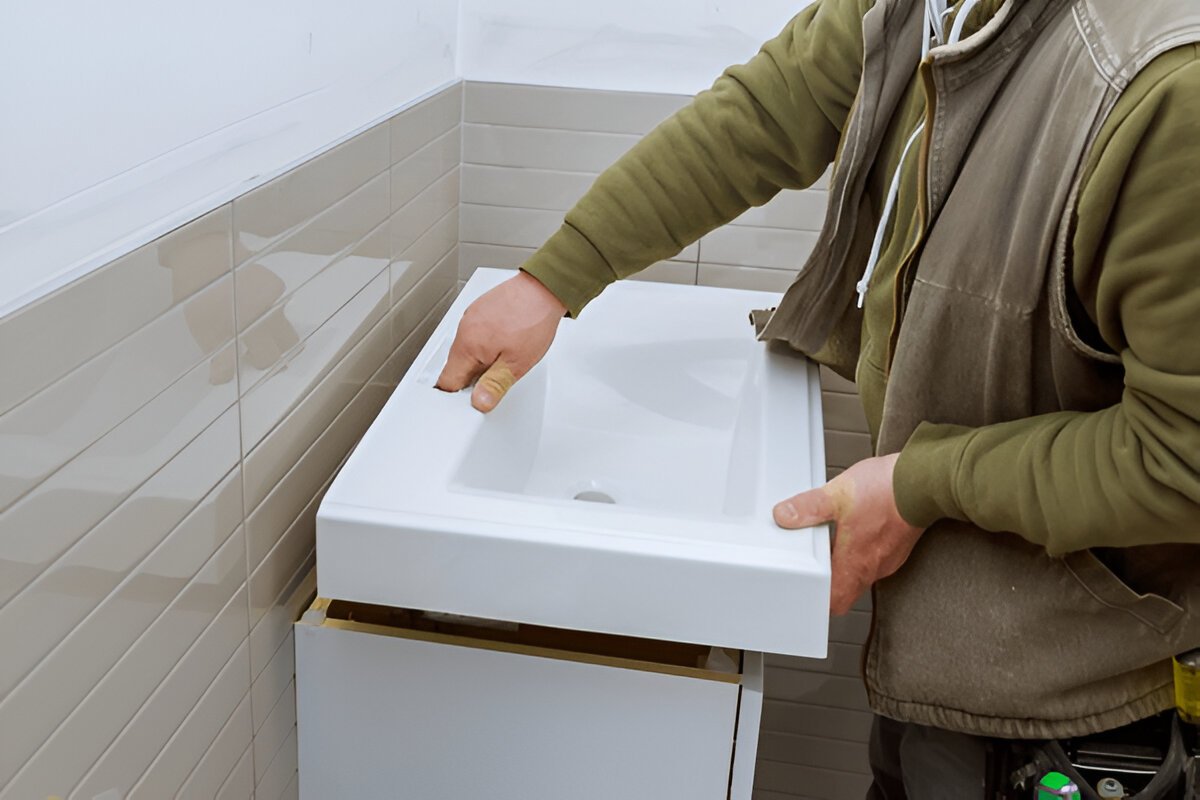
Step 7: Countertop Basin and Tap Installation
Set the basin in the worktop opening, lift into place and run silicone sealant around the base to keep water out. Once the tap is in position, just tighten everything. Refer to the specific installation guide for that manufacturer.
Step 8: Connect Plumbing and Drainage
We connect the tap to the water supply pipes and fit the basin's waste pipe. And install PTFE tape wherever necessary, and then test all connections for leaks. Ensure the waste trap is in the correct position and reassemble it tightly.
Step 9: Seal the Edges
Add a bead of silicone sealant to the back edge where the worktop meets the wall and around the base of the basin. It prevented water from leaking and also provided a more finished look.
Tips for a Successful Vanity Unit Installation
Here we share some expert tips to help you ensure a successful vanity unit installation process.
-
Measure Twice and Cut Once: If you need to make any cuts or adjustments to the bathroom vanity unit, then double-check your measurements to ensure that everything fits perfectly.
-
Use the Right Tools: DIY vanity installation will require knowledge and experience in using various plumbing tools. Use of the wrong tool or technique may be damaging to the vanity unit.
-
Follow the Manufacturer's Instructions: Always read and follow the manufacturer's instructions for installation. This will ensure the correct and smooth installation of the vanity unit.
-
Check for Levelness: Use a spirit level to ensure the vanity is level both horizontally and vertically. This is critical for ensuring proper functionality and preventing water damage.
-
Allow Proper Ventilation: Although vanity units have moisture-resistant material, continuous exposure to higher humidity levels can lead to mould and mildew growth. Therefore, it is important to ensure adequate ventilation in the bathroom to prevent damage.
-
Use a Silicone Sealant: Apply a bead of silicone sealant around the edges of the vanity unit to create a waterproof seal and prevent water damage.
Hiring a Professional vs. DIY Vanity Unit Installation
This section discusses the pros and cons of hiring a professional for bathroom installation vs. do-it-yourself vanity installation. This comparison will help you make an informed decision based on factors such as cost, time, expertise, quality, and warranty.
The comparison below will help you decide based on cost, time, expertise, quality, warranty, etc.
|
Factors |
Hiring a Professional |
DIY Vanity Unit Installation |
|---|---|---|
|
Cost |
Higher upfront costs due to labour charges |
Lower upfront cost, as you only need to buy materials and tools |
|
Time |
Quicker installation since professionals have experience and proper equipment |
May take longer, especially for inexperienced DIYers or complex installations |
|
Expertise |
Professionals have the necessary skills and knowledge to handle any installation challenges |
DIYers may encounter unexpected issues and may require additional research or assistance |
|
Quality |
High-quality installation is more likely due to professional expertise |
Quality may vary depending on DIYer's skill level and attention to detail |
|
Warranty and Support |
Professional installation often comes with a warranty and after-sales support |
DIY installation may not have a warranty or support, and any issues may need to be resolved independently |
Vanity Unit Maintenance and Care
The cleaning and maintenance are key factors in the longevity of your vanity unit and how it looks. When taking care of your bathroom vanity, here are a few tips to follow when installing the unit.
Regular Cleaning: Every few days, clean the vanity unit surface using a mild detergent. Do not use an abrasive cleaner to avoid scratches. For tough stains, treat them with a good non-abrasive cleaner.
Avoid Harsh Chemicals: Do not use harsh chemicals or bleach on your vanity unit. These can discolour and possibly damage the surface of the unit.
Wipe Up Spills Early: Stains need to be cleaned up immediately after spills to prevent them from setting in. Clean up the spills using very soft cloth and mild detergent.
Avoid scratching the Surface: Use a soft sponge or non-abrasive sponge to avoid the scratch marks on vanity. Avoid using abrasive sponges or brushes for a clean and new look.
Drain maintenance: Regularly clean and maintain the drain in your vanity unit to prevent blocking and clogging. To remove debris or buildup in the drain, use a drain cleaner or plunger.
Regular Inspection: Ensure that you check your vanity unit regularly for any signs of damage or wear and tear. Any issues will need to be resolved quickly to avoid potential damage.
Now that you know how to maintain and care for your vanity unit, follow these tips to keep it looking good and lasting a long time!
Common Issues with Vanity Units and How to Fix Them
DIY installation may be difficult for beginners without some basic plumbing knowledge. We have discussed some of the common bathroom cabinet installation problems that may occur and how to fix them right here.
Uneven Floors
An uneven ground will lead to the vanity unit tilting or wobbling. Shims will resolve this problem and be added to the unit. These are little bits of wood or plastic you can slide beneath the legs of a floor-standing vanity unit to level it.
Plumbing Problems
Another most prevalent installation challenge involves plumbing issues. If you're not used to doing plumbing work, connecting the water supply and drain can be challenging. For this reason, you may prefer to get a professional plumber to help you with this part of the installation process.
Incorrect Measurements
If the measurements are not correct you may face many issues during the installation. Thus, you require to measure the area exactly before putting in the vanity unit. Likewise, account for any obstructions, including pipes and electrical wires.
Wall Anchors
Wall anchors are required (at least with a wall-mounted vanity unit), and they need to secure to the wall securely. You need to follow the manufacturer's instructions carefully and select the correct size/type of wall anchors for use with your vanity unit.
Cabinet Doors and Drawers Not Closing Properly
If the doors or drawers of your vanity unit do not close properly, then your unit may be unlevel or the hardware has not been installed properly. You can fix this problem by checking the level of the unit and changing the hardware if needed.
So, we touched on the main issues that could occur on a vanity unit install. But if you have any problems that you can’t resolve, please seek help from a professional plumber.
Conclusion
Although the usual suspects of professional plumbers will have the tools to hand to install a new bathroom vanity unit, we can help you get it right with this guide. However, before trying the DIY route, you will first need to compare the pros and cons to all of your different installation options. This would allow you to choose a vehicle that best matches your budget, timeframe, and skill set.
This section discusses the pros and cons of hiring a professional for bathroom installation vs. do-it-yourself vanity installation. This comparison will help you make an informed decision based on factors such as cost, time, expertise, quality, and warranty.
We have discussed the common challenges that may arise during a vanity unit installation. However, if you encounter any issues that you are unable to fix on your own, don’t hesitate to consult with a professional plumber.
How long does it take to install a vanity unit?
The installation of a vanity unit usually takes anywhere between 2 to 4 hours, depending on the complexity of the unit and your experience. Wall-hung vanities might take more time to install due to the need to align brackets and find studs. If you’re looking for quicker installation, consider a floor-standing unit or worktops instead.
Do I need to turn off the water supply before installing a vanity?
Yes, you definitely need to shut off the water supply when removing an old vanity or installing a new one. This helps avoid leaks, water damage, or accidental flooding during the installation process.
How do I level a vanity unit on an uneven floor?
If the floor is uneven, use shims under the legs or the base of the vanity unit until the unit is level. Before securing the unit in place, check with a spirit level and trim or adjust the shims as needed.
Can I install a vanity unit over tiles?
Of course, you can install a vanity unit directly over tiled flooring or against tiled walls. Just ensure that this surface is clean, dry, and level; it will lead to secure installation and help avoid damaging the tiles during drilling.
How do I secure the vanity to the wall properly?
Secure the vanity directly to the wall by fastening it into wall studs using screws and proper wall plugs. If wall-hanging, have a mounting bracket that is level and exact with stud locations. Follow the manufacturer’s instructions at all times for extra support points.
Should I install the countertop sink after placing the vanity?
Yes, it is a good idea to get and attach the vanity in place before you put on the countertop sink. This leads to better positioning of pipe fittings and much easier connection of plumbing without damaging the sink.