Post Contents [hide]
Is your bathroom in need of a remodel? Looking to give your bathroom a lovely new look and maybe even some new fixtures? While it might seem like a huge undertaking, something simple like swapping out your countertop can change the vibe of your whole bathroom.
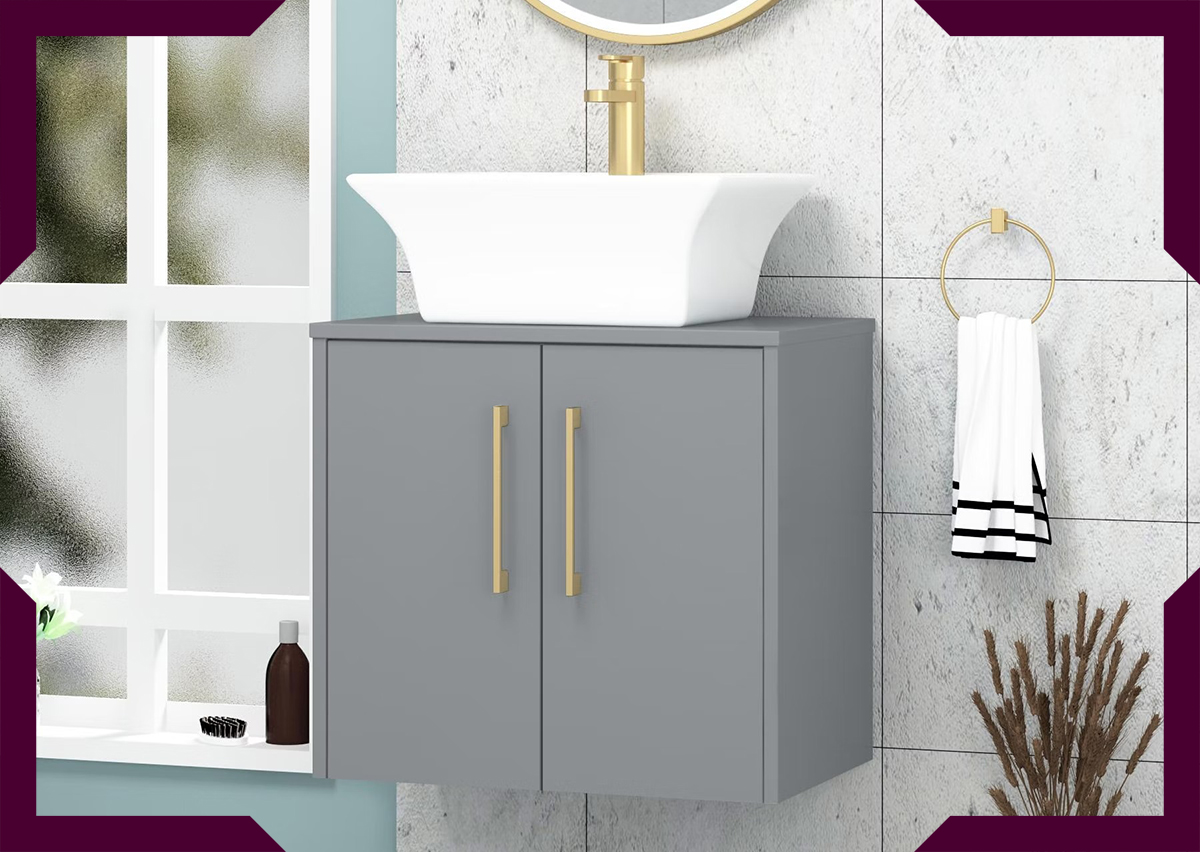
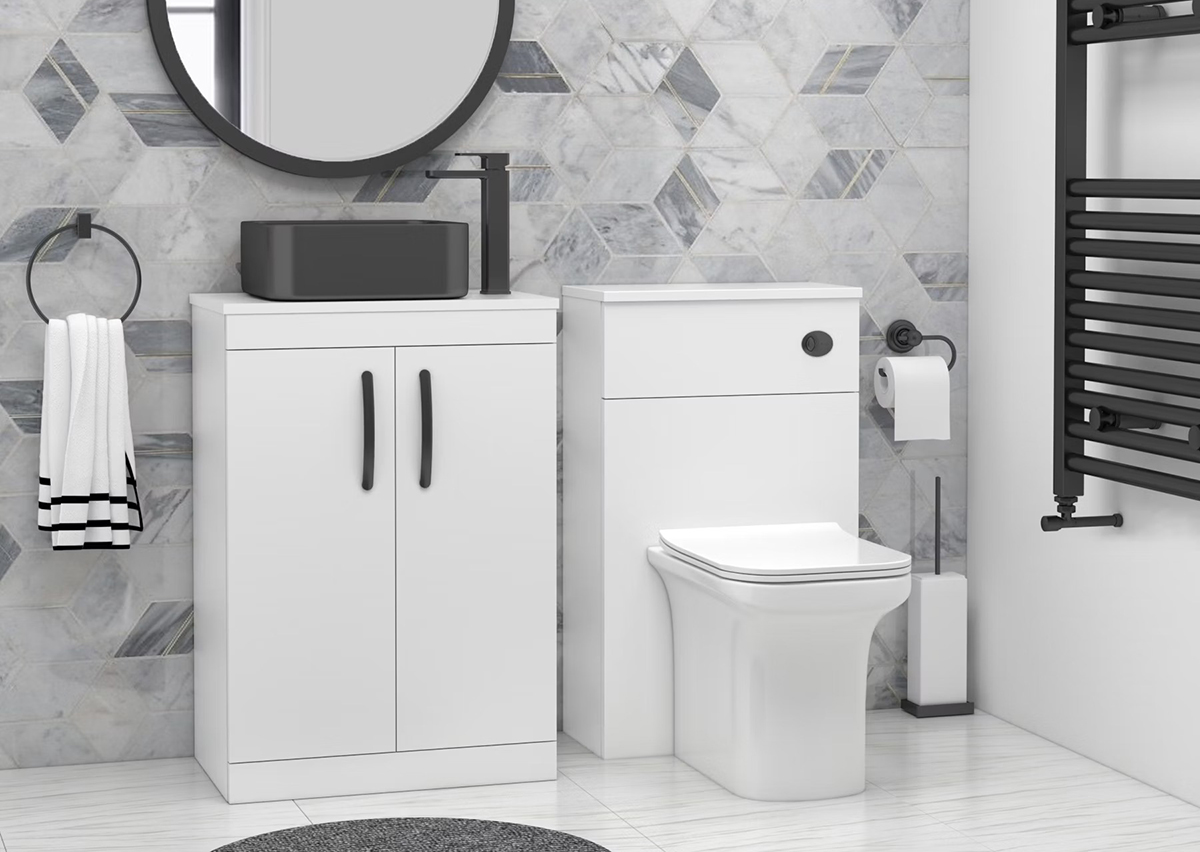
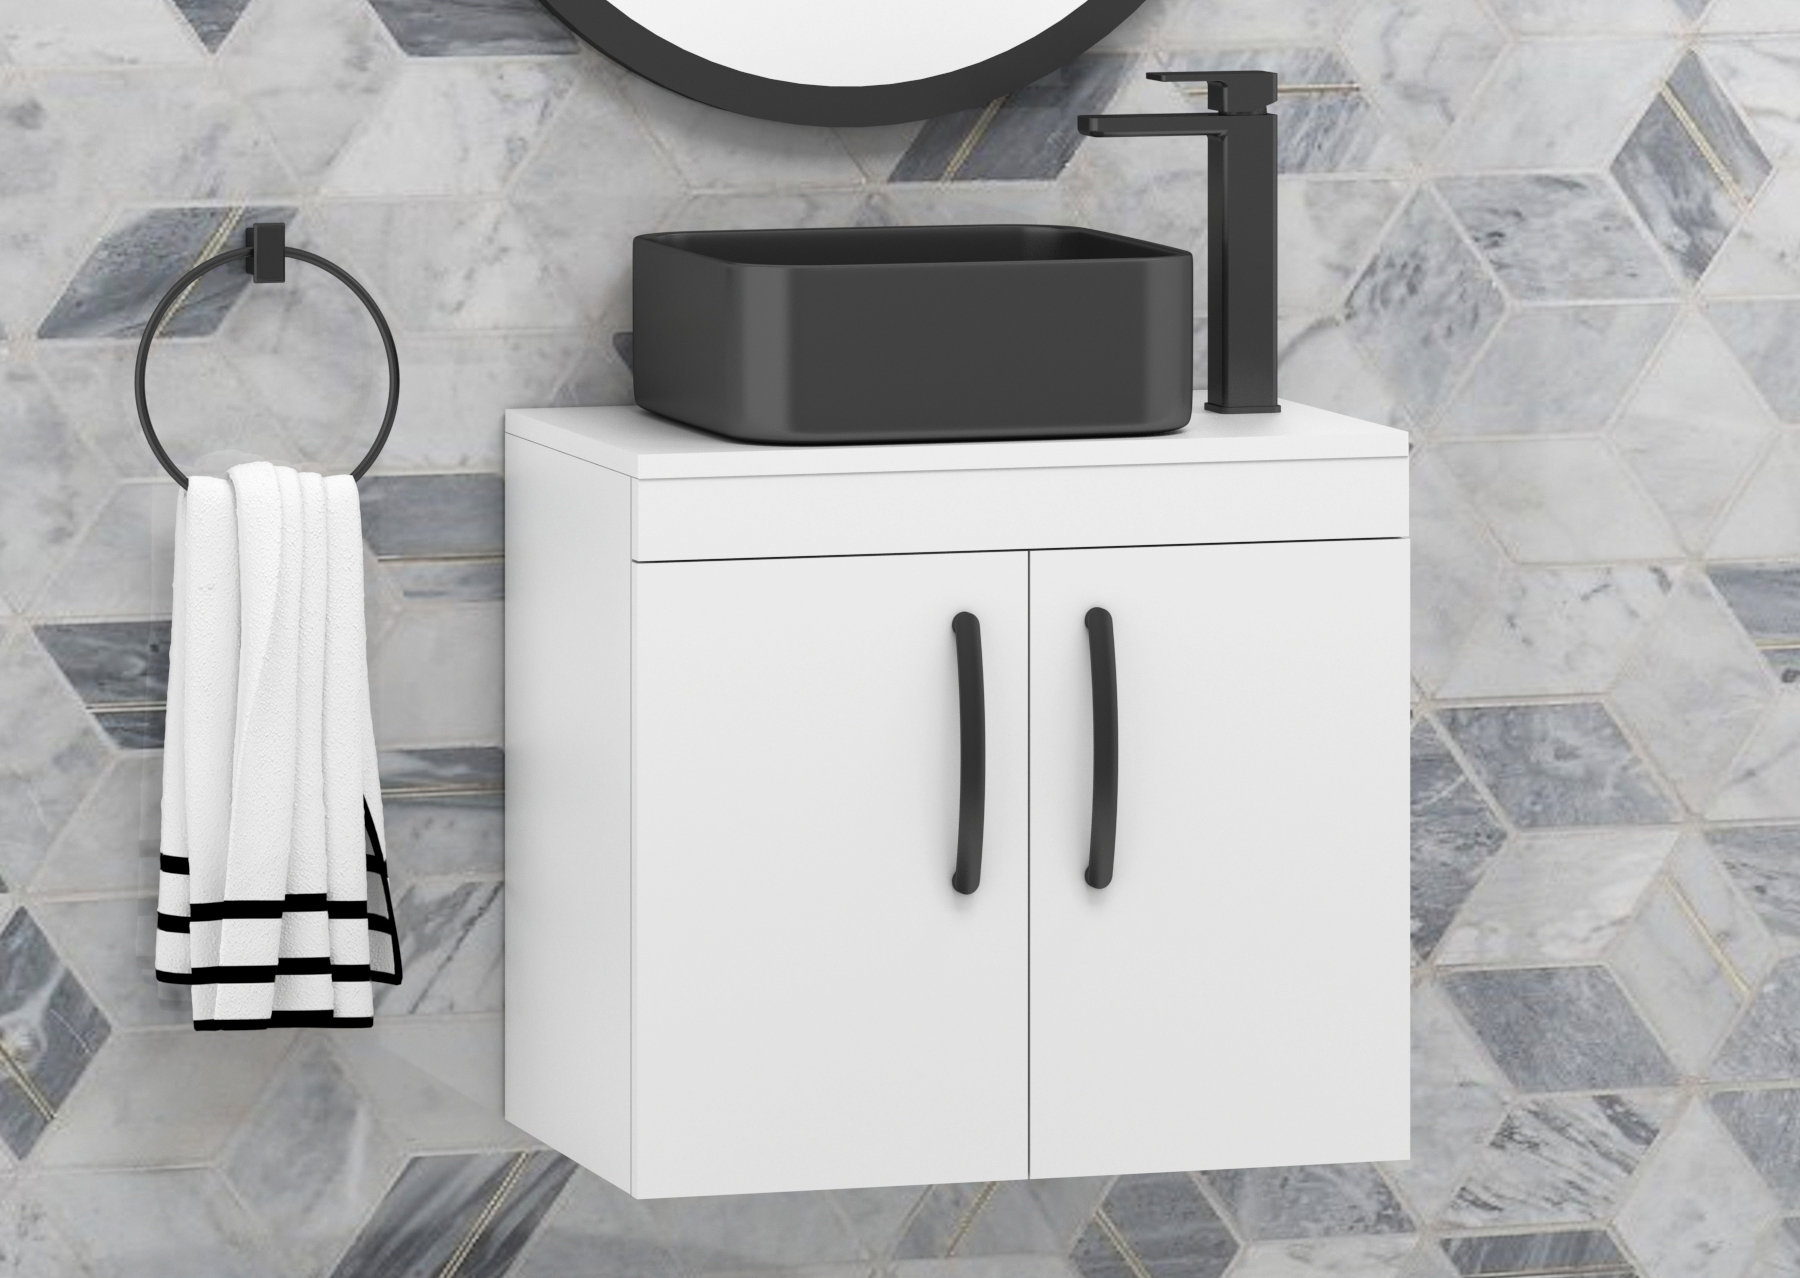
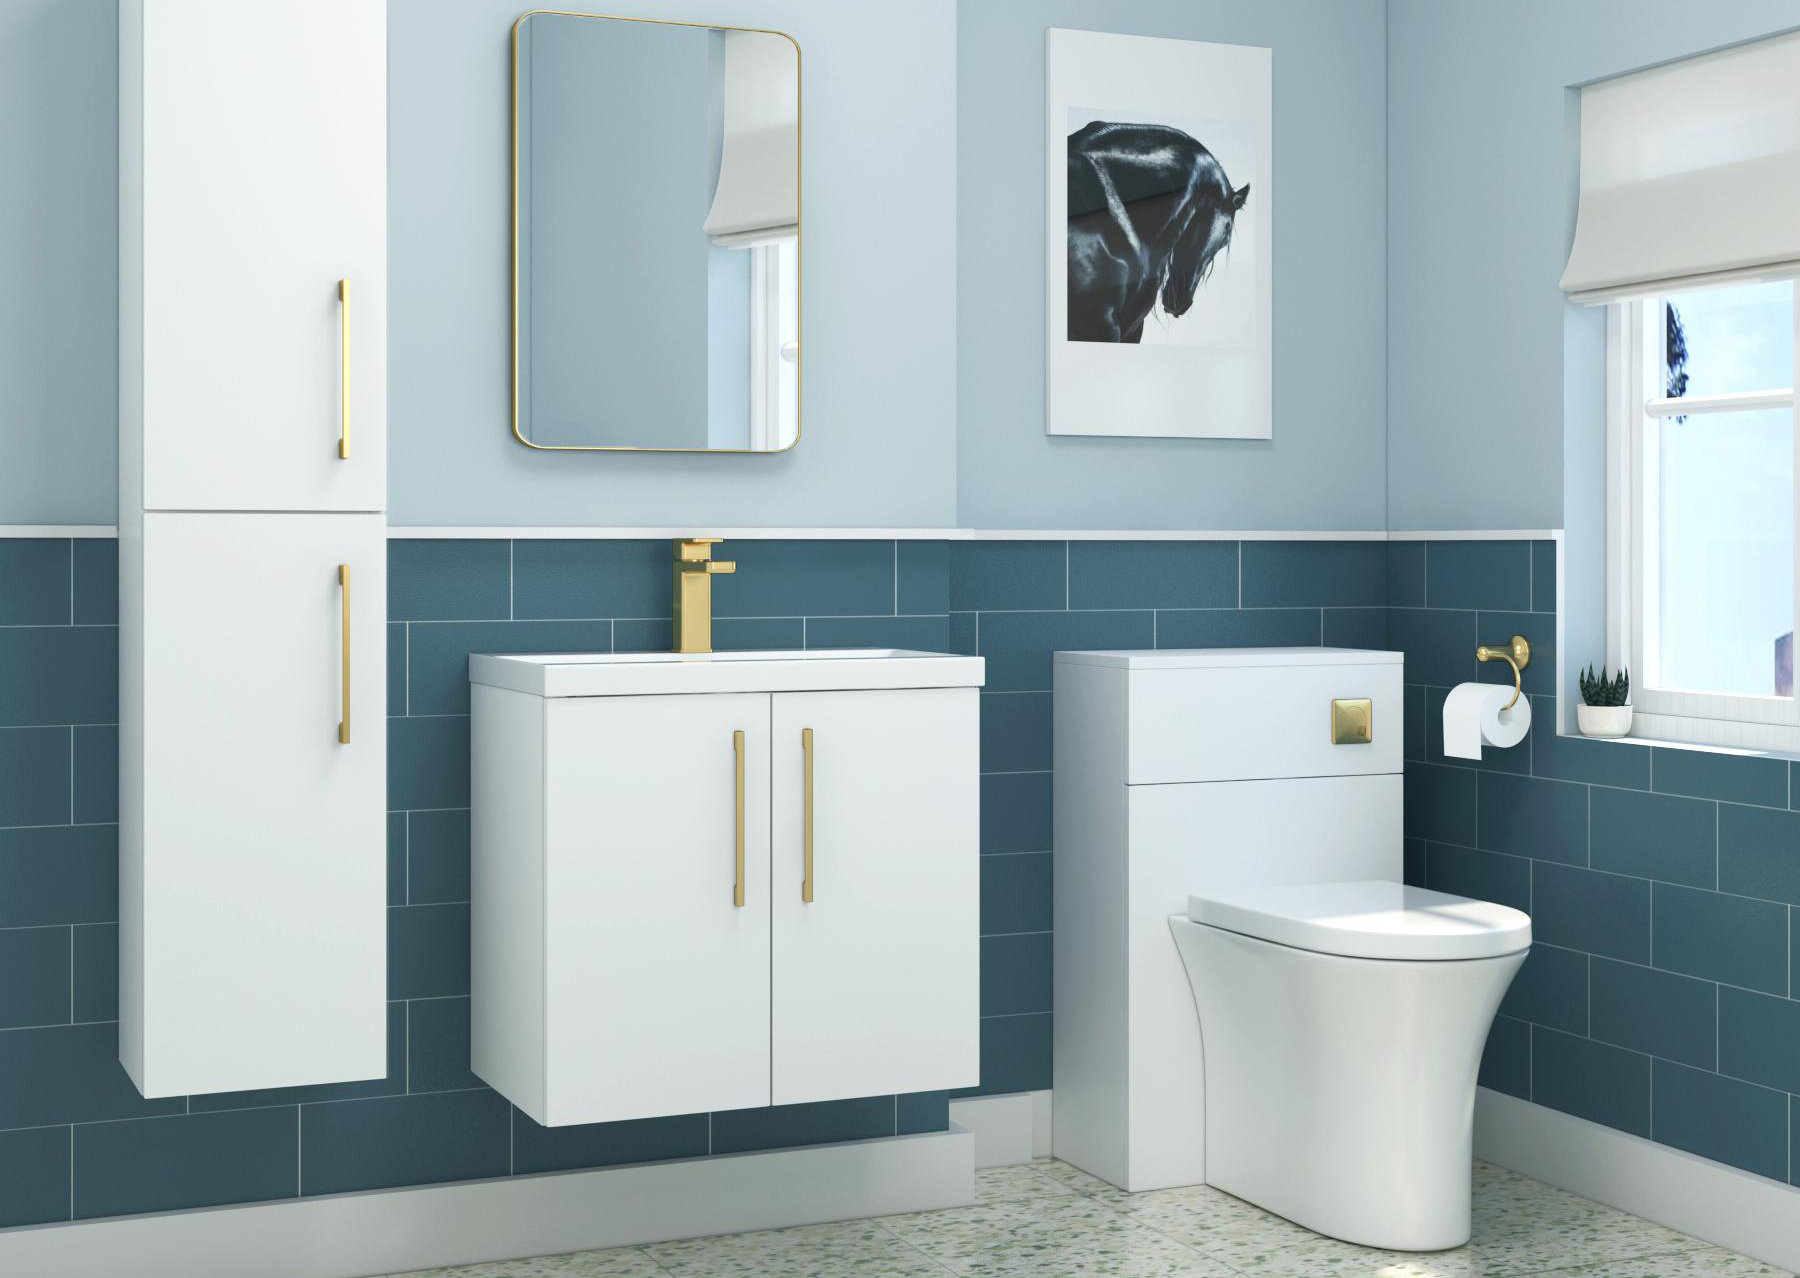
A countertop basin is an accessory that can provide your bathroom with a much-needed ambience and class. Countertop basins are quickly becoming go-to accessories for every bathroom and are growing in popularity among both designers and homeowners.
This article will walk you through the complete step-by-step process of installing the countertop basin with ease.
Tools and Materials Required for Installation
Before installing a countertop basin, make sure you have all the tools and materials you need. You'll find many of these tools at local hardware stores.
Tools:
-
Power drill
-
Hole saw
-
Adjustable wrench
-
Plumber's putty
-
Caulking gun
-
Level
-
Screwdriver
-
Pencil
-
Measuring tape
-
Safety glasses
Materials:
-
Countertop basin
-
Drain assembly.
-
P-trap
-
Silicone caulk
-
Plumber’s tape
You May Also Need:
-
Hammer
-
Chisel (if on a stone or concrete countertop)
-
Pipe cutter (if modifying end of drainpipe)
Preparing for Installation
It is also possible to install a countertop basin. Here are what you need to do to prepare for the installation if you want to learn how to install a countertop basin in the UK:
-
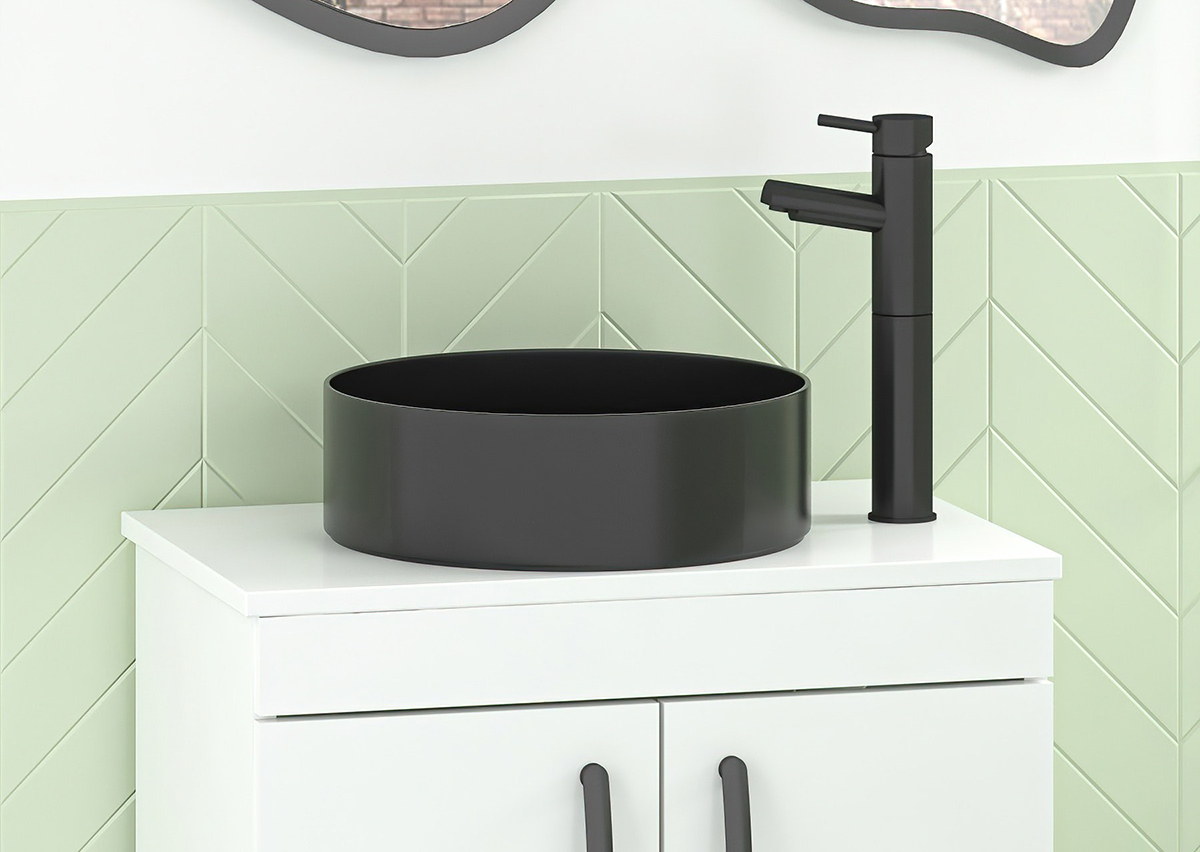
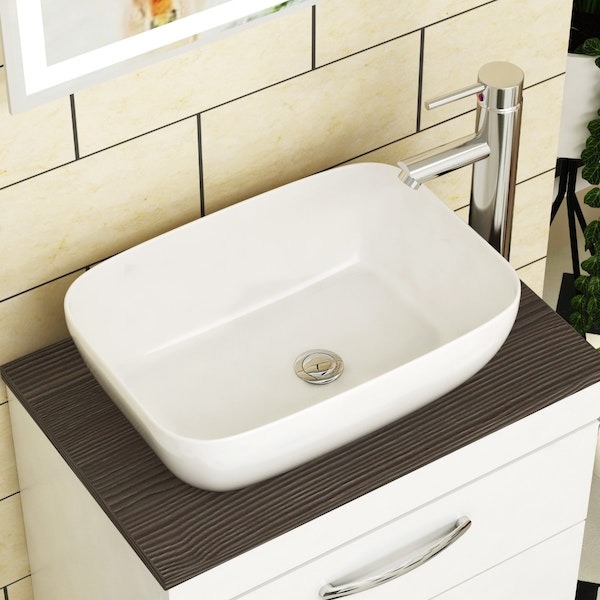
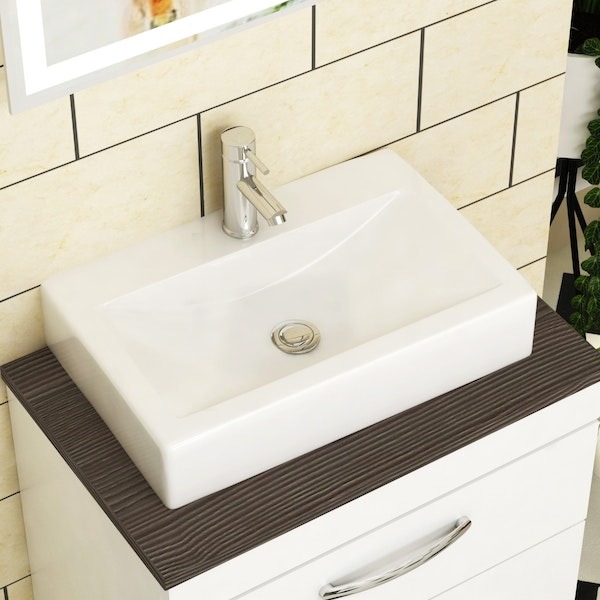
Selecting the Right Basin: The right basin that harmonizes with the decor and functionality of your room is extremely important. Available in many different shapes and sizes, consider your bathroom layout and design theme prior to installing the countertop basin.
-
Choose the Countertop Material: The type of material it’s made from is what gives your countertop elegant appeal. Common materials include granite, marble, quartz, and laminate. Just make sure to pick one that fits your aesthetic.
-
Countertop and Basin Measurements: Measure the countertop and basin to make sure they fit inside the space provided. Mark where the basin will be installed. Ensure you have enough space to roam.
-
Gather Tools and Materials: If you’re going the DIY route, you’ll need a drill, screws, a wrench, silicone sealant and plumbing fixtures.
-
Clear the Area: Make sure the work area is clear of any debris before you begin the installation. Ensure there is ample space to work and move around.
-
Stop the Water Supply: Shut off the water supply for the sink to prevent any leaks or accidents while installing the new sink.
-
Disconnect the Old Basin: If you are replacing an old basin, undo your plumbing and faucets and carefully remove the old basin.
Step-by-Step Countertop Basin Installation
Follow these simple steps to help you guide through a DIY basin installation:
Step I: Securing the Basin to the Countertop
To ensure the stability and safety of your new basin, secure it firmly onto the countertop. A loose basin can move around, which can cause water to spill and potentially lead to accidents or damage. Don’t use hot glue, but silicone adhesive or epoxy glue for a tight connection.
Here’s how you can set up the basin in countertop sink installation:
-
Scrub both the countertop and the rim of the basin well to get rid of any dirt, debris or residue.
-
Dab silicone adhesive or epoxy glue onto the underside of the basin rim. Don’t be light on the glue! You should use enough adhesive to make a bond between the basin and the countertop.
-
Gently place the basin on the countertop, ensuring it’s aligned with the sink and other necessary items.
-
Advertise the basin so its surface is adhesive to the countertop.
-
Tightly bind each side of the fabric, moving back and forth, and with the glue until it is properly tight.
Press it down and determine if you have any play or wobble — it should be bonded firmly to the countertop after the adhesive has dried completely.
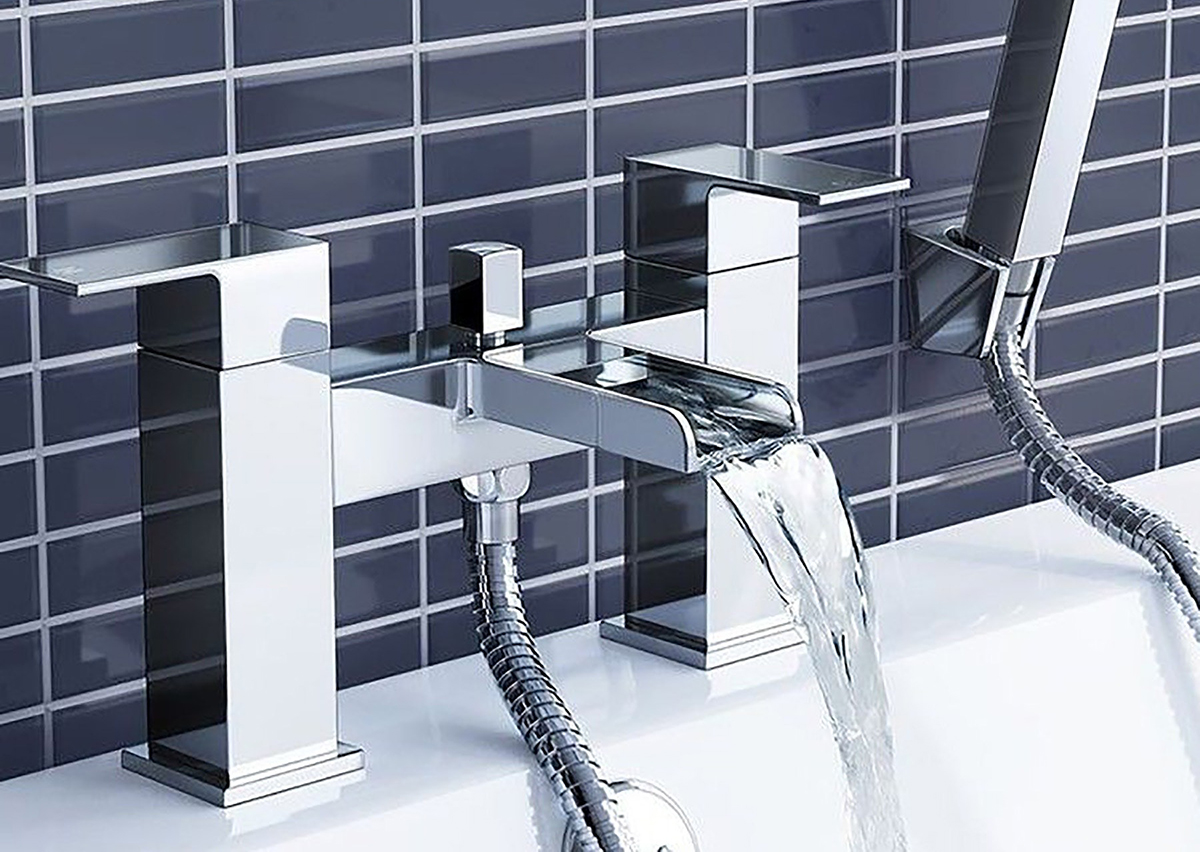
Step II: Installing the Faucet and Drain Assembly
Installing a faucet and drain assembly on top of a countertop is relatively simple with the right tools and some basic steps. Here are the general steps to follow:
-
Remove the old faucet and drain assembly first.
-
Use plumber putty or silicone sealant around the base of the faucet and drain flange per the manufacturer’s instructions.
-
Then, insert the faucet and tighten down the mounting nuts with an adjustable wrench.
-
Set the rubber gasket and mounting nut underneath the drain, then push the drain through the sinkhole and tighten the mounting nut.
-
Put the drain tailpiece on and tighten the nut with pliers.
-
Connect the water supply lines to the faucet using an adjustable wrench. Make sure to secure it tight enough not to leak anymore.
Step III: Connecting the Plumbing
Here are the core steps that you need to take:
-
Find the place of your sink and size it up against the pipe supplying your main water and drainpipes.
-
Attach the faucet and handles on the sink itself, before installing them on the countertop. This will make it easier to connect the water supply lines after.
-
Follow the manufacturer’s instructions to install the drain assembly onto the sink. This typically entails attaching the basin flange to the sink, installing the drainpipe and trap and connecting it to the main drain line.
-
Install the sink to the countertop, ensuring it's securely fastened in place. Attach the water supply line to the faucet and handles.
-
Use PVC glue and fittings to connect the drainpipe and trap to the main drain line. Turn the water back on to ensure all connections are tight and secure.
Step IV: Sealing and Finishing Touches
If sealing is not performed, your countertop sink installation will be susceptible to damage or mold and mildew. Finishing touches make this basin easier to clean and visually more attractive.
Here are a few rules-of-thumb to help you along the way:
-
Natural stone countertops, like granite, marble, or quartz, require a stone sealer — most manufacturers recommend one. It also helps to repel stains and discoloration over years.
-
Concrete countertops apply a concrete sealer to protect them from stains and water damage.
-
Wooden countertops need a little extra care for them to keep their natural beauty. Ban finished oil or wax finish to protect the surface and bring out the natural beauty.
-
If your countertop is laminate, fill in scratches or chips in the laminate with laminate repair paste or a kit. Then, coat the surface with a laminate finish.
Step V: Choosing the Right Countertop Basin
Here are some factors to consider when selecting a countertop basin so that you get it right. The dimensions and configuration of the countertop are the most crucial because that will determine what basin will accommodate it best.
Countertop basins can be ceramic, porcelain, glass, stone or even metal. Different materials have different pros and cons and you should pick one according to what is most durable, easy to clean, but also exactly what you want.
We recommend selecting a style that best suits the design of your bathroom and maintains a consistent theme. If you are looking to renovate your bathroom, whether it be to a more modern look or a more traditional one, there are lots of design choices depending on your style requirements.
Lastly, finalize your budget. Countertop basins come in a variety of price ranges, so set your budget before you make your choice. Note also to account for the cost of installation.
Countertop Basin Maintenance
If you want your countertop basin to last longer and look new for years, proper care and maintenance are essential.
-
The basin can be cleaned with mild washing liquid and water solution and with a soft cloth and microfiber towel.
-
Avoid abrasive cleaners, or bleach, these metal sponges or scrubbers. Acid containing harsh chemicals can discolor and damage.
-
Wipe away water stains and soap scum right away to keep them from becoming hard to remove.
Common Problems Arising from Countertop Basin Installation and How to Fix Them
It can be as difficult as one can imagine but installing a countertop basin is not as difficult. However, what people do experience is not an uncommon issue during the installation process. Chances are if the surface that the basin is being installed is not flat, the basin will wobble or not be stable. Use a spirit level to check that the surface is level to avoid this. If the ground itself has slight irregularities, make sure to shim or wedge the basin to level it prior to basin installation.
A leaking drain is another usual issue most homeowners deal with when installing the countertop basin. A loose drain or improper drainage installation, or even a loose connection can lead to this issue. Take care to tighten the drain correctly so that the rubber seal fits properly. Make a waterproof seal with plumber putty.
Improper or uneven connections with the faucet are a frequent impediment, causing the water to leak or shower around the basin. Ensure that the faucet is securely tightened and that the water supply lines are properly attached.
Conclusion
Overall, installing a countertop basin can be a stylish and functional addition to any bathroom. With proper installation, it can provide many years of easy and efficient use. Not only does it give your bathroom a nice makeover, the inclusion of bath with a countertop basin could even boost your property value.
A countertop basin installation (if not particularly challenging, even for someone who enjoys DIY, like myself) is a straightforward job and can be done in fairly quick succession.
We hope you find our guidelines for your countertop sink installation helpful.
Wishing you a smooth process!
Frequently Asked Questions
Can you put a countertop basin on anything?
Countertop basins sit on the top of a surface, requiring a solid, waterproof, and weight-bearing surface. Some materials include stone, wood (sealed), glass, and composite surfaces. The surface should be plain and leveled to avoid any future water leakage.
How do you secure a sink to a countertop?
Most countertop basins are attached with a strong adhesive or silicone sealant to keep them from moving. Other basins may also have brackets or screws that are used to mount onto the wall for stability. Each basin must be installed correctly to keep the basin in place and prevent water leakage.
What are the advantages of a countertop basin?
Countertop basins are a popular modern bathroom choice with a sleek, contemporary appearance. They come in various shapes, materials, and sizes that provide great flexibility to meet a host of design needs. They're not difficult to install, needing only a few adjustments to the countertop. They’re raised higher, enhancing ergonomics by eliminating the need to bend over and clearing more counter space for toiletries and accessories.
How to glue a sink to a countertop?
To glue a sink to a countertop wipe the surface clean to remove dust and debris. Use waterproof adhesive or silicone sealant around the sink's base. Carefully set the sink in place and press down well to attach correctly. Remove excess sealant and let it cure for the manufacturer’s recommended time.
Do countertop people install sink?
Many countertop installers will install sinks, mainly if the sink requires integration with the countertop material. However, when the work involves plumbing connections, a licensed plumber may be needed to ensure the drainage and water supply connections are done correctly.
Are countertop basins hard to clean?
No, countertop basins are usually easy to clean. The open design provides access to every corner. But regular cleaning is essential to avoid spots and soap around the base, where water can collect, leaving soap deposits.
What is the difference between a countertop and under counter basin?
In Countertop basin we sits above the counter, forming a striking, decorative appearance. It’s simpler to install and gives you more counter space.While on under counter basin we sits below the worktop for a clean, streamlined look. It needs to be cut into the countertop, and because there are no exposed edges, it is often easier to clean.