Bathroom repairs are unavoidable in every household. It's essential to know how to fix some common issues by ourselves to save money and time.
Being a homeowner, you don't have to call a professional every time there's a problem with your bathroom fixtures. In fact, you can handle some basic bathroom repairs with the right tools, materials, and knowledge.
In this comprehensive guide, we'll take you through some of the useful tips for successful DIY bathroom repairs.
Importance of regular bathroom maintenance
When to consider DIY bathroom repairs
While some repairs require the expertise of a professional plumber, some are simple enough for you to handle on your own. With the necessary tools and skills, you can consider doing these bathroom repairs when the problem is minor.
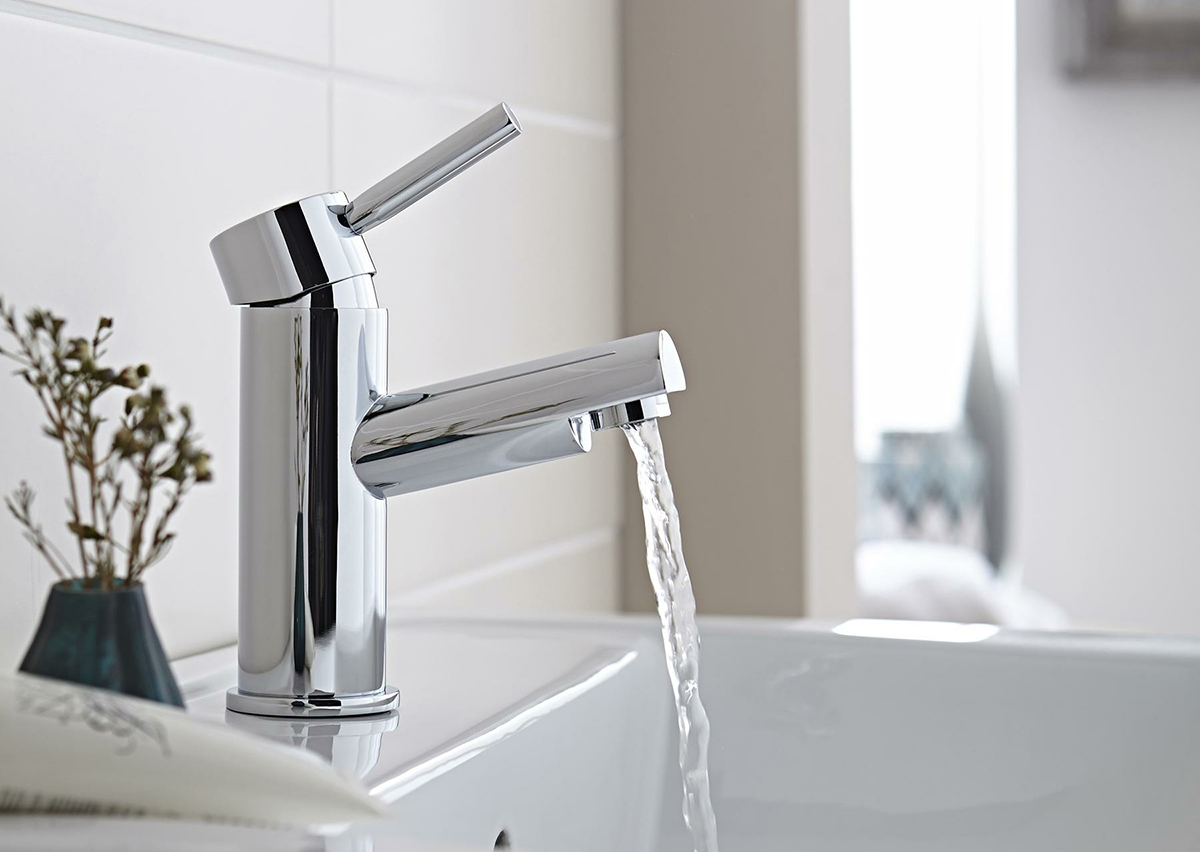
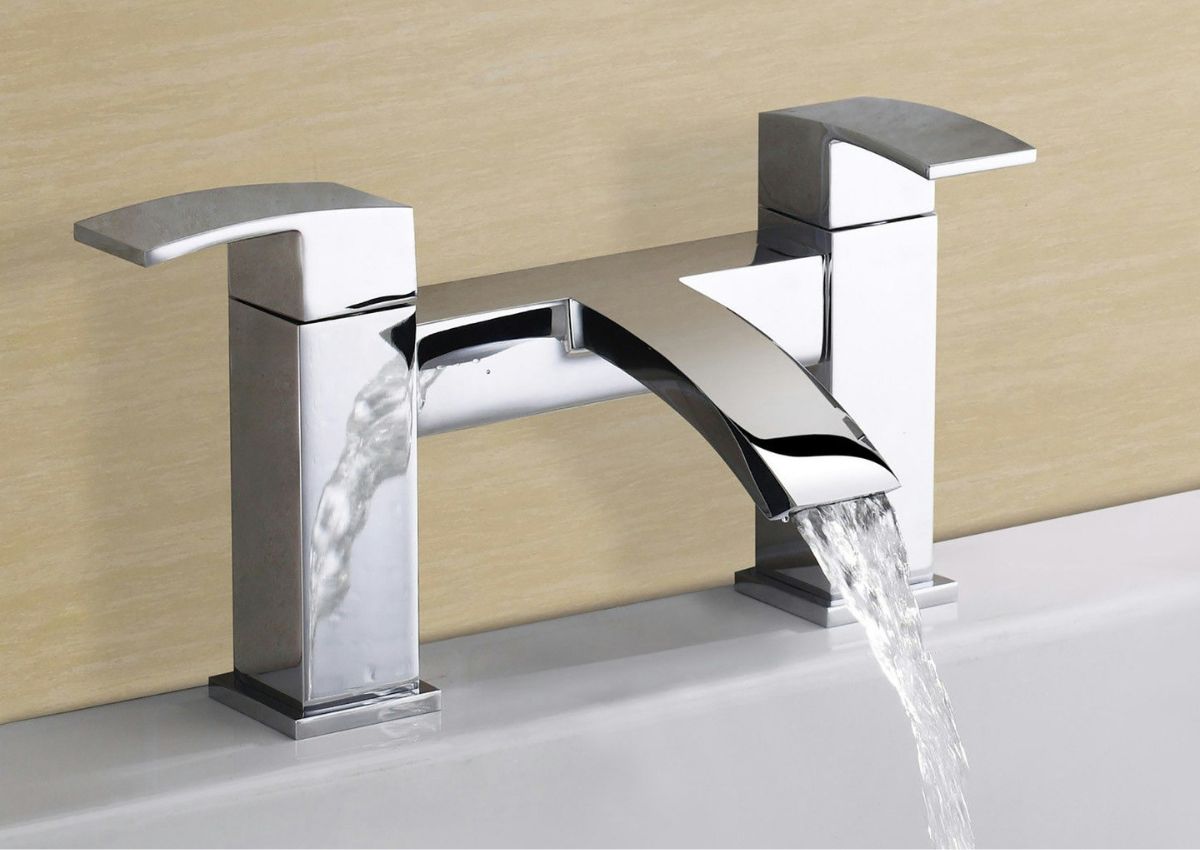
Fixing Leaky Faucets and Showerheads
1. Identifying the type of faucet/showerhead
There are different types of faucets and showerheads, and each requires a unique approach to fixing leaks. Before you attempt any repairs, it’s essential to identify the type of faucet or showerhead being installed in your bathroom.
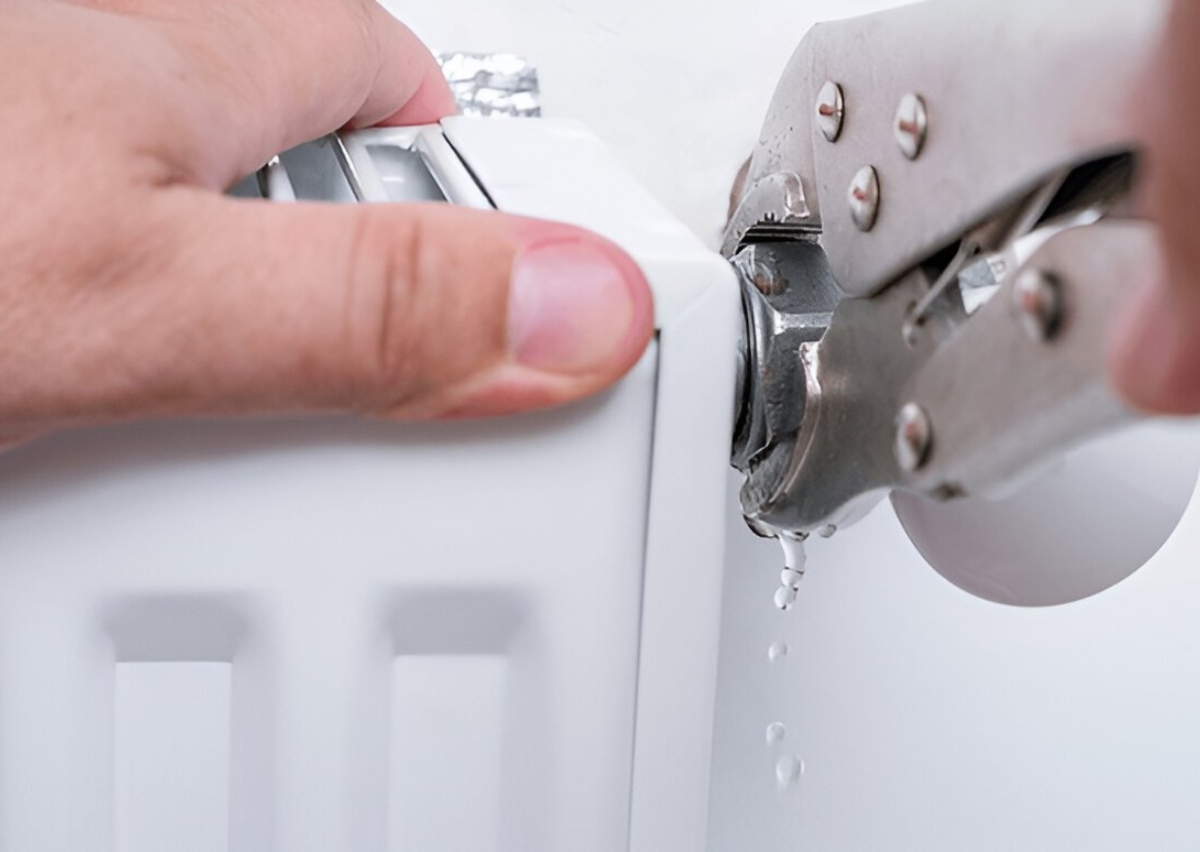
2. Replacing worn-out washers, O-rings, or cartridges
Leaky faucets and showerheads are often caused by worn-out washers, O-rings, or cartridges. You can remove the faucet or showerhead by unscrewing the component and easily replacing these components.
3. Ensuring proper reassembly
After replacing the worn-out component, ensure that you reassemble the faucet or showerhead correctly. Improper reassembly can lead to leaks and other damages.
Unclogging Drains
1. Using a plunger for minor clogs
For minor clog drains, you can use a plunger to clear the blockage. To have functional unclog drains, make sure that there's enough water in the bathtub or sink to cover the plunger cup and create a vacuum.
2. Employing a drain snake or auger for stubborn clogs
A drain snake or auger can be used to clear stubborn clogs. You can insert the tool into the drain and rotate it to dislodge the clog.
3. Preventive measures to avoid future clogs
To avoid future clogs, consider using a drain cover and avoiding flushing non-degradable materials down the toilet.
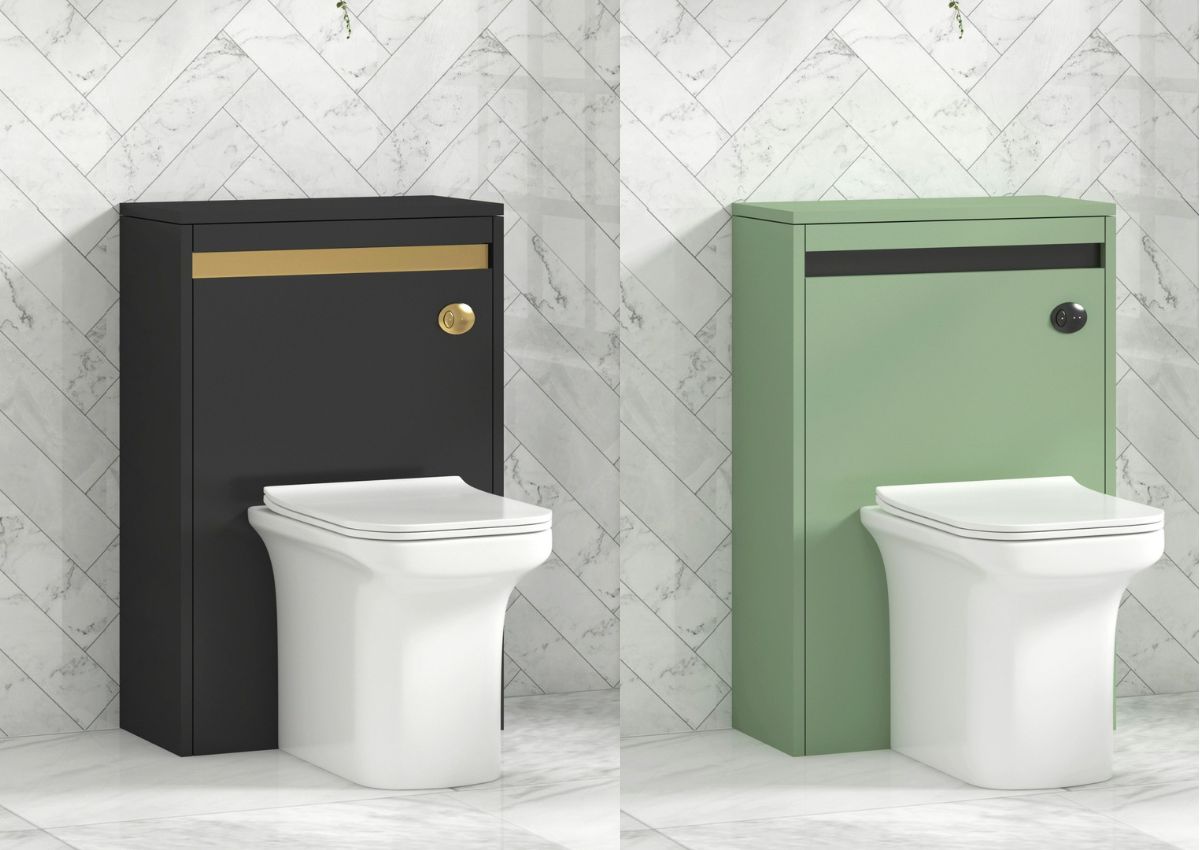
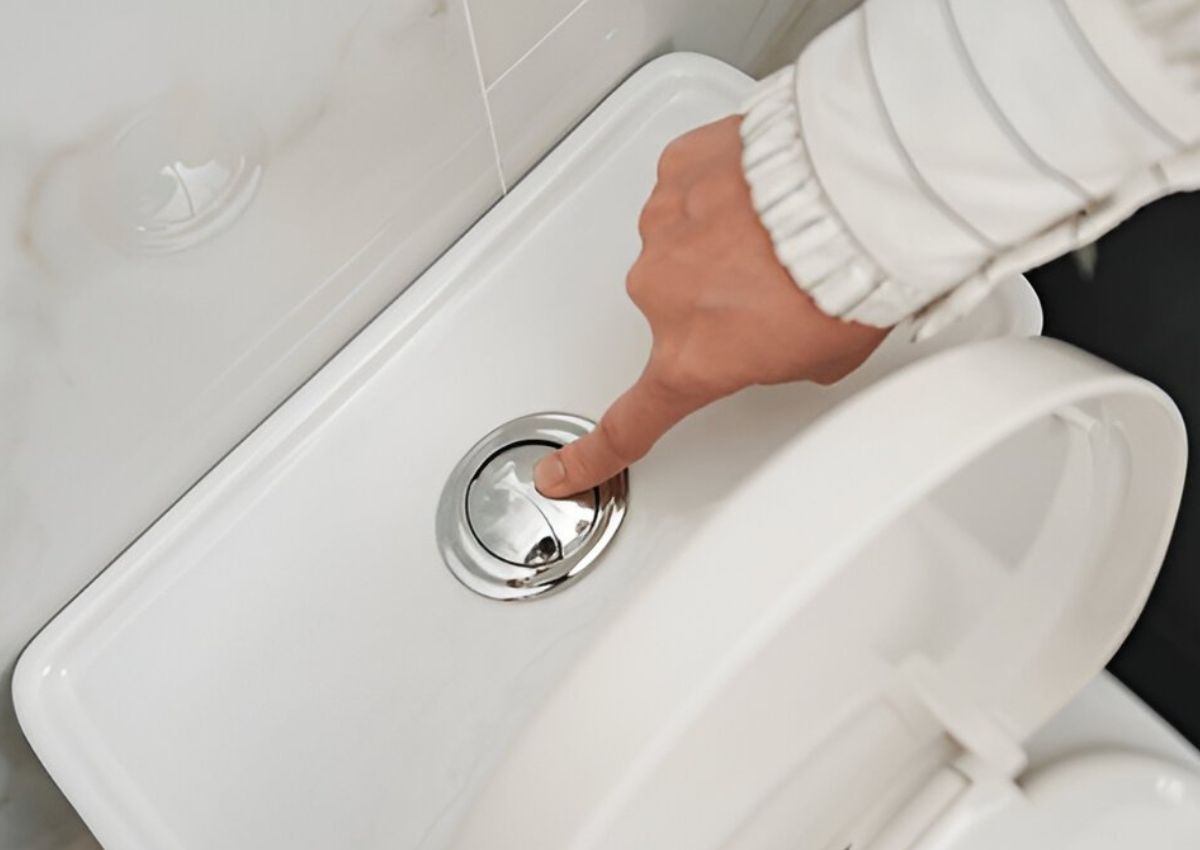
Repairing Running Toilets
1. Diagnosing common issues
Common bathroom issues that cause a running toilet include a faulty flapper, float, or fill valve. If you have a back-to-wall toilet or any other toilet type installed in your bathroom, it’s essential that you identify the problem before attempting any repairs.
2. Adjusting the flapper, float, and fill valve
Adjustment of the flapper, float, and fill valve can make sure that they are working properly. You can always ensure this by turning a screw or sliding them up or down.
3. Replacing worn or damaged components
Over time, bathroom fixtures like faucets, showerheads, and toilets can develop wear and tear, leading to leaks or malfunctions. In some cases, replacing worn or damaged components can fix the issue without you having to replace the entire fixture.
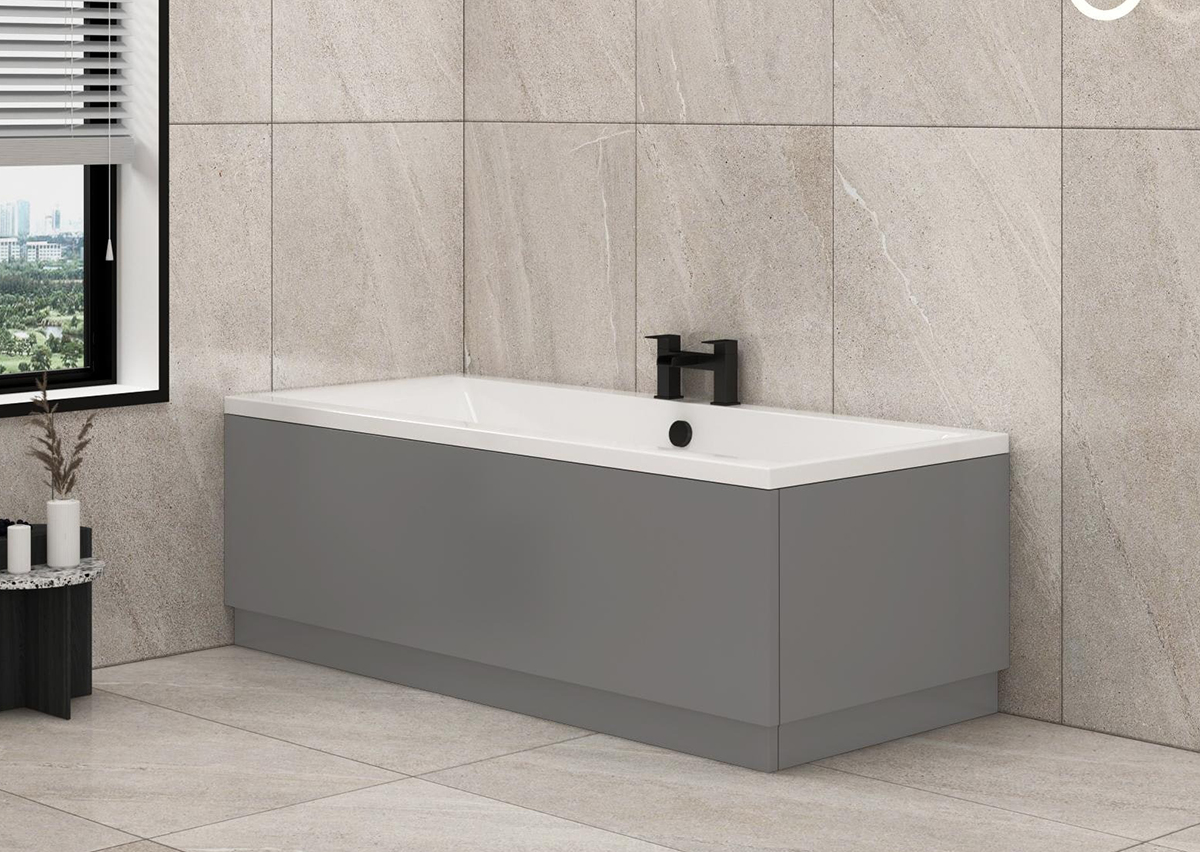
Resealing Bathtubs and Showers
1. Identifying the need for resealing
Look for cracks, gaps, or areas where the caulk or grout has pulled away from the surface to identify the need for resealing. If you have a 1600mm shower bath or any other bath installed in your bathroom, you can also check the edges and corners of your bathtub or shower.
2. Removing old caulk or grout
After identifying the resealing need, now it’s time to remove the old caulk or grout. You can use a utility knife or grout removal tool for the job.
3. Applying new caulk or grout
Before applying the new sealant, make sure the surface is clean and dry. Apply the new caulk or grout evenly, and smooth it out with your finger or a caulking tool. Allow the sealant to dry completely before using your bathtub or shower.
Replacing Broken or Cracked Tiles
1. Removing the damaged tile
You can easily remove the damaged tiles with the help of a few tools, such as a chisel, hammer, and scraper. Start with breaking the tile into smaller pieces using the chisel and hammer, then use the scraper to remove any remaining adhesive or grout.
2. Preparing the surface for the new tile
Prepare the surface for the new tile by cleaning the area thoroughly. If required, you can use a levelling compound to ensure that the surface is even and smooth.
3. Installing and sealing the new tile
You can now apply adhesive to the new tile, let it dry, and apply grout to fill gaps & sealant for moisture protection.
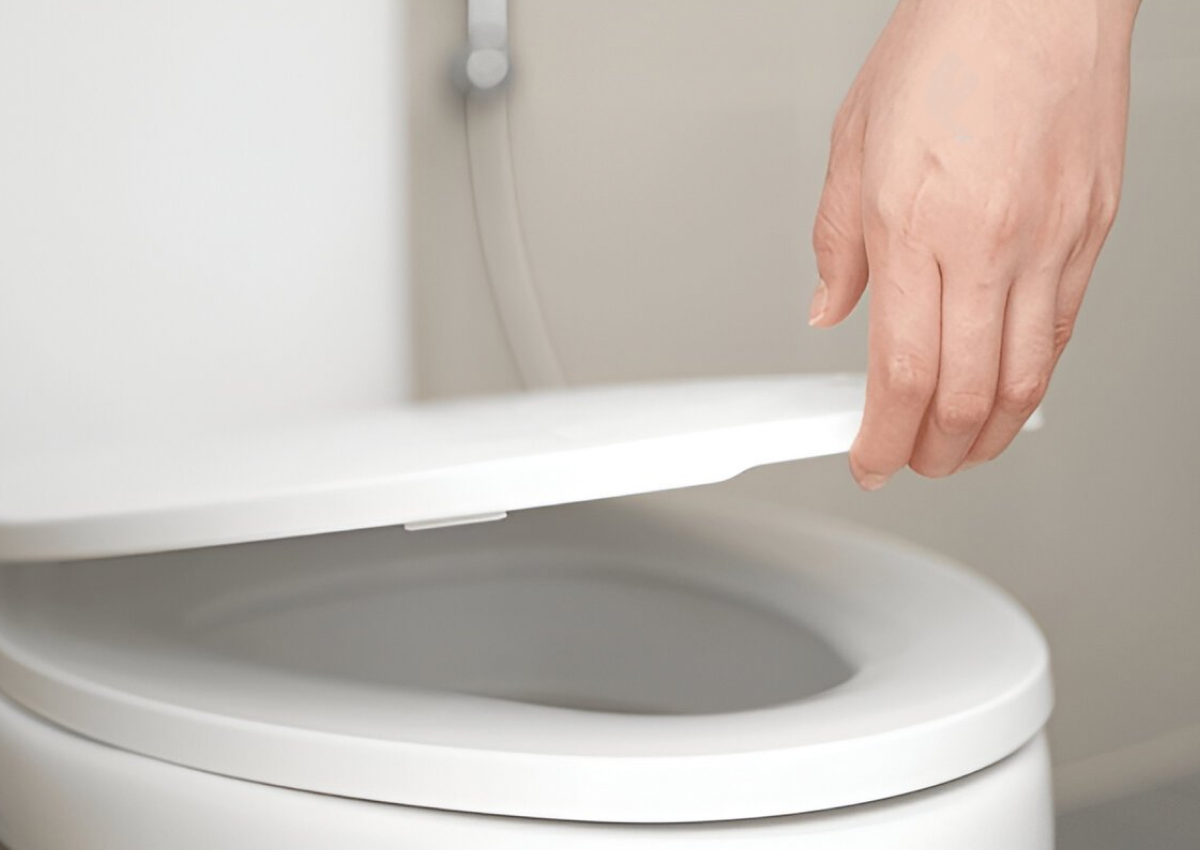
Fixing a Loose Toilet Seat
1. Tightening the seat bolts
If your toilet seat feels loose, you can tighten the bolts that hold it in place using a screwdriver. Turn the screws clockwise to tighten them and make sure not to overtighten and crack the porcelain.
2. Replacing a broken or worn-out seat
Consider replacing your toilet seat if it's beyond repair. You can do it by removing the old one and attaching a new seat that fits your toilet's shape and size with the provided hardware.
Tips for Successful DIY Bathroom Repairs
1. Gathering the right tools and materials
Before starting any DIY bathroom repairs, it’s important to have all the necessary tools and materials. You can find a list of tools mentioned below:
- Screwdriver
- Pliers
- Utility knife
- Grout removal tool
- Caulking gun
- Caulk or grout
- Adhesive
- New tiles
- Gloves and goggles
2. Taking safety precautions
We believe that safety should always come first when performing any bathroom repairs.
It’s recommended to wear protective gear, such as gloves and goggles, to prevent injury from sharp tools or chemicals. If you're working with electrical components, make sure to turn off the power supply before starting any repairs to prevent electrocution.
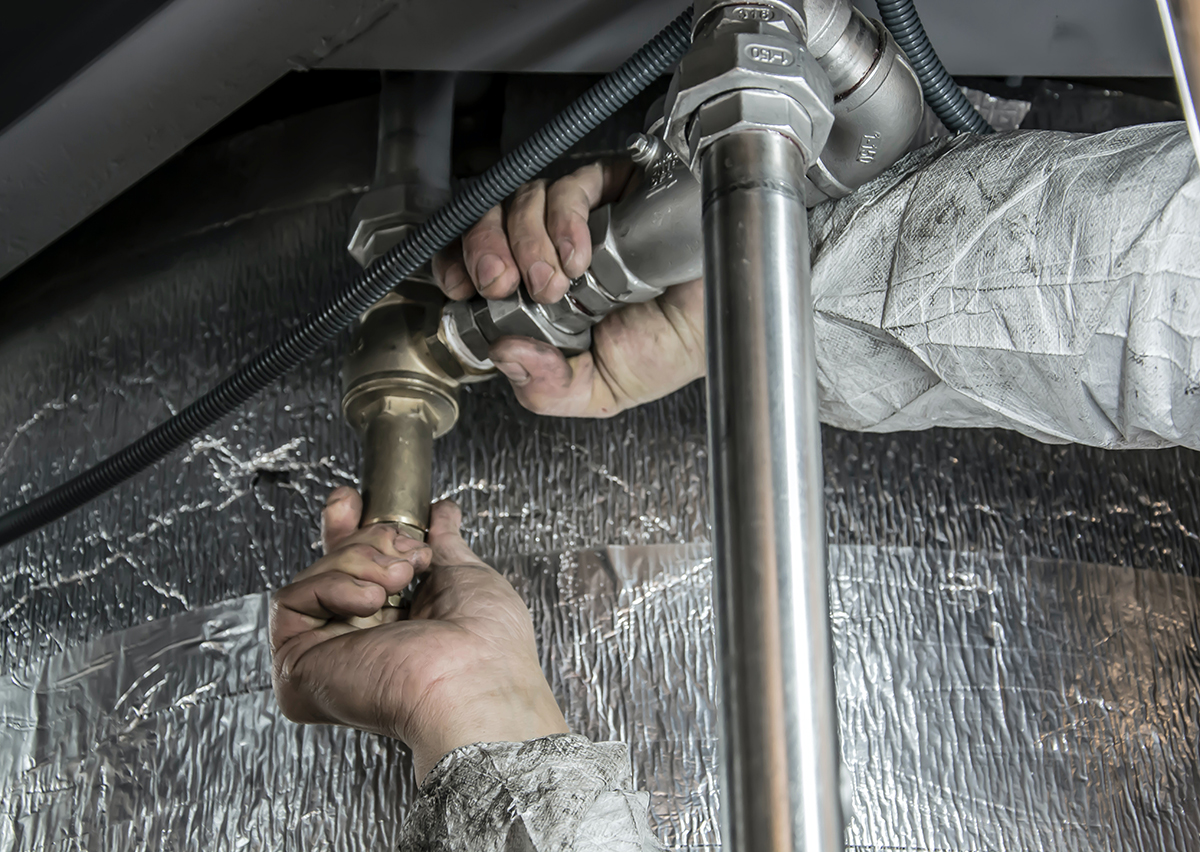
When to Call a Professional: DIY vs. Expert Help
1. Comparing DIY repairs with professional assistance
While many bathroom repairs can be completed as a DIY project, some may require expert help. To help you access the DIY repair difficulty level and time required to finish it, we have assembled a list of repair tasks.
| Repair Task | DIY Repair | Professional Help | Difficulty Level (1-5) |
Time Estimation (hours) |
|---|---|---|---|---|
| Fixing Leaky Faucets and Showerheads | ✓ | ✓ | 2 | 1-2 |
| Unclogging Drains | ✓ | ✓ | 1 | 0.5-1 |
| Repairing Running Toilets | ✓ | ✓ | 3 | 1-3 |
| Resealing Bathtubs and Showers | ✓ | ✓ | 2 | 2-4 |
| Replacing Broken or Cracked Tiles | ✗ | ✓ | 4 | 4-6 |
| Fixing a Loose Toilet Seat | ✓ | ✗ | 1 | 0.5-1 |
Conclusion
Basic bathroom maintenance can often be done on your own with the right tools and a little bit of know-how. However, when it comes to expensive or fragile items, it's best to call in a professional to ensure that the repair is done correctly the first time.
Additionally, if you're not comfortable with the repair or if you've attempted a DIY repair and it's not working, it's best to seek out expert help. By knowing when to DIY and when to call in a professional, you can save yourself time, money, and a lot of frustration in the long run!