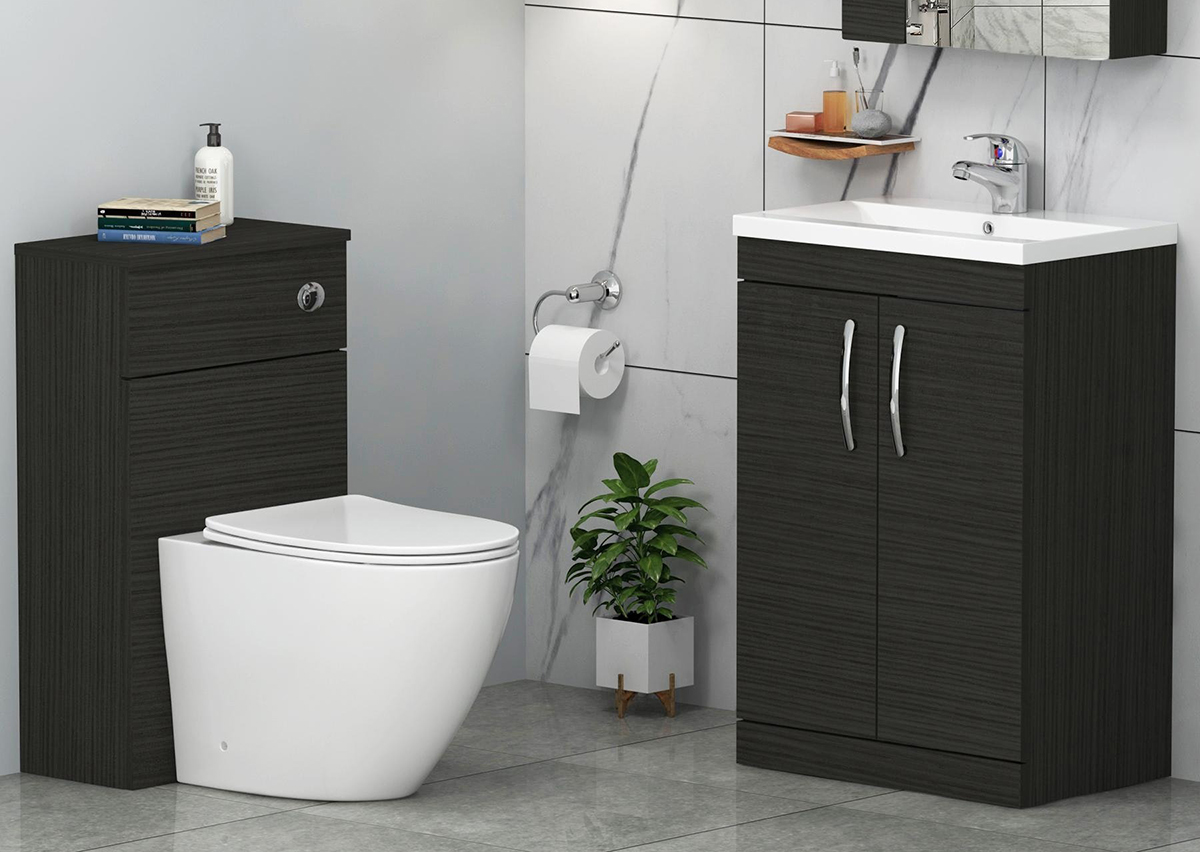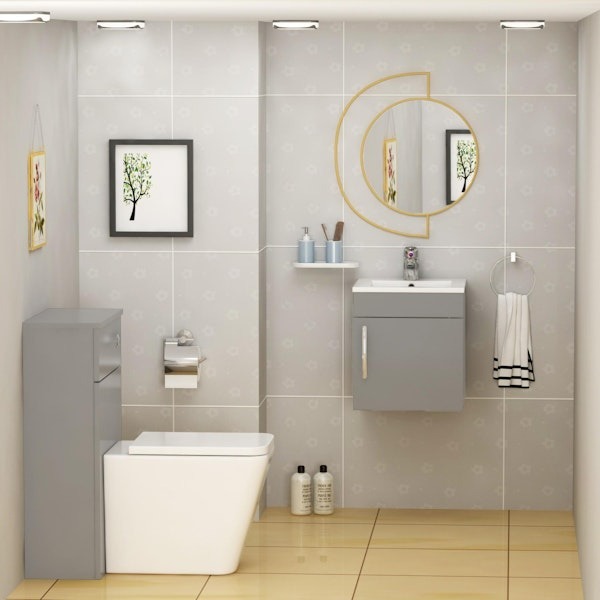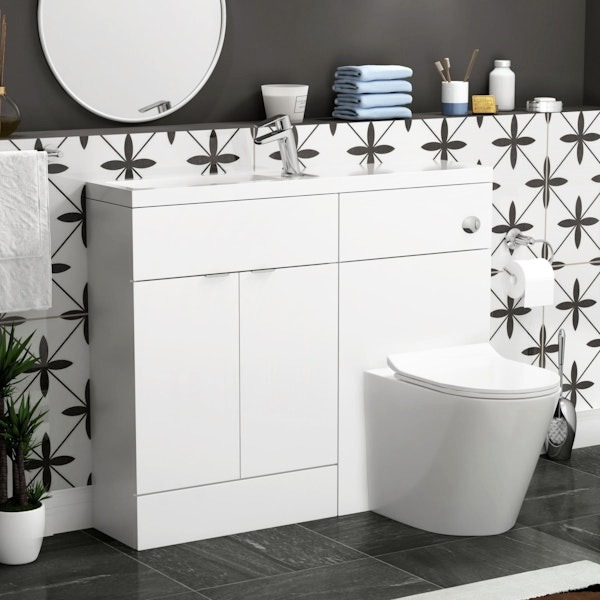
Follow our step by step guide to ensure a smooth and successful installation of your combination vanity unit, and transform your bathroom into a stylish and functional space.
Installing a combination vanity unit in your bathroom can enhance both its functionality and aesthetic appeal. However, proper installation is crucial to ensure a smooth and successful outcome.
In this guide, we will walk you through the importance of proper installation, and the benefits of combination vanity units, and provide a step-by-step process to help you install your unit with ease.
Importance of Proper Installation
A properly installed combination vanity unit ensures its stability and durability over time. It prevents any potential damage or accidents, such as leaks, loose fittings, or structural issues. Proper installation also allows for efficient use of space and ensures the unit functions as intended.
Benefits of Combination Vanity Units
Choosing a combination vanity unit offers numerous benefits for your bathroom. They provide a space-saving solution by combining a basin, storage cabinets, and sometimes a toilet into a single unit.
This not only optimises the available space but also creates a cohesive and stylish look. Additionally, combination vanity units offer convenient storage options for bathroom essentials, reducing clutter and maximising organisation.
Read More: Combination Vanity Unit Buying Guide!
Preparing for Installation
Before you begin the process of a vanity unit installation, there are a few important steps to take:
Assessing the Bathroom Space
Measure your bathroom space carefully to determine the appropriate size and configuration of the toilet and sink vanity unit. Consider factors such as existing plumbing, electrical connections, and clearances required for comfortable use.
Gathering the Necessary Tools and Materials
Collect all the tools and materials required for the installation, including:
- A tape measure
- Level
- Drill
- Screws
- Screwdriver
- Adjustable wrench
- Plumber's tape
- Silicone sealant (and any additional components specific to your unit.)
Step by Step Guide to Installing a Combination Vanity Unit
Assembling the Vanity Unit
To ensure a seamless bathroom furniture installation, it's essential to carefully follow the manufacturer's instructions. Begin by assembling the various components of the combination vanity unit, including the cabinet, drawers, and doors. Take extra care to ensure all connections are secure, providing stability for a flawless bathroom design. The great news is that at Royal Bathrooms, we go the extra mile by sending pre-assembled units, making your installation process even more convenient.
Securing the Unit to the Wall
Locate the studs in the wall using a stud finder and mark their positions. Position the vanity unit against the wall and use a level to ensure it is straight. Secure the unit to the wall by drilling screws through the back of the unit and into the studs.
Attaching the Basin and Faucet
Install the basin according to the manufacturer's instructions during your bathroom renovation. Apply the plumber's tape to the threaded connections to ensure a watertight seal. Attach the faucet to the basin, ensuring it is properly aligned and tightened.
Connecting the Plumbing
Connect the water supply lines to the faucet using flexible hoses and ensure they are securely fastened. Use the plumber's tape or sealant on the connections to prevent leaks. Connect the drain pipe to the basin's waste outlet and secure it tightly.
Installing the Toilet
If your combination vanity unit includes a toilet or toilet sink combo unit, follow the manufacturer's instructions for installation. Ensure proper alignment with the waste outlet and secure it in place. Connect the water supply line to the toilet and check for any leaks.


Finishing Touches and Adjustments
Read the following steps for the finishing touches and adjustments:
Checking for Leaks and Proper Functioning
After the installation is complete, it’s important to thoroughly check for any leaks or plumbing issues. Turn on the water supply and inspect all connections and fittings for any signs of leakage. Test the functionality of the basin, faucet, and toilet (if included) to ensure they are working properly. Address any leaks or malfunctions promptly to avoid further complications.
Making any Necessary Adjustments
If you notice any issues or misalignments with the combination vanity unit, make the necessary adjustments. Ensure that all doors and drawers open and close smoothly. Check for any gaps or unevenness in the unit's placement against the wall.
Adjustments may involve tightening screws, aligning components, or using shims to level the unit. Taking the time to make these adjustments will ensure the unit looks and functions as intended.
Post Installation Care and Maintenance
Cleaning and Maintaining your Combination Vanity Unit
Regular cleaning and maintenance will keep your combination vanity unit looking its best. Use mild, non-abrasive cleaners and soft cloths to clean the surfaces of the unit. Avoid using harsh chemicals or abrasive scrubs that could damage the finish.
If applicable, pay special attention to cleaning the basin, faucet, and toilet, to prevent the buildup of grime and mineral deposits. Regularly wipe down the cabinet doors and handles to remove any dust or fingerprints.
Tips for Organising and Maximising Storage Space
To make the most of your combination vanity unit's storage capabilities, it’s time to employ smart organisation strategies as space-saving solutions!
Use dividers, trays, and organisers within the drawers and cabinets to keep items neatly separated and easily accessible. Maximise vertical space by utilising hooks or racks on the inside of cabinet doors for hanging towels or small toiletries.
Consider using storage containers or baskets to corral and categorise items within the unit. Regularly declutter and remove any unused or expired items to maintain an organised space.


Conclusion
By following our installation guide, conducting thorough checks, and performing routine maintenance, you can ensure a smooth and successful installation of your combination unit setup.
There are great benefits to a well-installed unit, such as enhanced functionality and improved aesthetics, making it a worthwhile investment for your bathroom. With proper care and maintenance, your combination vanity unit will continue to serve you well for years to come.
