A properly sealed bathroom caulk is crucial for preventing water damage, mould growth, and maintaining a clean and functional bathroom.
This comprehensive DIY guide will walk you through the step-by-step process of replacing bathroom caulk, ensuring your bathroom stays watertight and mould-resistant for years to come.
Preparing for the Caulk Replacement:
- First, gather the necessary tools and materials, including caulk remover, new caulk, and an applicator.
- Next, assess the area and identify problem spots that require your attention, such as deteriorating caulk or areas prone to water damage.
- Finally, clean and dry the surface thoroughly before beginning the caulk replacement process.
Gather the necessary tools and materials
Now you're ready to begin the caulk replacement process, gather the following tools and materials:
- Caulk removal tool: You'll need tools such as a caulk scraper, utility knife, or a caulk removal tool to remove old caulk effectively.
- New caulk and applicator: Choose a high-quality caulk suitable for bathroom use and a caulk gun, or applicator, for precise application.
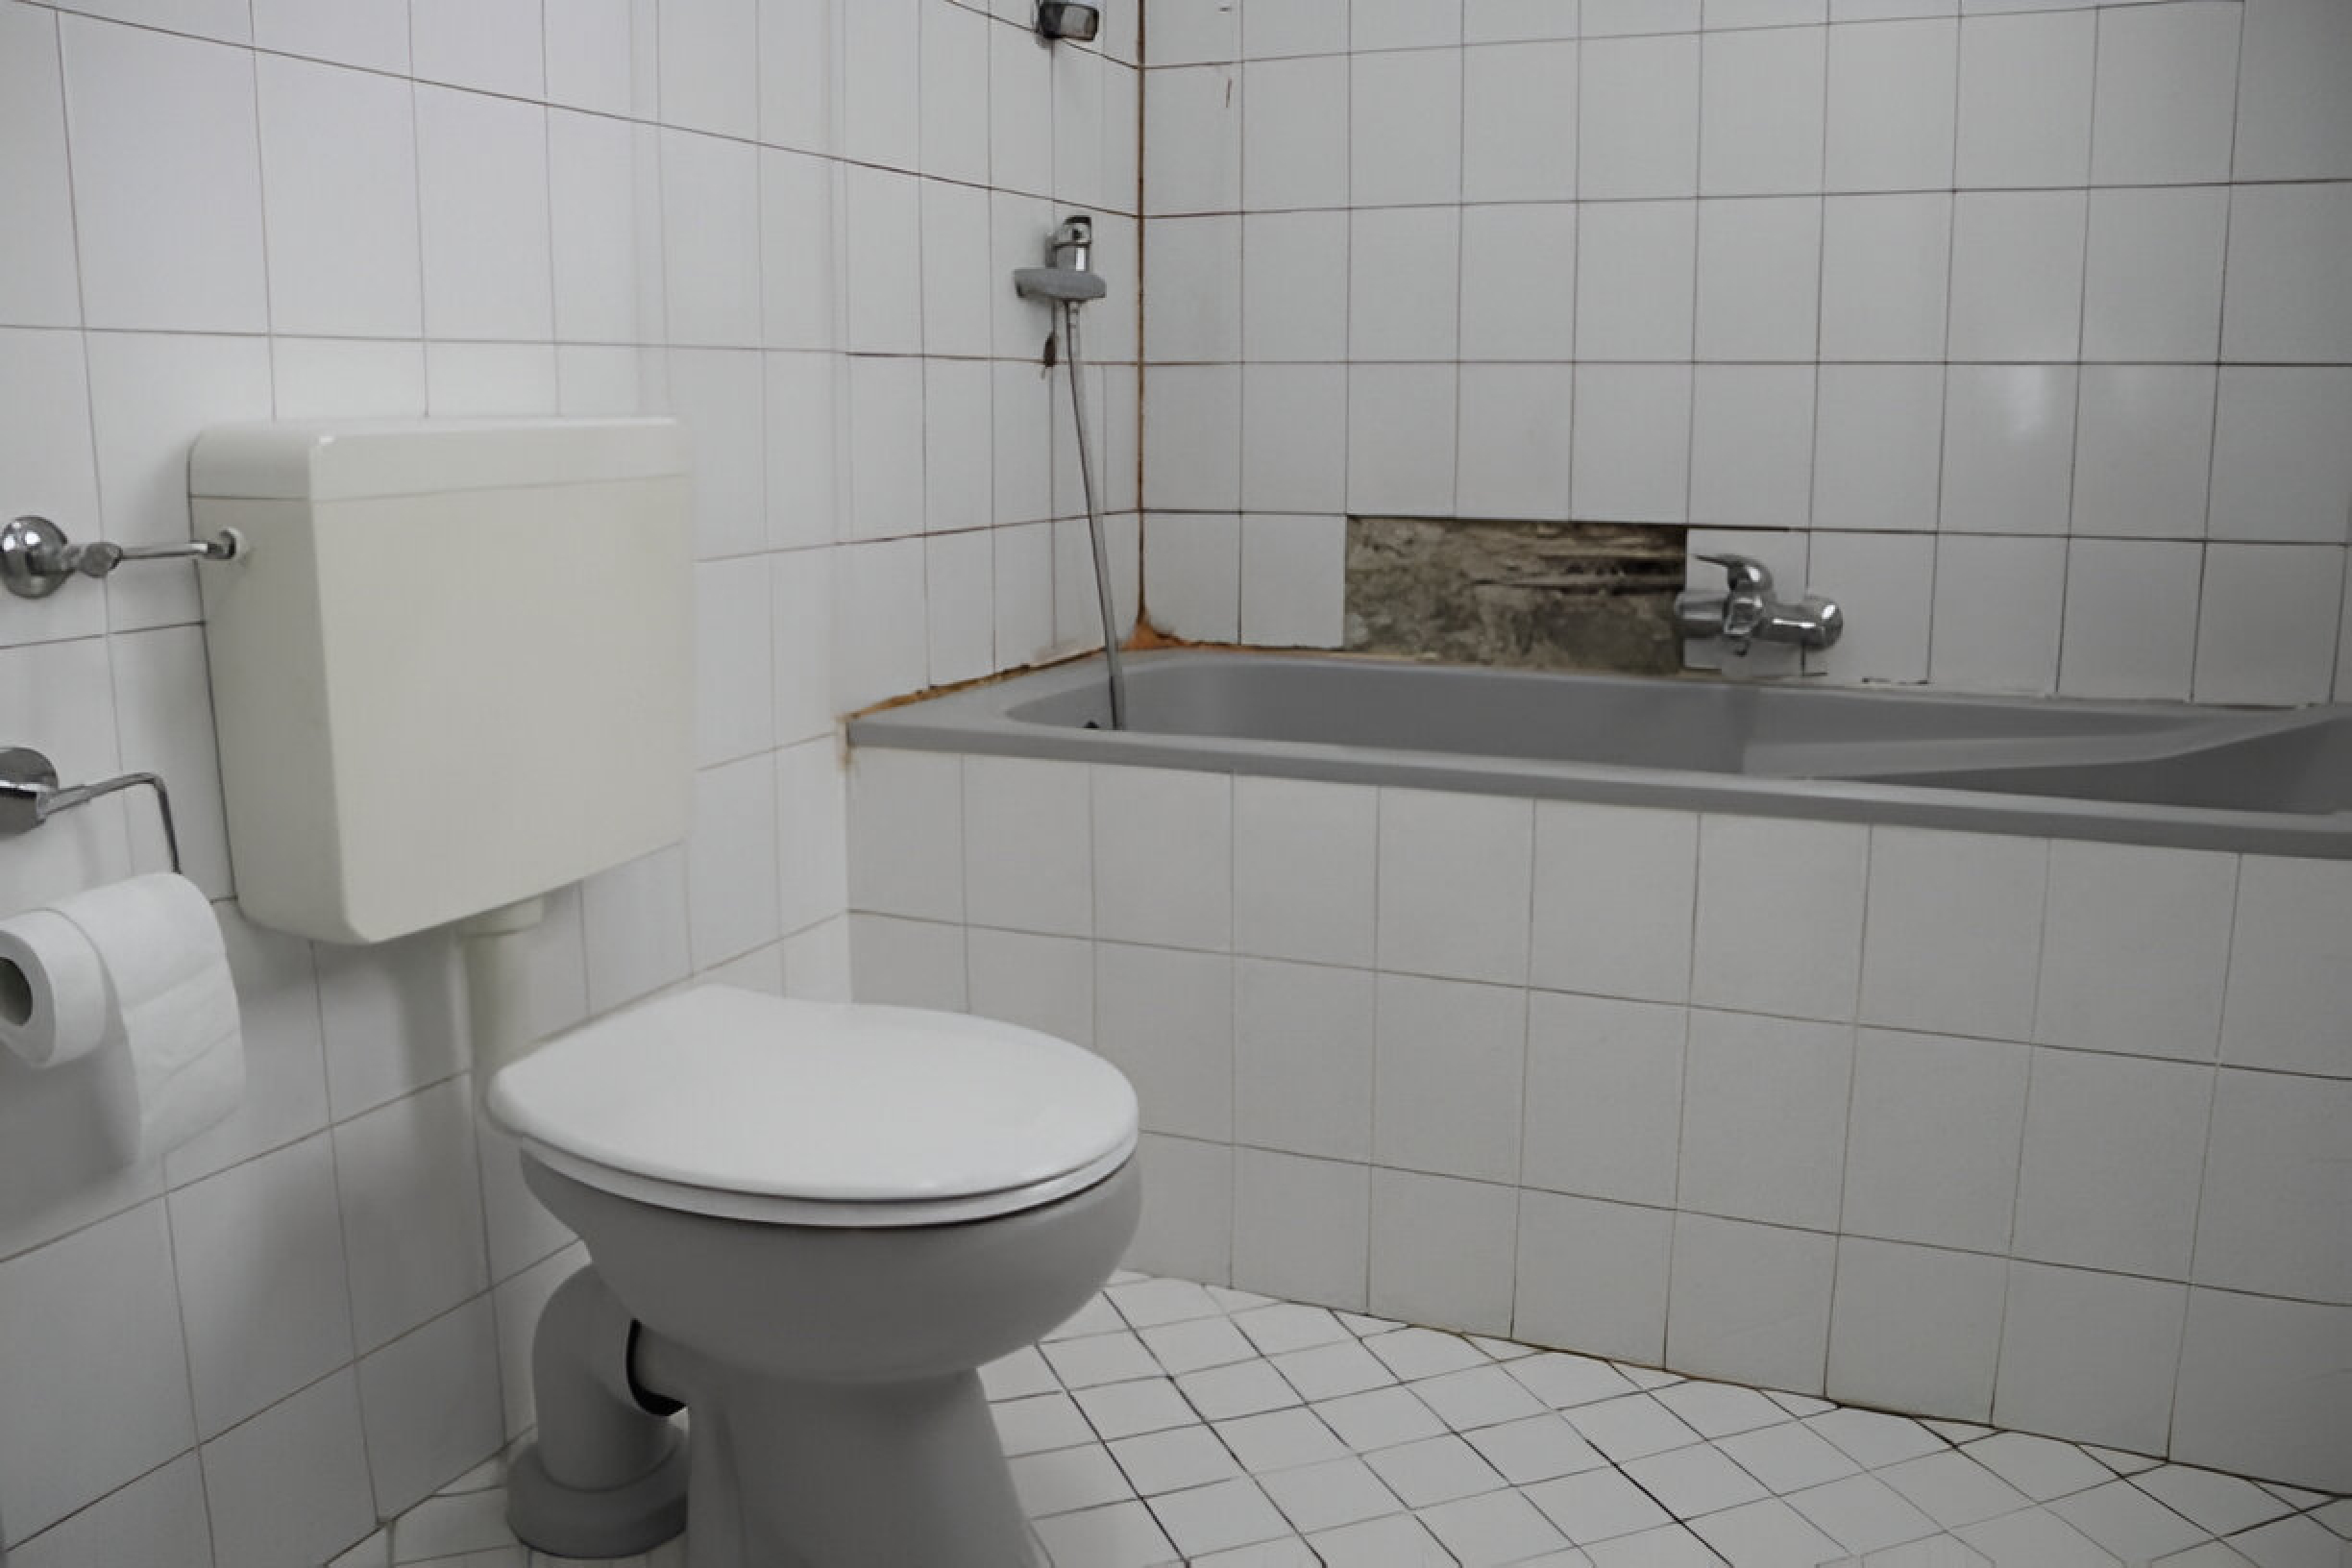
Assessing the area and identifying problem spots
Now you need to thoroughly inspect the bathroom to assess the condition of the existing caulk, and identify problem areas that require attention.
These could be signs of deteriorating caulk, areas prone to water damage, or potential mould growth.
Removing the Old Caulk
- Soften the old caulk using a caulk softening agent or alternative methods like heat or chemical removal.
- Carefully cut and peel away the old caulk using your chosen caulk removal tool.
- Clean the surface and remove any residual caulk and debris, ensuring a clean and smooth base to apply the new caulk.
Softening the old caulk for easier removal
What is the easiest way to remove old caulking we hear you ask?
To make the removal process easier, soften the old caulk using a caulk softening agent. Apply the agent according to the manufacturer's instructions, allowing it to penetrate and loosen the caulk.
Alternatively, you can use methods like heat (using a hairdryer) or chemicals specifically designed for caulk removal.
Carefully cutting and peeling away the old caulk
Using a caulk scraper, utility knife, or a caulk removal tool, carefully cut along the edges of the old caulk, ensuring not to damage the surrounding surfaces. Gently peel away the old caulk from the sides of your p-shaped bathtub or vanity unit, taking your time to remove it completely.
Cleaning and preparing the surface
After removing the old caulk, thoroughly clean the surface using a bathroom cleaner or mild soap and water. Remove any residual caulk, debris, or dirt. Ensure the surface is completely dry before proceeding to the next step.
Applying the New Caulk
Now it’s time to follow the next steps to apply the new caulk:
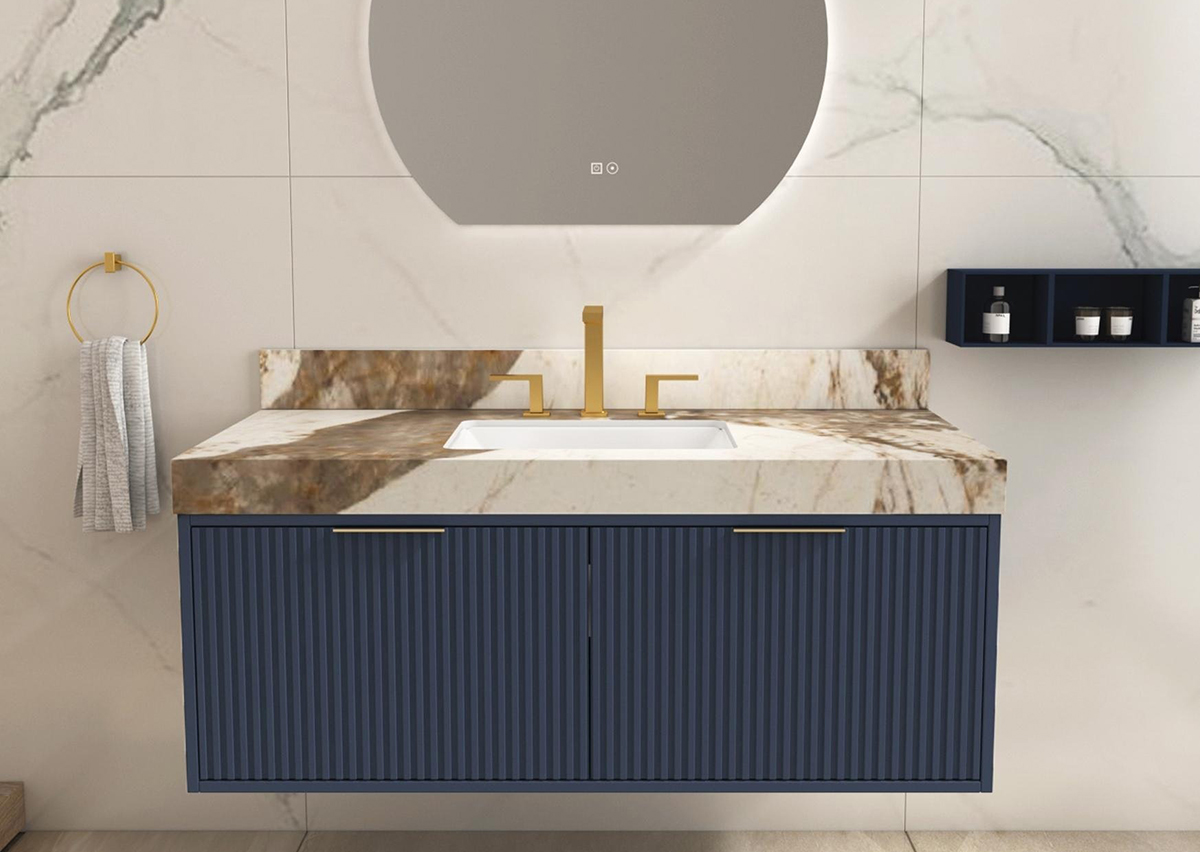
Choosing the right caulk for your bathroom
Select a high-quality caulk suitable for bathroom use. It’s important that you consider factors such as moisture resistance, flexibility, and durability.
Choose a caulk specifically labelled for bathrooms or showers to ensure optimal performance.
Smooth and even caulk application tips
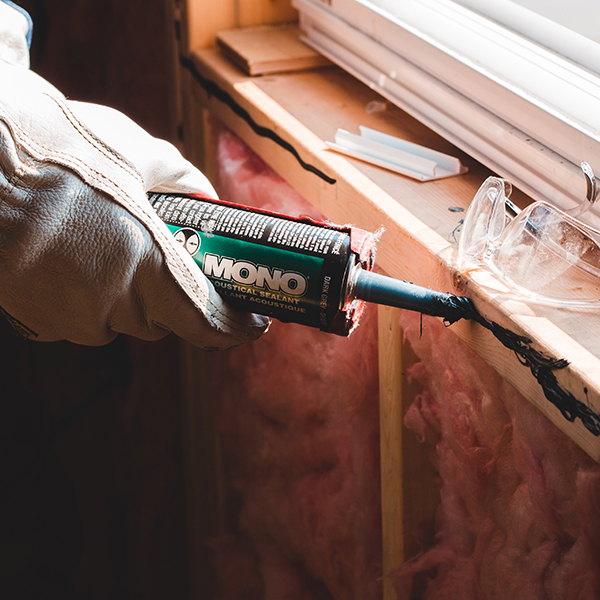
Cut the tip of the caulk tube nozzle at a 45-degree angle using a utility knife or a caulk-cutting tool. Insert the caulk tube into a caulk gun or use a squeeze tube applicator.
Apply consistent pressure on the trigger or squeeze the tube while guiding the caulk bead along the joint or gap that needs sealing. Maintain a steady and even flow of caulk to create a neat and professional-looking bead.
Smoothing and shaping the caulk
To achieve a smooth finish, use a caulk smoothing tool or your finger dipped in a mixture of water and mild soap to smooth and shape the caulk. Run the tool or your finger along the caulk bead of your bathroom furniture, applying gentle pressure to create a uniform and clean finish.
Curing and Maintaining the New Caulk
Allowing the caulk to cure properly
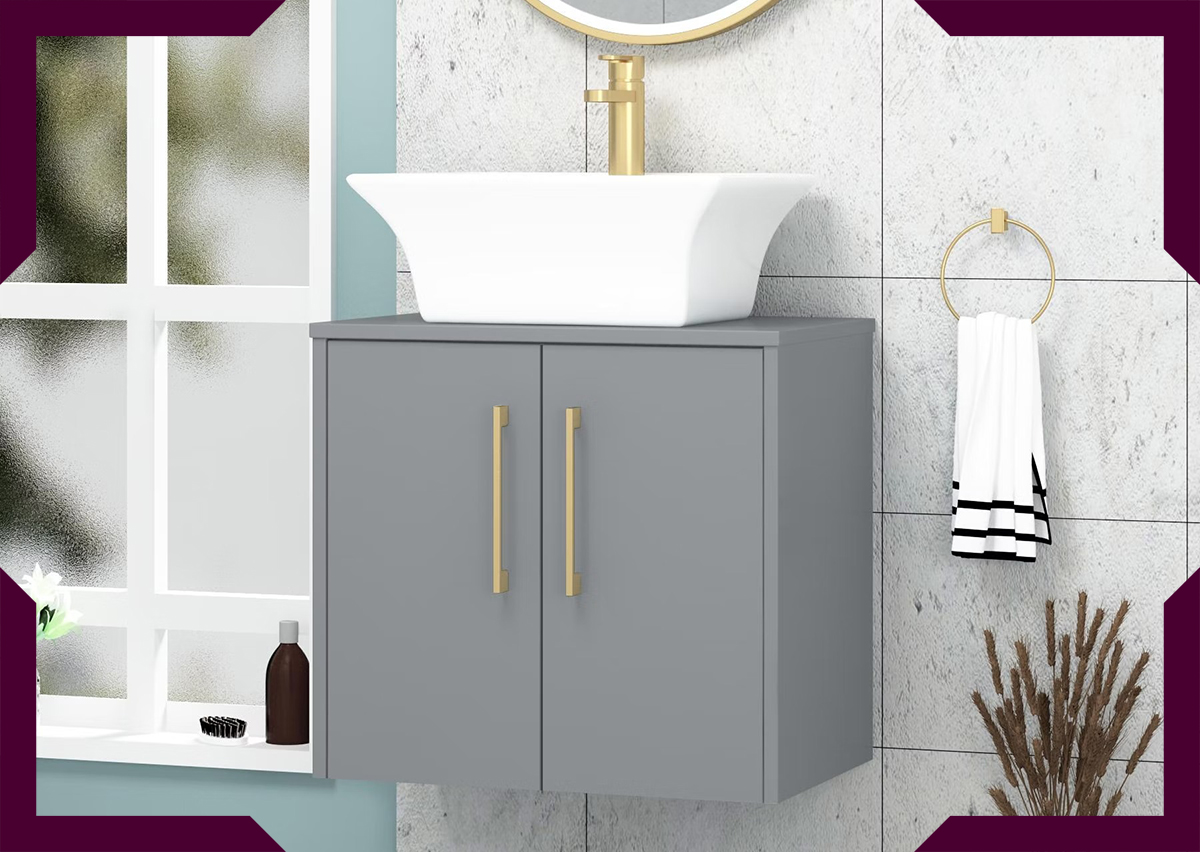
Follow the manufacturer's instructions regarding the recommended curing time for the caulk you used. Avoid exposing the newly applied caulk to moisture or water during the curing process. This will ensure the caulk fully sets and creates a strong bond, thereby, becoming a waterproof seal for the bathroom vanity unit.
Regular maintenance for long-lasting caulk
To extend the lifespan of your newly replaced caulk and prevent future issues, it's important to implement regular maintenance practices:
- Periodic cleaning: Clean the caulked area regularly using a mild bathroom cleaner or a mixture of vinegar and water. This helps remove any soap scum, dirt, or grime that may accumulate over time and compromise the caulk's effectiveness.
- Inspect for damage: Regularly inspect the caulked areas for any signs of damage, cracks, or gaps. If you notice any issues, address them promptly by removing and replacing the affected caulk.
- Mould prevention: Keep the bathroom well-ventilated to prevent excessive moisture buildup, which can lead to mould growth around the base of your toilet and other fixtures. Use an exhaust fan or open windows after showers or baths to allow moisture to dissipate.
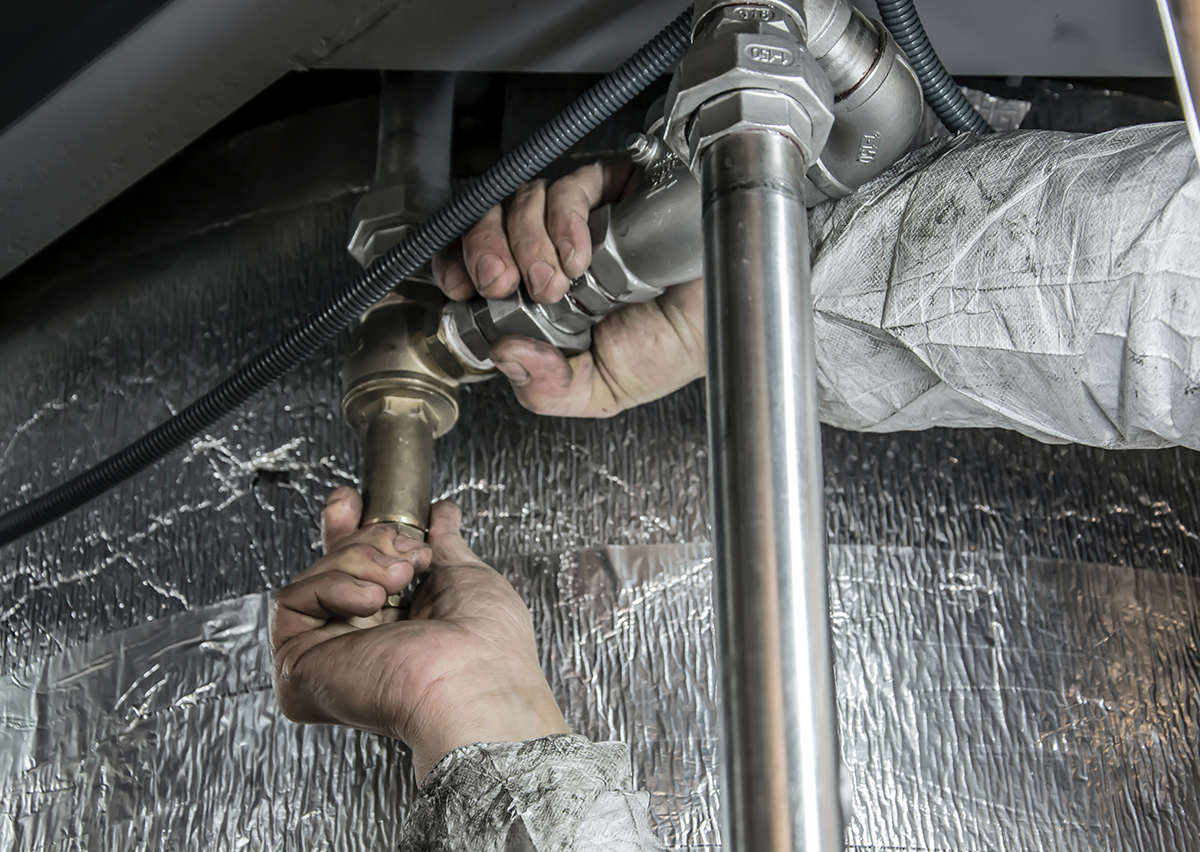
- Address water leaks: Check for any water leaks around the fixtures of the plumbing connections. If you notice any leaks, repair them immediately to prevent water damage to the caulk and surrounding areas.
- Avoid harsh cleaners: When cleaning the caulked areas, avoid using abrasive or harsh chemical cleaners, as they can degrade the caulk over time. Stick to mild cleaning solutions and gentle scrubbing to maintain the integrity of the caulk.
By following these maintenance tips, you can ensure the long-lasting performance of your bathroom caulk and prevent the need for frequent replacements.
Conclusion
With this DIY guide, you now have the knowledge and step-by-step instructions to replace bathroom caulk effectively.
By properly preparing the area, removing the old caulk, applying the new caulk with precision, and implementing regular maintenance practices, you can achieve a watertight, mould-resistant, and aesthetically pleasing seal in your bathroom.
All that’s left for you to do now is enjoy a clean, functional, and protected bathroom environment for years to come. Remember, a little effort in maintaining the caulk will go a long way in preserving the integrity of your bathroom and preventing costly repairs in the future.