Post Contents [hide]
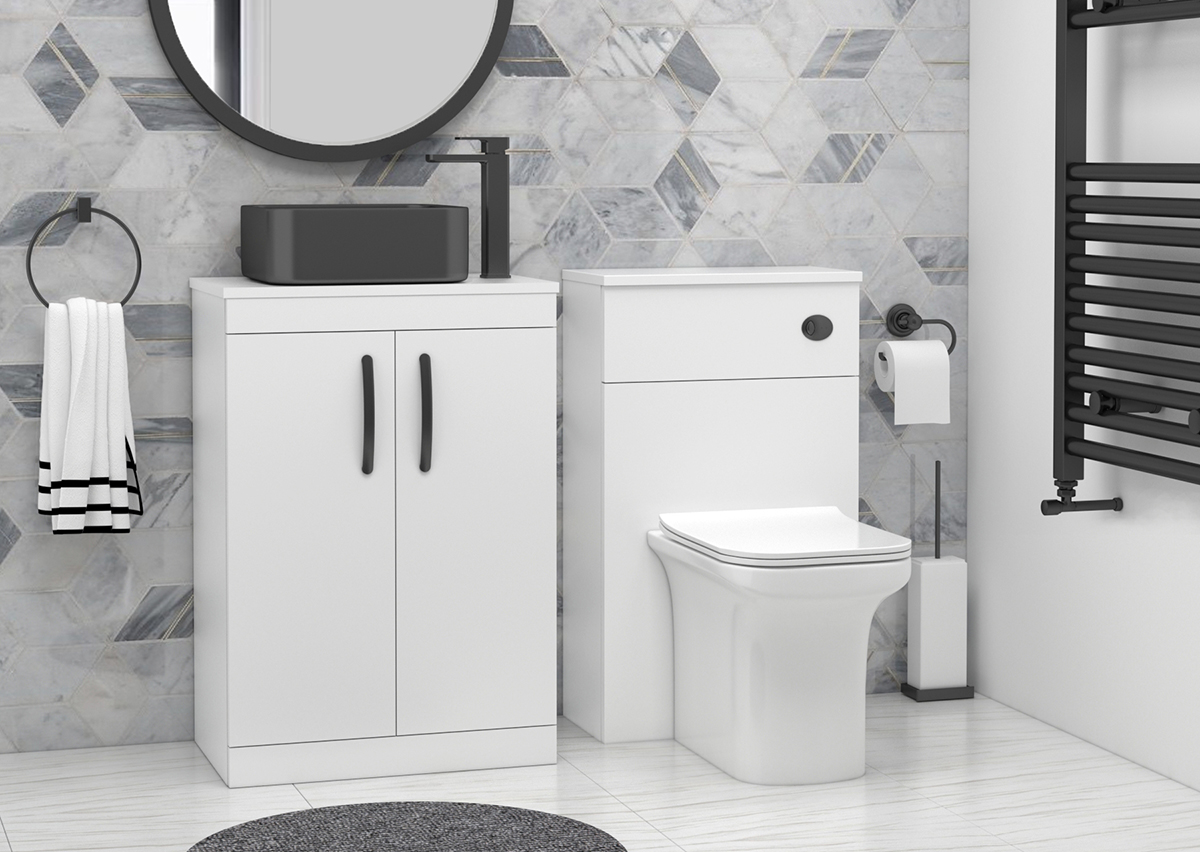
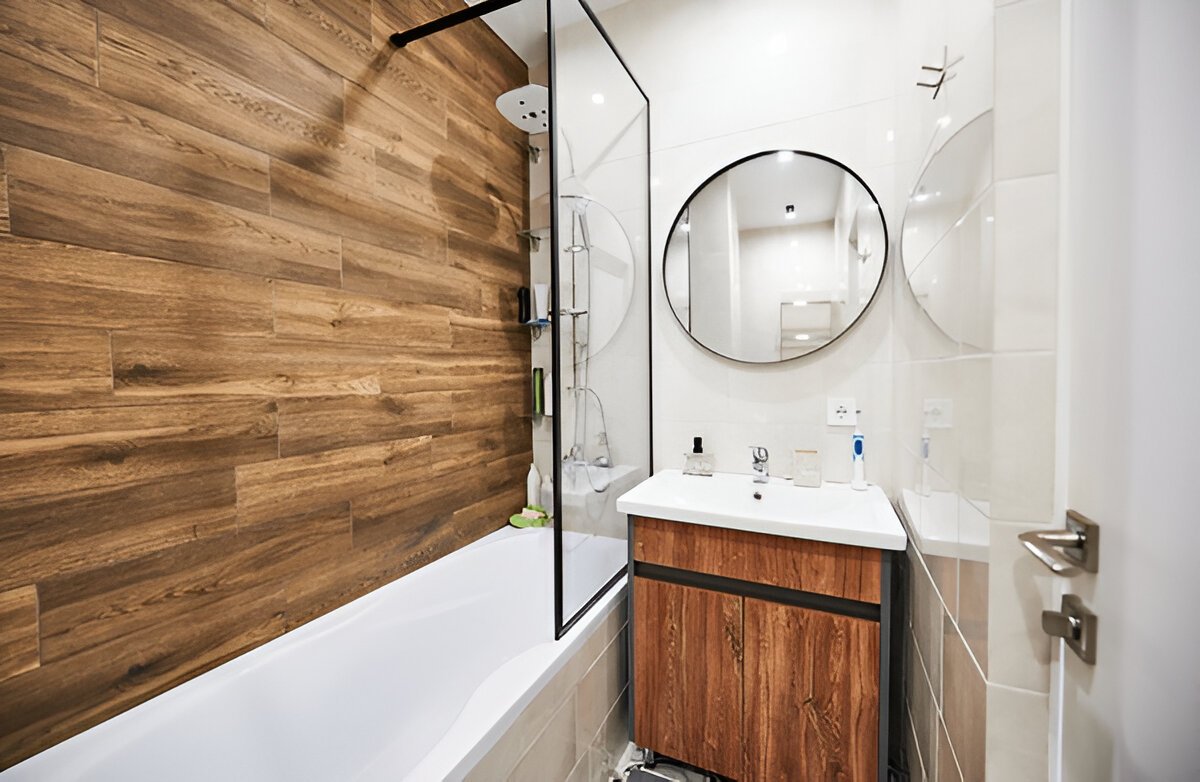
One of the simplest ways to create a cleaner, sleeker, more modern bathroom design, while keeping those annoying water splashes contained, is to install a shower screen. It serves a dual purpose, increasing the utility of your bath area and adding to the value and beautification of your space. Although you can always hire a professional installer, most homeowners pick DIY to save some money and feel the pride of doing a job themselves. If you’re handy with basic tools and clear steps, adding a shower screen can be a successful DIY project.
Glass and fittings do require care, attention, and the right preparation. Shower screens come in different types, and their installation procedure is relatively similar but knowing the specifics can be valuable. Whether you’re replacing an old screen or putting a new one in from scratch, this guide takes you step by step through the entire process from prep work to sealing — with all the practical tips you’ll need along the way.
What to Know Before You Get Started
A bath shower screen can be heavy, making it difficult to hold steady while they are level. Therefore, it is advisable to have someone to help where and when required. If it is the first time you are installing a shower screen, then it can take up to 1-2 hours to complete. However, it will depend on your DIY skills and the type of shower screen you are going to install.
What Type of Shower Screen Are You Installing?
The shower screen installation method may differ depending on the type of shower screen. Our guide will focus on fitting a shower screen on a bathtub.
Before you start, it is important to go through the manufacturer's manual.
-
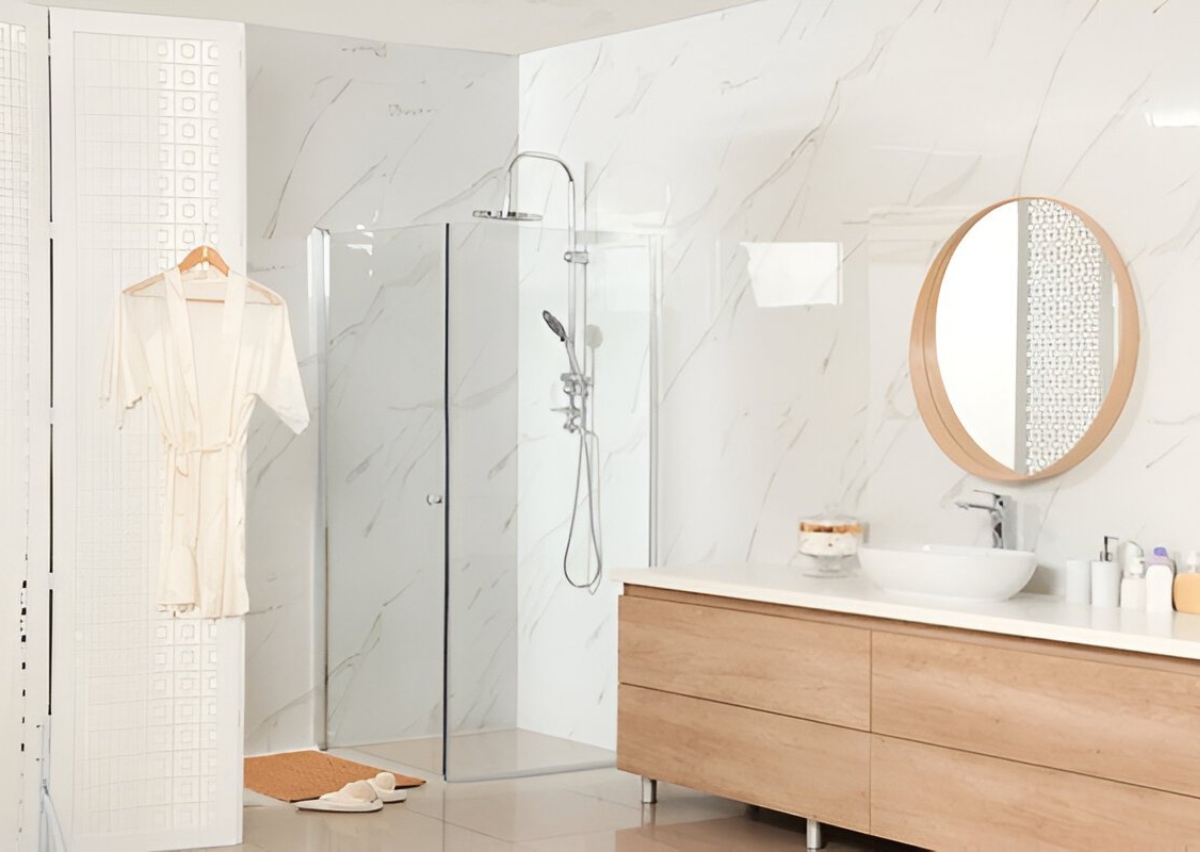
Static or Fixed Bath Shower Screen - These are the most common shower screens fixed on the wall from one side covering the bathtub till mid-point. These are not moveable and remain in a fixed position.
-
Hinged Bath Shower Screen - This shower screen can open 180 degrees both inwards and outwards, making getting in and out of the bath easier. You can choose to provide extra functionality of providing protection against moisture leakages from the shower bathtub. It comes in both framed and frameless styles, offering you great flexibility in style and design choices.
- Foldable Bath Shower Screen - The folding style screens are easy to pull out when you want to take a shower and fold back afterwards. You should prefer it when you have limited space in the bathroom. In addition to that, these look good and contribute to the bathroom design.
Tools You'll Need for DIY Shower Screen Fitting
-
Electric Power Drill
-
Hammer
-
Bubble or spirit level
-
Sealant or Caulking Gun
-
Screw Drivers
-
Lead Pencil or a Marker
-
Measuring and Masking Tape
In addition to all the above tools, you should check the shower screen box for screws, screw caps, seals, wall channels, and wall plugs.
Expected Time for Completion
-
30-60 minutes
Step By Step DIY Process to Install a Shower Screen
Here are the steps that you will need to take to fit a shower screen.
Remove the Old Shower Screen
If you already have an old shower screen in place, then the first step will be to remove it by following these steps.
-
Separate the screen from the metal channel on the wall.
-
Unscrew the screw with a drill machine from the wall channels.
-
Get rid of sealant and take off the channel from the wall.
Preparing for the Installation Process
It is important to prepare yourself and the area for the installation. You will need to remove any residue and dirt from the wall and edges of the bathtub. So, the surface is ready for a new shower screen fitting. In addition to that, open the shower screen package and check all the content to ensure everything you need is in good condition. Make sure that you place the glass screen a bit away from the working area, so you don't end up accidentally damaging it during the installation process.
Wall Channel Cutting
A wall channel is what holds the glass shower screen panel. So, you will need to fit it first on the wall. But before you do it, cut it as per your requirements. Locate the most appropriate position where your glass panel should fit. Measure the length according to your panel and make a cut on the wall channel accordingly. In addition to that, position the channel track while keeping it straight with the help of a bubble level, mark the area for drilling the screw holes.
Drill Screw Holes for Wall Channel Fitting
It is important to check for nearby electrical cables or pipes before drilling. So, you don't end up damaging anything during the process. The use of a multipurpose detector is advisable for this purpose. You can now start drilling the screw holes in marked areas with an electric power drill. Once it is done, you should place wall plugs into holes.
Screw the Wall Channel
The next step will be to fix the wall channel. You should position it in accordance with the screw holes. Then tighten the screws with the screwdrivers. You can also use the power drill to do it. Complete this fixing in all screw holes one by one. Make sure that the wall channel is fully tight into its position as it will bear the weight of a shower screen.
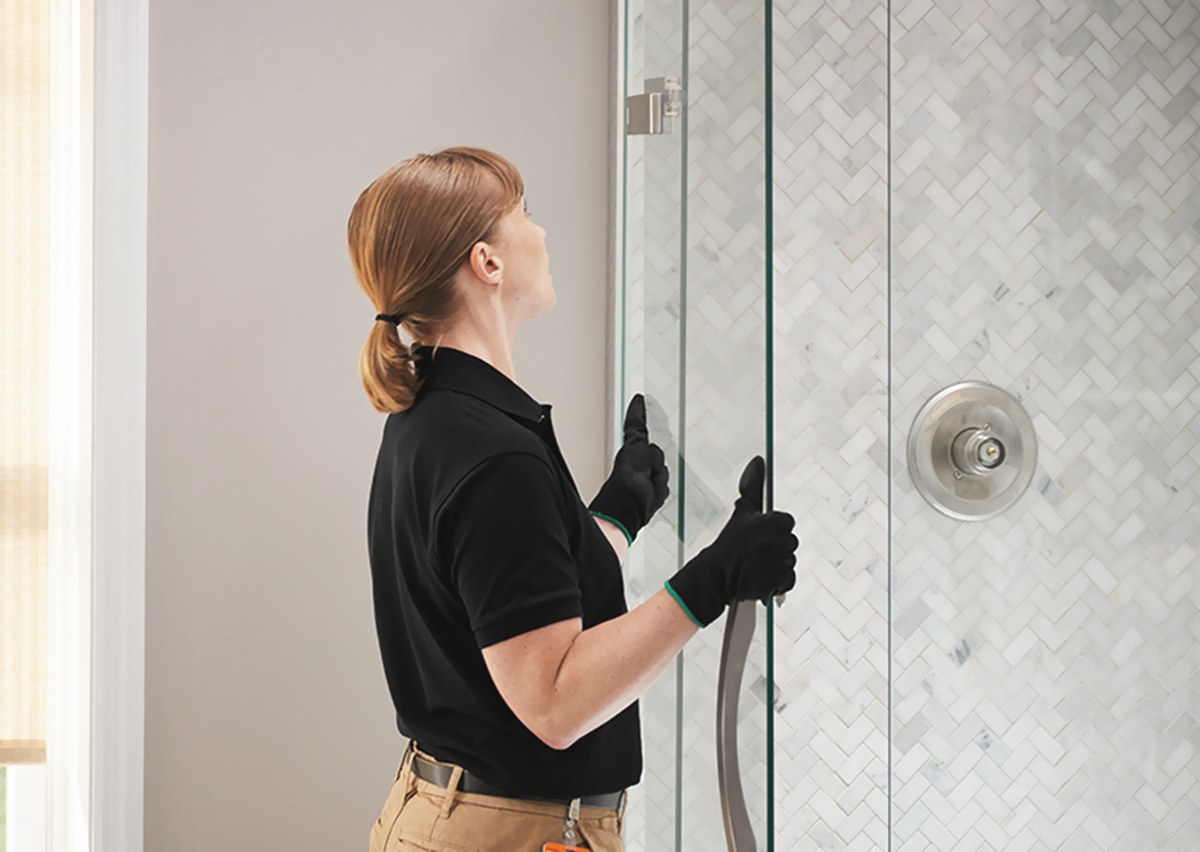
Fit The Shower Screen
Once you ensure that the channel perfectly fits on the wall, now place the glass screen into the channel carefully. You may need someone's help to do it securely due to its weight. It is also important to check the manufacturer's manual to ensure everything is in position and working as it should be. If your shower screen comes with a towel rail or handle, you can install it now.
Fitting Bottom Seals or Hinges (If Needed)
If your screen has a rubber seal or drip rail to attach to the bottom edge, install it according to the instructions. They are installed around the edges of the bath area to help prevent water from escaping, keep the tub and wall junction fluid tight. Sometimes, soaking the rubber seal in warm water for several minutes softens it and helps it to slide into position. Hinged and folding models may also need additional support fittings — read the instructions carefully before you proceed.
Seal the Edges
The final step is sealing. Run a thin continuous bead of waterproof silicone sealant along the edges where the wall channel meets the wall, and the screen meets the bath. Do not seal along the inside edge of the screen. This is to allow water that might enter the channel to drain back into the bath. Run a finishing tool or your finger dipped in soapy water along the silicone to create a clean line. Let the silicone cure (typically in 24 hours) before using the shower.
Congratulations! Your Bath shower screen fitting is now complete.
Summing It Up
A shower screen may be just what you need to refresh your bathroom, and self-installation can certainly save you on installation bills. It’s a job most people can successfully complete. Even without prior experience, with the right tools, a methodical approach and attention to detail, anybody can install it. Just be sure to follow the instructions exactly, take the necessary safety precautions and don’t rush it. But, if you ever feel confused or have a more complex system you’re dealing with, it’s always good to contact a specialist to avoid costly oversights.
Our instructions are for guidance only and should not be taken as an alternative to professional advice.
Frequently Asked Questions
Can I fit a bath shower screen without drilling?
Yes, bath shower screens can be installed without drilling depending on the design. They usually include adhesive fixing kits or clamps which hold the screen steady without drilling into your tiles or walls. These are great for rented spaces or anyone who wants to avoid permanent changes. Just make sure that the product is made specifically for no-drill installation for stability and watertightness.
Which style is easier for DIY installation?
Frameless and semi-frameless bath shower screens containing little-to-no fittings are easier for installation. Models with pre-drilled holes, precise instructions, and mounting templates can be time- and effort-savers. Hinged screens with fewer moving parts also are less complicated than sliding ones. If this is your first time tackling DIY, look for screens with "easy-fit" or "tool-free installation" you can install without tools.
How to prevent your shower screen door from smashing into the taps?
Put door stoppers or soft-close hinges on the shower screen door to prevent it from banging into the taps. Otherwise, changing the hinge tension or how the door is set in may prevent it from opening fully. If your screen does hit, magnetic strips or rubber bumpers can provide some cushioning. During installation, ensure the screen is aligned properly to avoid unintentional collisions.
How long does it take to fit a shower screen?
The time required to fit a shower screen depends on your skills level and the type of shower screen you are fitting. If it is a bath shower screen, then it will take between 30 to 60 minutes. Other types of shower screens may take between 2 to 3 hours to complete.
Can you put a shower screen on a freestanding bath?
A shower can be installed with a freestanding bathtub in the same way as for a shower bathtub. However, it will be only possible when you place a freestanding bath along the wall, so you can fix the shower screen on it. However, there are many customizable shower screen solutions available that will make it possible for you to put a shower screen on virtually any bathtub.
Which mistake cause shower screens to crack?
Common installation errors include over-tightening screws, using mismatched fittings or not leveling the screen correctly. Installing with uneven pressure or not handling the glass correctly can also cause stress. Always adhere to manufacturer recommendations, use proper equipment, and take care with tempered glazing to avoid damaging the seals unnecessarily.
How long after installing a bath screen can I use a bathtub?
In case of a shower screen installation, allow the bathtub to rest for at least 24 hours. This ensures that any adhesive, sealant, or caulk can fully cure and bond to the surface. Using the tub forward of in time will weaken the watertight seal and steadiness of the display. As always, consult the manufacturer’s instructions for precise lengths of drying or curing time.
How long does a shower screen last?
There is no fixed duration for which a shower screen should last. It depends on the quality and its maintenance. However, a rough idea can be around 20 years if looked after properly.