Post Contents [hide]
Unless your bathroom is spacious enough to instate an open shower area without fearing the splashes flooding the rest of the room, you’d need something to shelter other fixtures from the splashes.
Not everyone has the luxury of dedicating an open shower space or feels comfortable showering in confined enclosures. And as someone who dislikes slippery floors and sprayed vanity units, shower screens could be the most balanced solution.
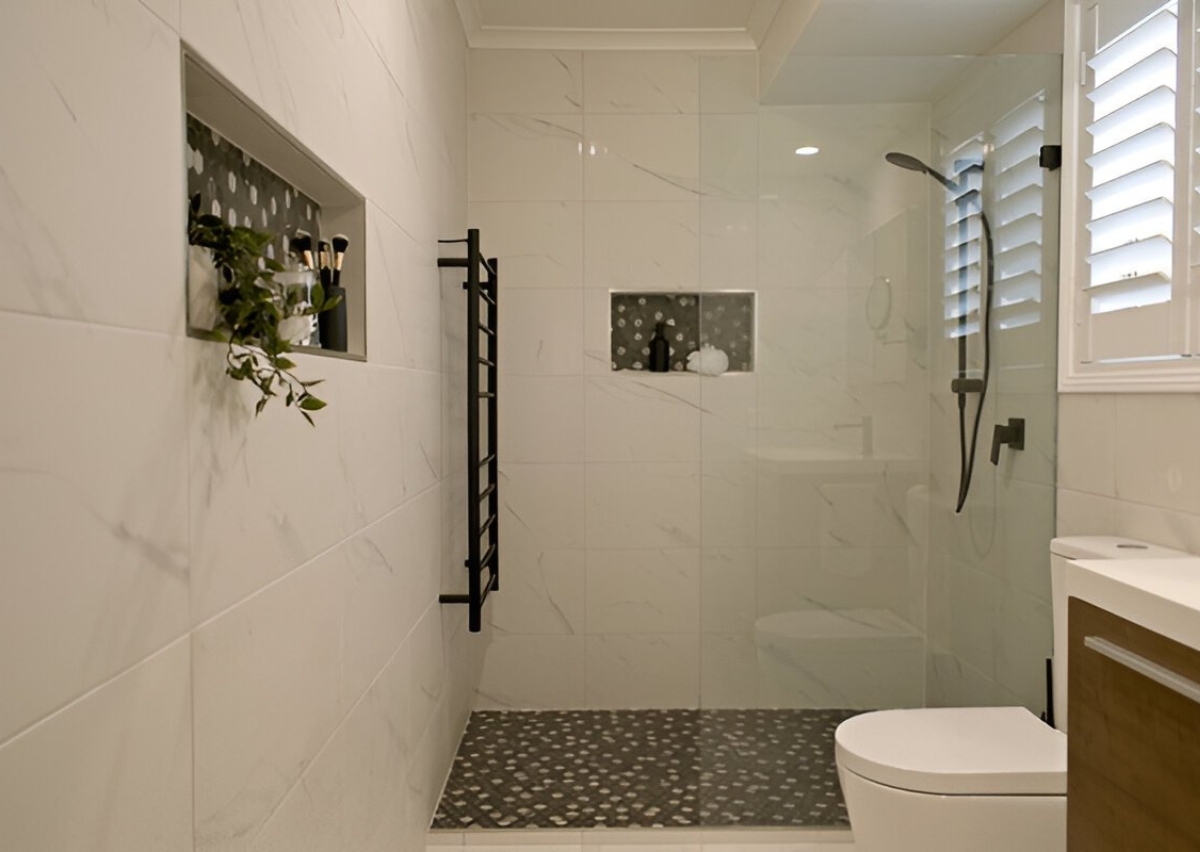
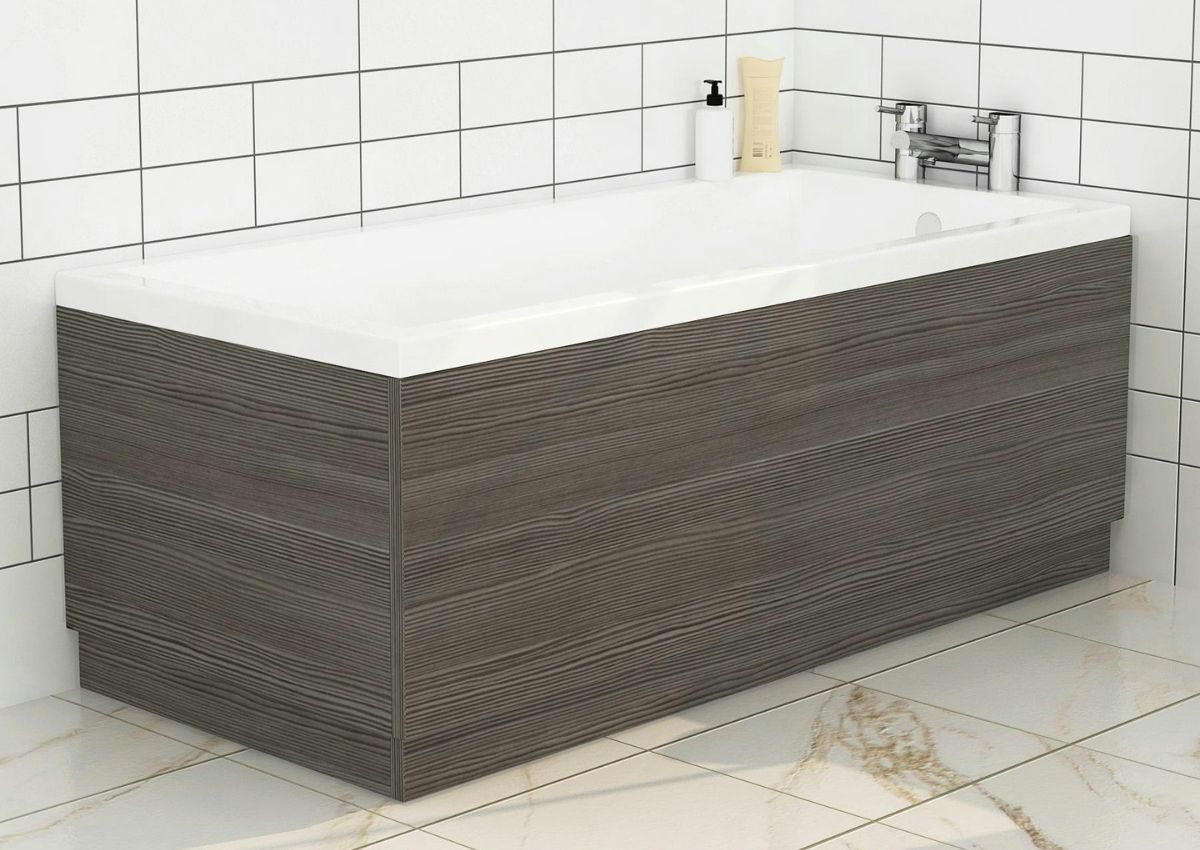
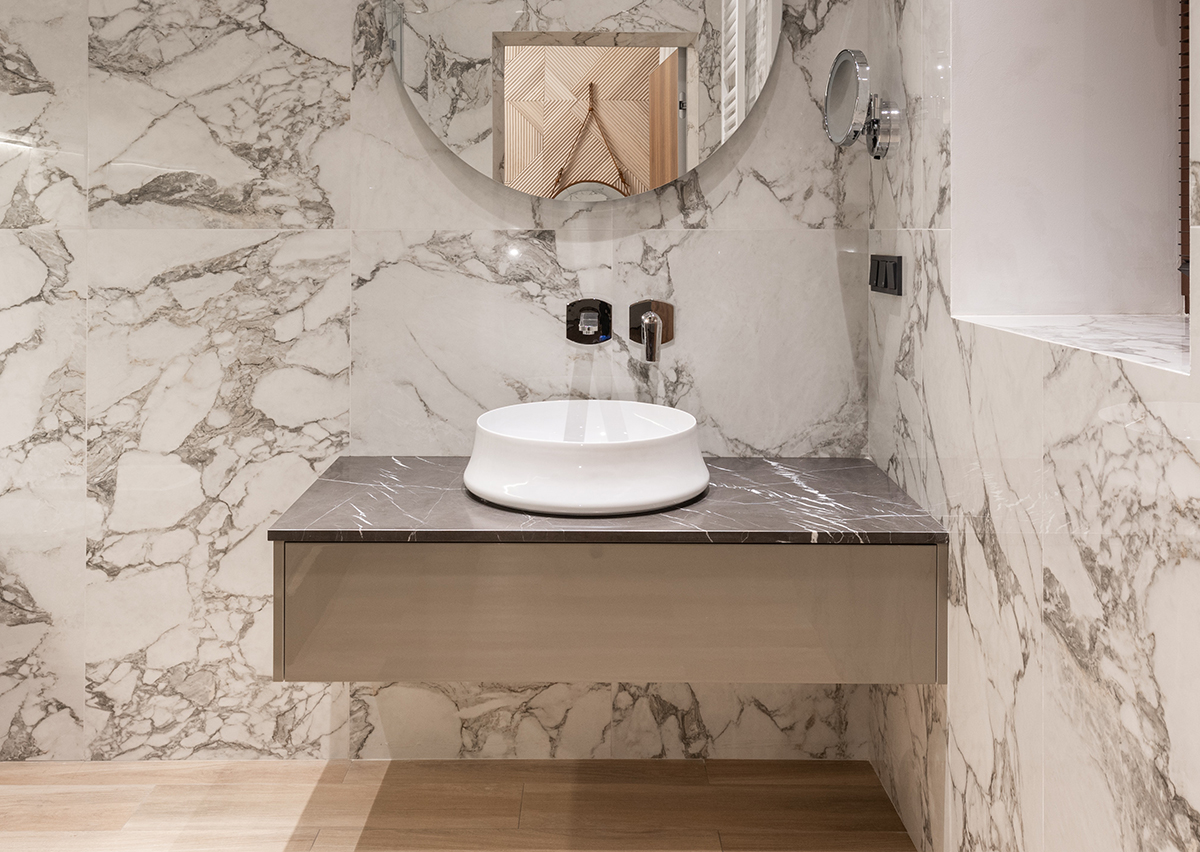
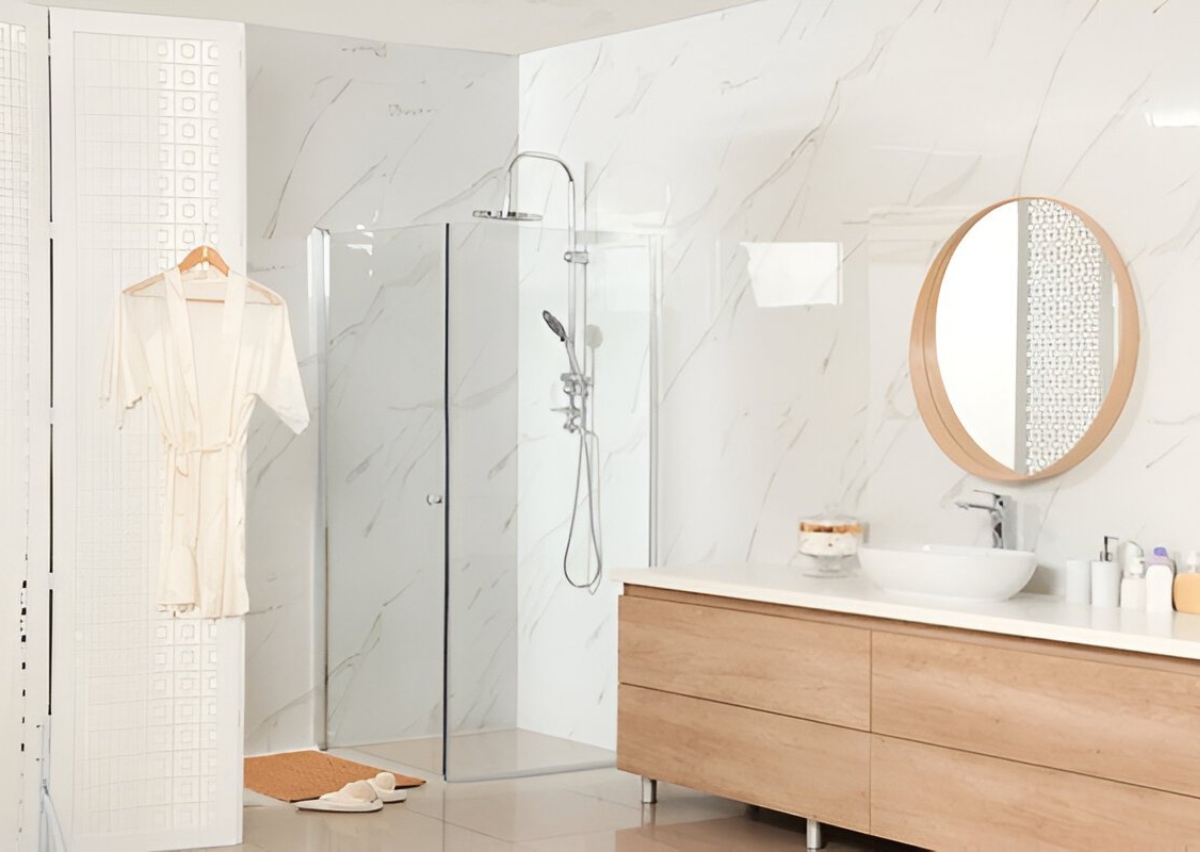
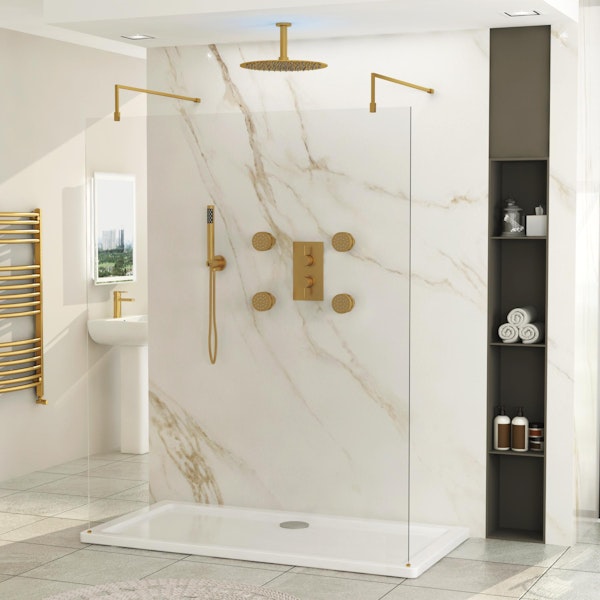
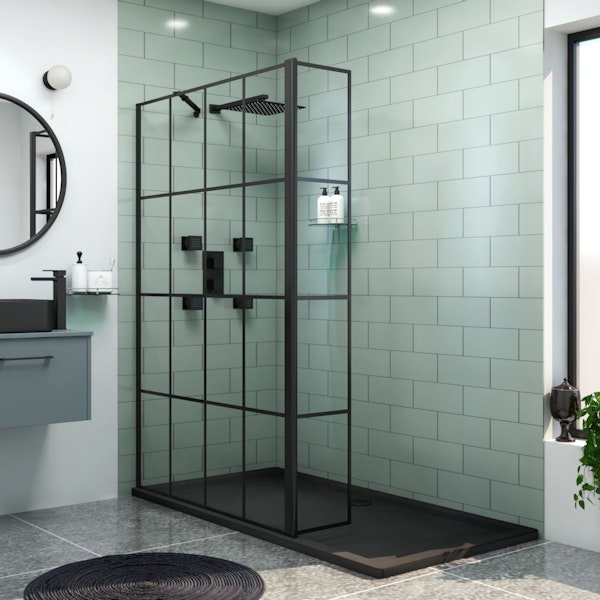
Shower screens are standard glass panels that prevent water from spilling on the floor without making you feel cramped. While they primarily separate wet rooms or walk-in shower areas from the rest of the room, some are also installed as an alternative to shower curtains on over-bath showers.
If you want to upgrade the aesthetics of your over-bath shower or mark the shower area, we have set up a comprehensive DIY guide on how to fit a shower screen.
Before You Begin Gauge Your Skills
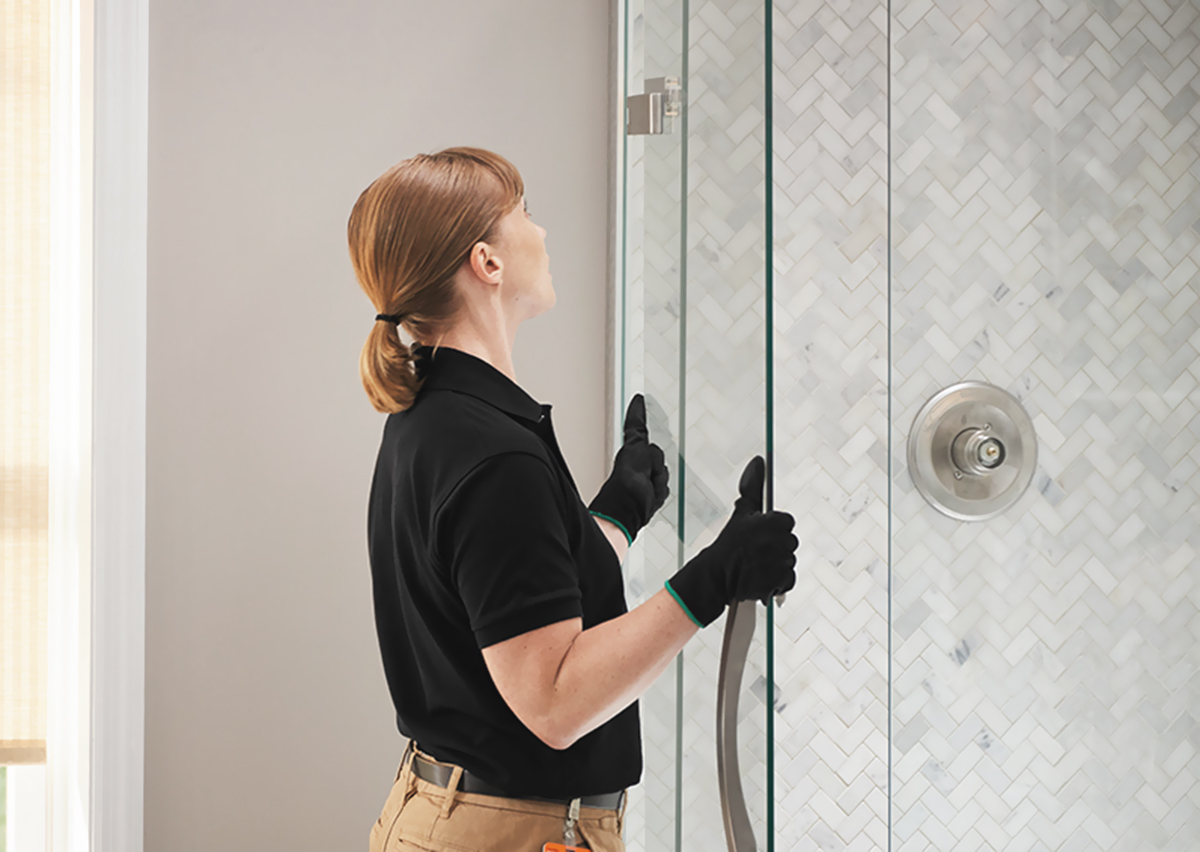
Installing a shower screen isn’t as straightforward as it appears. Regardless of being a DIY enthusiast, marking up the wall with one hand while keeping the panel steady from the other can be quite challenging. You don’t want the weak glass panel getting cracked up with a slight mishandling.
Unless you are skilled enough or have someone to assist you with the process, setting up a shower screen beside the bathtub demands professional help.
Determining the Type of Shower Screen
Shower screens come in various types; static, hinged, and foldable, with their installation methods varying respectively as well. Static shower screens that stay fastened to the wall channel might not be difficult to mount but installing hinged or foldable bath screens are a different deal.
Not to mention, if you’re installing larger glass panels, they might require some extra pairs of hands and proficiency on your part. Check the manufacturer's instructions first to make things slightly simpler and risk-free.
Steps to Remove the Old Shower Screen
When dealing with a bathroom makeover, you might want to remove the existing shower screen and replace it with a new one. Here’s the three-step procedure for removing the old bath screen:
- Carefully disassemble the glass panel from the metal wall channel.
- Remove the fastening screws from the wall channel.
- Scratch off the sealant from the wall channel to sever it more easily.
Once you remove the old bath screen, including the wall channel, make sure to give your wall a nice clean scrub before fitting a new screen.
How to Fit a Shower Screen?
Although shower screens are installed in bath-over showers as well as walk-in showers, the process is almost similar.
Step 1. Outline the Wall Channel
Even if you are installing a frameless glass screen, it is fastened with a wall channel instead of mounting straight onto the wall. Position the wall channel 10 - 15 mm off the outer edge of your shower tray. Make sure it’s strictly balanced and aligned using a spirit level, then mark the holes in the frame for drilling.
Step 2. Drill the Holes
Place your drill machine on the designated points and drill holes in the wall. Using the right drill bit is important for the job, as you don’t want the holes to be too big or too small for the screws. Moreover, make sure there are no wall plugs, sockets, or electrical wiring nearby before drilling.
Step 3. Fix the Channel
Position the channel against the wall where the holes have been drilled and fasten them tightly with screws. The wall channel should be firmly attached so it can safely bear the panel’s weight.
Step 4. Install the Glass Panel
Once the foundation is laid out, it’s time to fit the glass panels in. Follow the manufacturer’s instructions while securing the glass screen on the channel to avoid any unwelcoming scenarios. Since shower screens are heavy enough, this step can be difficult to perform alone. Make sure you have someone to steady the panel while fastening it to the channel.
Step 5. Mount the Bracing Bar
Sometimes the wall channels aren’t enough to hold the weight of large static shower screens where you often have to rely on bracing bars for additional support. They are either installed on the wall adjacent to the glass panel or mounted on the ceiling, keeping the screen straight and sturdy. When installing the bracing bar, ensure to set the right measurement and angle that offers optimum support to the glass panel.
Step 6. Seal the Edges with Caulk
Preserving the sole purpose of shower screens - preventing water splashes from escaping the shower area - sealing the edges is a key step. Sealing caulk creates a watertight barrier to the enclosure, keeping the rest of your bathroom clean and dry.
After applying the sealant, let it sit for 24 hours to dry off completely. The sealant also reinforces the sturdiness of the wall channel, which in turn secures the glass screen more effectively.
FAQS
Is it easy to fit a Shower Screen?
Fitting a shower screen is not as difficult as some might think. With the proper tools and a little bit of know-how, most people can easily install a shower screen on their own. Of course, there are always exceptions to the rule, and some people may find the task to be more challenging than others. In general, however, fitting a shower screen is a relatively simple task that can be completed in a short amount of time. With just a few basic steps that we have discussed above anyone can have a new shower screen installed and ready to use.
Can I Install a Shower Screen Myself?
DIY shower screens are possible with little knowledge of using the basic tools. However, it is advisable that you have someone to help you during the process as depending on the size, these can be heavier to hold and fit in the right position for a single person.
What type of shower screens are there?
There is no one-size-fits-all answer to this question - the dimensions of a shower screen will vary depending on the type of screen you're purchasing, the size of the shower area, and your level of experience DIY. However, you can use these general guidelines to get started: Measure the width and height of the area you want to screen (including the edges of the enclosure). Compare those measurements to the dimensions of a screen that will fit in that space. If the screen is too small, you can add extra space to the edges or corners of the screen Keep in mind that the screen will protrude slightly from the wall - you'll want to allow for that in your calculations.