In an age where style and aesthetics are the baselines of a bathroom interior design, functionality is often overshadowed when it comes to bathroom fixtures. While the internet is flooded with style guides to make your bathroom more visually appealing and elegant, you won't find enough credible material to help you install a close-coupled toilet as do it-yourself – a most popular choice for modern bathrooms.
Close Coupled Toilets - How Are they Different?
While wall-hung and back-to-wall toilets might seem the most trendy today, close-coupled toilets are still dominant in most UK bathrooms. They feature an attached cistern that sits directly on the pan and operates with a siphon flush mechanism. Regardless of what toilet you intend to set up, their method of installation varies dramatically.
- Ideal Height - For people with mobility issues who struggle sitting on typical toilets, close-coupled toilets are designed slightly higher to allow comfortable seating.
- Compact Design - Unlike standard toilets, close-coupled toilets feature a short projection, making them ideal for bathrooms with limited space. With a compact seat area and reduced cistern depth, you can even fit them in cloakrooms.
Close-coupled toilets are the easiest to install; the credit goes to their straightforward design. So, before you call for a professional plumber or hire a contractor, we have assembled a comprehensive guide to help you install a close-coupled toilet without outside help.
How to Install a Close-Coupled Toilet?
As soon as your toilet fixture arrives, check if all the listed parts in the manufacturer's guidelines are included in the package and undamaged. It is better to check everything in advance than to ship the package back in case the items are missing or damaged.
Tools You Need?
Some tools and equipment may vary according to the toilet you are installing.
- Screwdriver
- Adjustable wrench
- Caulking sealant
- Electric drill (with relevant drill bits)
- Adjustable pliers
- Spirit level
Fitting a Close Coupled Toilet in 5 Steps:
Step 1. Assemble the Flush Mechanism
Since every toilet has a different flushing mechanism, the assembly procedure varies as well. Consult the manufacturer's instructions to set it up correctly. But remember not to fit it too tightly with the cistern, or it might become dysfunctional later.
While you are at it, assemble the internal parts of the cistern, like fitting the ballcock valve to the incoming water supply. Make sure to stop the water supply before you begin the procedure.
Step 2. Attach the Cistern with the Pan
Now comes the main event - connecting the two components of the toilet. Insert a rubber gasket on the flush opening of the pan to keep it watertight when installed. Then thread fixing bolts through the holes on the cistern where the pan is supposed to attach. Don't forget to infuse rubber and metal washers alongside.
Lift the cistern and position it directly in front of the holes on the pan, allowing the bolts to screw in. Before you tighten the bolts, make sure there's ample space for the flushing mechanism to slide through the already attached rubber gasket. Use a spirit level if you are having trouble keeping it straight.
Step 3. Set up the Toilet Against the Wall
Once a combined setup, lift your toilet and position it in the desired place. Line up the toilet right against the fixing holes and supply lines while keeping it at a straight level. Mark the wall according to the fixing holes on the cistern.
Repeat the procedure on the floor where the base of the pan is set to lay on. Ensure the wall doesn't have plumbing or electrical wires passing by before drilling holes.
Step 4. Connect the Soil Pipe
Move the toilet close to the marked spot where the holes are drilled. But before you screw the cistern against the wall, connect the soil pipe to the back of the pan on the floor. This way, both the pan and the cistern will fasten to the wall.
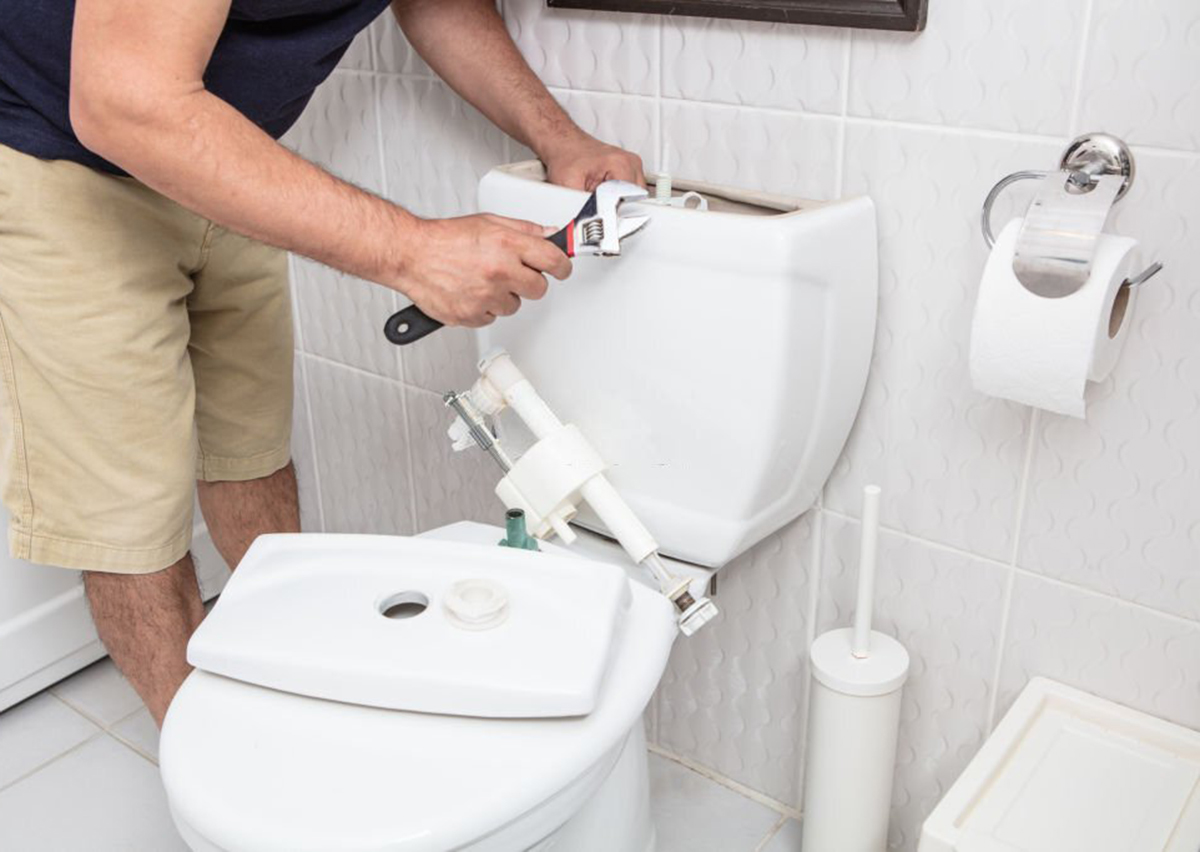
Step 5. Release the Water Supply
Connect the water supply line to the fill valve, otherwise known as the ballcock valve. Use Teflon tape to tighten the connection and make it leak-free. Since the valve isn't metal, refrain from applying too much pressure with the wrench.
Restore the water supply, wait until it fills the cistern, and check for leaks. Once the cistern fills to a certain level, you can test if the flush mechanism works fine.
Fitting The Toilet Seat
Most of the close coupled toilets come with a seat cover that makes using a toilet a comfortable experience. You should prefer a soft close seat as it prevents slamming while shutting down, making it less noisy. In case it is not offered with a toilet you purchase, consider ordering it separately. You will need to install it at the same time as the toilet itself. Close coupled toilet seat installation is easy and straightforward. It should not take more than five minutes.
Step 1. First, check the manufacturer's manual (if available) and follow the instructions to fit the hinges under the seat cover lid at the specified position.
Step 2. The final step would be to connect the hinges lids to the toilet pan, completely securing the holes available at the back of it. You should use the screws provided with it and adjust it in the right position.
FAQs
Here are a few frequently asked questions about close coupled toilets.
What is a Close Coupled Toilet?
A close coupled toilet is a popular choice for many modern bathrooms due its stylish designs, efficient operation and minimal maintenance. In contrast to the two-piece toilet, which requires two separate components for the tank and bowl, the close coupled toilet integrates both into one seamless piece.
What are the Benefits of a Close Coupled Toilet Over Other Types?
Generally, close coupled toilets are considered to be sturdier than its counterparts requiring less maintenance over time. These cost less and are easier to install. Being a one-piece toilet allows for a more aesthetically pleasing design with fewer obvious components in the bathroom. It also eliminates the need for connecting pipes that are used in traditional two-piece toilets with tanks, reducing the risk of replacement or repair work if there are any issues. As such, homeowners can enjoy all the benefits of an efficient toilet without having to constantly worry about potential maintenance. Additionally, since it is sealed directly onto a compatible waste outlet fitting, installation time is drastically shortened when compared to other types of toilets. Thus, it's no wonder why a close coupled toilet has become one of the most common choices when it comes to installing new toilets and replacing old ones.
Is It Possible to Install a Close Coupled Toilet as DIY?
It is possible to install a close coupled toilet as DIY, and it is easier to install as compared to other types of toilets. However, it is not recommended. A plumber will have the necessary tools and expertise to ensure that the installation is done correctly and safely.
If you are determined to install the toilet yourself, be sure to read the installation instructions carefully and follow them step-by-step. You will also need to purchase a close coupled toilet kit, which should include everything you need (except for basic tools such as a screwdriver and hammer). If you are not comfortable with doing the installation yourself, or if something goes wrong during the installation process, be sure to call a plumber for assistance.
How Do I install a Close Coupled Toilet?
The installation process for a close coupled toilet generally involves the following steps:
- Shut off the water supply to the toilet by turning off the valve that connects the toilet to the main water line.
- Flush the toilet to drain any remaining water from its tank.
- Disconnect the existing toilet from its plumbing by unscrewing its bolts and disconnecting its pipes.
- Mount the new close coupled toilet to where the old one was installed, using new bolts and screws as needed. The bolts and screws typically come with your new toilet unit.
- Connect the plumbing for your new toilet unit according to how your old one was connected before disconnecting it in step 3 above.
How Much Does a Close Coupled Toilet Cost in the UK?
A close coupled toilet costs around £300-£400 in the UK. This price range will get you a quality, durable toilet that is easy to clean and has a sleek, modern look. There are also more expensive models available if you're looking for something extra special. This price includes the installation costs.
When choosing a new toilet, it's important to consider the dimensions of your bathroom and the amount of space you have available. It's also important to choose a model that is easy to install and fits your plumbing configuration. Be sure to read reviews from other buyers before making your final decision so you can be sure you're getting a quality product.
What are Some Things to Keep in Mind When Installing a Close Coupled Toilet?
When installing a close coupled toilet, you need to make sure that the drainage pipe is in the correct position. The pipe should be located directly behind the toilet, and it should be as close to the toilet as possible. You also need to make sure that the pipe is properly aligned with the drain.
Additionally, you need to check that your plumbing can handle the extra water flow that a close coupled toilet will generate. These are more efficient than traditional toilets, so they can generate more wastewater. Make sure your plumbing can handle the additional flow before installing a close coupled toilet.