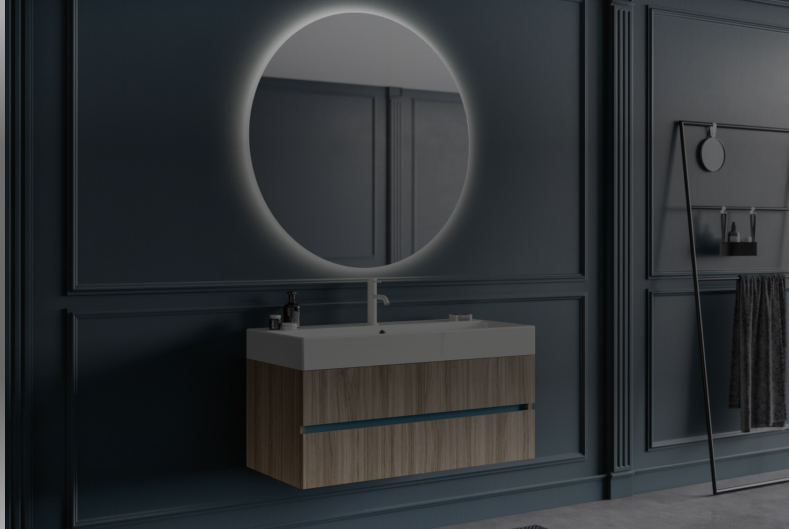
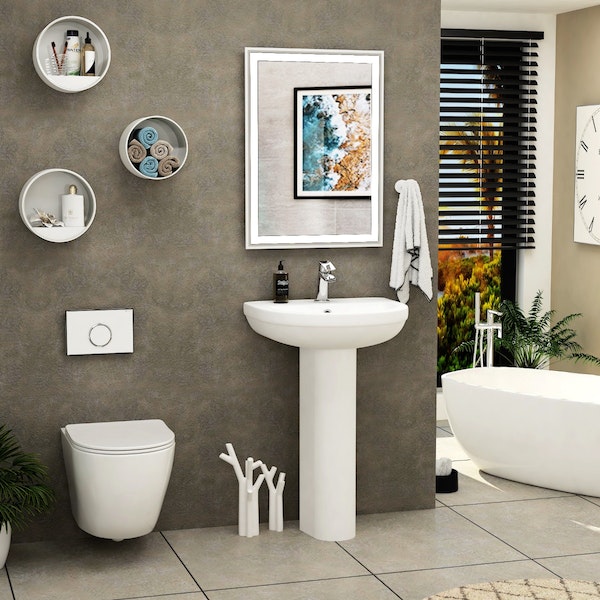
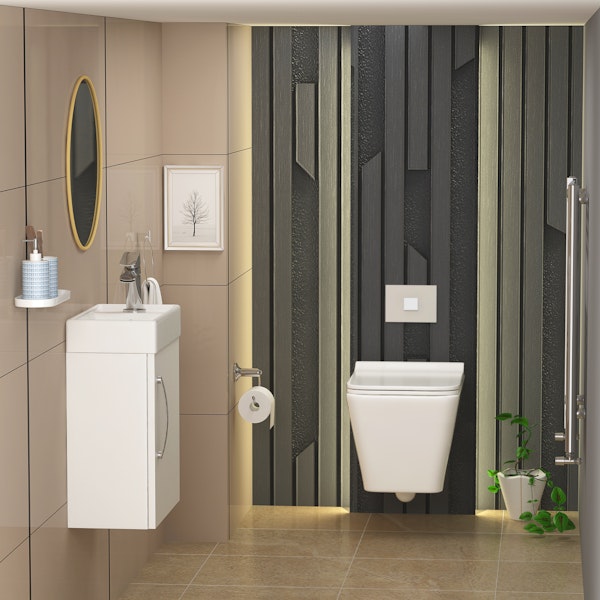
As modern bathroom interiors become minimal and sleek, homeowners look for more sophisticated fixtures and wall-hung toilets take the spot. With no attachment with the floor, these toilet units appear to be set up mid-air, establishing a futuristic outlook.
With their awe-struck outlook, people often wonder how wall-hung toilets stay mounted on the wall despite the weight of the person on top. Unlike the mystery that’s commonly believed, hung toilets feature a rather simple hanging mechanism.
What makes them even more impressive is that they don’t take up any floor space, meaning you can install one in your tiny cloakroom.
DIY: How to Install a Wall-Mounted Toilet in 8 Simple Steps
Unlike traditional floor-standing units, fitting a wall-mounted toilet alongside a concealed tank is a fair bit of work, and the costs are unimaginably high. Considering the high prices, be prepared to spend around £400 for the supplies alone. If you’re hiring a professional to lay out the plumbing and set up the toilet, add another £250 to £400 to your budget.
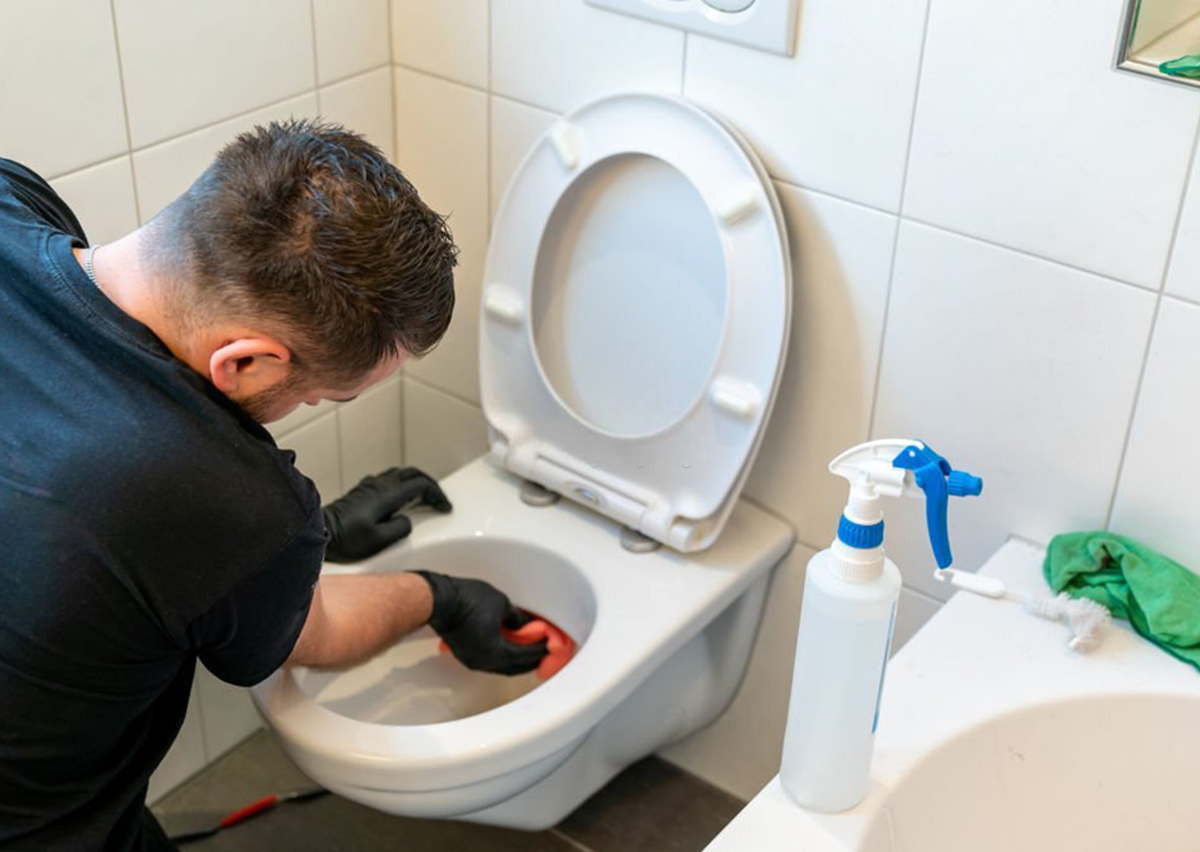
While DIY fitting a wall-hung toilet can help you cut down the installation budget by half, it can be quite challenging, especially if it’s your first-ever DIY project. So, if you’re unsure of your skills, hiring a professional is the ideal way out.
Step 1 - Remove the External Drywall to Access Wall Framing
Pick out a spot where the toilet is meant to be installed. Since you need to shared the outer wall for installation, consider the plumbing paths for supply lines and waste ducts. Moreover, the bathroom wall frame should have ample space to fit in the tank unit along with the toilet carrier frame.
Once you select a location, remove the external drywall layer to expose the internal structure. In the case of a tiled wall, sever each tile piece one by one before you demo the wall.
Step 2 - Revamp the Wall Framing to Fit the Concealed Tank Unit
Most wall-hung toilet units come with an ideal-sized in-wall tank that fits traditional bathroom wall framing. Since planks in stud wall constructions are widely placed, you can easily fit a 2”x 4” shallow water tank inside.
If you are revamping the toilet unit in a family bathroom, you might need a bigger tank unit to match the demand. For a 23 ½” wide tank unit, you will need to modify the wall wearing to ensure a perfect fit. These tanks also require reinforced studs that allow up to 880 lbs of load-bearing capacity.
Step 3 - Layout the Supply and Waste Lines
Whether you are mounting the toilet from scratch or replacing the traditional unit with a wall-hung toilet, you will need to revise the supply lines and waste discharge pipes. The step usually calls for experienced hands, so call a plumber if you’re struggling.
Install 3” to 4” inch waste line pipes just beneath the floor plate of wall framing while leaving a few inches exposed, which will be later connected to the toilet bowl. For the water supply line, you can use ½” pipes and install them through the rear wall cavity beside the concealed water tank.
Step 4 - Mount the Wall-in Tank Unit inside the Wall Cavity
Once the stud frame is redesigned to meet the appropriate lengths, you can mount the wall-in tank unit inside. Double up the studs or use gusset plates to add more sturdiness to the mount. Adjust the seat height to your preference before installing the wall-in Tank. The seat heights are normally set between 15” - 19”.
When installing the tank unit into the wall cavity, make sure it fits snugly with the sides of the Tank touching the bordering studs. Fasten the tank base with lag bolts while using standard bolts and nuts for the sides.
Step 5 - Connect the Plumbing Supply Lines
The cold-water supply lines go along the top side of the tank unit and connect to the supplied valves. Attach the drop ear elbow at the end of the supply pipe, so it doesn’t restrict the water flow while providing a secure connection. Similarly, align the supply valve before inserting it through the carrier.
Step 6 - Attach the Actuator Access Splash Cover
Before sealing the wall tank inside the walls, attach supplied splash covers and mudguards to protect the actuator. Both guards feature snapping tabs and notches that easily lock onto the slots on the front of the actuator.
Step 7 - Complete the Wall Overlay to Conceal the in-Wall Tank
When the in-wall tank is securely fastened, water supply pipes are connected, and the waste pipes are attached, it’s time to sheath the wall to conceal the carrier unit.
Most professionals suggest using cement board and moisture-resistant sheathing mortar to plaster the wall. When dried off, you can layer it off with wall tiles for better waterproofing and incorporate design in the bathroom.
Step 8 - Install the Wall-Hung Toilet Bowl and Connect Plumbing Lines
The last and final step is to mount the wall-hung toilet bowl on the dedicated carrier unit and connect the plumbing lines. Before hanging the bowl, insert seals and plumbing adapters to ensure a secure installation later on.
Since the water supply lines are connected to the wall tank, all you need to do is connect the flush water and waste ducts to the toilet bowl. Lift the toilet bowl before the connectors and push against the nudges. Insert steel levelling washers onto the mounting rods before mounting the bolts.
Once the toilet bowl is aligned correctly, tighten the mounting nuts for form installation. Apply caulking sealant throughout the length of the toilet seat to make it stop clinking with the wall.
FAQs about Fitting a Wall hung Toilet
Here we have answered a few frequently asked questions about a wall hung toilet.
What is a Wall Hung Toilet?
Wall hung toilets are toilets that are attached to the wall in a floating style rather than sitting on the floor. There is nothing visible other than a toilet pan, as the cistern is completely hidden inside the wall. They are becoming more and more popular because they take up less space and look neater.
How Is a Wall Hung Toilet Different from a Regular Toilet?
Wall hung toilets are designed to be mounted on the wall, as opposed to sitting on the floor. Unlike a standard toilet that sits on the floor, its toilet pan seems like floating in mid air while attached to the wall. While the cistern remains concealed inside the wall. Some people also prefer wall hung toilets because they are easier to clean. Since the toilet is elevated off the ground, it is easier to reach all of the nooks and crannies around the bowl.
Is DIY Installation Of A Wall Hung Toilet Possible?
It is possible to install a wall hung toilet, but it is a challenging job that should be left to a professional in most cases. However, if you decide to DIY installation of a wall hung toilet then you will need to have experience of using plumbing tools. In addition to that, you may need help from a person during the process. You must carefully follow the instructions provided in the installation guide. It is important to make sure that the frame and toilet pan fit correctly into the place to avoid any future problems.
How Do I Know If a Wall Hung Toilet Will Fit in My Bathroom?
Floating-style toilets or wall hung toilets are great for fitting into congested space. However, you must measure the distance from the wall to where you want the toilet to sit. Then, measure the distance from front to back of your current toilet. If either of these measurements are more than 24" or 600mm, then a wall hung toilet will easily fit in your bathroom.
What Do I Need to Install a Wall Hung Toilet?
You will first need the tools like measuring tape, pencil, spirit level, drill machine, pliers, screwdrivers, hacksaw, cutter, drill bit, and spanner. To install a wall hung toilet, you need to have a sturdy wall and studs that are 16 inches in the centre. You will also need to purchase the correct toilet flange and carrier for your wall type. The installation process is relatively straightforward but challenging for someone doing it for the first time. It is important that you follow the manufacturer's instructions carefully.
How do I install a wall hung toilet?
The first step is to remove the old toilet. Next, you will need to measure the distance from the flange to the wall. This measurement will determine the length of your mounting plate. Install the mounting plate using the screws provided. The flange attaches to the mounting plate and the toilet hangs from the flange. Make sure everything is level before securing it in place with screws. Finally, caulk around the base of your new toilet and enjoy! Components you will need to install a wall hung toilet include a flange, mounting plate, and toilet. You should also have a caulking gun, drill, screwdriver, level, tape measure, and bucket.
How do I troubleshoot a wall hung toilet?
There are a few things you can do to troubleshoot a wall hung toilet:
- Check that the bolts at the top of the toilet are properly tightened.
- Make sure that the gasket around the bottom of the toilet is in good condition and properly aligned.
- Make sure that the water supply is turned on fully.
- If there is water leaking from the Tank, make sure that the washers on the bolts are in good condition.