Post Contents [hide]
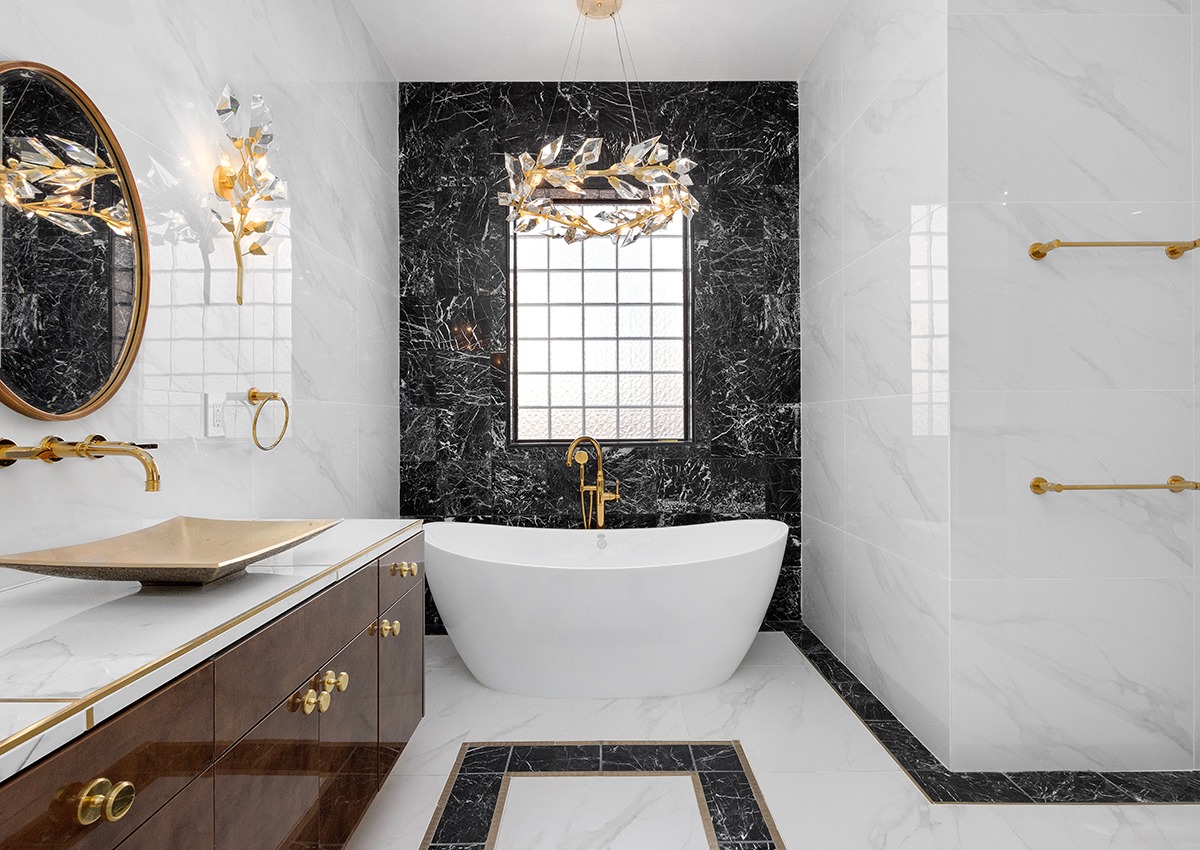
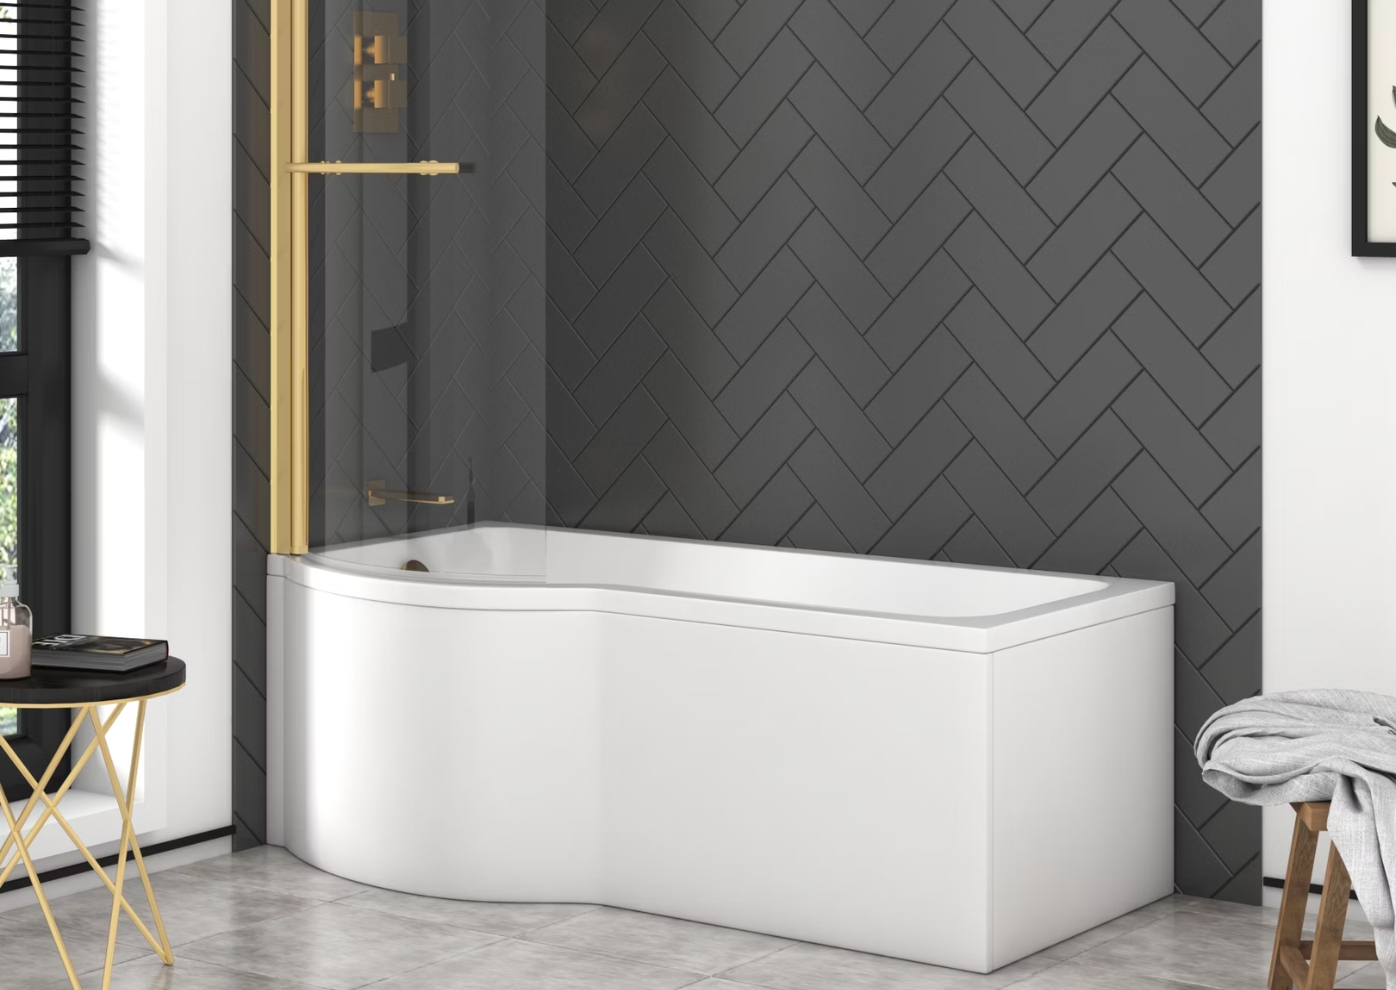
A P-shaped bath can greatly enhance the style and efficiency of your bathroom. However, a precise fitting is crucial for a long-lasting installation. In this special installation guide, we will provide you with step-by-step instructions and expert tips to ensure you install a P-shaped bath with perfect precision.
Installing a Bathtub as a DIY Project
The suitability of a DIY approach versus hiring a professional may vary depending on your skill level, the project complexity, and how confident you feel about doing it yourself. Assess your capabilities and consider consulting with professionals for certain tasks to ensure optimal results and safety.
Here's an overview of the pros and cons of DIY versus hiring a professional for various home improvement tasks, such as bathtub installation:
| DIY | Hiring a Professional | |
|---|---|---|
| Cost | Lower cost, saving on labour | Higher cost due to professional fees |
| Skill level required | Moderate to high skills required | Peace of mind knowing you have professional expertise and experience |
| Time | Could be more time-consuming | Faster completion with professional assistance |
| Quality | Quality may vary based on skills | Quality workmanship and guaranteed results |
| Risk of mistakes | Higher risk of errors and rework | Lower risk due to professional expertise |
| Code Compliance | May not meet building codes | Ensures compliance with regulations and codes |
| Warranty | No professional warranty | Professional warranties for workmanship |
| Safety | Potential safety hazards | Ensures safety standards are followed |
| Convenience | Requires personal effort and time | Hassle-free process with professional handling |

Tools and Materials Required
Before you begin the installation, gather the necessary tools and materials to make the process smoother. Here's a list of tools commonly used for installing a P-shaped bath:
- Adjustable wrench
- Spirit level
- Hacksaw
- Pipe wrench
- Screwdriver set
- Silicone gun
- Tape measure
In Addition to These Tools, You will also Need the Following Materials and Accessories:
- P-shaped shower bath
- Bath panels
- Plumbing fittings
- Sealant
- Screws
- Pipe connectors
- Pipe tape
- Support brackets
Accessories You Need with Your P- Shaped Shower Bath
In addition to the tools and materials, you will also need some bathtub accessories to complete the look and function of your P-shaped bath.

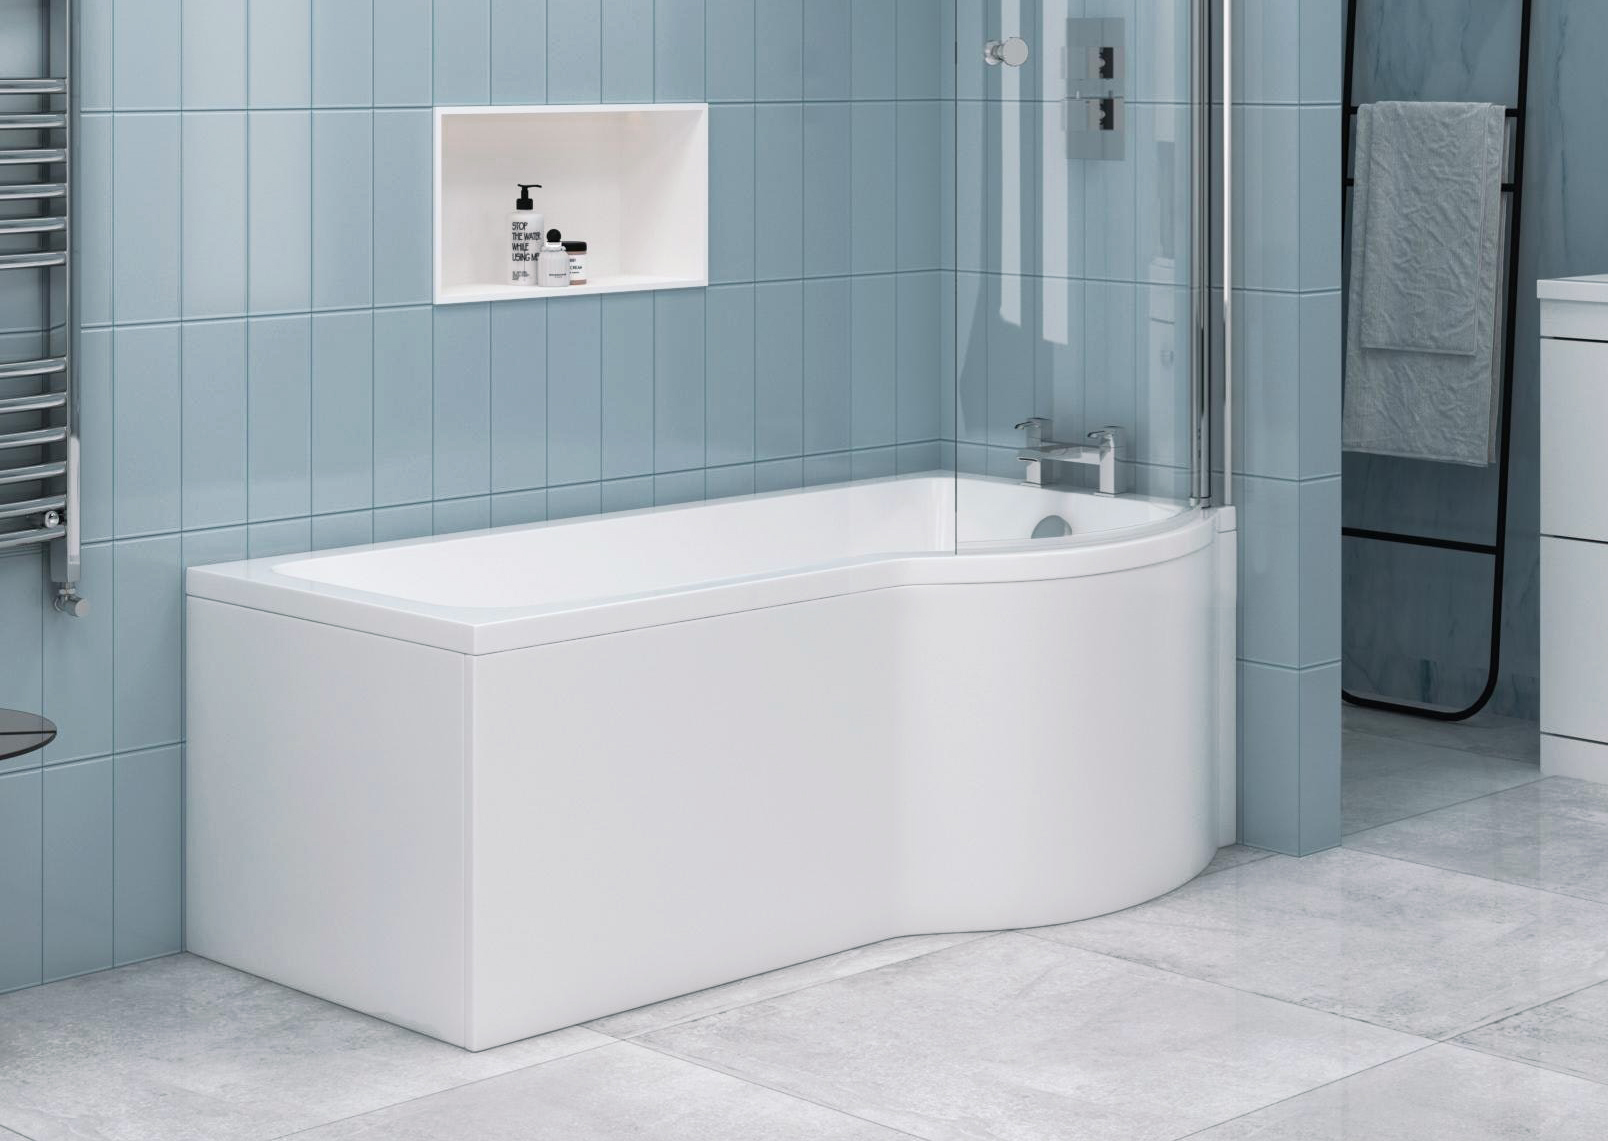
1. P Shaped Bath Acrylic Front Panel 1700mm - 500mm
- P-shaped design for a stylish and contemporary look
- Made from high-quality acrylic material for durability
- Provides a neat and seamless finish to your bath
- Easy to clean and maintain.
- Enhances bathroom aesthetics with a sleek appearance

2. Nuie 6mm Curved P Shaped Bath Screen with Safety Fixed Rail 1435mm height
- 6mm toughened safety glass construction
- Curved design for a modern and stylish look
- Fixed rail for added stability and safety
- Durable and long-lasting material
- Provides a sleek and seamless finish to your P-shaped bath
- Easy to clean and maintain for a pristine appearance

Nuie Pop-Up Bath Waste with Overflow
- Designed for easy drainage and water flow control
- Compatible with standard bath sizes
- Durable construction for long-lasting use
- Easy to install and operate
- Helps prevent overflow and maintain water
Measuring for a P-Shaped Bath
Accurate measurements are crucial for a successful P-shaped bath installation. Follow these step-by-step instructions to measure your bathroom correctly:
- Measure the Available Space: Use a tape measure to determine the length, width, and height of the area where you plan to install the P-shaped bath. Take note of any obstructions such as pipes or skirting boards.
- Mark the Positions: Based on the measurements, mark the positions on the floor and walls where the bath and mdf bath panels will be placed. Use a spirit level to ensure the lines are straight and level.
- Measure for Plumbing Connections: Measure the distance from the existing plumbing connections, such as the water supply and waste pipes, to ensure they align with the new bath's fixtures.
We recommend double-checking your measurements before proceeding with the installation to avoid any errors.
Preparing the Bathroom
Before installing the P-shaped bath, it's essential to prepare the bathroom to ensure a smooth process. Follow these steps:
- Clear the Work Area: Remove any obstacles or items from the bathroom, providing ample space to work around and manoeuvre the P-shaped shower bath.
- Plumbing and Drainage Connections: Ensure that the plumbing and drainage connections are properly positioned and ready for the new bath. Make any necessary adjustments to the existing plumbing to align with the P-shaped shower bath's fixtures.
- Adjustments to Existing Plumbing: If needed, adjust the height or position of the water supply and waste pipes to match the shower bath's requirements. Use appropriate tools, such as a hacksaw or pipe wrench, to make the necessary adjustments.
Installing the P-Shaped Bath
Follow these step-by-step instructions to install the P-shaped bath:
Step 1: Position the Bath in the Desired Location
- Carefully position the P-shaped bath in the marked area, aligning it with the plumbing connections
- Use a spirit level to ensure the bath is level both lengthwise and widthwise
- Make adjustments as needed to achieve a level position
Step 2: Securing the Bath to the Floor
- Locate the support brackets that come with the P-shaped bath
- Securely fix the support brackets to the floor using screws or appropriate fasteners
- Ensure the brackets provide adequate support and stability for the bath
Step 3: Connecting the Plumbing Fixtures
- Connect the water supply pipes and waste pipes to the corresponding fixtures on the P-shaped bath
- Use pipe connectors and pipe tape to create secure and leak-free connections
- Tighten the fittings with an adjustable wrench, ensuring they are snug but not over-tightened
Step 4: Sealing the Bath Edges and Joints
- Apply a waterproof sealant along the edges and joints of the P-shaped bath to prevent water leakage
- Use a silicone gun to apply an even and continuous bead of sealant
- Smooth the sealant using a finger or a sealant smoothing tool for a neat finish
Step 5: Testing for Leaks and Proper Functionality
- Fill the P-shaped bath with water and check for any leaks around the plumbing connections and sealed edges
- Ensure the bath drains properly and that all fixtures are functioning as intended
- Make any necessary adjustments or repairs if any issues are detected
Additional Tips and Considerations
Here are some additional tips and considerations for installing a P-shaped bath like a pro:
- Handling and Manoeuvring: P-shaped shower baths can be heavy, so it's advisable to have assistance when moving and positioning the bath to avoid strain or damage.
- Level and Secure Installation: Ensuring a level installation is crucial for the proper functioning of the bath. Use a spirit level at multiple points to double-check the bath's position.
- Addressing Common Installation Challenges: If you encounter any challenges during the installation, such as uneven walls or plumbing issues, always consult a professional plumber or seek expert advice.
Conclusion
By following the step-by-step instructions and expert tips outlined in this installation guide, you can install a P-shaped bath with perfect precision.
Remember to measure accurately, prepare the bathroom properly, and take the necessary steps to secure the bath and make leak-free connections.
A precisely fitted P-shaped bath will not only enhance the functionality of your bathroom but also add a touch of elegance to your space.