Homeowners are turning to bathroom renovation as a way to create elegant and inviting spaces that reflect their style.
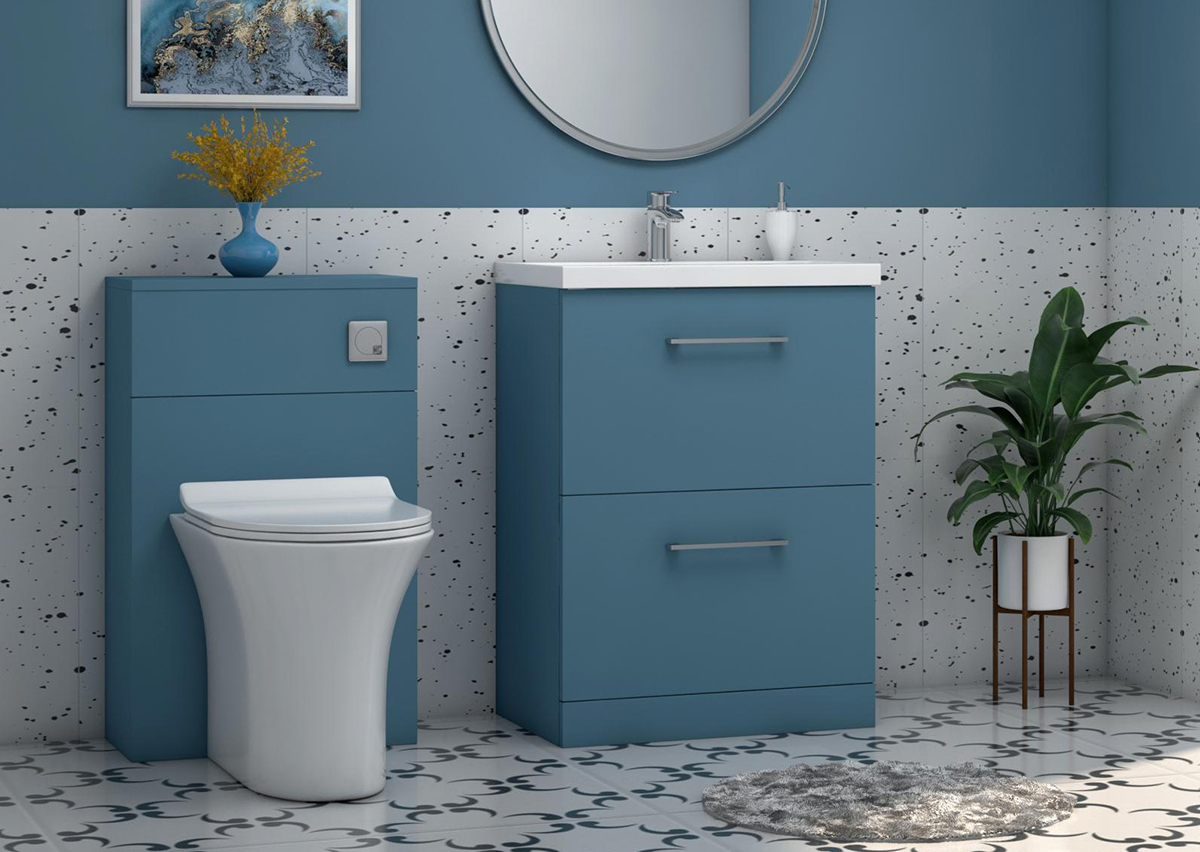
If you’re looking for a stylish bathroom fixture to adequately fulfil your bathroom’s storage needs, and in the style you prefer, a floorstanding vanity unit is the way to go.
However, installing it as a DIY is an exciting opportunity for someone to learn and grow, even if they are not yet familiar with plumbing.
In this floorstanding vanity unit installation guide, we'll walk you through the steps you need to follow to successfully install a freestanding vanity unit in your bathroom.
Why Choose a Floorstanding Vanity Unit?
A floor-standing vanity unit is a popular choice for bathrooms due to several reasons:
- Ample storage: With drawers, cabinets, and shelves, you can keep all your bathroom essentials organised and within easy reach. This allows you to reduce clutter, making your bathroom look tidier and feel calmer.
- Accessibility: Floorstanding vanity units are easily accessible, making them an ideal choice for most people - including those with mobility issues. They are easier to reach and use at a lower height than wall mounted units.
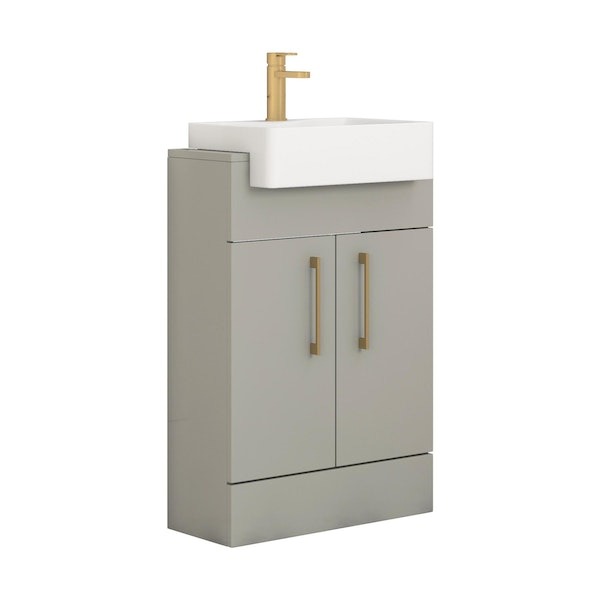
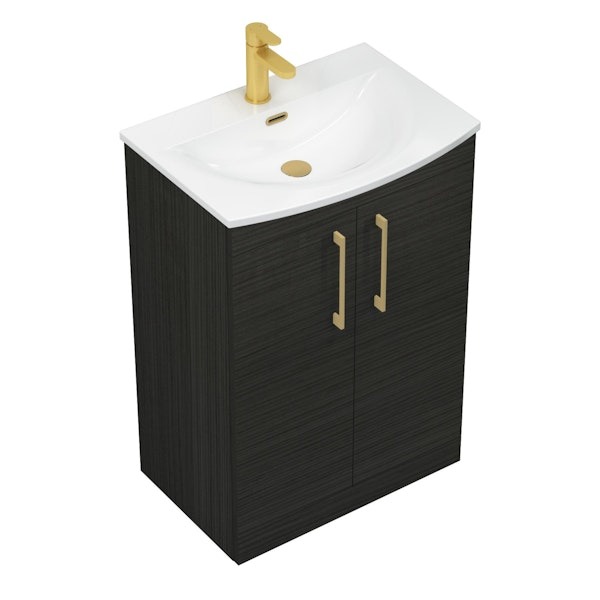
- Versatility: Floorstanding vanity units come in various sizes, styles, and finishes. So whether you have a modern or traditional bathroom, you can find a floor-standing vanity unit that complements your design aesthetics.
- Easy installation: Floorstanding vanity unit installation is relatively straightforward compared to wall-mounted units. It doesn't require any drilling or mounting hardware, making it a simple DIY project for homeowners.
- Cost-effective: Freestanding vanity unit installation is often more affordable than wall mounted units, making them a cost-effective choice for those on a budget.
Selecting the Perfect Vanity Unit for Your Bathroom
Finding the ideal vanity unit for your bathroom can seem daunting. With so many styles, sizes, and materials available, it's easy to get lost in the options. But with a few key considerations, you can find the perfect fit for your space.
Consider the following factors Before buying a vanity unit:
- Size: The first thing you need to consider is whether your bathroom has enough space to fit the vanity unit. Measure the area where you plan to install the unit, including the width, height, and depth. This will help you narrow down your options and select a vanity that fits appropriately.
- Style: Whether you want to set a modern, contemporary, or traditional theme for your bathroom, you can always find a vanity to suit your taste. To keep a coherent look in the bathroom, choose a style that complements your existing decor.
- Material: Vanity units are made from a variety of materials, including wood, glass, metal, and composite. Each material has unique features and advantages - so consider every factor - including durability, ease of maintenance, and cost, when selecting a material.
- Storage capacity: The amount of storage you need will depend on the size of your bathroom and the number of people using it. Consider your required storage space and choose a vanity unit with ample storage options, such as drawers, shelves, and cabinets.
Enhance Your Decision-Making with Our Floorstanding Vanity Unit Buying Guide
You can also learn more with our buying guide for floorstanding vanity units. It's a comprehensive resource that'll help you make an informed decision when purchasing a bathroom vanity unit. We cover everything from installation tips to choosing the right style, size, design, and material. That means you'll have all the information you need to find the perfect vanity that suits your needs.
Floorstanding Vanity Unit Installation Steps
Here's a step by step guide to help with your freestanding vanity unit installation:
Step 1: Prepare the Area
Clear the area where you’re about to install the vanity unit. Remove any old fixtures or cabinets and remove the debris to ensure the area is clean and dry.
Step 2: Measure and Mark the Area
Measure the area where the vanity unit will be installed, and mark the points with a pencil. This will help you ensure that the vanity unit is installed in the correct and levelled position.
Step 3: Attach the Vanity Top
Mount the vanity top to the cabinet fixture using the provided screws. Use sealants or adhesives to ensure a tighter fitting. Make sure the top is level and flush with the vanity unit.
Step 4: Install the Faucet and Drain
Install the faucet and drain according to the manufacturer's instructions. Tighten the connections using an adjustable wrench and use plumber putty to make it leakproof.
Step 5: Attach the Vanity to the Wall
Use a level to ensure the vanity unit is straight, and then fix it into place using screws and anchors. Make sure the vanity unit is securely attached to the wall.
Step 6: Connect the Plumbing
Attach the plumbing outlets to the faucet and drain. Resume the water supply to ensure there is no leakage.
Preparing for Installation
A freestanding vanity unit installation involves several steps to ensure a successful and long-lasting installation. To start the process, you will need tools and materials such as a spirit level, power drill, screws, screwdriver, and silicone sealant.
Measure the unit's height, width, and depth to ensure it will fit into the designated space while ensuring enough room to open and close the drawers.
Vanity Unit Assembly
To ensure a smooth installation and assembly, it's recommended to first lay out all the components and parts, and then start assembling from the bottom up, merging the vanity as a single unit. You may consult the manufacturer’s assembly and installation guide to ensure you are right on track.
- Set the base and attach the sides of the unit at a precise level.
- Use screws and sealants to secure the parts in place.
- Now you can Install the drawers and cabinet doors.
- Enclose the unit with the back panel.
- Fix the hardware, such as the knobs or handles, to the drawers and cabinets in accordance with the manufacturer's instructions
However, if you choose a vanity unit from Royal Bathrooms - you can skip this step because we offer fully assembled vanity units.
Securing the Vanity Unit in Place
1. Positioning and Securing the Vanity Unit:
- Place the vanity in its desired location and use a spirit level to ensure it's not tilted.
- Drill pilot holes into the floor and walls and use screws and wall anchors to secure the vanity unit.
- Ensure the screws are not too long to avoid penetrating the walls.
2. Attaching the Basin and Tap:
- Turn off the water supply before starting work.
- Create plumbing connections from the basin waste to the plumbing system, tap to the water supply, and overflow outlet of the basin to the waste pipe.
- Use nuts and washers in the joints for a sturdy connection.
- Turn the water supply back on once all plumbing connections are in place.
- Check for any leaks or drips and tighten connections as necessary.
Hiring a Professional vs. DIY Installation for a Floorstanding Vanity Unit
Hiring a professional for a floorstanding vanity unit installation ensures everything is done correctly and safely. But if you have the right tools and experience, DIY installation in comparison to professional installation is more cost-effective and allows for more flexibility in design choices.
The following table evaluates both options depending on different factors:
| Factor | Hiring a Professional | DIY Installation |
|---|---|---|
| Cost | - Professional fee - May include additional services |
- May save on labor costs - Potential for additional expenses if mistakes occur |
| Expertise | - Experienced and skilled in the installation - Knowledge of building codes and regulations |
- Depends on personal skill level and experience |
| Time | - Quicker installation due to experience - Scheduling availability of professional |
- May take longer if inexperienced - Can work on your schedule |
| Tools & Equipment | - Professional has access to necessary tools - May provide higher-quality installation |
- May need to purchase or rent tools |
| Warranty & Support | - Professional work may come with a warranty - Access to professional support if issues arise |
- No warranty on self-installed vanity units - Limited support, reliant on personal troubleshooting |
Floorstanding Vanity Unit Maintenance and Longevity
Incorporate the following tips and techniques into your maintenance routine:
- Clean the surface regularly with a soft cloth or sponge and mild soap. Avoid using abrasive cleaners or pads that can scratch or damage the surface.
- Wipe up any spills or splashes immediately to prevent water stains or damage to the unit.
- Do not use harsh chemicals or bleach on the unit, as they can cause discolouration or damage to the finish.
- Check for any loose or damaged hardware, such as hinges or drawer slides, and tighten or replace them as necessary.
- Use a silicone sealant around the edges of the sink to prevent water from seeping into the unit to prevent mould and mildew growth.
Conclusion
When choosing and installing a freestanding vanity unit, it's important to consider factors such as the size, style, material, and plumbing and installation requirements. A professional installation ensures the unit is securely attached and functioning properly. While DIY installation can be a cost-effective option for those with the necessary skills and tools.
At Royal Bathrooms, we offer a wide range of floorstanding vanity units in various sizes, styles, and materials to suit your bathroom layout and prevailing theme. Our expertly crafted and quality-tested units come with easy instructions and top-quality hardware for hassle-free installation.