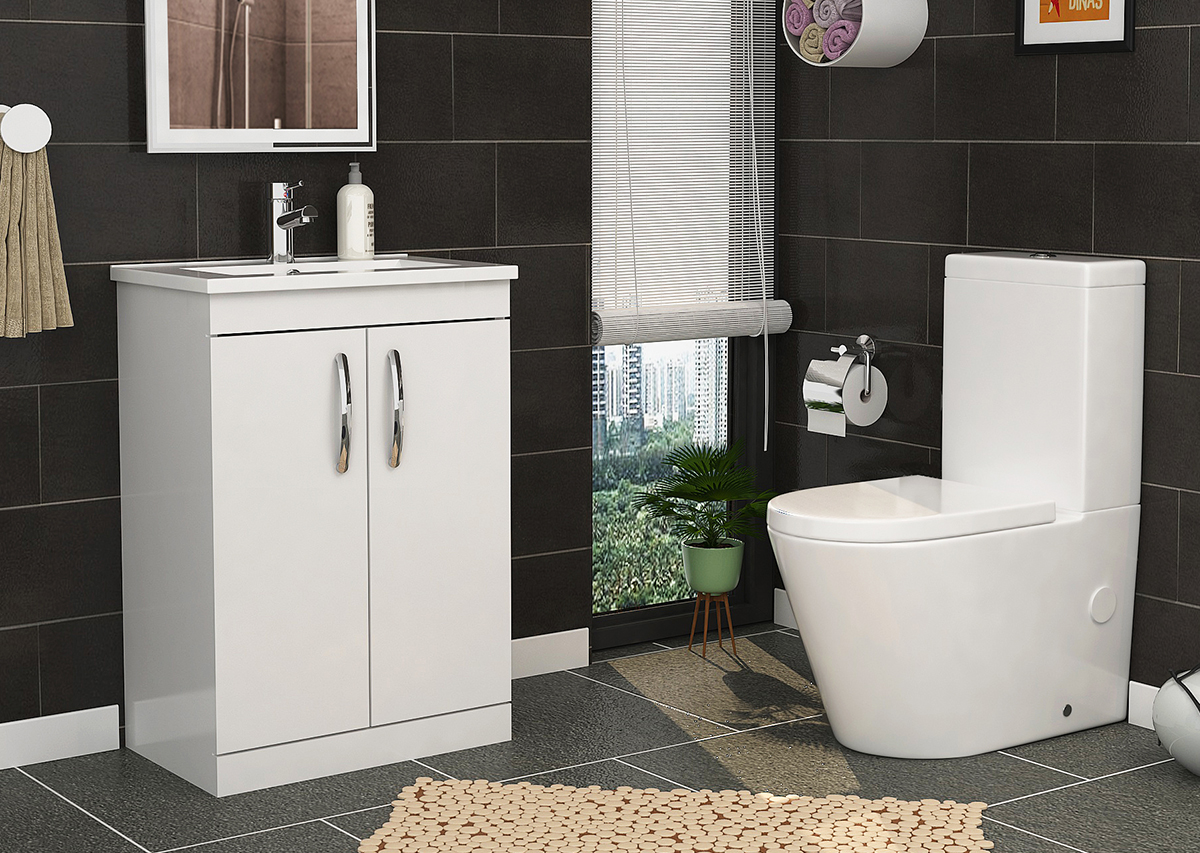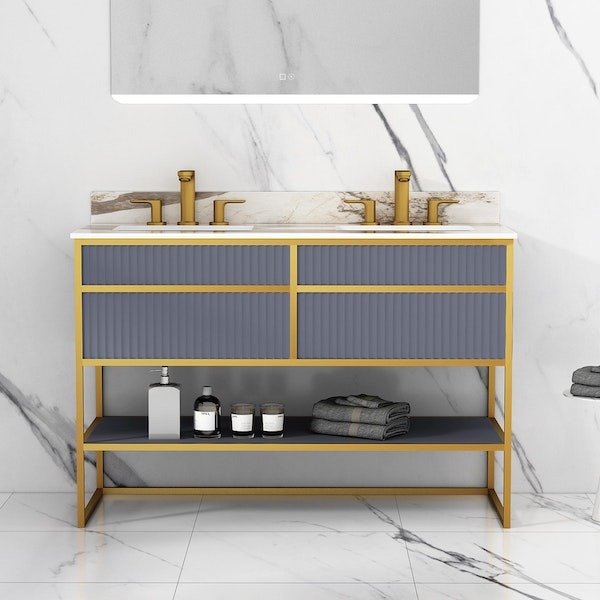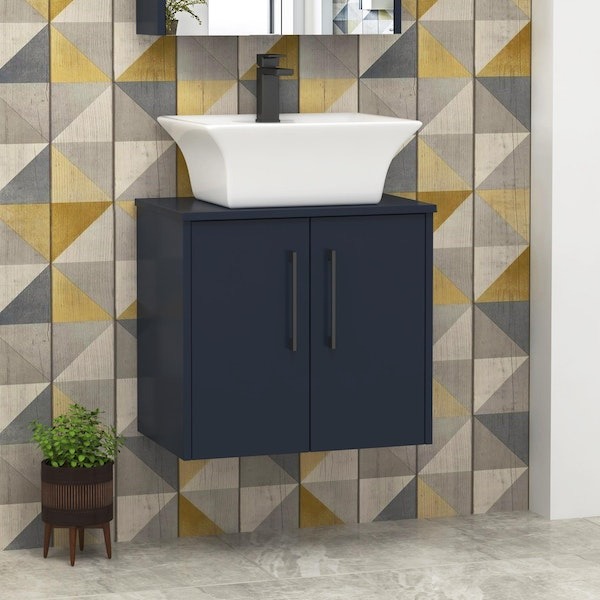
Setting up new bathroom furniture is an exciting task. But it can also be a slightly challenging one.
Whether you've purchased a new vanity, cabinet, or storage unit, our step-by-step instructions will help you achieve a successful setup.
In this blog, we will guide you through the process of bathroom furniture installation, giving you the knowledge and confidence to tackle the task with ease.
With the help of our guide, you'll be enjoying your new stylish bathroom space in no time.
Preparing for the Setup
Gathering the Necessary Tools and Materials
Before starting the setup process, you first need to gather the necessary tools and materials. This may include a screwdriver, hammer, level, measuring tape, and any specific tools mentioned in the instructions. Having everything to hand will save you time and prevent interruptions during the assembly process.
Measuring the Available Space in the Bathroom
Next, you need to measure the available space in your bathroom to ensure your new furniture will fit properly. Take accurate measurements of the width, height, and depth of the area where you plan to place the furniture.
Clearing the Area for Easy Access
Clear the area where you will be setting up the furniture. Remove any obstacles or clutter that may hinder your movement or access to the workspace. This will make the bathroom furniture assembly process easier and safer.


List of Tools Required for Bathroom Furniture Installation
- Screwdriver (Phillips and flathead)
- Drill
- Level
- Measuring tape
- Wrench (adjustable or specific size based on fixtures)
- Hammer
- Pliers
- Allen wrench (if required by the furniture)
- Utility knife
- Pencil or marker (for marking measurements or drilling points)
- Safety goggles
- Stud finder (if wall mounting)
- Anchors and screws (specific to your wall type and furniture requirements)
- Adhesive or construction glue (if recommended by the manufacturer)
- Putty knife (for applying adhesive or filling holes, if necessary)
- Step stool or ladder (if needed for reaching higher areas)
- Protective gloves (if working with sharp edges or applying adhesive)
- Dustpan and brush (for cleaning up debris)
- Vacuum cleaner or broom (for cleaning the area before and after bathroom vanity installation)


Unpacking and Organising the Furniture
Carefully Unpack the Furniture Pieces
When unpacking the furniture, handle the pieces with care to avoid any damage. Follow the manufacturer's instructions for unpacking, as some pieces may be fragile or require specific handling. Keep the packaging materials handy in case you need to repack or return any damaged items.
Checking for any Damages or Missing Parts
Inspect each furniture piece for any damages or missing parts. If you notice any issues, contact the manufacturer or retailer immediately to resolve the problem. It's important to address these issues before proceeding with the assembly to ensure a successful setup.
Organising the Components for Easy Assembly
Organise the furniture components to help with your assembly process. Group similar parts together and arrange them in the order they will be used. This will help you stay organised and keep stress to a minimum during your bathroom furniture assembly.
Assembling the Furniture
Step by Step Instructions for Each Component
Follow the step-by-step instructions provided to assemble each component of the furniture. Take your time and work methodically, ensuring each step is completed accurately before moving on to something else, such as a bathroom vanity installation or building a tall boy unit. Rushing through the process can lead to mistakes or the need to disassemble and start over.
1. Attaching Legs or Base
Begin by attaching the legs or base of the furniture according to the instructions. Use the recommended tools and techniques to ensure a secure attachment. Double-check the alignment and stability before proceeding.
2. Connecting Drawers or Shelves
If your furniture includes drawers or shelves, follow the instructions to connect them to the main structure. Pay attention to any specific guidelines for alignment, spacing, or hardware usage. Test the movement and stability of the drawers or shelves to ensure they function properly.
3. Installing Doors or Handles
If your furniture has doors or handles, carefully install them according to the instructions. Ensure proper alignment and secure attachment. Test the opening and closing of the doors to ensure smooth operation.
Tips for Using the Right Tools and Techniques
Use the recommended tools and techniques specified in the instructions. Using the wrong tools or improper techniques can lead to damage or difficulties during assembly.
Troubleshooting Common Assembly Issues
If you encounter any issues or difficulties during the assembly process, consult the troubleshooting section of the instructions. It may provide solutions to common problems or offer guidance on how to overcome challenges. If the instructions do not address your specific issue, contact the manufacturer or retailer for further assistance.


Step by Step Process for Installing Bathroom Furniture
1. Read the Manufacturer's Instructions
- Carefully read and understand the manufacturer's instructions provided with the bathroom furniture.
- Familiarise yourself with the assembly steps, precautions, and any specific guidelines.
2. Organise and Identify the Components
- Lay out all the components of the furniture and organise them according to the instructions.
- Identify each piece and ensure you have all the necessary parts before proceeding with the assembly.
3. Determine the Placement of Each Furniture Item
- Consider the functionality and flow of your bathroom when determining the placement of each furniture item.
- Position the furniture pieces in a way that maximises space and allows for easy access to plumbing fixtures.
4. Secure the Furniture to the Wall or Floor (if Required)
- Follow the manufacturer's instructions to properly secure the furniture for stability and safety.
- Use anchors, brackets, or other recommended methods to secure taller or heavier furniture pieces.
- Ensure the furniture is level and secure, with no wobbling or unevenness.
5. Connect Plumbing Fixtures and Electrical Components
- If your furniture includes plumbing fixtures such as a vanity with a sink, follow the manufacturer's instructions to connect them properly.
- For electrical components such as lighting fixtures or electrical outlets, ensure they are installed according to electrical codes and safety guidelines.
6. Make any Necessary Adjustments
- Check the stability of the installed furniture and make any necessary adjustments.
- Use shims or adjustable feet to correct any imbalances or unevenness.
7. Add Finishing Touches
- Enhance the functionality and aesthetics of the bathroom furniture by adding accessories or additional features.
- Install drawer organisers, towel racks, mirrors, or other accessories that enhance usability and visual appeal.
8. Clean and Organize the Bathroom Space
- Clean the newly installed furniture and wipe down surfaces to ensure a clean and inviting bathroom environment.
- Organize your belongings in the cabinets or shelves to create a tidy and efficient storage system.


Cleaning and Maintenance
Cleaning Furniture Before Use
Before using the furniture, clean it thoroughly according to the manufacturer's instructions. Use appropriate cleaning products and techniques to maintain the quality and appearance of the furniture. Regular cleaning will help prevent the buildup of dirt and grime.
Regular Maintenance Tips for Longevity
To ensure the longevity of your bathroom vanity unit, follow the manufacturer's recommended maintenance tips. This may include periodic cleaning, avoiding harsh chemicals, and addressing any repairs or adjustments promptly. Regular maintenance will help extend the lifespan of the furniture and keep it in optimal condition.
Addressing any Repairs or Adjustments Needed
If you notice any damages, loose parts, or other issues with the furniture, address them promptly. Follow the manufacturer's instructions for repairs or adjustments or contact the manufacturer or retailer for assistance. Ignoring or delaying repairs can lead to further damage or compromise the functionality of the furniture.
Final Thoughts
Proper Bathroom furniture installation is essential for functionality, stability, and safety.
By following the step by step instructions provided in this guide, we hope your bathroom furniture installation will be successful and you enjoy your new look bathroom for many years to come.
