Every bathroom deserves a perfect upgrade. With easy and simple installation of bath panels, you can easily improve the beauty and practicality of your bathtub. These panels are game changers. They hide unwanted plumbing and conceal the bottom of the tub, and make the area look clean. They also keep your floor dry and safe from any water damage. They are available in multiple finishes and improve the beauty and life of your bathtubs. They come in different shapes like straight, L-shaped, and P-shaped etc. With multiple design options ranging from classical to modern, you can easily choose the one that best suits your bathroom style. Every style and design help in making your bathroom polished and visually appealing.
In this guide, we will cover all the essential tips and techniques for installing a bath panel. By choosing the right materials and a proper guideline, you can install a bath panel without any expertise.
What Are Bath Panels?
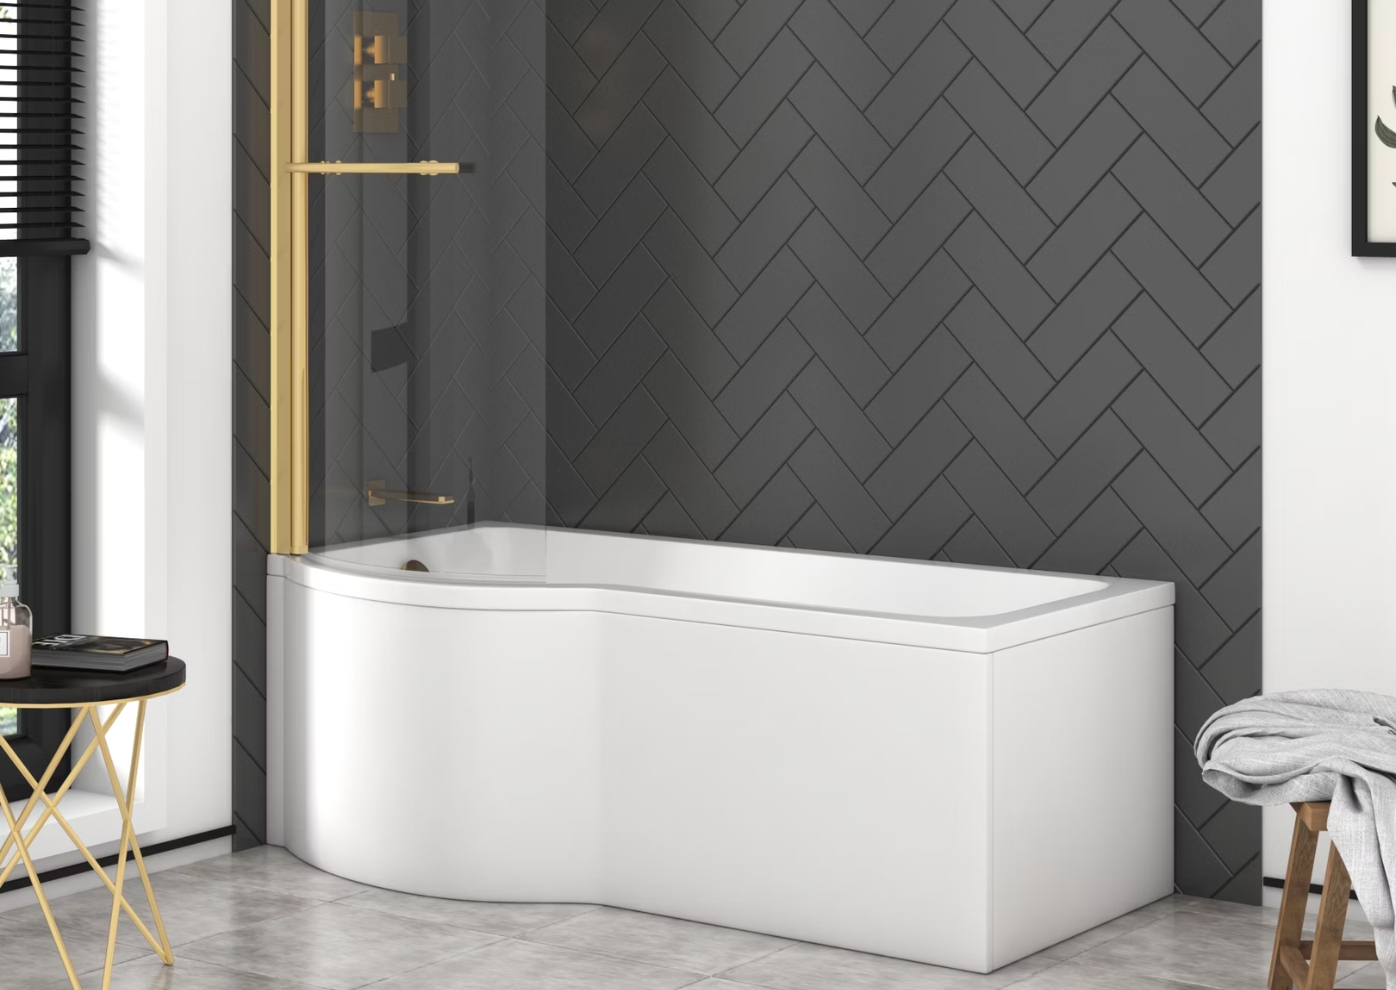
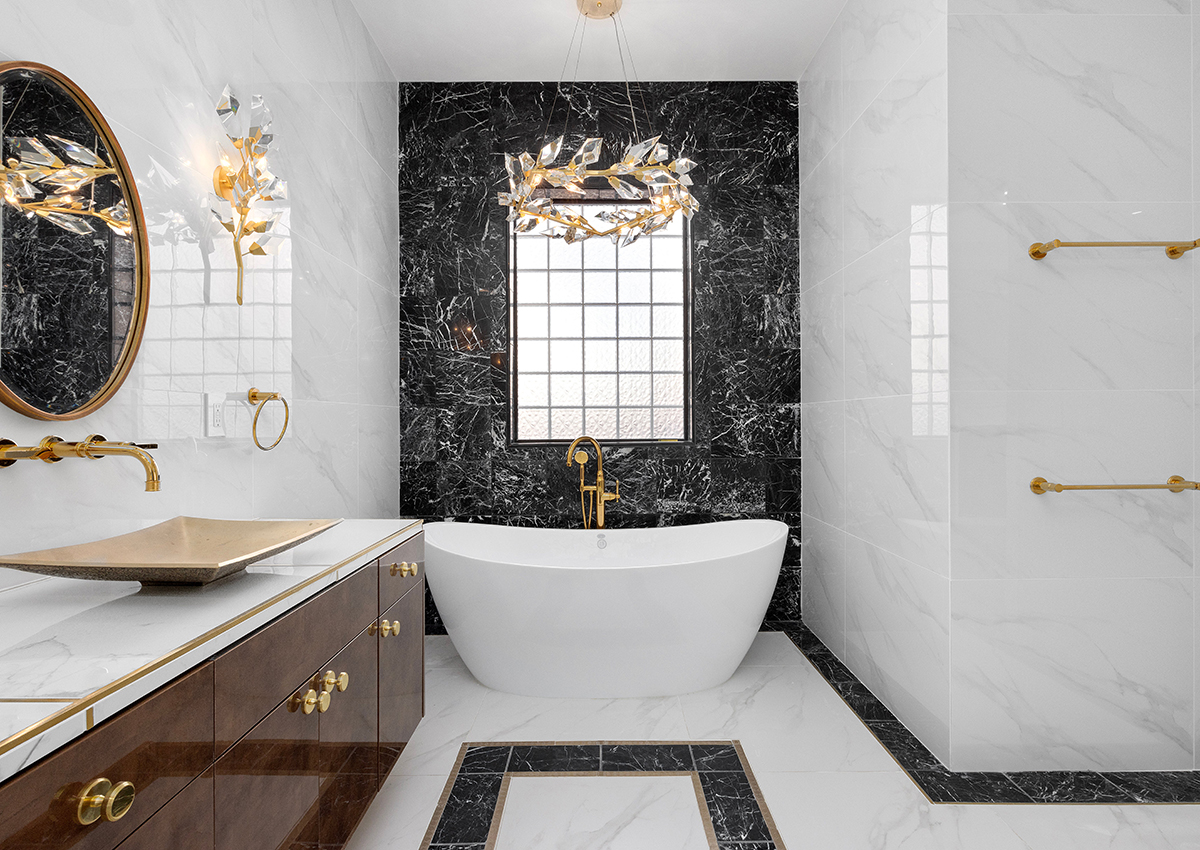
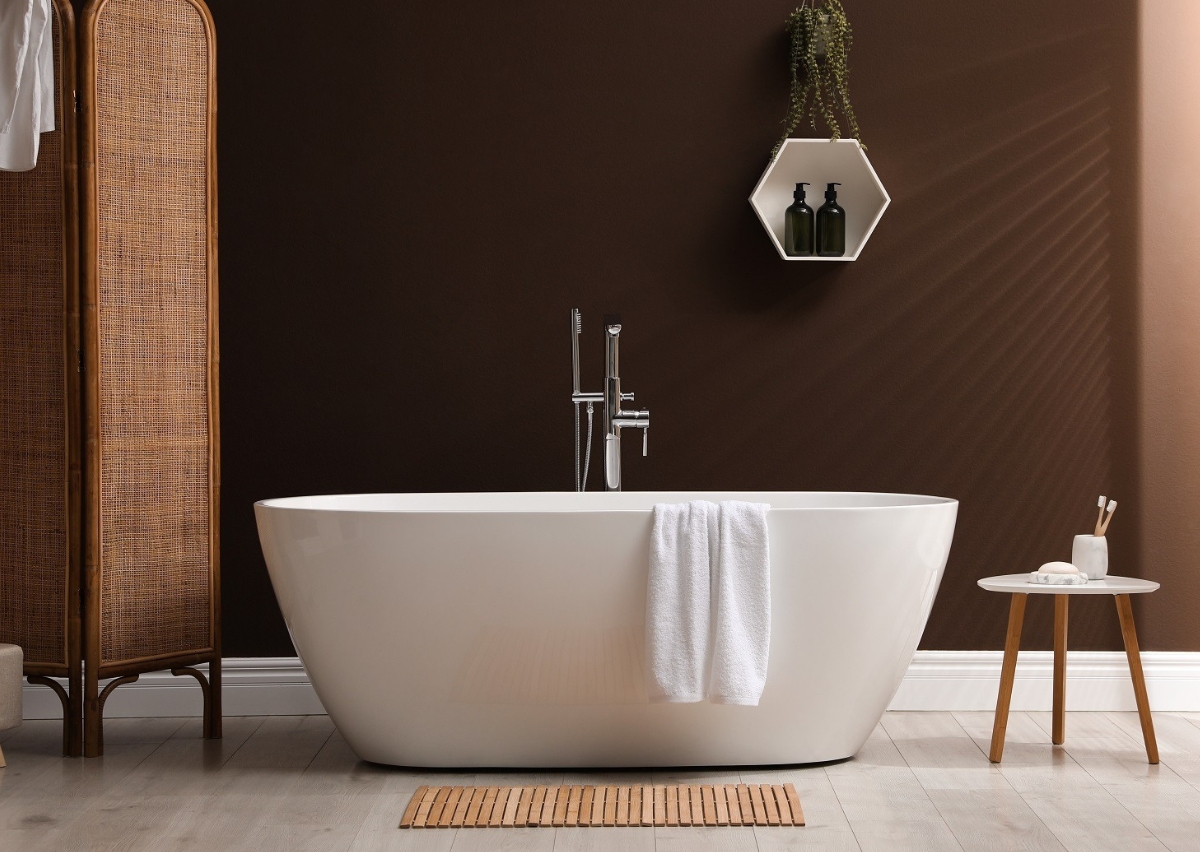
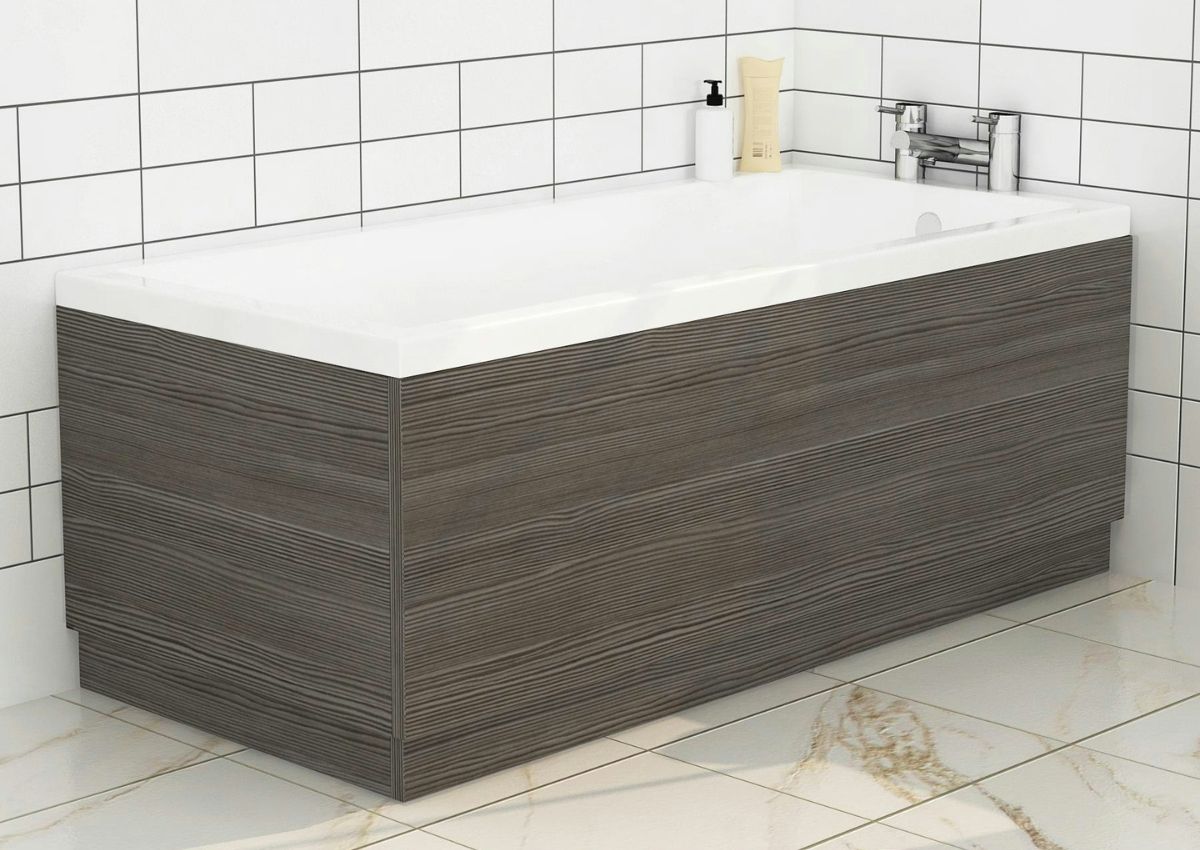
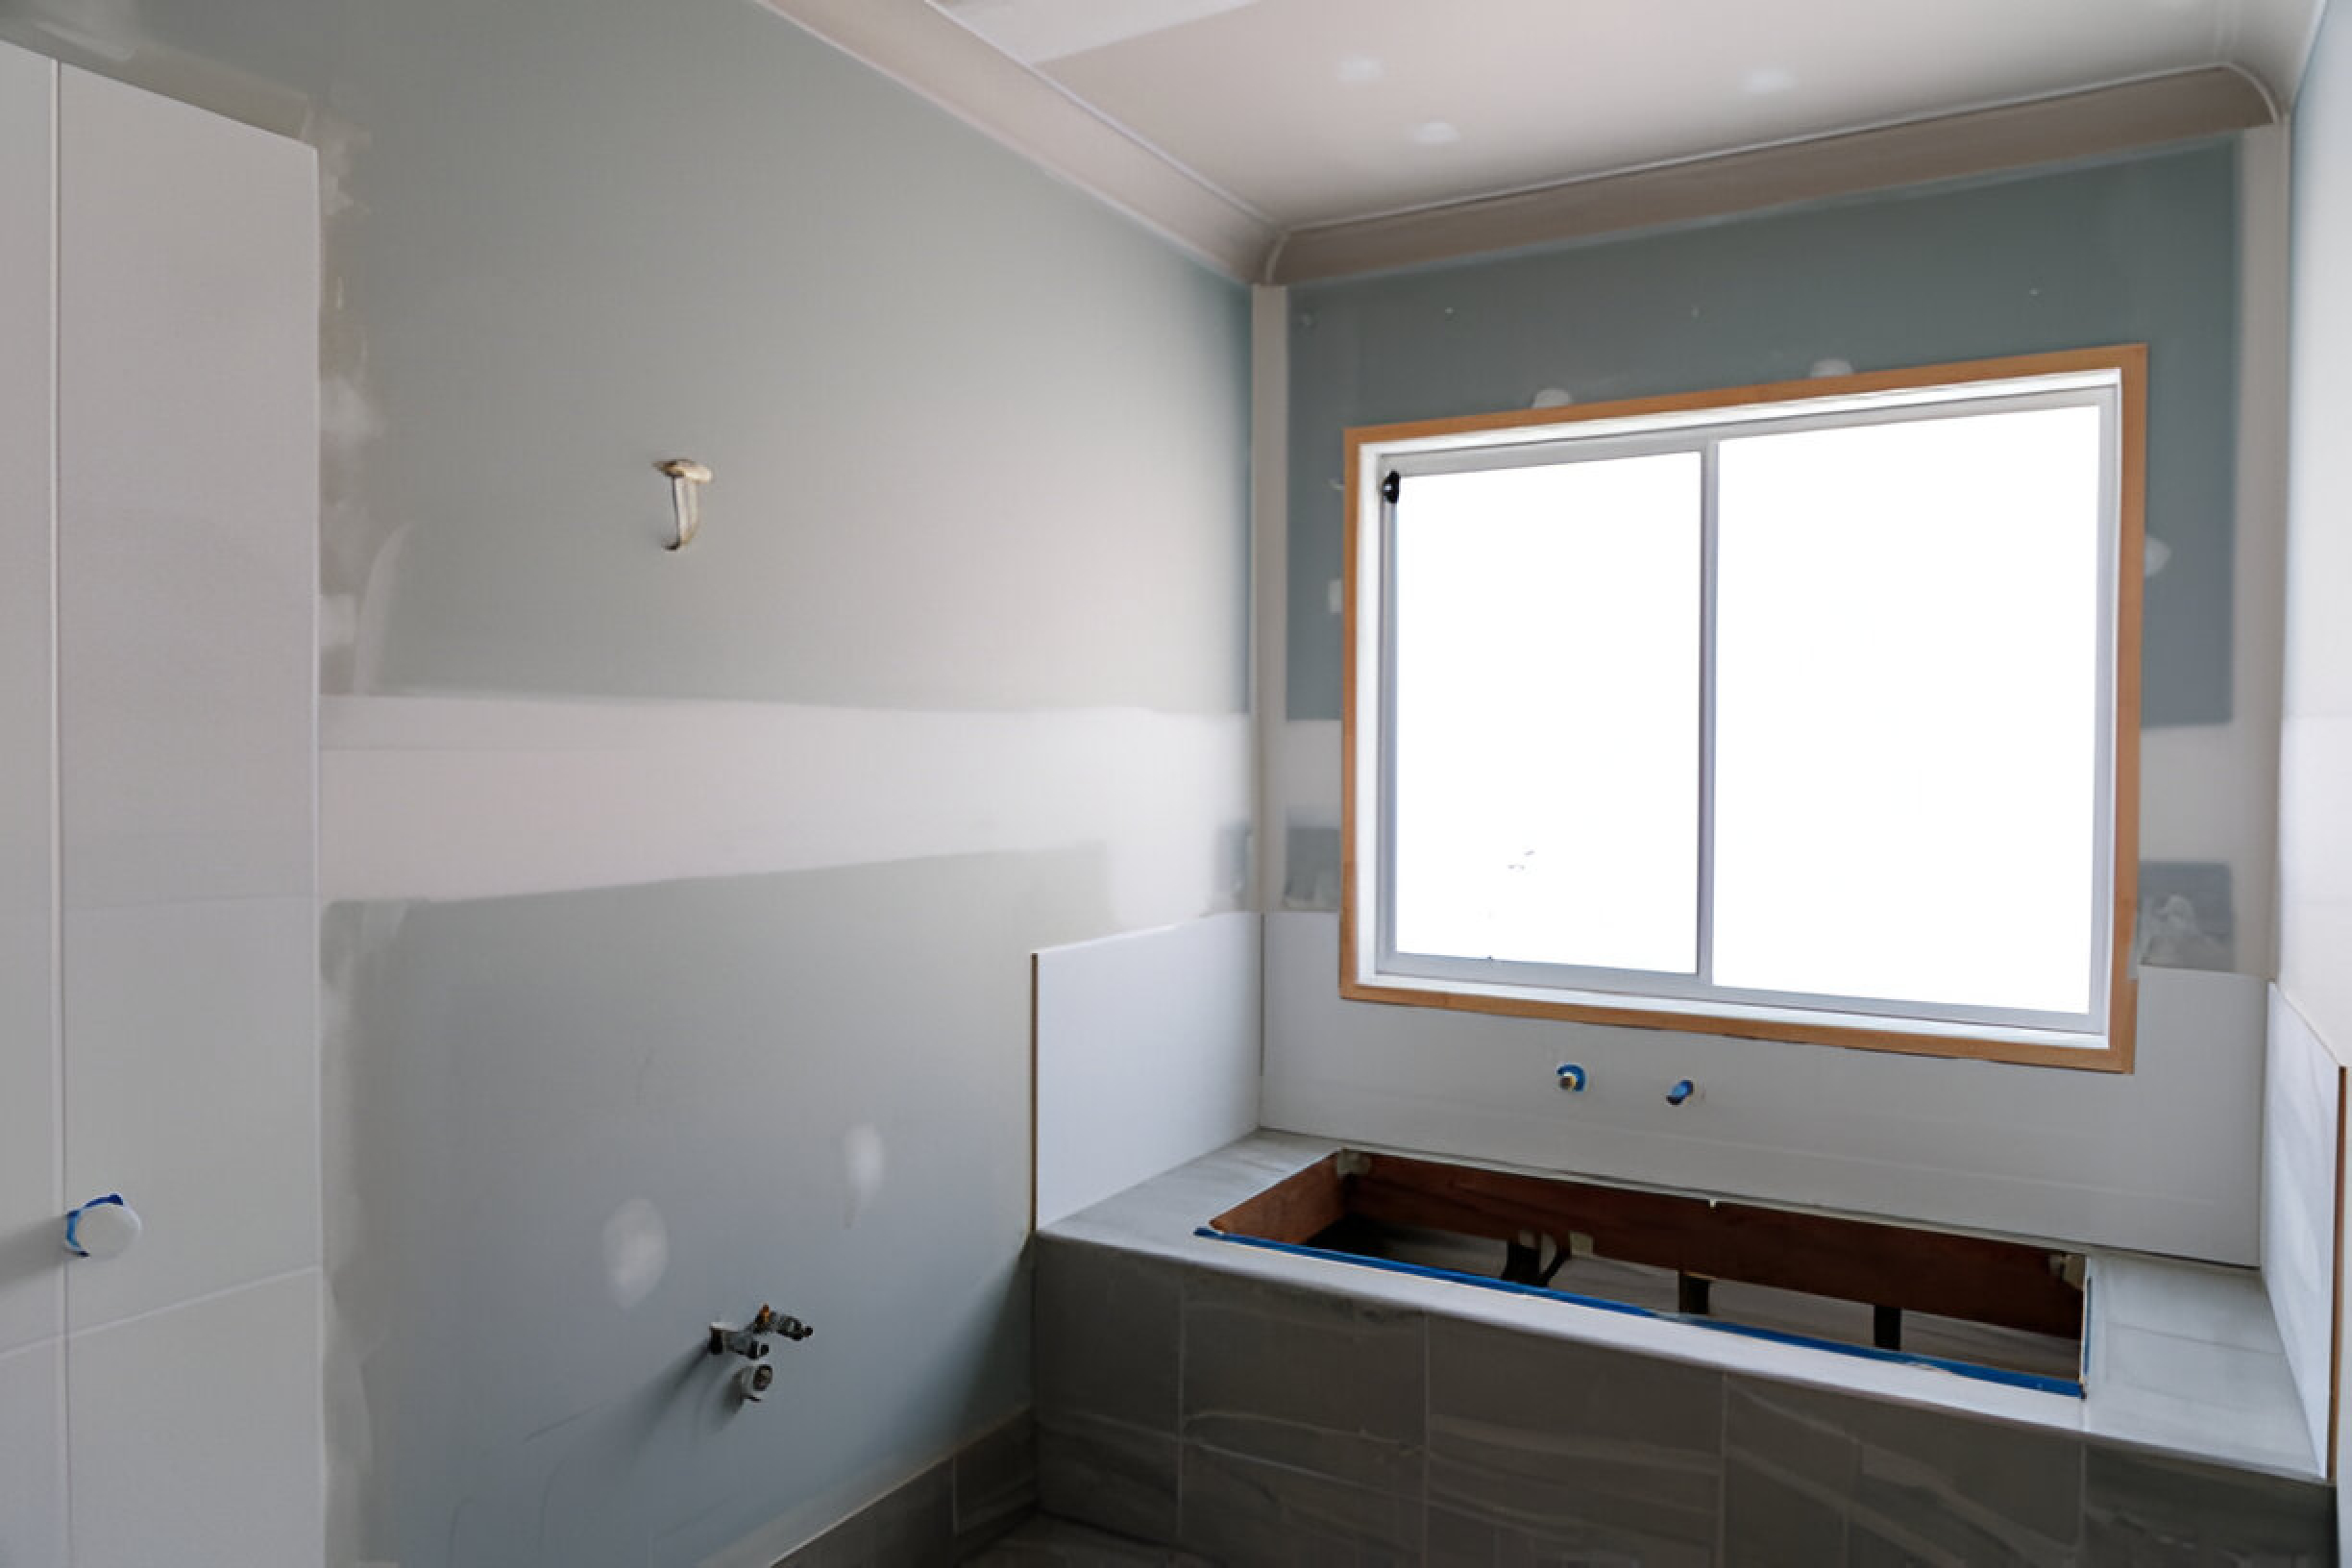
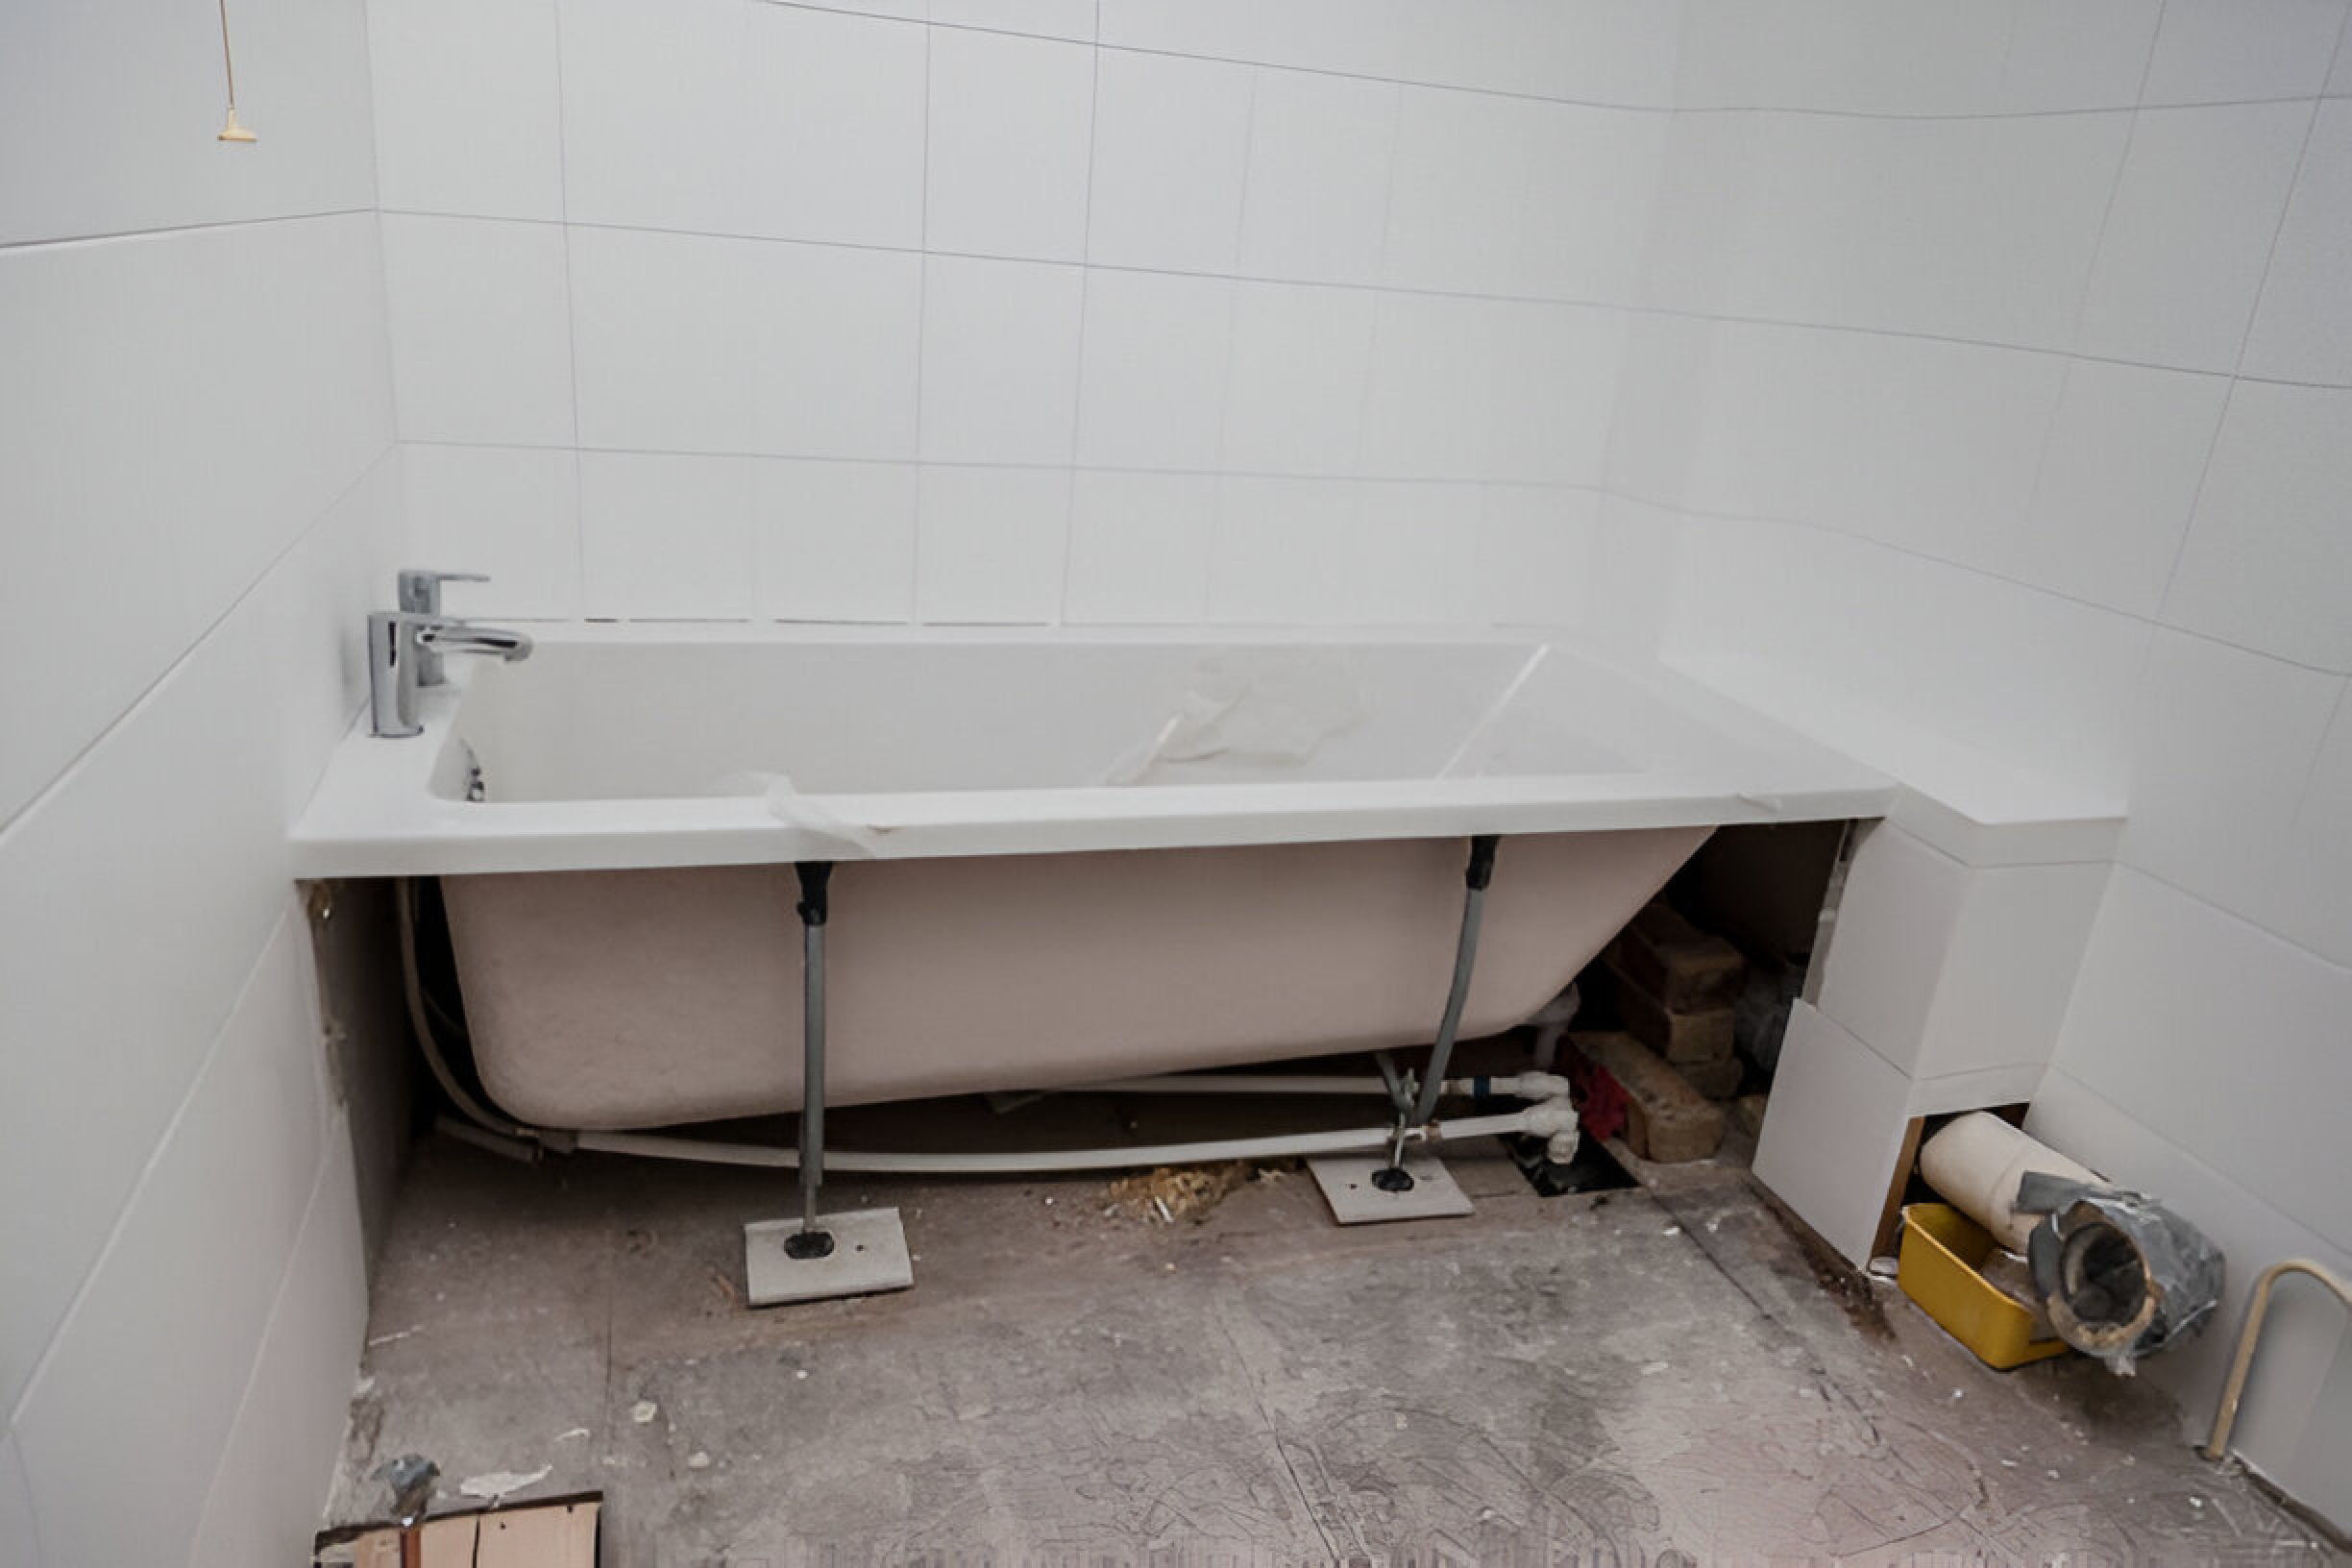
Bath panels are a simple yet essential addition to most bathtub setups, particularly for straight, single-ended, or double-ended baths. Unlike freestanding bathtubs which don't need any coverings, bath panels hide the bottom of the tub and any visible plumbing. They also help protect your bathroom floor from water splashes and keep the area cleaner and durable for years.
Types of Bath Panels:
Bath panels are of two types:
- Front Panel (Side Panel): This panel runs along the length of the bath and is key for covering the outward-facing side of the tub.
- End Panel: This one covers the tub's width at its exposed ends and is perfect for baths with open sides or those placed freestanding.
You might need one, two, or three panels to cover all exposed areas, depending upon your bathroom layout.
Common Materials of Bath Panels:
Bath panels come in several materials like acrylic and mdf. Each one is designed to balance durability, style, and functionality. The most common materials are:
- Acrylic Bath Panels: These bath panels are the most common choice of most bathrooms. These are water-resistant and protect your bathtub from water damage. Their sleek surface maintains a clean and contemporary look. These features make these panels durable and practical for any bathroom.
- MDF Bath Panels: Another most used material in bath panels is the medium-density fiberboard (MDF). These are more durable and thicker than acrylic. They offer a premium look with their elegant finishes and are perfect choice for classical or luxurious bathroom designs.
- Wooden Bath Panels: These panels are often made from plywood or MDF and provide a warm and classic aesthetic. If you need customized size, these are easy to trim. With their warm aesthetic, these wooden bath panels exude warmth into any bathroom interior.
All the materials have specific characteristics which make it easier to find the one that best matches your bathroom's style and practical needs.
Size of Bath Panels:
Bath panels come in various sizes to match any bath dimensions. This ensures that these bath panels can easily fit into any bathroom type. The most common front bath panel lengths are:
For end bath panels, the typical sizes include:
- 700mm
- 750mm
- 800mm
Panels are usually fixed in size. However, they can be trimmed to fit different bath shapes, work around pipes, or adjust to skirting boards. Some panels are one solid piece, while others have two parts, including an adjustable base so you can change the height according to your needs.
Removing an Old Bath Panel:
To change the bath panels from existing bathtubs, you need some tools and guidelines. The following tools and guide will help you make your process easier.
Required Tools:
- Flathead screwdriver
- Box cutter
- Pry bar or crowbar
- Adjustable wrench or pliers (for screws or fittings)
- Sponge or soft cloth (for cleanup afterwards)
Step-by-Step Process for Removing an Old Bath Panel:
- Prepare the Area: The first step is to clear the space around your bath. This will make it easier to work without obstacles. Put a towel or protective covering on the floor. This will protect your floor from any scratches and damage during your working process.
- Inspect the Panel: Carefully check how the panel is attached. Is it screwed in, clipped, or glued? After knowing this, you can save your time. It will also help you avoid damage during the removal process.
- Remove Screws or Clips: After checking the panel, if it is screwed in, use a flathead screwdriver or adjustable wrench to remove the clips. You can carefully slide or pop them out by hand or with a pry bar for clips. Just take it slow so nothing gets bent or broken.
- Deal with Adhesive Seals: Run a utility knife along the edges for panels held in place with adhesive to break the seal. Go gently to avoid cutting into the panel or the wall around it. Patience here will pay off.
- Remove the Panel: Now start pulling the panel away from the bath. Start from the corner. If it's stubborn and won't move, a pry bar will be the perfect option. You must be careful and apply light pressure to avoid cracking the panel.
- Cleaning Up & Inspection: After you've removed the panel, use a soft and clean cloth to clear any dirt from the area. Then, examine all the visible sections to ensure no structural damage or water leaks. If you find anything, fix it before you reattach a new panel.
How to Install a Bath Panel?
Whether you are installing the bath panel on an old tub or fitting a brand-new one, here are the required tool kits with their steps:
Required Tools:
For successfully installing a bath panel, you need the right tools. Below are the most essential tools that you need to fit a bath panel:
- Measuring Tape: For measuring the accurate dimensions.
- Pencil: To mark the measurements.
- Spirit Level – To ensure the panel is level when fitting.
- Screwdriver – To secure screws into place for fastening the panel.
- Electric Drill – For making holes in the wall or bath for screws, especially if using a frame.
- Hacksaw – For cutting the panel or frame if adjustments are needed.
- Fine Grit Sandpaper – To smooth any rough edges after cutting.
- Wooden Battens – To create a frame or support structure for the panel.
- Wood Screws – To attach the wooden frame and panel securely.
- Sealant – Apply along edges to prevent water leakage.
- Adhesive – If required for specific panel types, such as acrylic.
- Clips – For securing acrylic bath panels in place.
- Clamps – For holding the panel while you secure it in place.
- Pliers and Retractable Safety Knife – For added safety and precision during the process.
- Masking Tape – To help measure and mark areas for cutting or fixing.
These tools will help you fit your bath panel correctly and efficiently, whether working with an acrylic, MDF, or wooden panel.
Step-by-Step Guide to Installing a Bath Panel
Follow these simple steps to install your bath panel like a pro:
Step 1: Measure Your Bath
- Start by measuring the height of your bathtub by measuring the distance between the rim of your bath and the floor. Also, measure the length of the tub for the appropriate panel length.
- Hold the panel(s) against the bath to test the fit. Use a spirit level to check alignment.
- If the panel is slightly oversized, mark areas for trimming. The panel mustn't be smaller than needed.
Step 2: Trim the Bath Panel
- Mark the sections to be trimmed using a pencil and draw straight lines as guides.
- Use a hacksaw to cut the panel along the marked lines carefully. Take your time to avoid uneven cuts.
- Smooth the edges with fine-grit sandpaper for a clean finish. This step is crucial for acrylic panels to prevent cracks.
Step 3: Prepare the Wooden Battens
- If you're attaching a side and end panel (creating an "L" shape), prepare softwood battens for support.
- Fix battens to the floor along the full length of the bath, with an inset of about 20mm from the bath edge. Fix battens parallel to the main set for end panels, creating a secure frame.
- If only a front panel is attached, shallow floor battens may be sufficient for support.
Step 4: Position and Secure the Wooden Battens
- Firstly, get those wooden battens in place.
- Grab your spirit level and hold the panel where it needs to go.
- Make marks on the floor and wall to know exactly where everything should sit.
- Before you start drilling, use a detector. This will avoid damaging any pipes or cables beneath the surface.
Step 5: Attach the Bath Panel
- The next step is to screw those battens in place. They're like the backstage staff, doing all the important work behind the scenes.
- Get that panel. Slide it under the rim of the bath for a perfect fit.
- If there are no pre-hilled holes, get your drill out and make your own. Just make sure you screw it nice and tight to those battens you just put up.
Step 6: Seal the Edges
- Run a line of silicone sealant along where the panel meets the wall and floor.
- Smooth it out with your finger for a clean appearance.
Step 7: Finishing Touches
- Finally, cover those screw caps. Try to match them to your panel color for a cohesive bathroom look. And that's it - you're done!
- Thoroughly check the complete installation. This will ensure that nothing is missed, and everything is securely placed.
- Slot the bath panel(s) into place, ensuring it fits snugly under the rim.
- If the panel does not have pre-drilled holes, create the holes on your own using an electric drill for the screws.
- Using screws, secure the panel to the battens, and ensure the panel is strongly in place.
Additional Tips Before Installing a Bath Panel
- To ensure proper support, use rebated wood or battens along the floor when fitting an acrylic bath panel.
- Avoid messy adhesive smears by wiping away excess glue immediately during installation.
- Keep wooden panels as dry as possible to prevent rot and maintain longevity.
- Regularly clean acrylic panels to prevent limescale buildup and keep them looking smooth and shiny. This will enhance their longevity.
- Contact a local plumber to ensure a professional finish if you're unsure about the installation process.
Discover your Perfect Bath Panel Today with Royal Bathrooms!
We at Royal Bathrooms believe that every bathroom deserves a luxurious look with lasting durability. That is why we offer our valued clients a perfect blend of style, aesthetics, and practicality. If you are planning to upgrade your existing bathroom or need a full revamp, our collection covers you all. And if you start with upgrading your bathtub, we suggest you enhance the bath panels with our range of durable and sleek designs. From classic to contemporary and everything in between, we have a complete selection of exciting bath panels in MDF and acrylic to suit any bathroom space. You can also combine them with matching accessories to create something beautiful, elegant and lasting.
Explore our range of sleek and durable bath panels and find your perfect match today!
FAQs:
1. How can I make my bath panel look better?
There are multiple ways to enhance the look of your bath panel. You can paint your panel that complements your bathroom interior or by adding vinyl wraps for a sleek finish. By combining stylish features like LED lights, you can further improve the visual charm of your bathtub.
2. What do you cut a bath panel with?
A fine-toothed saw or a jigsaw is best for cutting a bath panel. Mark your measurements carefully. Then use sandpaper to smooth out the edges for a neat finish after cutting.
3. Can you glue a bath panel?
Yes, if you want a permanent solution, you can use a strong adhesive to fix a bath panel. However, glue is still not an ideal choice if you regularly access behind the panel for repairs and maintenance.
4. How to attach bath panel clips?
To attach bath panel clips, position them on the bath frame where the panel will sit. Screw them securely, and gently snap the bath panel into place. Ensure the panel aligns properly for a firm and even fit.
5. What is the difference between shower panels and bathroom panels?
Shower panels protect the walls of your bathroom from water. They are particularly designed for the shower area and are vertical fixtures which are installed in showers. However, bathroom panels are designed to cover the walls and offer a waterproof solution to the entire bathroom.