Buying a shower enclosure is one of the best ways of renovating and transforming your old bathroom. In this guide, we will help you with the best advice on how to install a shower cubicle without professional help.
Installing it on your own may be trickier than it may seem. It is normally better to leave it up to a professional plumber to get it done. But, in case you have a limited budget and are considering saving up on renovation costs, our installation guide will save you from spending too much time and budget on it.
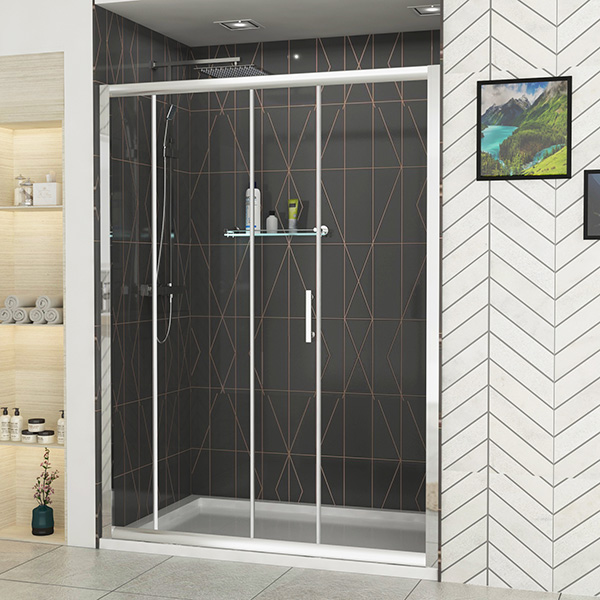
What is a Glass Shower Enclosure?
A shower enclosure is a closed shower space that keeps the water confined to the specific area. it keeps the wet and dry areas of your bathroom separate ensuring the bathroom dryness, cleanliness, and hygiene intact.
"At Royal Bathrooms, we have an extensive range of shower enclosures available including Quadrant, Offset Quadrant, Rectangular, and walk-in enclosure, etc".
Before we move on to our guide, let's explore the equipment and tools we need to install it.
Set of Required Tools
You must have the following tools to get to do it yourself.
- Electric drill
- Adjustable wrench
- Claw hammer
- Screw hand drill
- Inch Measure tape
- Blade hand saw
- Jigsaw machine
- Bucket
- Wood chisels
- Caulking gun
- Bubble level
In addition to the installation tools, ensure that you have all the components and equipment of the shower cubicle ready. The items required for the project are:
- Glass shower doors
- Handles
- Glass panes
- Panel frames
- Shower base
- Waste trap
- Shower valve
- Silicone adhesive
In case you do not have a riser kit installed in advance, you will also need:
- Cement
- Building sand
- PVA glue
First thing first
It is always important to unpack the shower enclosure as it arrives. You must check for any wrong or damaged parts so you can get it replaced before you start the installation process.
Setting a Shower Base
You must start with the base prior to the cubicle. Shower trays come in various materials. Stone resin trays are durable and resistant to scratches. Therefore, these are an excellent choice for en-suite bathrooms. Choose the one you prefer, and let’s get going.
How to do it without Riser Kit?
1. Draw the boundaries of the base on the floor with equal proportions. Similarly, mark the spot for waste.
2. Drill a pit on the flooring with a jigsaw.
3. Make an access point enough for your arm for accessing the shower waste pipeline in the future.
4. Connect the shower base with the waste line using rubber seals to ensure complete waterproofing.
5. Spread the PVA solution on top of the surface inside the marked area.
6. Create a concrete mixture with a thicker consistency and spread a coat on the specified spot.
7. Position the tray on the cement mixture in a balanced proportion, using a spirit level.
8. Attach the shower waste to the outlet pipeline and allow it to dry off for 24 hours.
9. Fix the tray with silicone sealant around its edges.
Use of Riser Kit
1. Draw the edges of the tray and the shower trap on the floor.
2. Drill holes into the floor at a 2mm distance from the marked edges for fixing brackets.
3. Fit the shower tray waste.
4. Join the led assemblies by removing one side of the adhesive pad. Repeat the same process for each leg.
5. Attach panel brackets at a 5mm distance from the edges for attaching the Velcro strip.
6. Fix the leg assemblies with the sealant and set each one at a 96mm distance from the tray.
7. Connect the waste pipe and fix the shower tray at the right level.
8. Remove the protective film from the panel brackets and attach the panel brackets.
Shower Doors and Panels
1. Place the channels at the corner of the tray, and this is where the panels will be attached.
2. Drill holes into the walls and insert the screw plugs for fixing the channels with the wall.
3. Attach the immovable panel with the channel opposite the channel where the door will be placed.
4. Fix the door panel on the other side.
5. Fix both panels after positioning them at the outside edges of the tray.
6. Attach the handle to the door.
7. Apply sealant on the outer edges of the enclosure.
Your Shower Enclosure is Now Ready
Although DIY can help you save time and money, it is always better to get the help of a certified professional for bathroom fittings. Our guide is useful in providing basic information and should not be used as an alternative to professional help or attempting a full-scale enclosure installation.
The shower enclosures are the best way to enhance your showering experience and if you are looking for the best options available in your town, visit our online store and get a spa-like experience at your home