Post Contents [hide]
- What is a WC Unit?
- A Step-by-Step Installation Guide
- Installing the Toilet Seat
- Post Installation Cleaning
- Taking it to the Next Level with Easy Upgrades
- Factors to Consider Before Installing a Wall-Hung WC Unit Yourself
- Is DIY WC Unit Installation Right for You?
- When to Call in the Pros
- Final Thoughts
- Frequently Asked Questions
Installing a new WC unit may seem a hectic job — particularly if you don’t regard yourself as a plumbing guru. For many DIYers who have done incredible jobs in the past, it may include building furniture or repairing a leaky tap, but if there is something more daunting than that, it is usually a toilet unit. It might come with some bumps along the way but it’s far from impossible. With the right tools, a solid step-by-step guide, and some patience, even beginners can do this like a pro.
If you're considering a back-to-wall toilet unit as part of your bathroom upgrades, our guide will take you through every step of the installation process from picking the right tools to all the steps, so that it's as smooth, manageable and rewarding as possible.
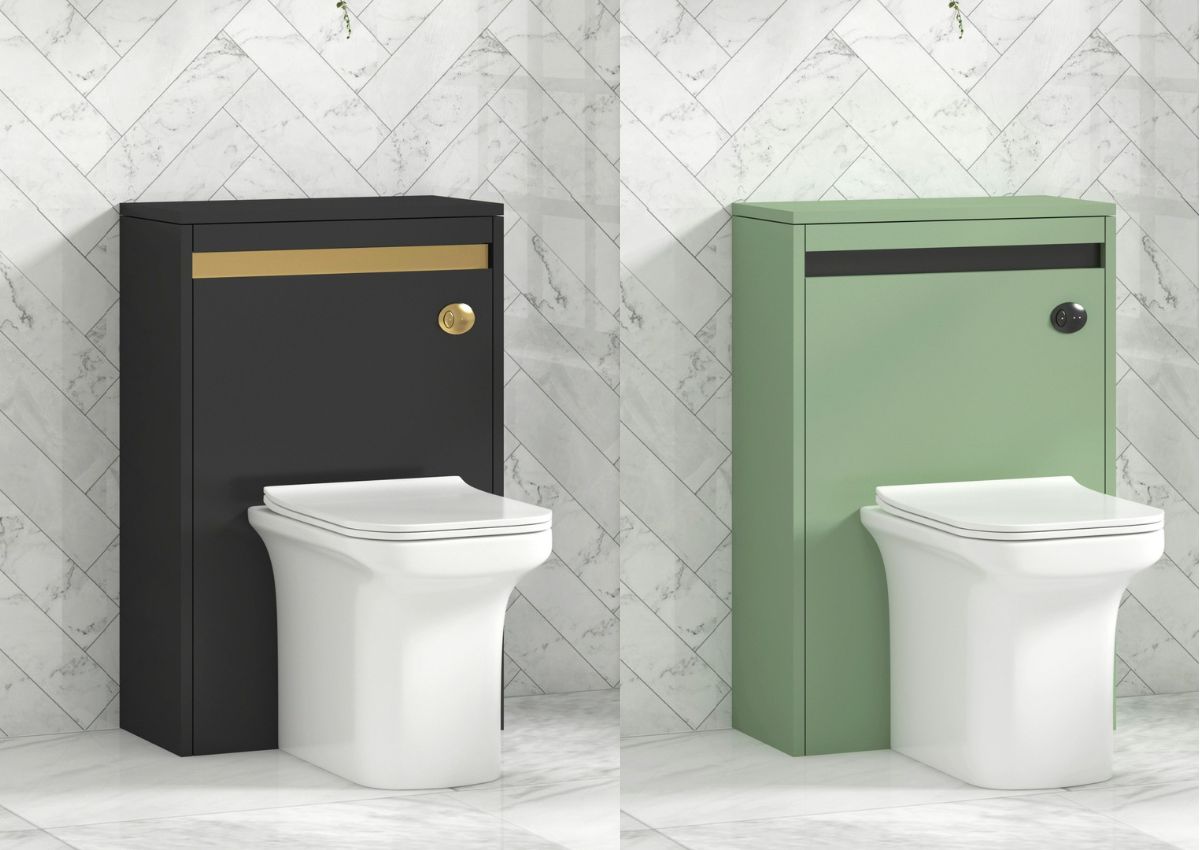
What is a WC Unit?
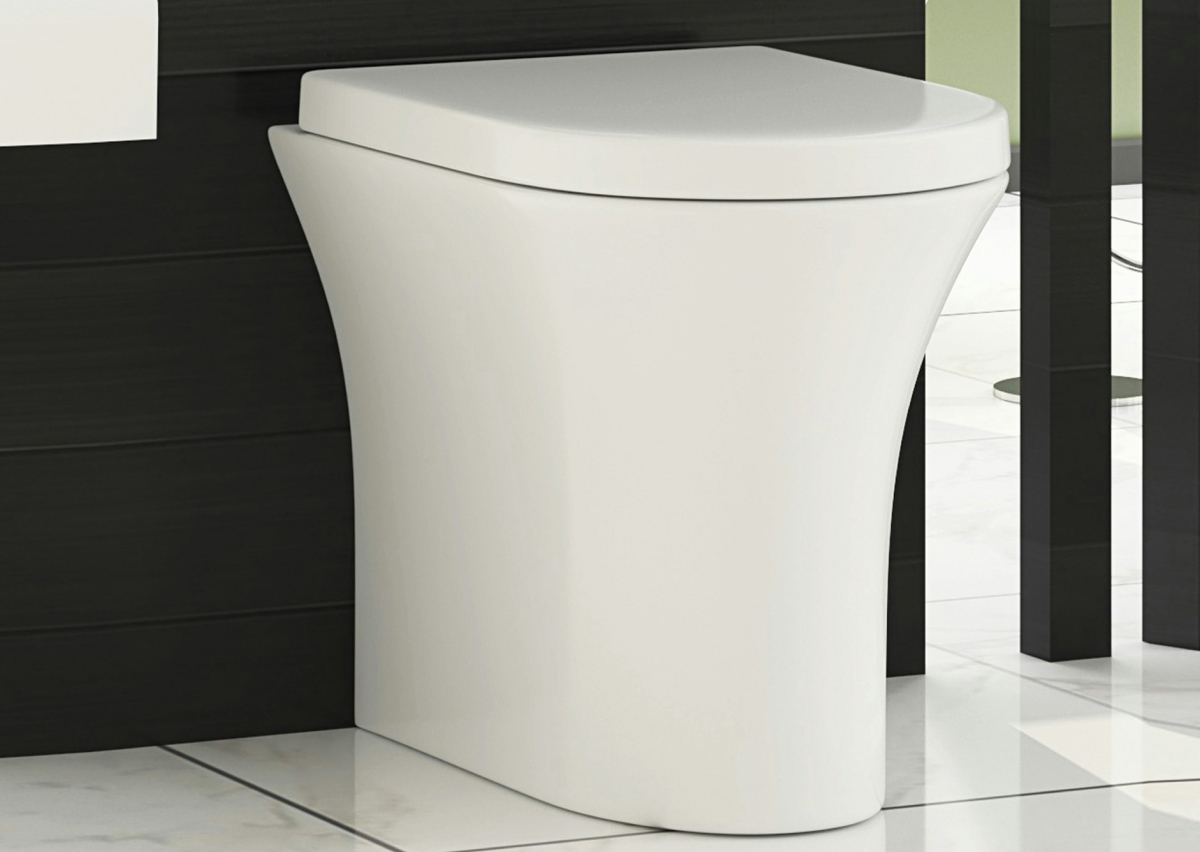
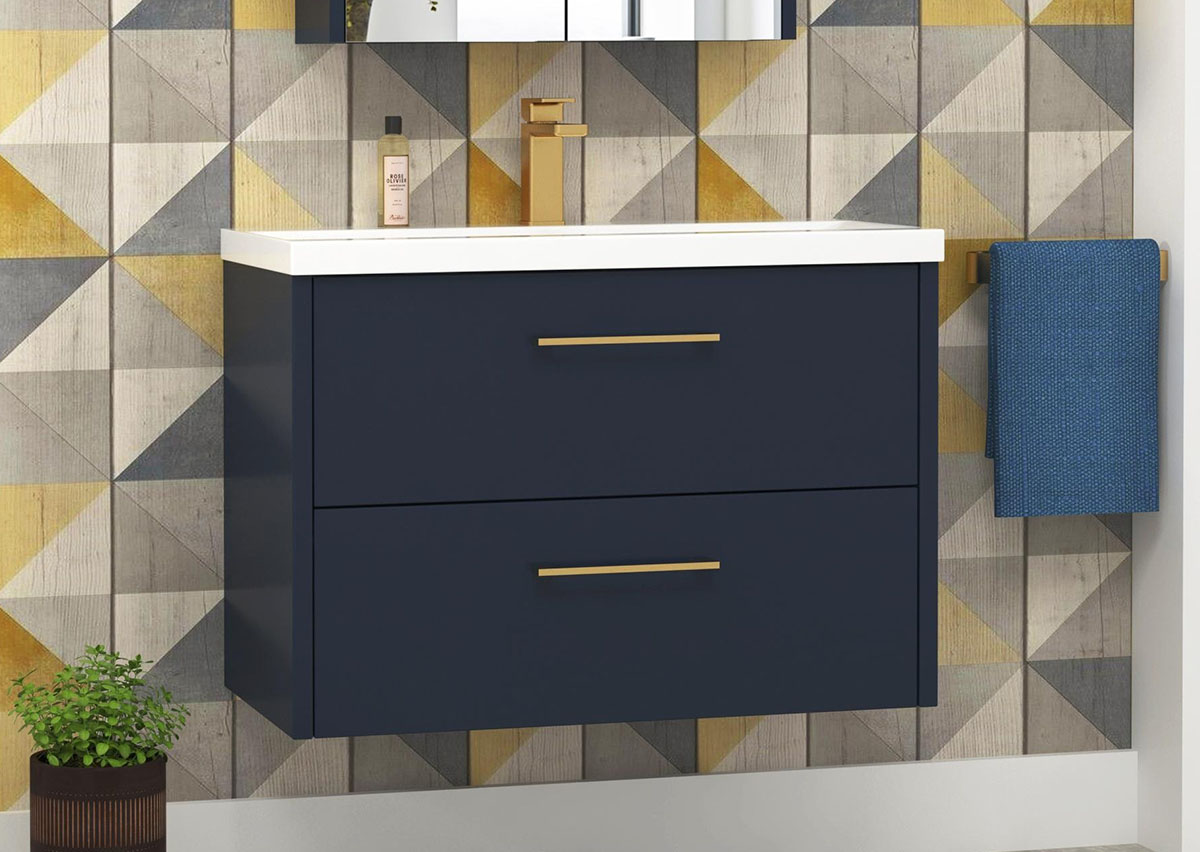
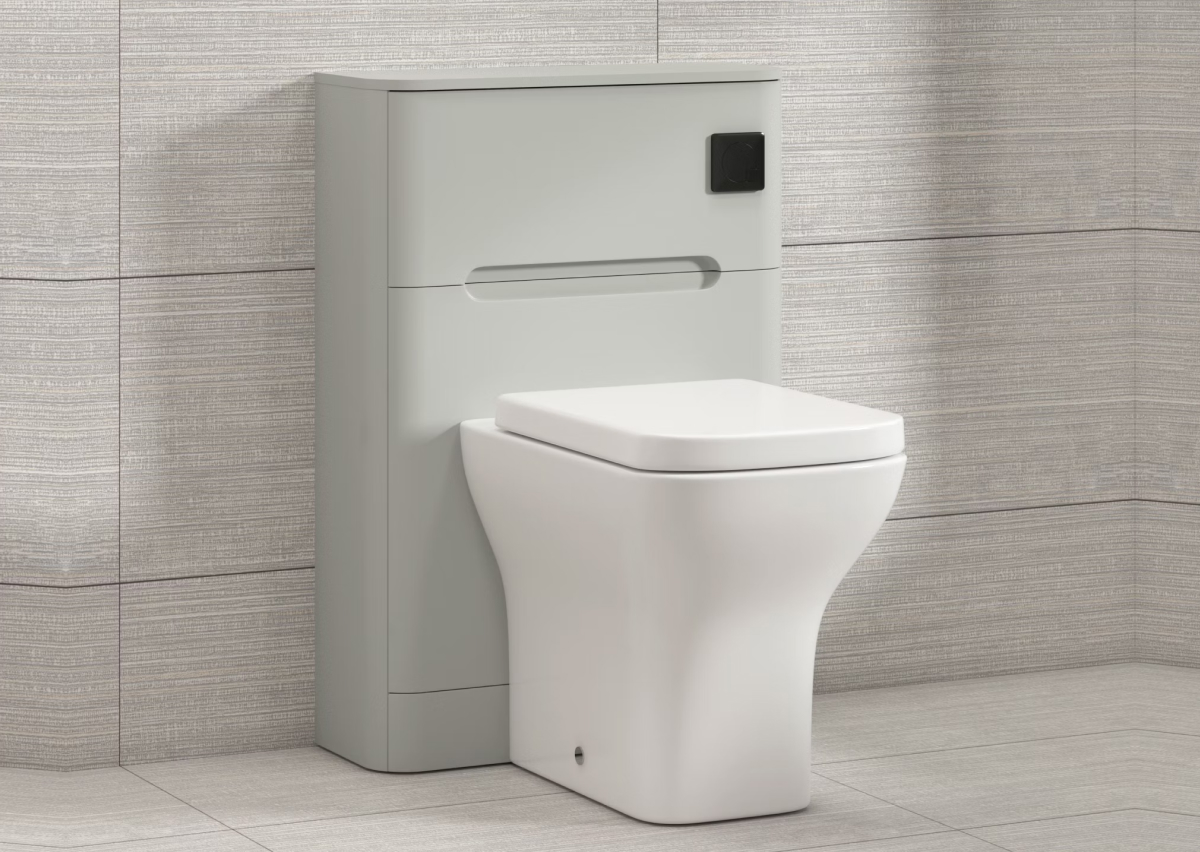
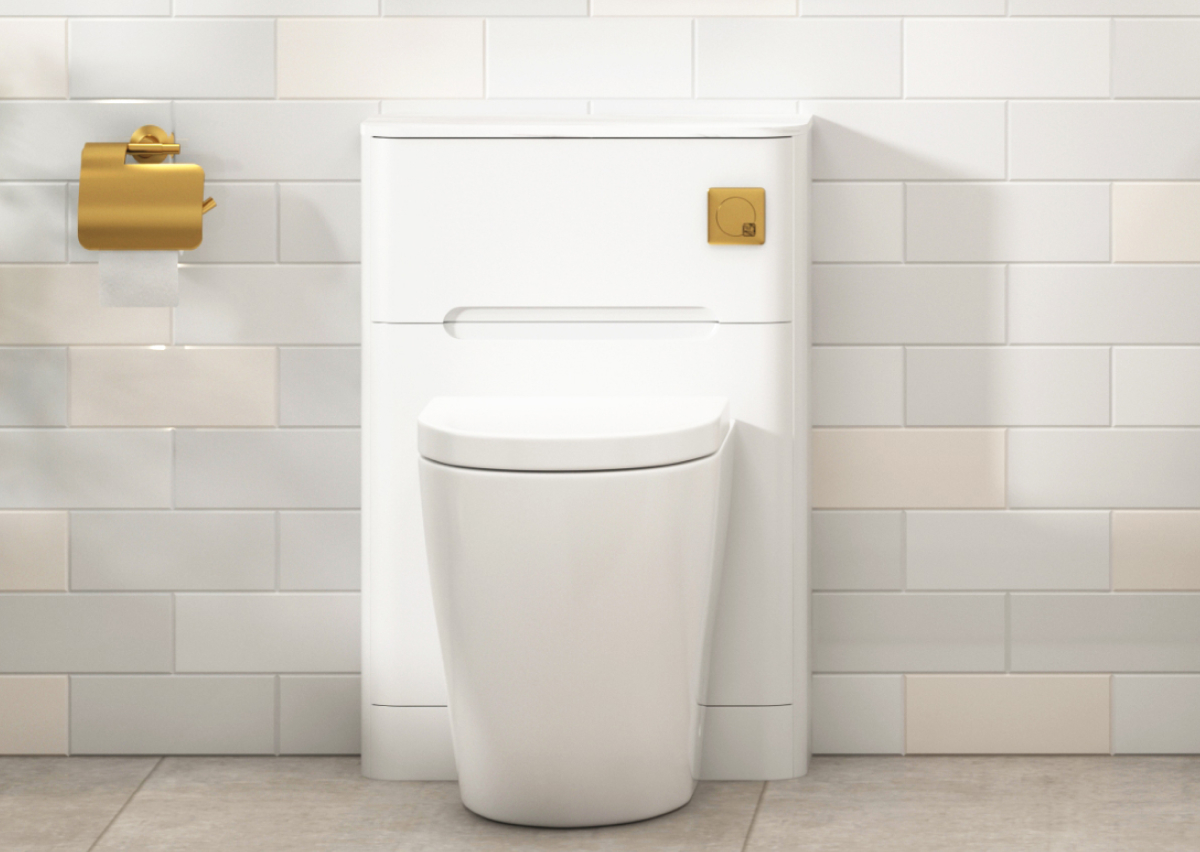
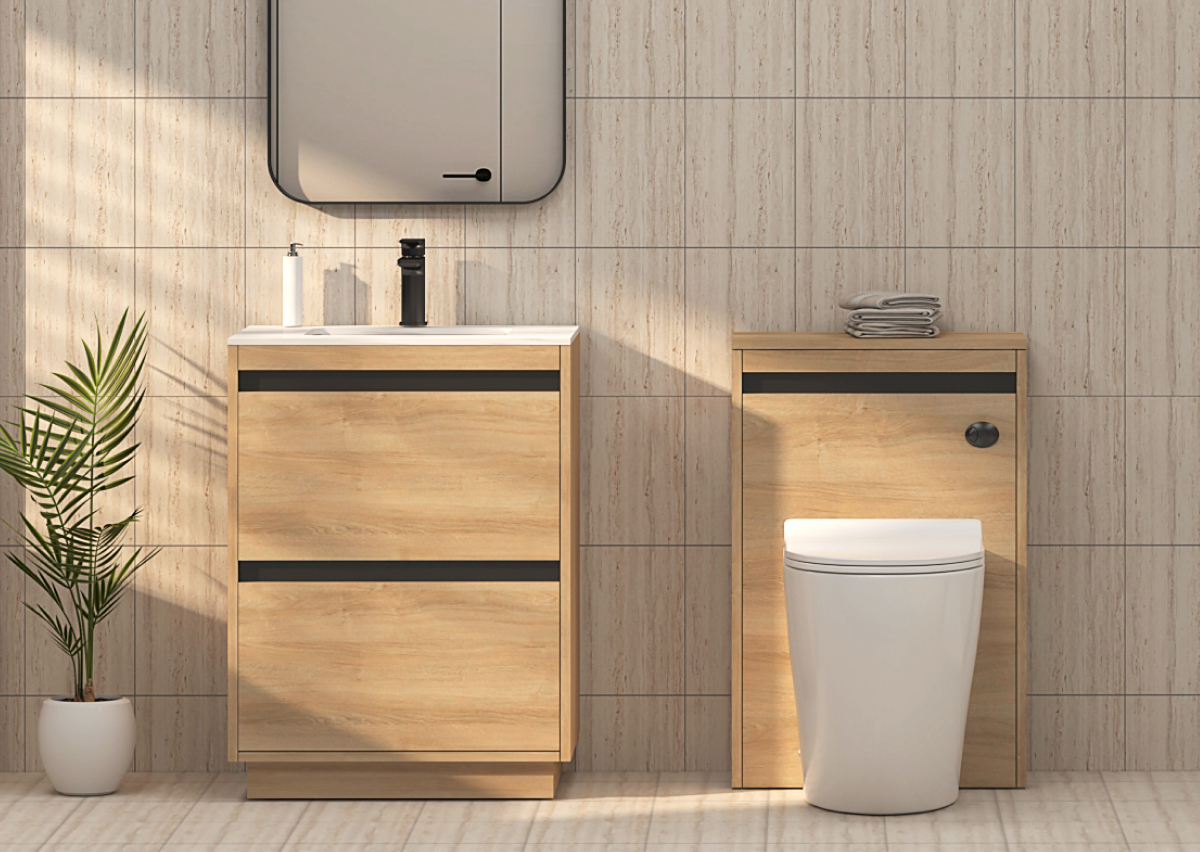
The WC unit, also known as water closet unit, is designed to host a toilet -- typically a back-to-wall or wall-hung toilet pan, along with a concealed cistern. These units are a contemporary trend used widely in bathroom interiors and fitted to match other bathroom furniture pieces to create a seamless styling and save space at the same time.
Unlike traditional exposed toilets, a WC unit consists of a compact cabinet or structure that houses the cistern behind a flush panel. This improves the aesthetics of the area, hygiene and upkeep also become much easier. Combining with vanity units and storage cabinets, WC units create a tailored, built-in look for a bathroom.
A Step-by-Step Installation Guide
For an average homeowner, installing a WC unit for a back to wall toilet might seem intimidating at first. But once you fetch the right tools and grow some patience, it will feel nothing more than a simple DIY project. Before getting started, please gather all the necessary tools and materials required during the installation process.
Tools Required
-
Adjustable wrench
-
Screwdriver
-
Level
-
Tape measure
-
Wax ring
-
Closet bolts
-
Plumber's putty or silicone caulk
-
Bucket and sponge
-
Towels or rags
-
Hacksaw (if needed)

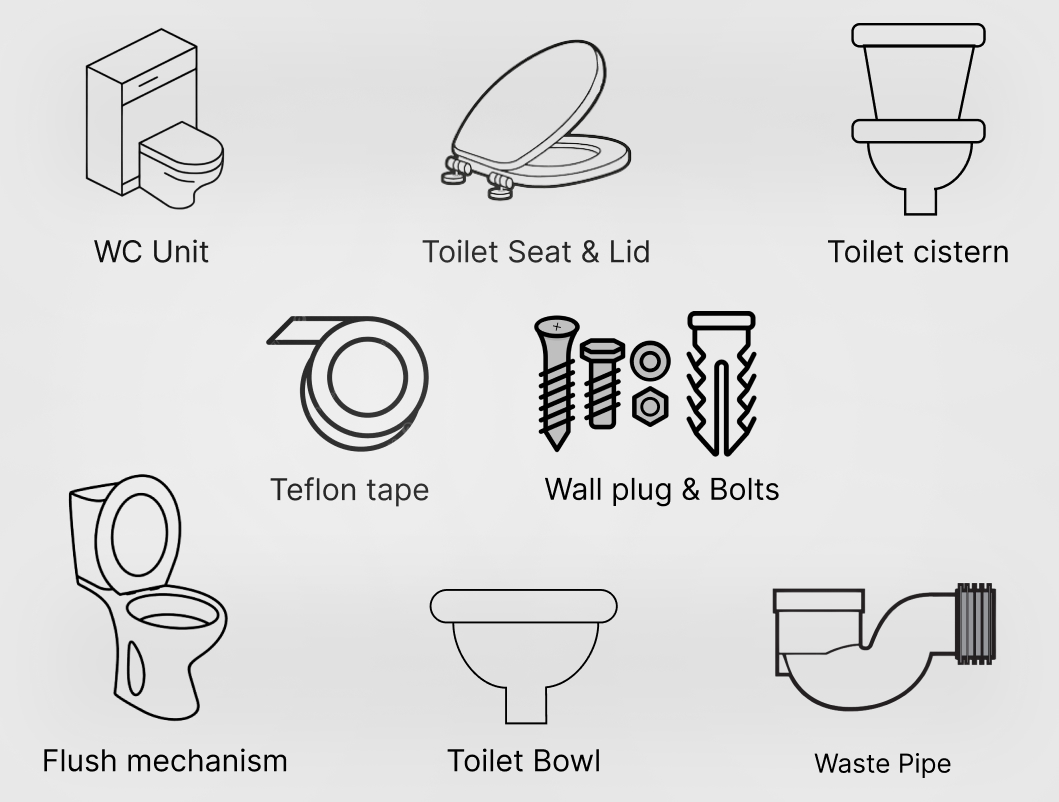
Materials
-
WC toilet unit with cistern and flush mechanism
-
WC cistern and flush mechanism
-
Toilet Bowl, seat, and lid
-
Waste pipe
-
Mounting screws and brackets
-
Sealant (Silicon)
-
Water supply pipe and valve
-
Cleaning and sanitizing solution
-
Teflon tape
-
Bolts and nuts
-
Wall plugs
Step I: Prepare the area
Before you begin, turn off the water supply. Locate the shut off valve close to the toilet base, turn it clockwise to stop the water supply. Flush to get as much water as it’ll take. Soak up any excess water left in the tank and toilet bowl with a sponge or towels.
If you’re upgrading or replacing an existing toilet, you’ll need to first disconnect it from the main water supply line. Begin unscrewing the nuts of the toilet seat base that helps to keep it secure on the floor. Gently rock the toilet back and forth to pop the seal and lift it off the floor. Be sure to scrape the old wax ring off the flange on the floor with a putty knife.
Step II: Check and Prepare the Flange
Inspect the floor-mounted pipe fitting, or flange, for damage. Replace it right away if it is cracked or broken. Also, while you’re at it, ensure the flange is level with the floor. It can be hard to seal otherwise, if it’s too high or too low.
Insert new mounting/closet bolts into the slots on the flange. These will fasten your new toilet to the floor. For the secure attachment, the bolts must be equally spaced and straight up.
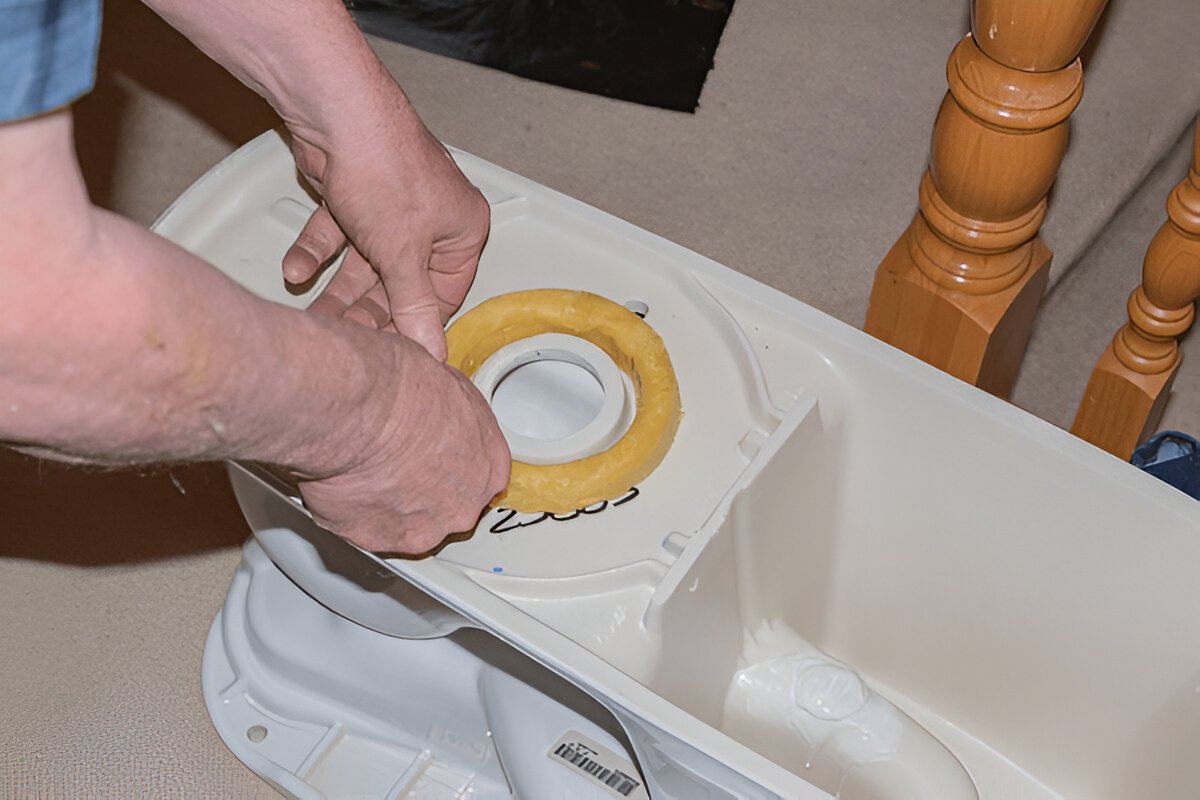
Step III: Install the Wax Ring
Fit a new wax ring onto the bottom of the toilet bowl outlet. Alternatively, use to sit directly on the flange if you would like to. First, ensure the wax ring is centered to ensure good sealing.
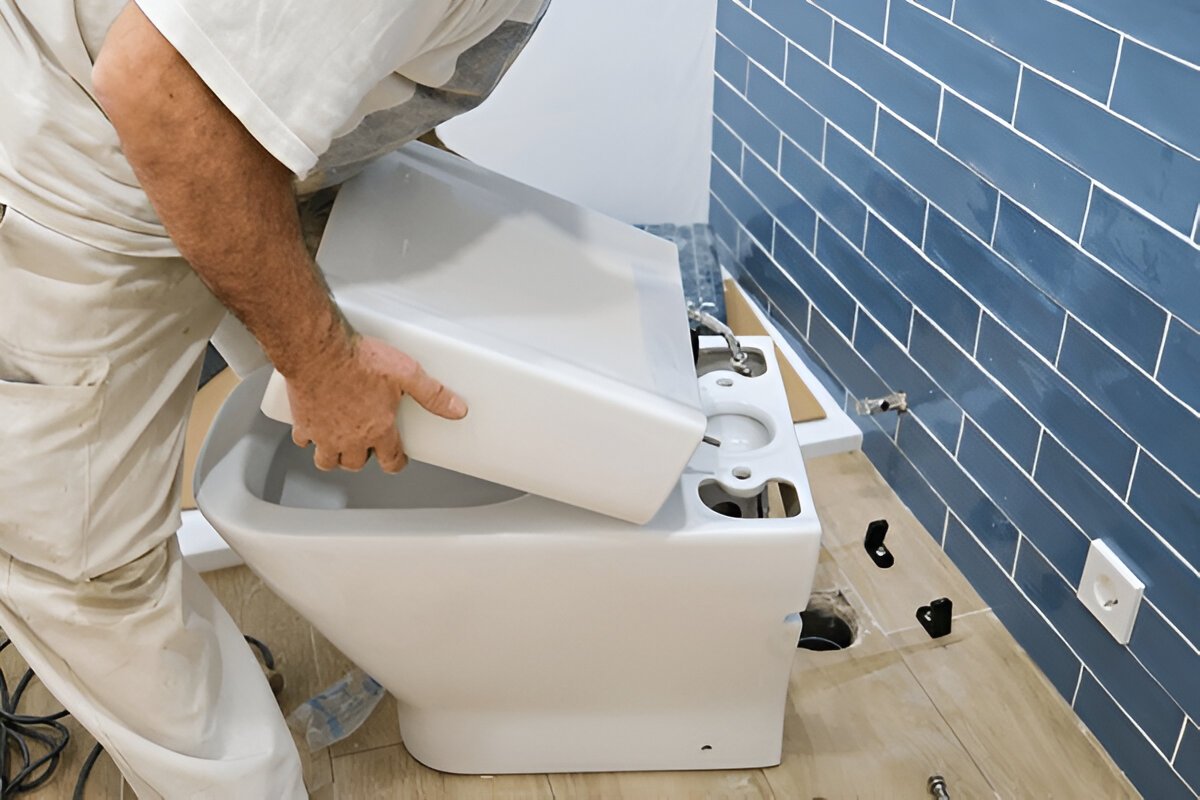
Step IV: Mount the Toilet Seat
Lift the toilet carefully and position the holes at the bottom of the toilet over the closet bolts on the flange. Press down firmly to compress the wax ring and form a seal. Place washers and nuts onto the closet bolts. Get them snug by hand, then an adjustable wrench to tighten. Don’t overtighten, as this can crack the porcelain. They also have rubber gaskets to resist breaking.
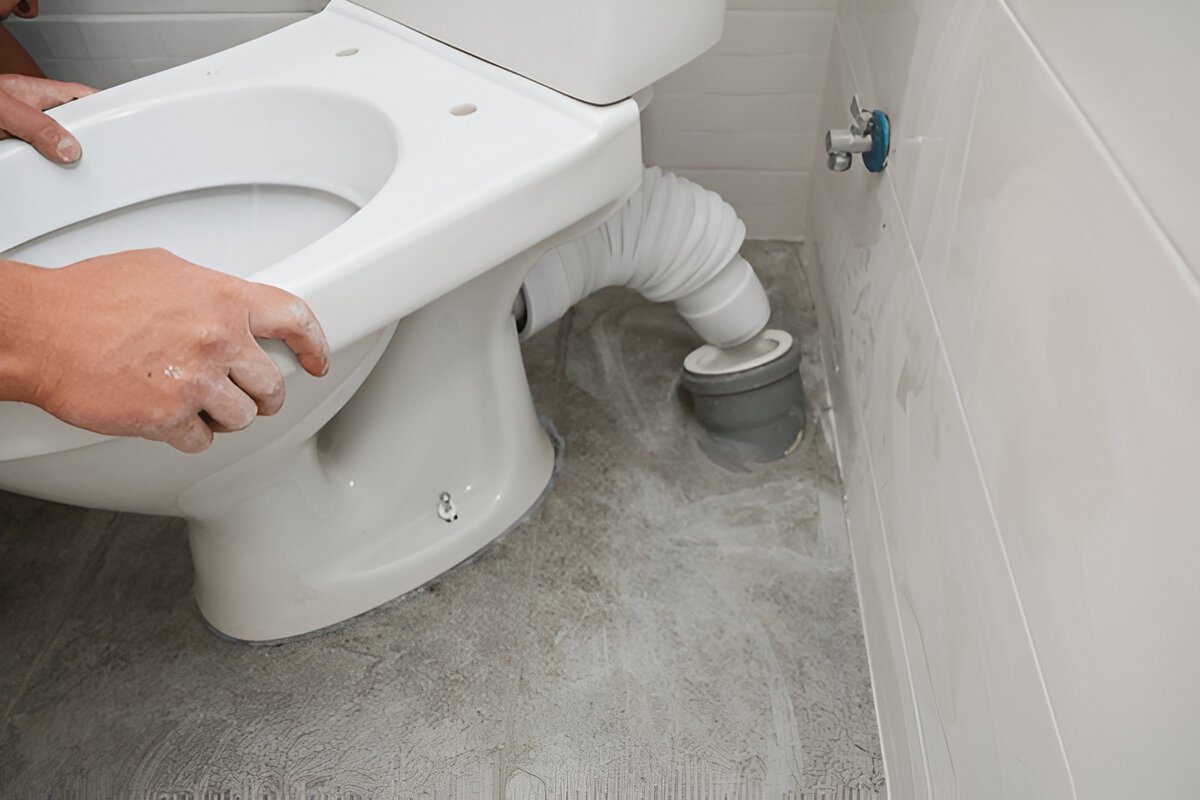
Step V: Attach to the Waste Pipe
The waste pipe should be secured to the back of the toilet outlet. It should fit tightly and align well with the floor drainpipe. If the connection feels weak or wobbly, don’t hesitate to use a piece of pipe extension to secure a tight fit.
Step VI: Fix the Toilet Cistern
Here’s how to mount a toilet called the cistern on the rear of the toilet bowl, making sure the bolts and holes are aligned correctly. Push the bolts through the holes and fasten with washers and nuts. Use an adjustable wrench to tighten the nuts evenly so there are no leaks.
Using a rubber gasket on the bowl is preferred when fastening the cistern. Secure the flush valve and handle as per the instruction’s manual.
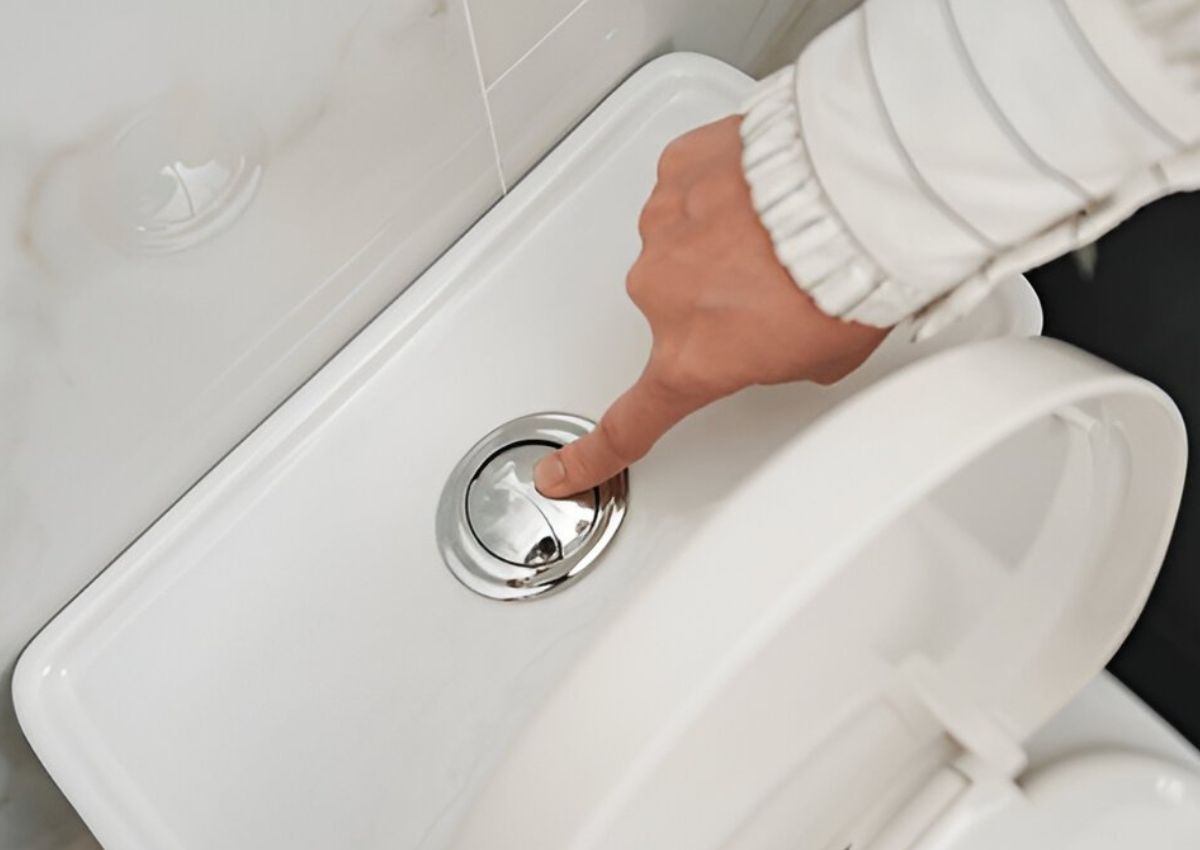
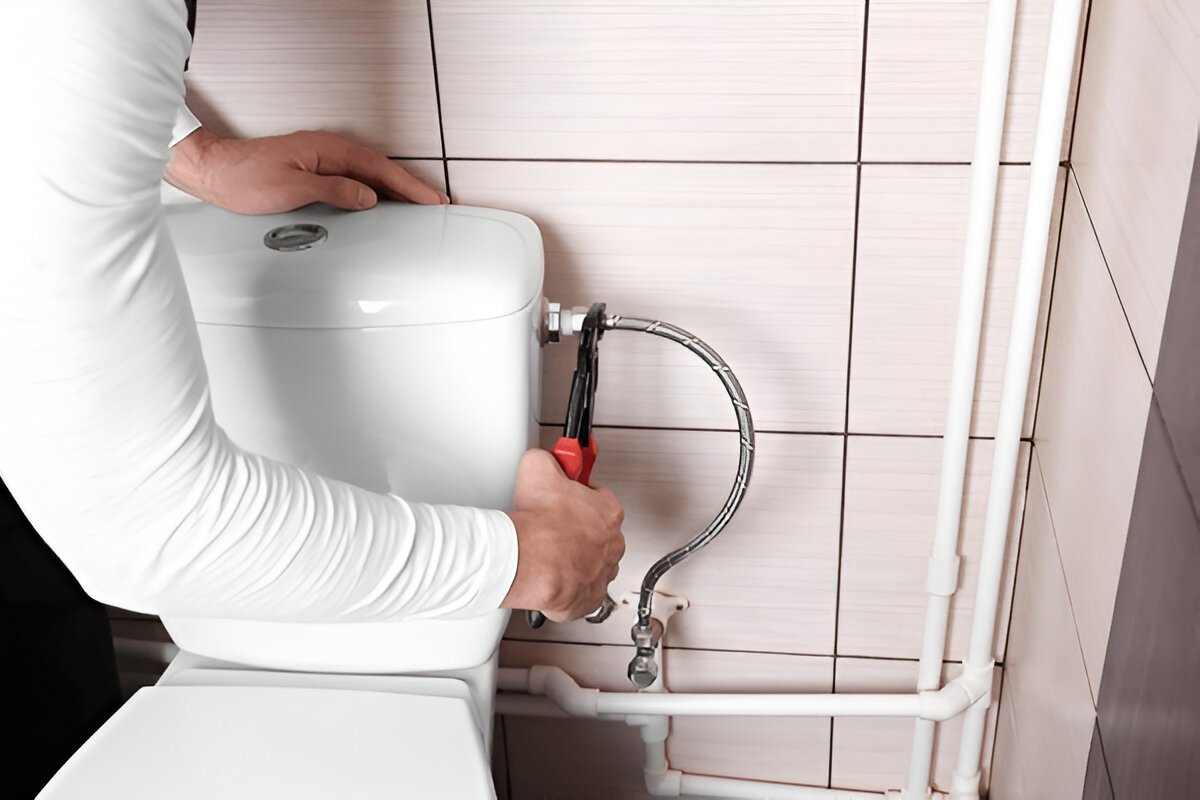
Step VII: Restore the Water Supply
Reconnect the toilet tank’s water supply line. As you inspect leaks to the point of connection, open the water supply to fill the cistern. Then, do flush the toilet a few times before giving it the greenlight, to make sure it’s functioning correctly. If you are seeing any leaks, you may have to redo the bolts or adjust the wax ring.
Finishing Touches
After the toilet has been properly installed and is operating, you can add finishing touches to your setup. Here are a few suggestions:
-
If the toilet seat has not already been installed, install the toilet seat.
-
For quieter operation, add a lid that closes softly.
-
Sanitize the installation area and adjacent areas with a sanitizing solution.
-
Finally, examine the installation to verify that it is secure and well-sealed.
Additional Tips:
-
Always ensure the flange, waste pipe and cistern connections are level and in alignment to prevent leaks.
-
Wrap Teflon tape around threaded water supply connections to ensure no leaks.
-
If you have trouble with the installation or installation process, consider professional plumber consulting.
-
Having the manufacturer’s installation manual is also helpful to follow specific instruction based on the model of your WC unit.
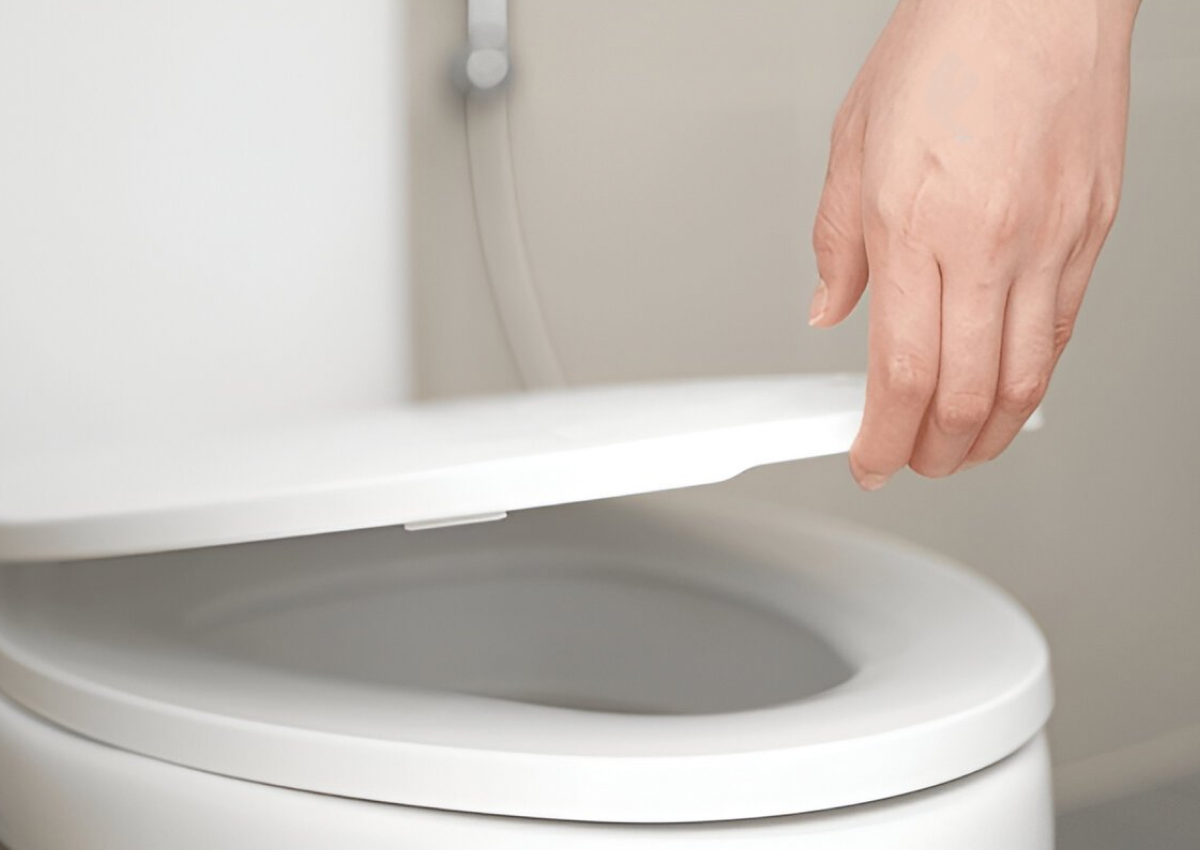
Installing the Toilet Seat
Most back-to-wall toilets at Royal Bathrooms come with soft closed seat. It is rather easy and will take around five minutes. Here is how you can install a toilet seat.
Step 1. Simply align the holes in the new seat with the mounting holes on the toilet bowl. Lower the seat gently onto the bowl.
Step 2. Insert and tighten the bolts through holes in the seat and toilet bow
Step 3. Use a wrench or pliers (a screwdriver in some cases) to further tighten the nuts. Be cautious not to overtighten it.
Step 4. Test the seat by gently pushing down on it. Ensure it does not wobble. If it does try further tightening the nuts a little to make it stable and secure for use.
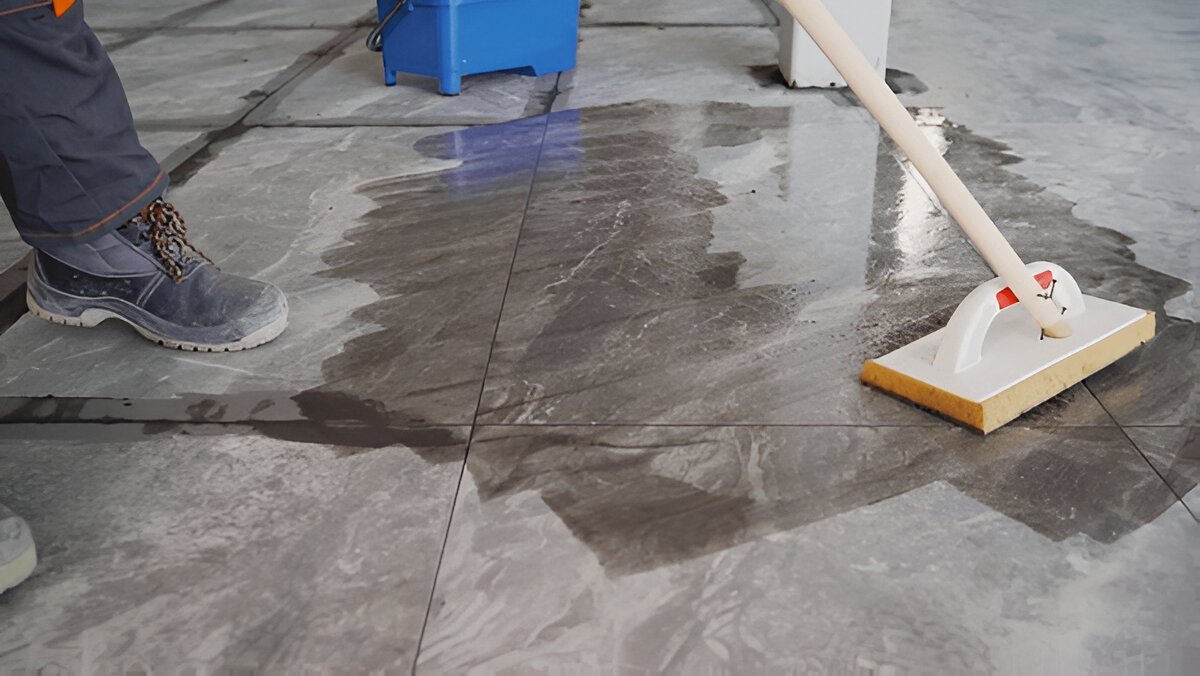
Post Installation Cleaning
After all the toilet seat installation, it's time to clean it all. Besides closing the bathroom, toilet installation can leave dust, debris, and/or leftover materials in the surrounding area. A thorough cleaning to make sure the bathroom is clean and sanitary. Clean the toilet, the area around the toilet, and the floor with a cleaning solution. A convenient tip for cleaning the space is to place a plastic sheet or covering on the ground before you install it. You can easily clean any mess after the installation so that the place remains nice, and you can use your bathroom right after work.
Taking it to the Next Level with Easy Upgrades
There are also some upgrades that you could make to your toilet once it's been installed. These upgrades are relatively cheap and would benefit functions and the overall aesthetic of the bathroom. Many of these upgrades don’t require you to break the bank but can greatly contribute to your overall bathroom experience.
For instance, choose a soft-close seat if your toilet does not already have one. This feature prevents slamming and brings a little elegance and quiet to your toilet. An alternative is upgrading to a rimless toilet bowl. With a rimless toilet, cleaning is much quicker because there are fewer hiding spots for soap scum and bacteria to cling to.
Finally, a bidet attachment can be a nice touch for comfort and hygiene. This small enhancement makes a good bathroom experience, allowing additional options for cleanliness without the need for additional space, or bolstering design. These simple enhancements will make your bathroom setup refreshingly functional and visually appealing.
Factors to Consider Before Installing a Wall-Hung WC Unit Yourself
Though WC units may offer a sleek and modern appeal, their installation isn’t as easy as it may seem. Before deciding to take the DIY route, here are some critical factors to consider:
Skill Level: Do you have experience in plumbing or carpentry? Wall-hung and back to wall WC installations involve working with a concealed cistern and a wall frame and level so that you should have accuracy and basic home improvements knowledge and practice.
Structural Strength: Wall-hung toilets need a strong frame and wall to hold the weight of the toilet and the user. If your bathroom wall is not a loading bearing wall or reinforced, more work is required before you can safely install the unit.
Available Tools and Materials: You may need to use unique tools such as a stud finder, wall anchors, or pipe cutter. If you don’t already own these or know how to use them, this could all add to the cost quickly — and using the wrong kind could lead to damage or leaks.
Time Commitment: A DIY installation can take much, much longer than expected, particularly if you’re installing a solar power system for the first time. You’ll also need to make time for planning, buying supplies and dealing with possible troubleshooting.
Local Laws and Regulations: You may have local building codes or housing society rules that apply to plumbing installations. It’s important to make sure your work meets any such regulations, to avoid possible problems down the line.
Is DIY WC Unit Installation Right for You?
This is entirely dependent on your level of comfort with complicated home improvement projects. If you’re comfortable with your technical skills and like a hands-on challenge, a DIY installation may be rewarding and economical solution. However, remember that this is more than just some toilet bowl attachment. It includes precise measurements, sturdy wall mounting, plumbing connections, and leak-proof sealing to consider as well.
On the other hand, if you have any doubts or are reluctant to take any step, it is better to play safely. A small installation error can translate into leaks, structural problems, or expensive repairs later.
When to Call in the Pros
Even the best DIYers have their limits. Hence, it is essential to know when to call a professional for help.
Hidden Leaks: If you believe there’s a leak behind your wall or beneath your floorboards, don’t try a DIY fix. Water damage can be costly and far-reaching, so best to leave this to the pros.
Cracked Toilet Bowl: A cracked toilet is a ticking time bomb waiting to explode. Call a plumber before this is a major flood.
Complex Plumbing Issues: If you have a clogged drain line, low water pressure, or another complex plumbing issue, this requires a licensed professional.
Final Thoughts
Feeling adventurous and want to give DIY toilet installation a short? This blog is here to help you through the process. It will give you a glimpse into the world of DIY installation. While installing a wall-hung WC unit yourself can be rewarding and budget-friendly, it’s not a task to take lightly.
Consider your experience level, the tools required, and the complexity of your bathroom setup before diving in. For many, hiring a professional is the smarter choice – offering expert precision, structural integrity, and long-term reliability. Whether you decide to DIY or go with a pro, the key is to plan thoroughly and choose quality materials to ensure a sleek, safe, and functional result.
Frequently Asked Questions
Why are WC units taking over bathrooms in 2025?
Yes! WC units that use water-saving devices can help lower utility bills and create an environmentally friendly home. Many new toilets are dual-flush, which means you can choose between a full flush or a partial flush. These factors can save the bill and compensate for the investment cost, making them increasingly economical.
What’s the secret to installing a WC unit without plumbing nightmares?
Proper planning is the only way to go. You need to check that your current pipeline meets the characteristics of the selected unit, as it can avoid problems. If you want to replace the traditional toilet with a new one, hire a plumber to prevent any leaks or drainage issues.
Can a luxury WC unit boost your home’s resale value?
Absolutely! As WC units get more advanced -- with add-ons like bidets, seat warmers and rimless technology — can elevate a bathroom and make it feel more luxurious, more contemporary. This renovation makes the bathroom a focal point of the home and adds to the resale value of your home.
Are WC units strong enough?
Yes — new WC units are built to last. Properly installed on durable frames, wall-mounted units can hold quite a bit. Floor-standing models are even more bomb-proof, designed to last for decades with minimal attention required to keep them alive. Choose high-quality materials and brands for longer-lasting, more reliable kitchen essentials.
Can you retrofit an old WC unit with modern technology?
In many cases, yes! And although older units can’t necessarily be integrated into new technology, they can often be retrofitted with water-saving flush mechanisms, soft-close seats or bidet attachments. If your current unit is sound, a few minor tweaks will give better functionality without complete reinstallation.
What is the best WC unit height?
Most of the WC units have a height of 15 to 17 inches (38 to 43 cm) from the floor to the seat. This has become a more frequent option for comfort-height models — slightly taller, 17 to 19 inches (or 43 to 48 cm) — especially with accessibility and everyday use in mind.
Is it safe to buy second-hand or refurbished workstation units?
Recycled WC units can be a decent option in terms of price, but they may also exhibit hidden defects such as cracks, worn seals, or obsolete flushing systems. If buying second-hand, look for any damage/leaks or crashed parts, and ensure spare parts were made. Reputable resellers of refurbished units tend to be a safer bet, as those units are typically put through some type of testing before resale.