Post Contents [hide]
A correct shower tray installation can be the difference between a smoothly running and a leaking bathroom. Learn to fit a shower tray properly with easy-to-follow instructions in our step-by-step guide here, if you have made the decision to buy a new shower tray.
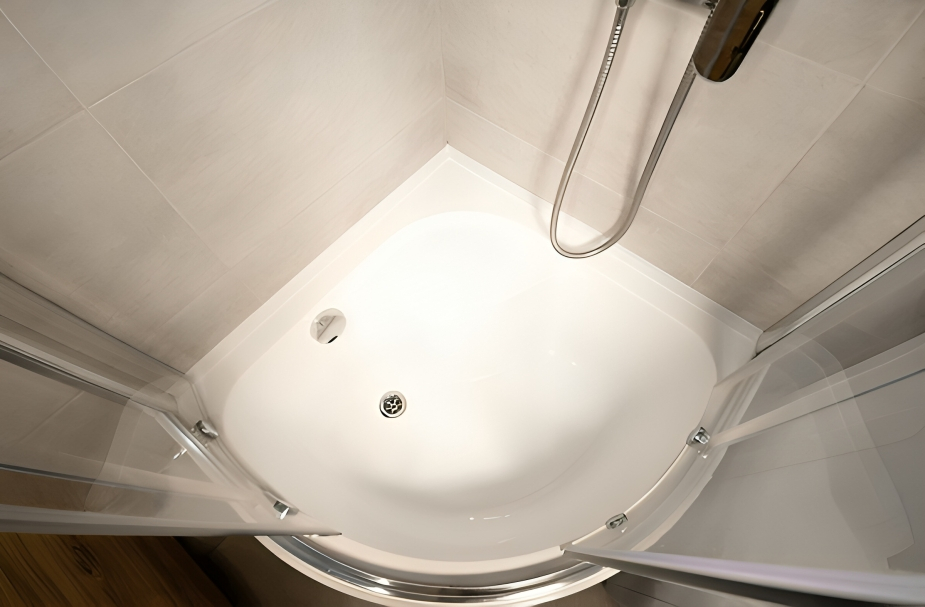
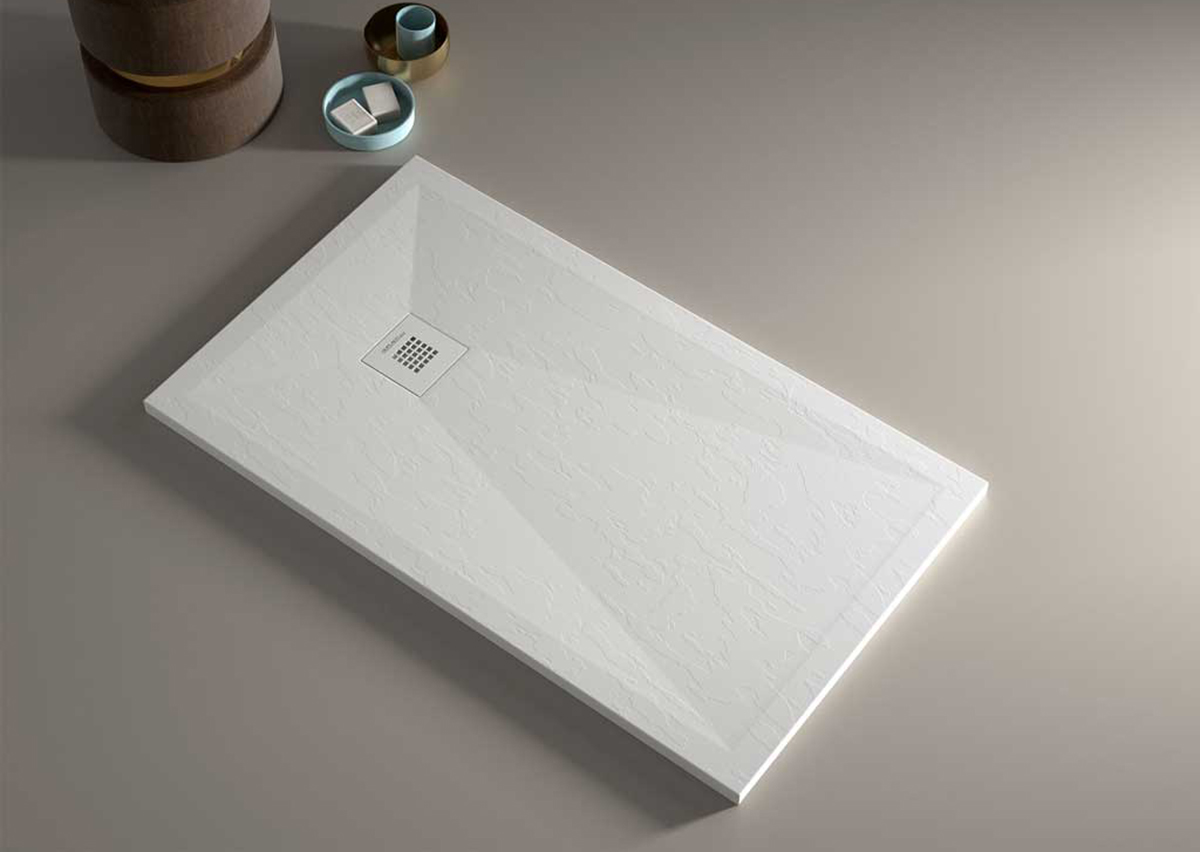
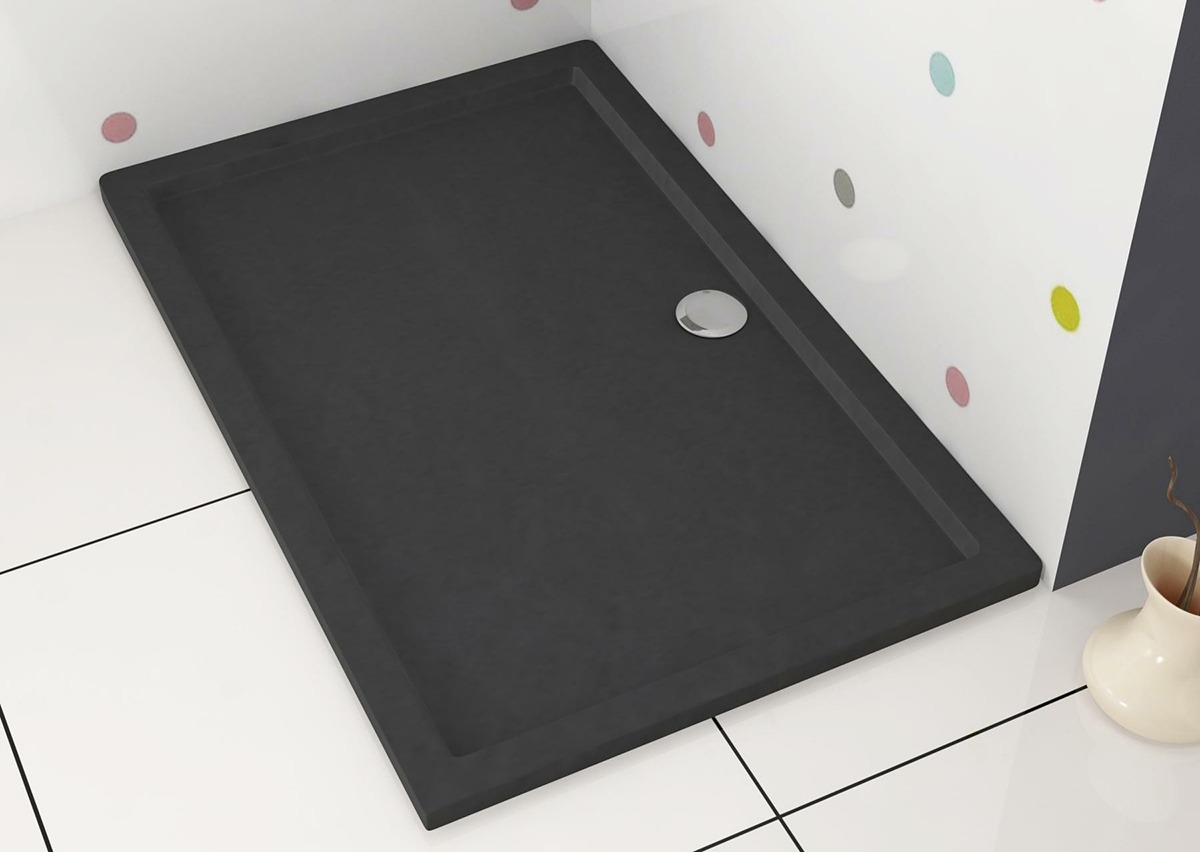
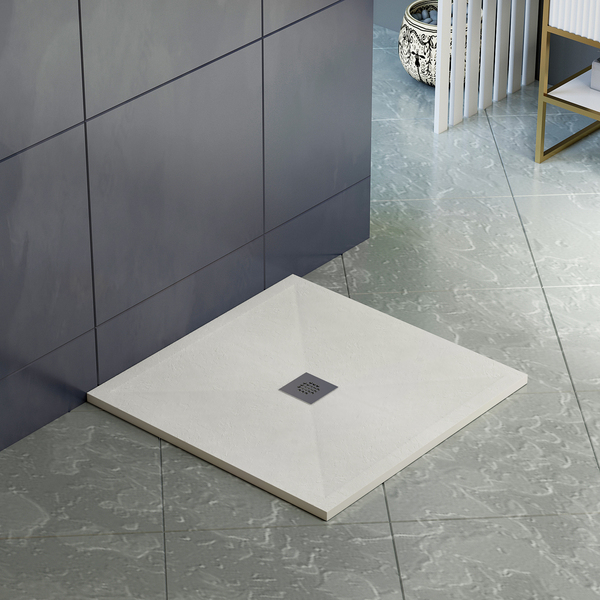
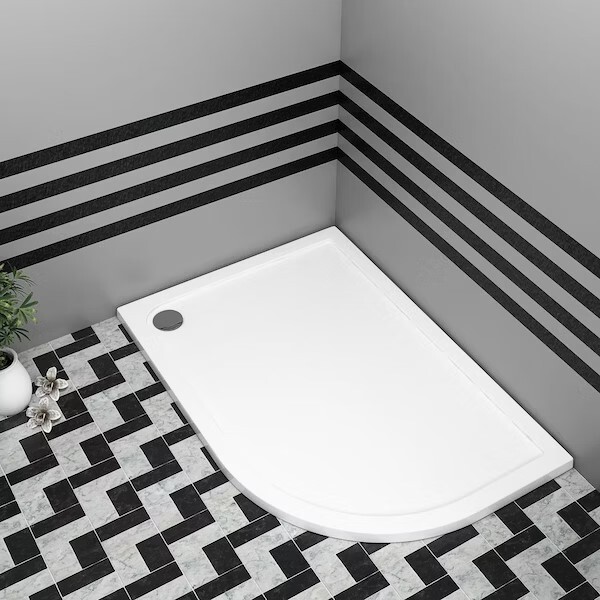
And if you're still in the market for a shower tray, consider our latest offering - the LuxeFlo range. With its advanced features and sleek design, LuxeFlo is the ultimate resin shower tray range for your dream bathroom. We also have a variety of different shape shower trays such as Square Shower Trays, Rectangular Shower Trays and Quadrant Shower Trays.
In today’s DIY guide, we'll walk you through the steps to install your shower tray like a pro, so you can achieve the bathroom of your dreams.
What is the Role of a Shower Tray?
A shower tray is essential and probably the most important part of your shower area. Therefore, you will need to make sure you complete its installation properly to avoid any future problems. Although installing a tray is a kind of task that is better left to the professional, if you are a DIY enthusiast with some knowledge of using basic plumbing tools, then it can help you save money. The time you may need to complete the task depends on whether it's a new installation or a replacement for the older one and your skill level. However, you should be ready to spend a few hours completing this task.
In case you are unsure about whether to DIY shower tray installation or not, ask yourself a question.
“Are you familiar with basic pipework (cutting or joining pipe and fittings)?”
If your answer is "yes", you can probably handle this task.
Before we start discussing the actual process of installation, it is important to decide whether you are going for an adjustable-height shower tray or a low-profile shower tray. Your choice will depend on various factors like the type of floor you have and the position of waste etc. Adjustable shower trays come with legs allowing you to access the pipe underneath in case something goes wrong and are, therefore, a more popular option. However, in case you have a timber flat floor then a low-profile tray may be a better option.
Tools Required
Here is the list of tools you will need to fit a shower tray:
- Measuring Tape
- Screwdriver (you may need a drill machine in some cases)
- Spirit Level
- Lead Pencil/Marker
- Crescent Wrench
- Buzz Saw
- Steel Square
- Jigsaw
- Power Miter Saw
- Spanner Wrench
- Hognose Or Reclip Saw
- Tongue-and-groove pliers
- Small Shovel
- Pipe Cutter/ Knife
DIY Installation Process of Shower Tray
Here is a step-by-step process that you will need to follow. The Initial steps are the same for both shower tray types.
Step 0: Prepare the Area
You will need to make sure the place where you want to fit a shower tray is completely clean and ready for installation. You should remove any old tiles, waste pipes, or flooring to ensure it is dry and clean.
How to Fit a Height Adjustable Shower Tray?
Follow these steps for the adjustable shower trays.
Step 1: Position the Shower Tray
Simply place the tray in the position you want to install it. Make sure it will fit into the space available without any clearance issues. You can now start screwing the legs into the position and adjust the height up to the desired level. There should be an adequate gap in adjusting the legs that allow waste to fit. Check the waste to see if it is lined up and fitting into it perfectly.
Step 2: Connect the Waste
In case you are satisfied with the overall fitting, then create the most suitable route for a waste pipe (in case it's not already in place). Once the waste is adjusted properly, you can connect the waste to the tray and attach that to the trap.
Step 3: Ensure the Tray is Leveled
It is essential to ensure the tray is leveled perfectly. So, use the level and check it from all angles to be on the sure side. In case your tray is not leveled properly, it can cause many problems.
Step 4: Fit Waste and Outlet Pipe
Once the shower tray is leveled, you can now start working to connect the waste with the outlet pipe underneath. You will need to make sure the waste fits into the waste perfectly with no gaps or loose at any spot. To ensure proper fitting, you can pour some water into it and see if there is anything wrong with it.
Step 5: Shower Tray Side Panels Fitting
You can now start fitting the glass shower tray side panel to complete the look. These are not difficult to fit. You will only need to put them in place and screw them into place.
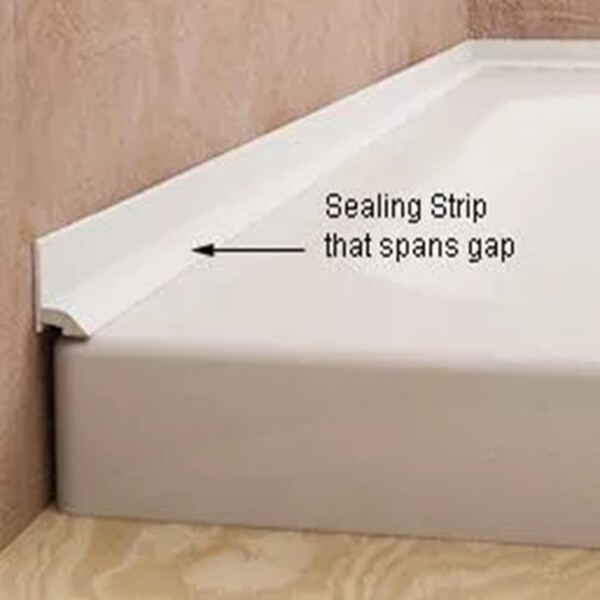
Step 6: Seal the Gaps
You will need to seal the tray from all around and between the walls. It will protect against leaks. Make sure there are no gaps left around the corners, top, edge, and wall.
How to Fit a Low-Profile Shower Tray?
Follow these steps for the low shower trays
Step 1: Mark the Outline
The next step will be to mark the area of the shower tray to work on. It ensures the measurement is the perfect place for the shower tray onto the floor and uses a marker to mark the outline on the floor.
Step 2: Create a Hole for the Waste
You will first need to create the hole for the waste if it is not already there. You can do it by cutting a hole in the floor using a jigsaw. Make sure it is relatively smaller than the waste to fit in properly.
Step 3: Install the Waste and Trap
Now you can fit the waste and trap it in the designated space. You should follow the manufacturer's instructions to ensure waste is leveled according to the shower tray.
Step 4: Apply Sealant
Once the waste and trap are in the right position and fit, you can apply sealant around it to make it watertight.
Step 5: Create a Mortar
Since low-profile shower trays don't have any room for pipework underneath, between the base and floor, you may need to create the space by removing the floorboards. Then you can use a mixture of sand (5 parts) and cement (1 part) and spread it all over the marked area (step 2) of the shower tray.
Step 6: Fit the Shower Tray
Now you can put a shower tray on mortar while positioning it on the waste and use shims to level it if necessary. Use the level multiple times to ensure it is leveled properly from all sides. You will need to leave it dry for the next 24 hours.
Step 7: Secure the Shower Tray
You will need to perfectly fit the shower tray to the floor with screws and rawl plugs. Make sure everything is set up properly and is secure and stable.
Step 8: Apply Silicone Sealant
Now it is important to apply the silicone sealant on the edges of the shower tray. It is important to make sure there will not be any leakages between the shower tray and the wall. So, seal it completely from all sides.
Step 9: Finishing
After the silicone sealant has dried, finish the area by tiling or installing a shower panel.
Make sure you follow the manufacturer's instructions and observe any relevant building regulations.
Conclusion
In conclusion, installing a shower tray might seem like a daunting task, but it can be accomplished with the right tools and a bit of knowledge. Whether you opt for an adjustable-height shower tray or a low-profile one, it is essential to ensure that you follow the manufacturer's instructions and observe any relevant building regulations.
We hope that this step-by-step guide has been helpful in providing you with the necessary information to install your own shower tray like a pro. By doing so, you can save money and ensure that your bathroom is a smooth-running and leak-free haven.
Remember to take your time and don't rush the process. A well-installed shower tray can make a big difference in your bathroom's overall functionality and aesthetics. So, roll up your sleeves and get ready to install your shower tray with confidence!
Frequently Asked Questions
Can I install a shower tray directly on floorboards, or will it cause leaks?
Yes, you can put a shower tray directly onto floorboards, but you will need to prepare the surface effectively to avoid leaks. The floor must be level, strong and sealed to prevent water damage. Using a waterproof mat or cement board underneath provides added protection. A good quality sealant around the edges makes it a watertight fit.
What’s the biggest mistake people make when levelling a shower tray?
One of the biggest mistakes is not actually leveling the tray before securing it. Even a minor slope can result in water pooling, no drainage or instability. Use a spirit level regularly and in different directions, and make any adjustments using shims or a mortar bed as required.
Do I need a plumber to fit a shower tray, or can I DIY safely?
If you have a few basic skills in plumbing, you can install a shower tray yourself. Hiring a plumber, on the other hand, means correct sealing, drainage and waterproofing, so you won’t have expensive leaks or repairs to deal with leakage issues later. If you are not confident about cutting waste pipes or sealing connections, it is wise to get skilled assistance.
How do I stop my shower tray from rocking after installation?
If you guessed a rocking shower tray, you are correct and that usually implies an uneven surface or improper fixing. Make sure that the floor is level and solid before you install it. Ensure full support using a mortar bed or adjustable legs. After setting the tray, let adhesive or mortar cure completely before using.
Should I use silicone or cement to secure the shower tray?
Both kinds of material are useful. Silicone is malleable and forms a waterproof seal around the edges of the tray. A cement or mortar bed is best to properly set the base into uneven flooring. If you want it to sit nicely, use a mortar bed beneath the tray and run a silicone sealant around its edges.
Can I fit a shower tray without removing tiles?
It’s possible, but not ideal. Shower trays are easy to install on existing tiles, but this method can create height differences and affect drainage. If the tiles are well-bonded and level, you can fit the tray on top, but it’s generally best to remove them, to allow for a flush and stable installation.
Will a heavy stone resin tray crack my floor?
A heavy stone resin tray can put stress on the floor (especially if the supports or subfloor are weak). Add plywood or cement board to reinforce the floor if needed. A solid mortar base with evened-out weight distribution will also reduce damage.
Can I install a shower tray on an uneven bathroom floor?
Yes, but you need to strike the foundation first. This main cause of leaks, drainage problems, and instability is an uneven floor. Your tray needs to be installed over a level, rigid base; so, use a self-smoothing compound, mortar bed, or adjustable riser legs to ensure planarity.