Post Contents [hide]
- Why Freestanding Worktop Vanity Units Are Ideal for UK Bathrooms
- Preparing for Vanity Unit Installation
- Step-by-Step Guide
- Remove the Existing Bathroom Furniture or Storage Unit (if applicable):
- Prepare the Installation Area:
- Assemble the Countertop Vanity Unit (if necessary):
- Position the Worktop Vanity Unit:
- Mark the Mounting Holes (if applicable):
- Drill Pilot Holes
- Install Plumbing Fixtures
- Connect the Plumbing
- Secure the Worktop Vanity to the Wall (if required):
- Install the Sink and Faucet
- Seal the Edges
- Check for Water Leaks
- Clean Up and Finishing Touches
- Final Words
- Frequently Asked Questions
Freestanding worktop vanity units have become a popular choice for modern bathrooms. They create a beautiful focal point and offer ample storage for bathroom essentials. What I found is that, compared to wall-mounted units, installing a freestanding worktop vanity unit is relatively straightforward, Therefore, they may be a great option for DIY enthusiasts.
This freestanding worktop vanity unit installation guide will provide a detailed step-by-step process for installing a freestanding worktop vanity unit as a DIY project.
Why Freestanding Worktop Vanity Units Are Ideal for UK Bathrooms
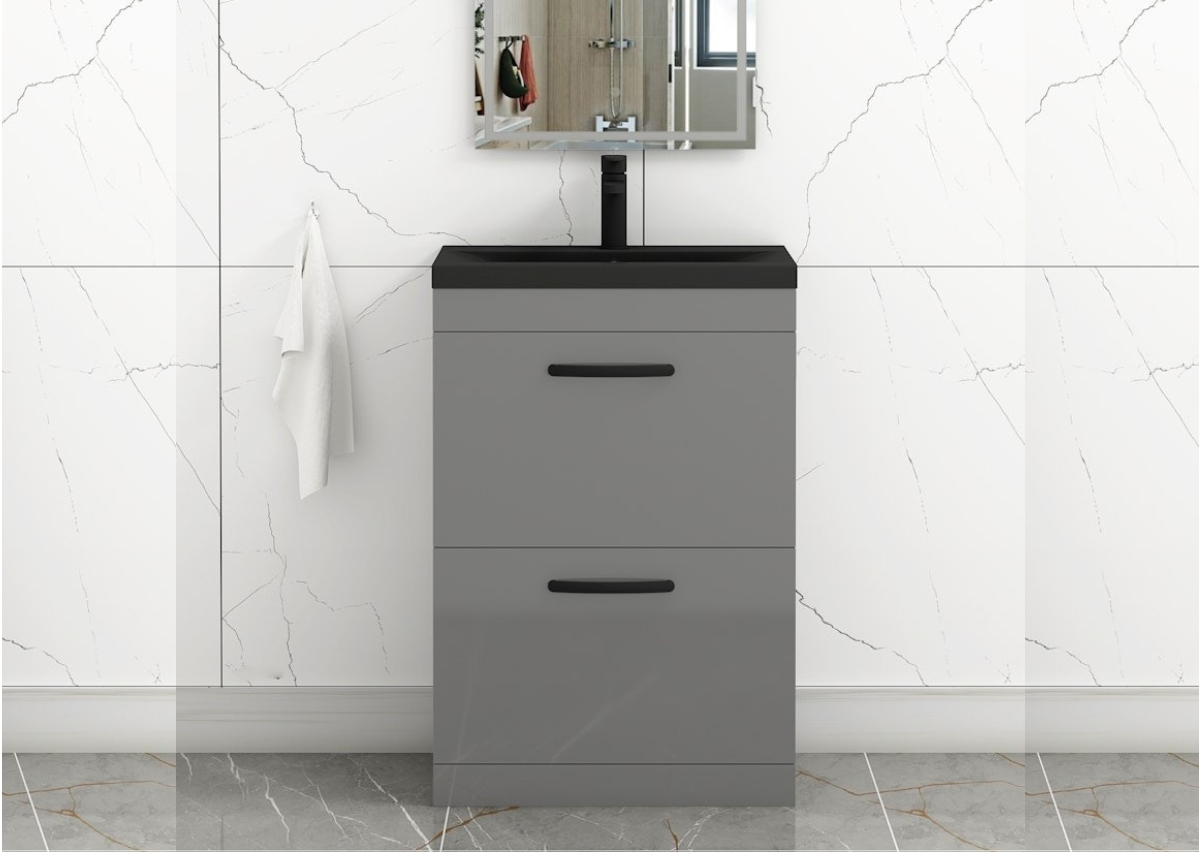
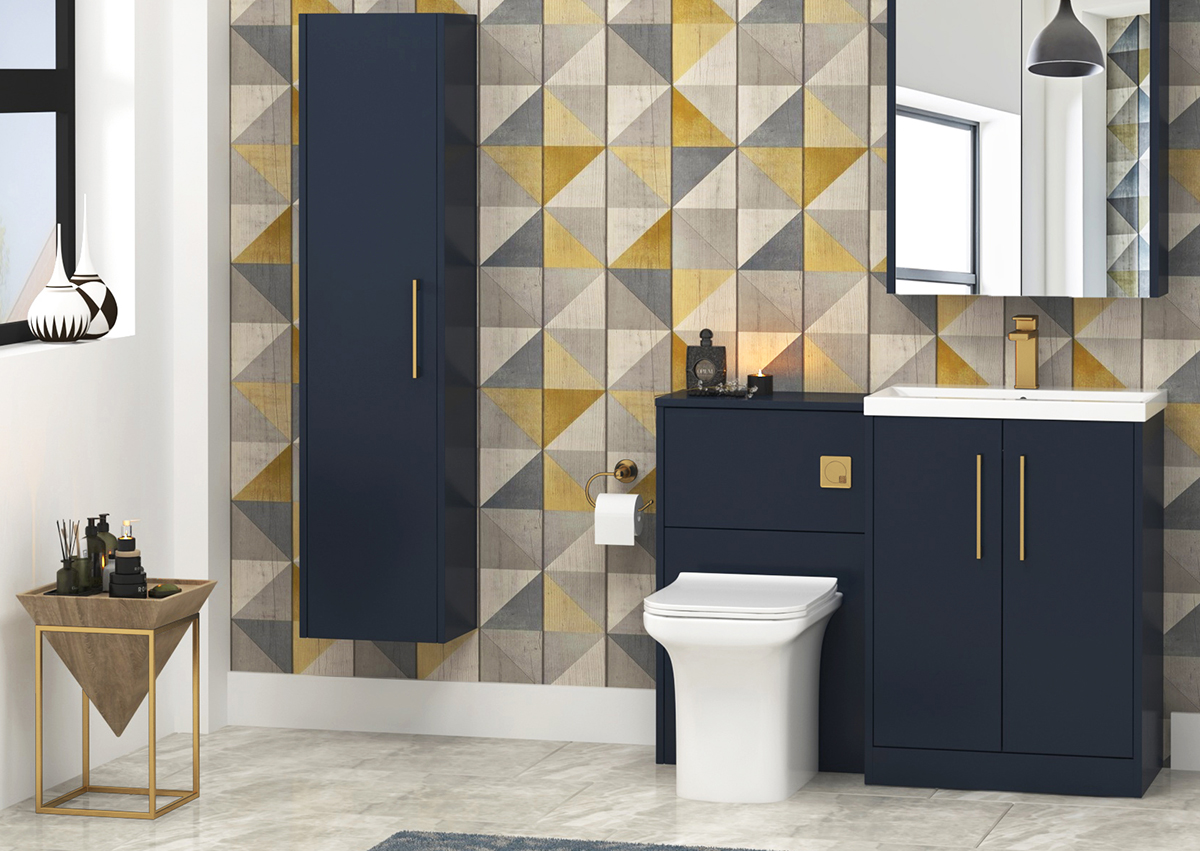
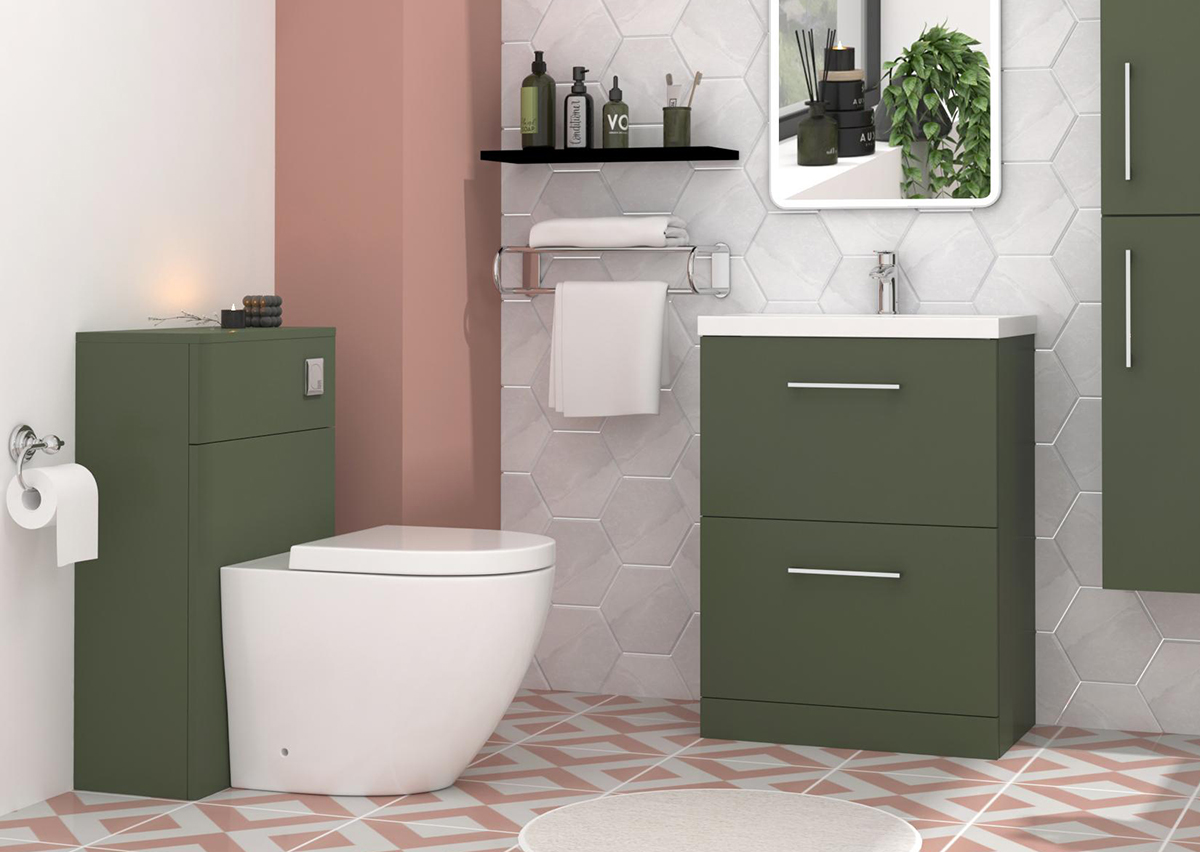
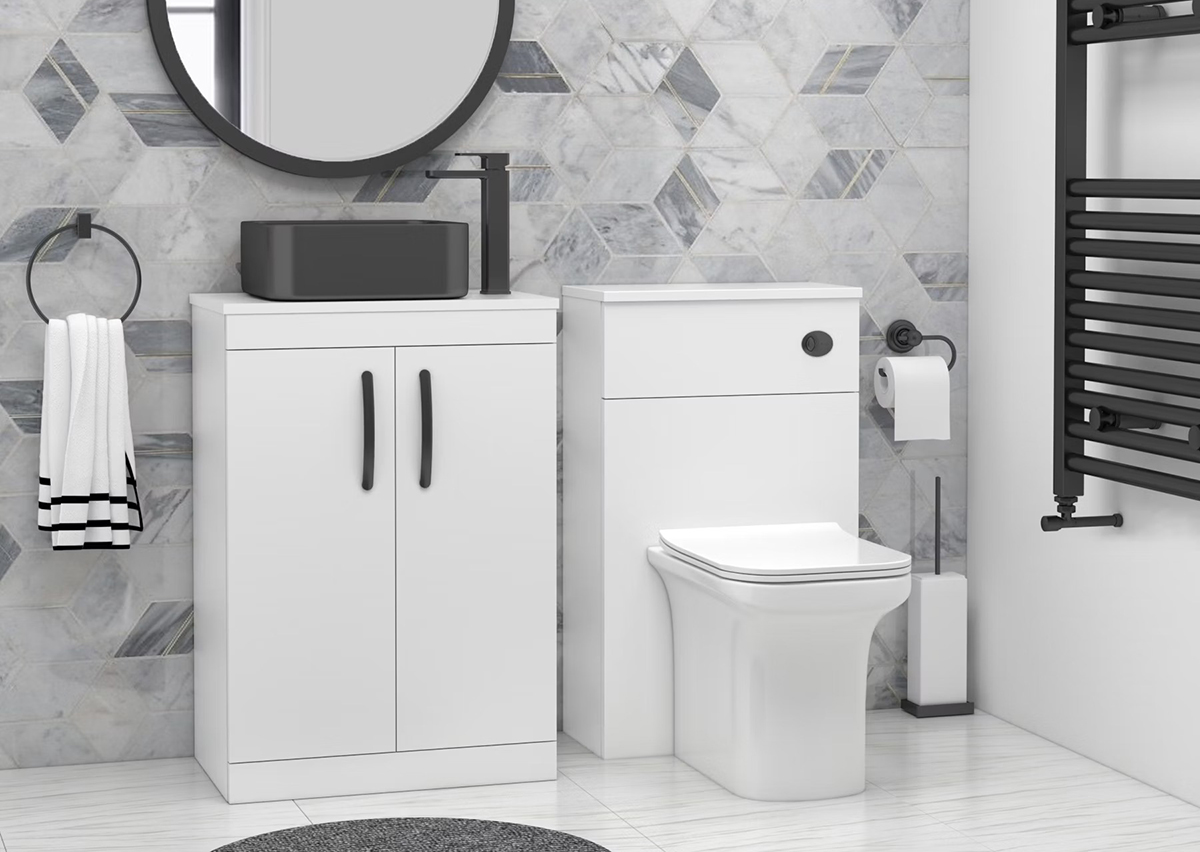
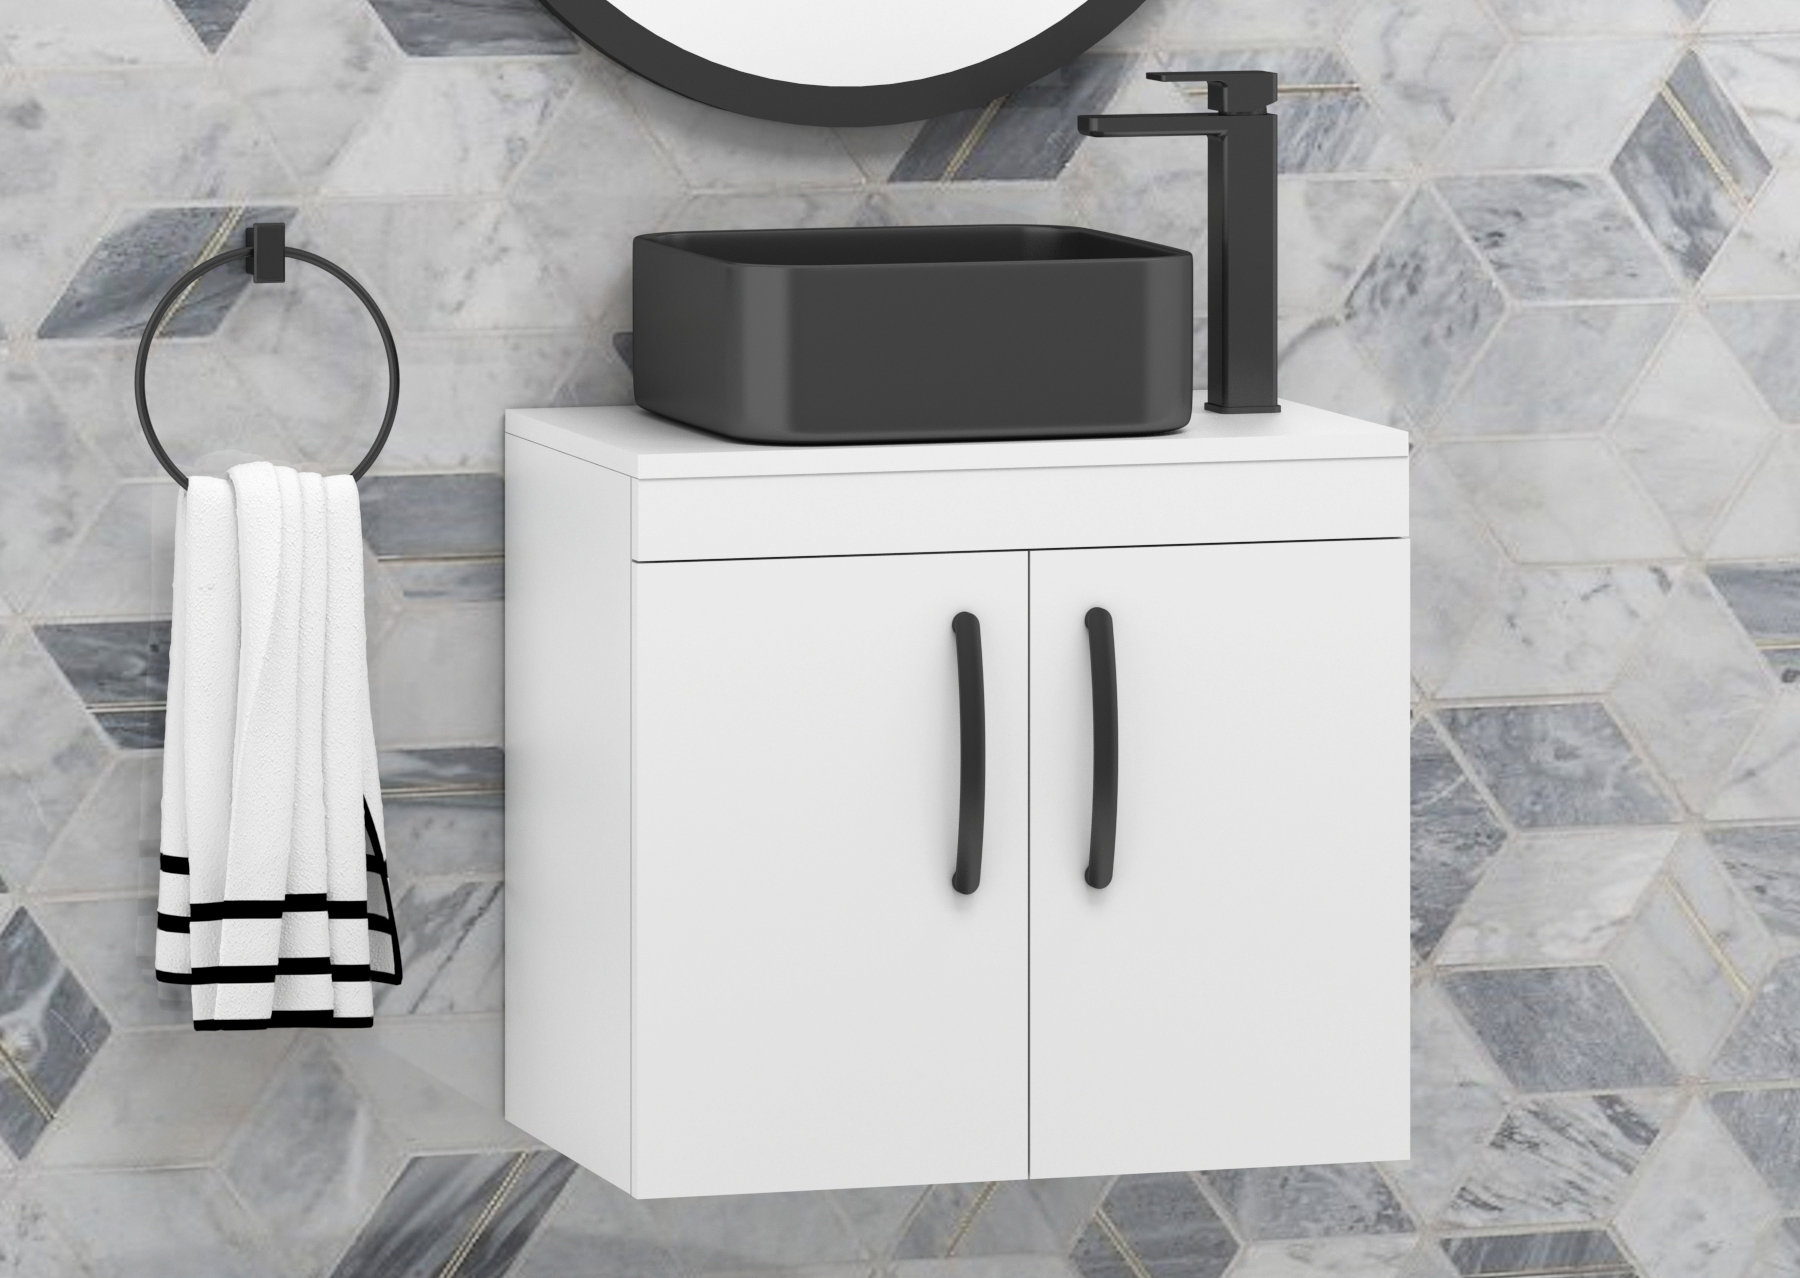
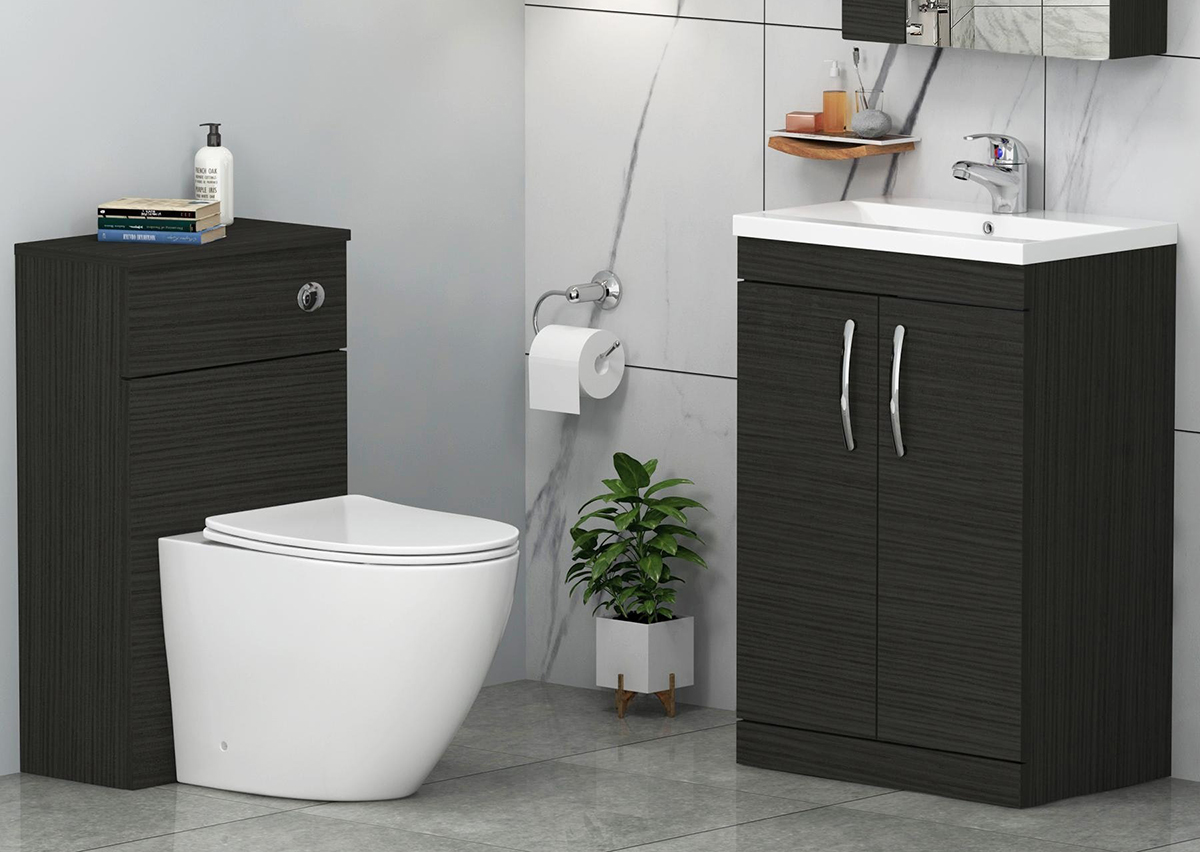
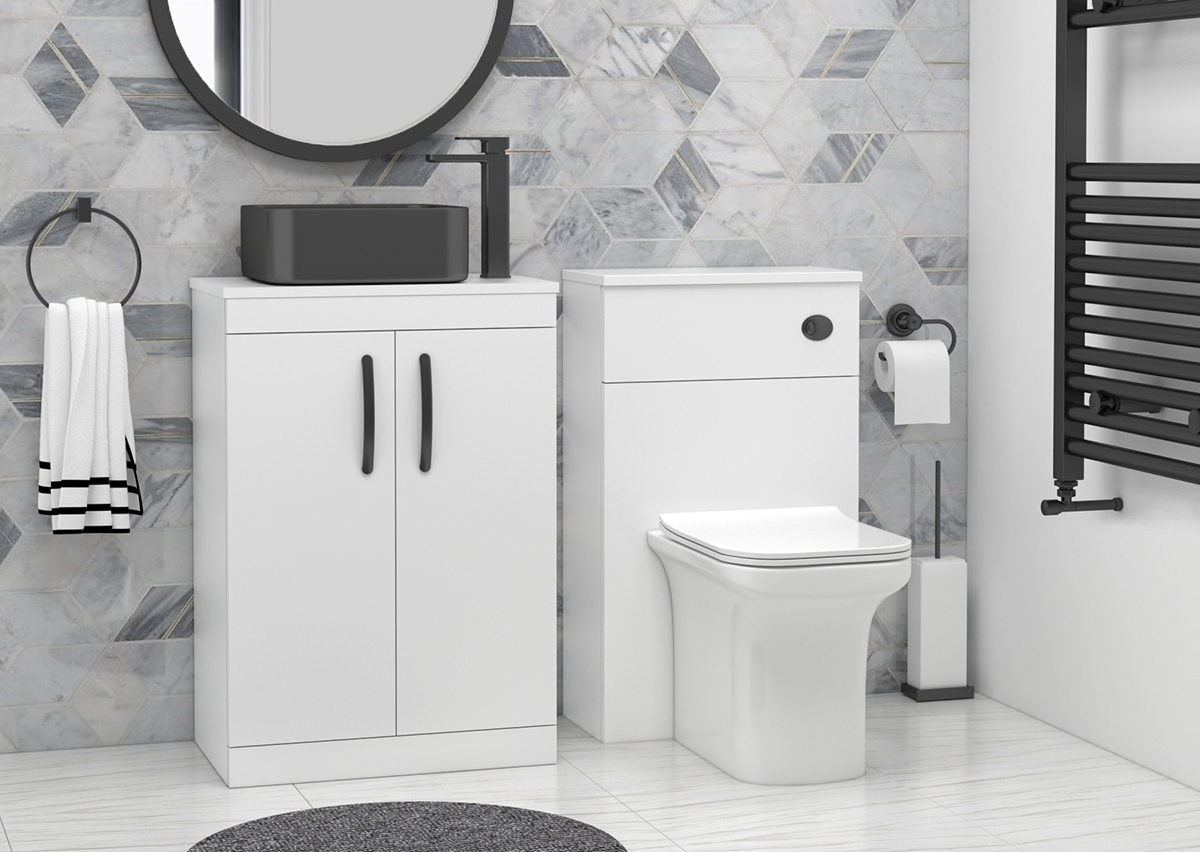
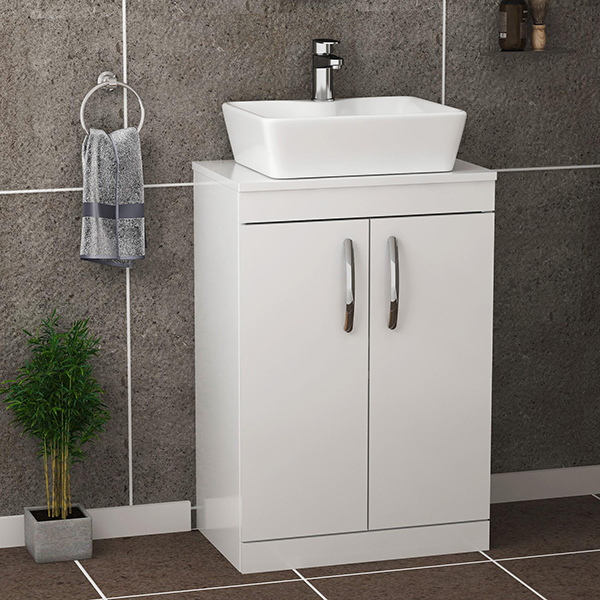
A freestanding worktop vanity unit is a self-supporting cabinet with an integrated countertop that doesn’t require attachment to the wall. They are fixed on the floor, though some units may require anchoring to the wall for extra support. Available in various sizes, they have a timeless appeal that makes them a perfect choice for both traditional and contemporary bathroom settings.
There are several reasons to prefer vanity units with integrated countertops over their wall-mounted vanity unit counterparts.
-
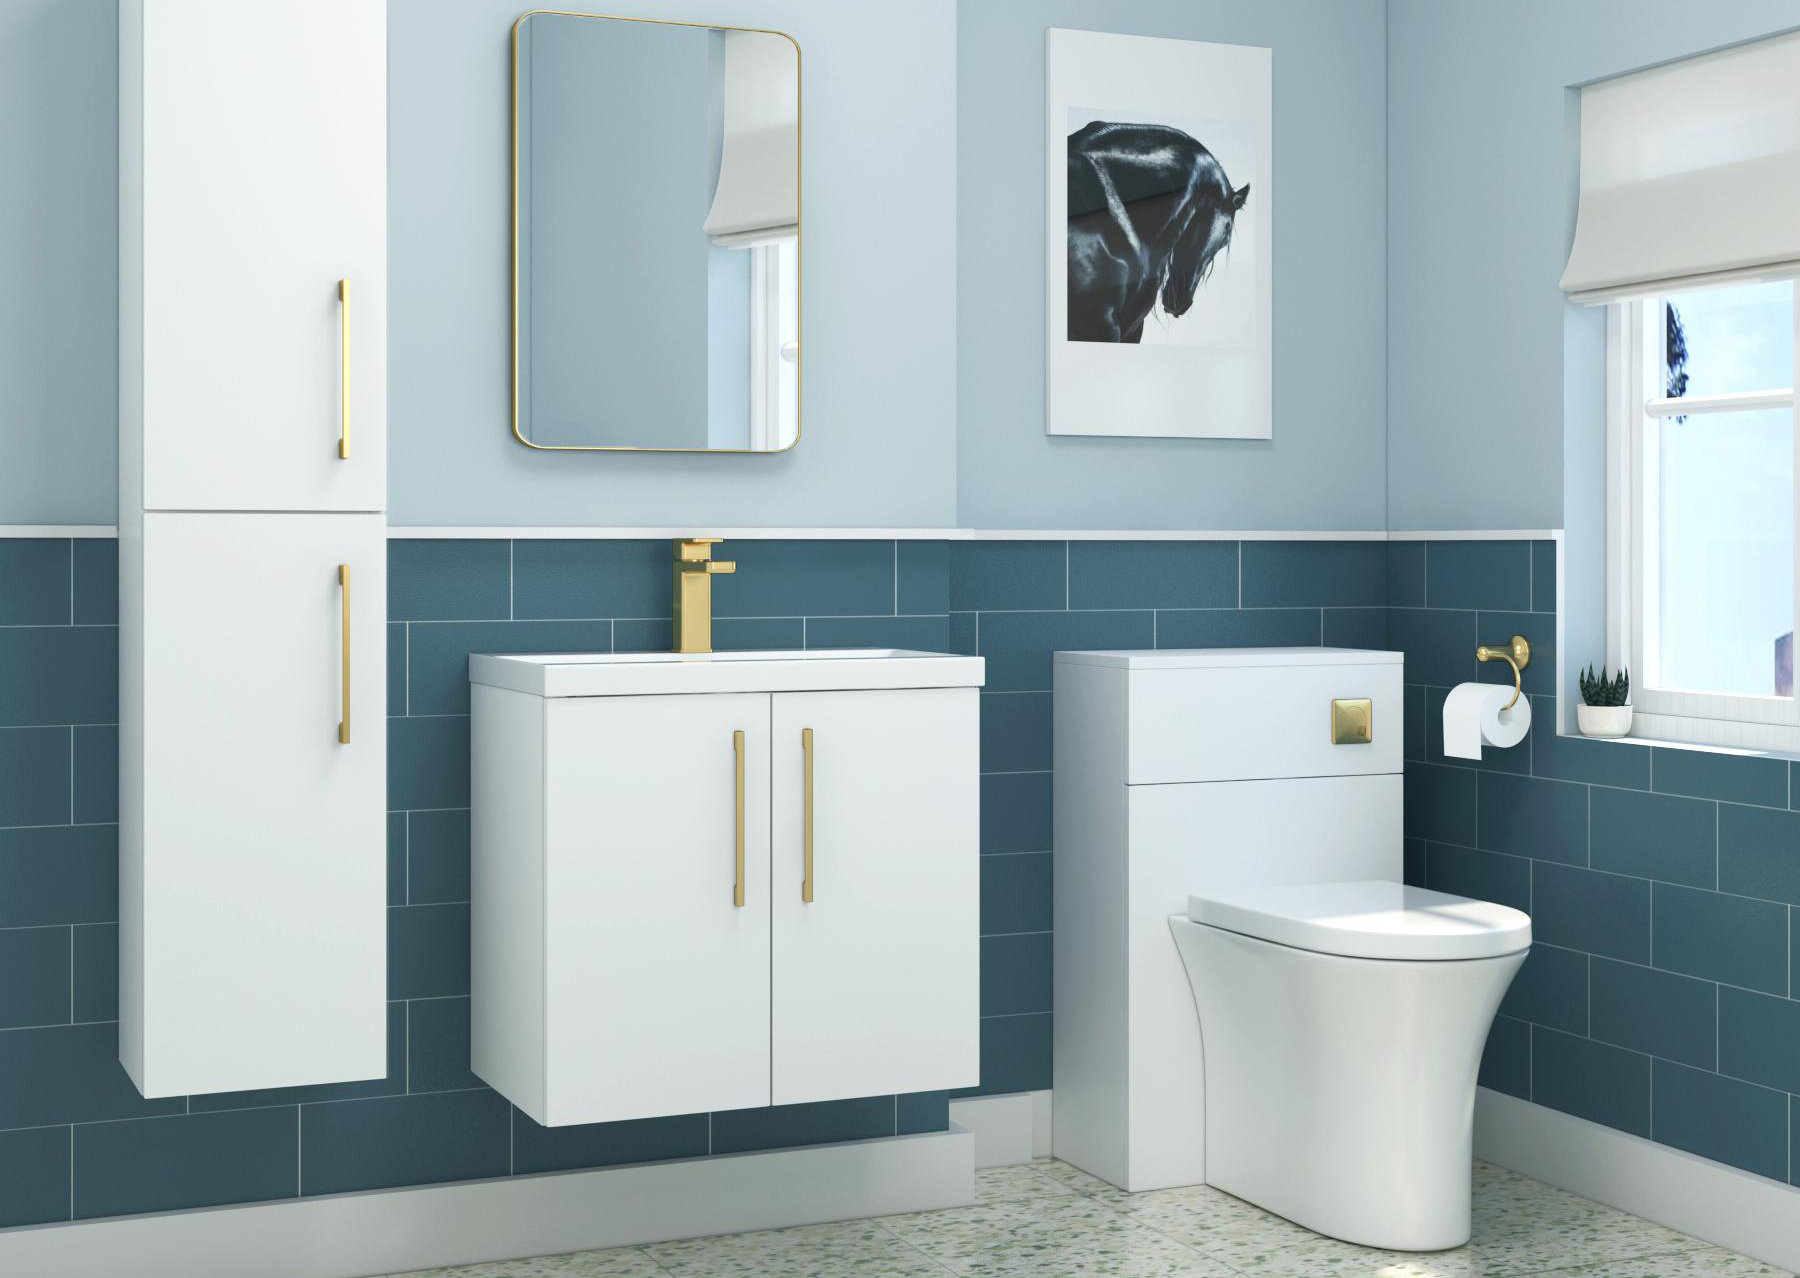
Aesthetics: Freestanding worktop units are much more than just functional pieces of storage. They add a touch of sophistication to the space and become a focal point in your bathroom.
-
Versatility: Freestanding worktop vanity units are versatile and can adapt to various bathroom designs. They are a perfect fit for modern bathrooms with clean lines and a minimalistic theme. For a more traditional aesthetic, there are freestanding units with intricate details and classic finishes.
-
Storage: Worktop Freestanding vanity units are spacious and offer ample storage space for bathroom essentials. They can provide sufficient storage for both small and large bathrooms depending on their size. Many of these boast a minimalist design that helps you maximize the available space.
Preparing for Vanity Unit Installation
Take some time to plan and prepare for the countertop vanity unit installation process. Here are some of the crucial steps to consider.
-
Measuring the available space is the essential first step when installing a worktop vanity unit. You should consider not only the dimension of the space but also ensure it allows for proper clearance around it once installed.
-
Always open and check the freestanding worktop vanity unit as it arrives. So, you can return or replace in case of any problems. Ensure your worktop vanity unit includes everything like the handle, basin, screws, waste pipe, and basin taps (often ordered separately).
-
Having the right tools in hand will make the installation process smoother and more efficient. Ensure you have all the tools available listed in the next section. Refer to the manufacturer section for the instructions.
-
Safety should be your top priority during the installation process. Turn off the water supply before you start plumbing work.
Step-by-Step Guide
If you have everything ready and planned let’s, get started with the worktop vanity unit installation process.
Remove the Existing Bathroom Furniture or Storage Unit (if applicable):
It’s obvious that you will remove the existing vanity units first before installing the new ones. As the same rule for every plumbing task, turn off the water supply valve under the sink and disconnect the flexible hoses connected to the shut-off valves using a wrench. Once done with disconnecting the plumbing, you can remove any screws or fasteners that secure the vanity unit to the wall.
It’s obvious that without the removal of the existing vanity unit, a new worktop unit can not be installed. As is the same for every plumbing task, it is important that you turn off the water supply from the valve from the main water supply line.
Prepare the Installation Area:
Once the old vanity unit is removed, it’s time to start preparing the area for the new unit. Begin by cleaning the floor where a new worktop vanity unit will be placed. Remove all the debris and ensure the surface is levelled. Placing a protective mat underneath is a good idea to prevent scratches during the installation process.
Assemble the Countertop Vanity Unit (if necessary):
Most worktop freestanding vanity units in the UK come pre-assembled, while others may require some assembly. Follow the instructions provided by the manufacturer in order to assess the vanity unit. It may involve attaching the doors and legs (if it has) drawers installation and
Position the Worktop Vanity Unit:
You can now place the assembled unit at its designated location for fitting. Don’t forget to utilize the measurements you took earlier for proper placement. The unit should be levelled and perfectly even on the floor. If your vanity unit has adjustable legs, use them to fine tune the level.
Mark the Mounting Holes (if applicable):
A freestanding worktop vanity unit usually does not require wall mounting. However, in some cases your vanity unit will have pre-drilled holes for additional stability. If your countertop vanity unit has pre-drilled holes, then use a level and a pencil to mark the corresponding spot on the wall to drill the pilot holes.
Drill Pilot Holes
You will need to drill the holes on the marked spots. These holes will prevent the wall from splitting when larger holes are drilled for screws. Additionally, these holes ensure precise and secure fitting for screws that will secure the vanity to the wall. You should drill slightly smaller holes then screw straight into the marked spot on the wall.
Install Plumbing Fixtures
It is important to install plumbing fixtures first before positing the sink on the countertop vanity unit. This may include attaching sink tap, drainpipe, or any other accessories like overflow drains. You should check the manufacturer's instructions if it's available. All the connections should be tight and secure using plumbing’s tape or threaded connection to prevent any leakages at a later stage.
Connect the Plumbing
Now, carefully lift the worktop sink (with pre-installed fixtures) and position it on top of the vanity unit. Make sure it is aligned with the drain and faucet hole when fitting. Connect the water supply lines, and the drain pipes to the corresponding connection on the shut-off valves and the drain system beneath the floor.
Secure the Worktop Vanity to the Wall (if required):
Worktop vanity units with pre-drilled holes will need to be secured on the wall with screws. Simply line up the screws with the marked holes and drill them to the wall using the appropriate drilling bit size. Once in place, tighten the screws while avoiding over-tightening, preventing potential damage.
Install the Sink and Faucet
You can now finalize the sink and faucet installation after securing the worktop vanity unit at the right position. The process may slightly differ depending on the type of sink and faucets. However, most of the time it involves applying a bead of silicone caulk around the rim of the sink where it connects the countertop for a watertight seal.
Seal the Edges
Inadequate sealing may result in water seeping out from the sink and vanity top. You can prevent it by applying a bead of silicone caulk around the edges of the countertop sink where it connects to the countertop. A smooth caulking tool is essential to create a clean and even finish.
Check for Water Leaks
Once everything is in place, it's time to ensure any potential water leaks before putting your new vanity unit to use. Simply turn on the water supply valve and open the faucet. Inspect all the connections around the faucets thoroughly. Look for signs of water dripping or pooling underneath the sink or vanity unit. In case of any leaks tighten the loose connections or reapply the plumber’s tape as needed.
Clean Up and Finishing Touches
You may start cleaning up the worktop installation area once you have ensured there are no leaks. Remove the debris, leftover tools, or caulk residue. Finalize the process with a wipe down the vanity unit and the sink with damp cloth to remove the dust. To give it a finishing touch consider placing towels, toiletries, or decorative items on the countertop or drawers.
Congratulations! The installation of the worktop vanity unit is complete. Now take a moment to admire your DIY skills and enjoy the elegance and functionality your freestanding unit brings to your bathroom.
Final Words
Our worktop vanity unit installation guide has provided you all the information required to install a freestanding worktop vanity unit as a DIY. Take time during the installation process and don’t hesitate to consult with a professional plumber in case of any problems. The reward of a beautifully installed freestanding countertop vanity unit that adds both style and functionality to your bathroom is certainly worth the effort.
Frequently Asked Questions
What tools do I need to install a freestanding worktop vanity unit?
You will need commonly used plumbing tools to install a freestanding worktop vanity unit as a DIY. These may include a drill, screwdriver, wrench, level, plumber’s tape and a pencil. Depending on the type of unit, you may need additional tools like anchors and a calking gun. Always make sure everything is available before the start of the installation.
How Much Does Vanity Unit Installation Cost in the UK?
The bathroom vanity unit installation costs in the UK may vary significantly depending on various factors such as size, existing plumbing or changes required and even your location in the UK. Generally, you should expect around £100 to £300 for a standard installation. That means with DIY vanity unit installation you will save these costs.
How do I choose the right size freestanding worktop vanity unit for my bathroom?
Measurement is key when selecting a worktop vanity unit. You should know the width, length and height of the space where you want to place a new vanity unit. Don’t forget to ensure there is proper clearance space available around it. There should be enough room for opening drawers or cabinet doors comfortably. Additionally, factor in the placement of other bathroom fitting and fixtures.
Can I install a freestanding worktop vanity unit by myself, or do I need a professional?
Installing a freestanding worktop vanity unit is straight forward. It can be DIY project for someone with basic plumbing knowledge especially If your freestanding vanity unit does not require wall mounting, However, if you are unsure about any aspect of installation process particularly the plumbing connections, it’s best to leave it for the plumber to ensure safe and proper installation.
How do I ensure my worktop freestanding vanity unit is level and secure?
Throughout the installation process, you will need to use a level to ensure the vanity unit sits perfectly on the floor. If the vanity comes with legs, use them to achieve the level position.
Are freestanding vanities harder to install than wall-mounted ones?
No, not harder, freestanding worktop vanity units are generally considered easier to install than their wall mounted counterparts. That means they don’t need wall mounting. However, you must ensure the floor is leveled and the plumbing is aligned correctly.
Can a heavy freestanding vanity damage my bathroom floor?
Yes, a heavy worktop freestanding vanity unit may sometimes damage the bathroom floor especially if not properly supported. You must always use a protective mat, check floor load capacity, and distribute weight evenly to prevent cracks and sagging.