Post Contents [hide]
- What Is a Wet Room?
- What Makes Wet Rooms So Popular?
- How is a Wet Room Different from a Normal Bathroom?
- What to Consider When Designing or Renovating Your Wet Room
- How to Create a Wet Room
- Reliable Tools and Installation Materials
- Additional Wet Room Design Tips
- Common Mistakes to Avoid When Designing a Wet Room
- How Much Does It Cost to Design a Wet Room?
- Final Thoughts
Imagine stepping into a bath that has no barrier, no bumps or rails, a complete open and inviting space that is both luxurious and practical! That’s what a wet room does. Formerly seen as a luxury for designer homes and hotels, wet rooms are increasingly finding their way into our everyday homes due to their compact design, ease of access and creative design options.
But turning a bathroom into a wet room is not just about aesthetics but about smart planning, technical execution and understanding what you’re in for. Whether you’re transforming into a small ensuite or dreaming of a luxury spa-style bathing retreat, this beginner’s guide has got you covered with everything you need to consider before going on a wet room renovation, from design essentials to budgeting advice, and more. Let’s begin!
What Is a Wet Room?
A wet room is a watertight room with a shower which is separated with just a glass shield and has no raised shower tray or enclosure. Rather than isolating the shower to a corner, the entire room is built to deal with moisture with sloped flooring that leads water directly into a hidden drain.
Whether the room is tight or large, wet rooms have become popular because of their space-efficient design, helping you to make the most of the available area while providing a spacious and sleek minimal look. The floors and lower walls of the shower are tanked (waterproofed) and most common materials, such as tiles or vinyl, are usually used for ease of maintenance and slip resistance.
Whether framing with glass screen (or not, if you prefer it open), the advantage of a wet room is that its open plan looks and its versatility make it an attractive and practical option.
What Makes Wet Rooms So Popular?
It is not just the style and elegance of wet rooms which has improved their popularity. There are a surprising number of practical benefits associated with wet rooms as well.
Maximizes Space
While many believe wet rooms are particularly designed to fit in spacious bathroom spaces, these specialized showers make congested bathroom spaces appear open and airy. Wet rooms eliminate the need for specified shower trays and glass doors that separate these wet areas. Wet rooms amplify the spaciousness of a bathroom by consuming a lesser floor area of a bathroom.
Improves Accessibility for all Ages
With no boundaries, bumps, or edges, wet rooms are easier to access for children as well as seniors suffering from mobility issues. With open access to everyone, they embed a modern-style character to the bathroom that catches the attention of anyone who walks into the room. If the space allows, you can install a shower seat beside the wall, improving the room's comfort level entirely.
Sleek, Spa-Like Aesthetic
Wet rooms are the epitome of modern bathroom style. With its clean lines, minimal fittings and seamless floor-to-wall tiles, it brings a spa-inspired look, and luxury, into your home. Their open design makes even the tiniest bathrooms feel a bit more expansive and polished.
Easier to Clean and Maintain
Wet rooms are seamless, unlike shower enclosures with a higher chance of forming grime and mildew into edgy corners, rolling tracks, and joints. With no sharp corners or edges, wet rooms have better protection against dirt and grime, making cleaning easier and hassle-free.
Enhanced Safety and Mobility
By having a wheel in/walk in design, wet rooms remove every need to step over trays or ledges. This makes them particularly beneficial for seniors, people in wheelchairs, and for those who cannot move around as much. Install slip-resistant tiles or safety grab bars for added peace of mind — all without skipping on style.
Ideal for Compact Spaces
Conventional shower cubicles can be so tight in smaller bathrooms. Wet rooms, however, are designed to open the room and not include any obstructions, ensuring a sense of openness and spaciousness. They are a great way to transform cramped, awkward spaces into open, airy and usable rooms.
Add Value to Your Property
A well-designed wet room can add value to your property and make it more attractive to potential buyers. It speaks to convenience, sleekness and ease of maintenance today and for years to come. For homes with many bathrooms, turning one of them into a wet room complements and adds interest to the total home offering of wet rooms in properties.
Flexible and Customizable Layouts
Wet rooms have total design freedom. You are not bound by standard enclosures and tray positions, but can choose where exactly the shower goes, how much of the space is secluded, and what kind of tiling or finishes are used. Whether you like a wide-open shower zone or one with glass-partitioned style, everything is custom made to your taste and room size.
More Room for Creative Design
With a wet room, you can get creative – your design isn’t limited by the constraints of an average bathroom! Why not add built-in storage on a wall, underfloor heating for extra luxury, or mix contrasting tiles to zone different areas? You can play around with lighting and materials, such as maintaining a monochrome color scheme with black matte fixtures, natural stone tiles or wood effect finishes, to reflect your individual style.
How is a Wet Room Different from a Normal Bathroom?
Wet rooms and standard bathrooms appear to be similar at first sight but have very less in common when considering the design, purpose and water proofing techniques. A wet room is a completely sealed waterproof space with no raised shower tray or cubicle, compared with a standard bathroom which normally separates the shower or bath from the rest of the room.
A wet room lends itself to a perfectly level walk-in area without the need for a raised shower base with water running to waste through a discreet built-in waste. By contrast, a traditional bathroom has several barriers that act as trays or enclosures to hold water, which makes it a bit more segmented and less easy to reach into.
What to Consider When Designing or Renovating Your Wet Room
When designing or renovating a wet room, selecting current fixtures is only part of the process. The result is safe, durable, and takes consideration in terms of construction technique, layout, waterproofing, and user needs.
Thorough Waterproofing for Long-Term Protection
The very first thing to consider when renovating or designing your wet room is to check the waterproofing. The whole room and any exposed partitions must be tanked with a waterproof layer. This results in a sealed surface to minimize leaks and protect your home from continuous water damage and mold growing.
Proper Drainage and Correct Floor Gradient
Good drainage is vital to a successful wet room. The floor needs to be slightly sloped to the drain and your type of drain (linear or square) can accommodate the amount of water drainage.
Safe & Suitable Tile Selection
Not all tiles are suitable for wet environments. Choose slip-resistant textured tiles for flooring and opt for porcelain or ceramic wall tiles for easy maintenance.
Heating and Ventilation Essentials
A wet room can be cold too but a wet room without ventilation will be damp. Fit an extractor fan with humidity sensors and think about underfloor heating or a heated towel rail to help keep it warm and prevent damp forming.
Accessibility Features
A major plus for the wet room is that anyone can use it. Ensure that your design adopts the needs of mobility impaired individuals with flat flooring, grab rails, wide entrances etc. so that it is accessible to all.
Storage & Utility Fixtures
Avoid water pooling around furniture or toiletries by incorporating waterproof and wall-mounted storage. Built-in cubicles or slots offer practical and stylish storage without cluttering the space.
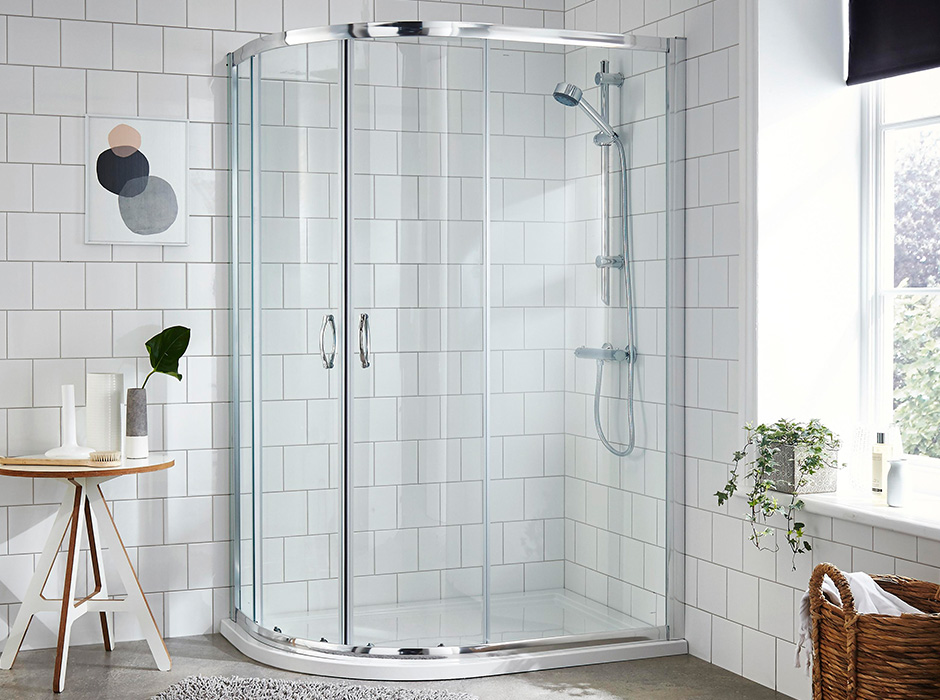
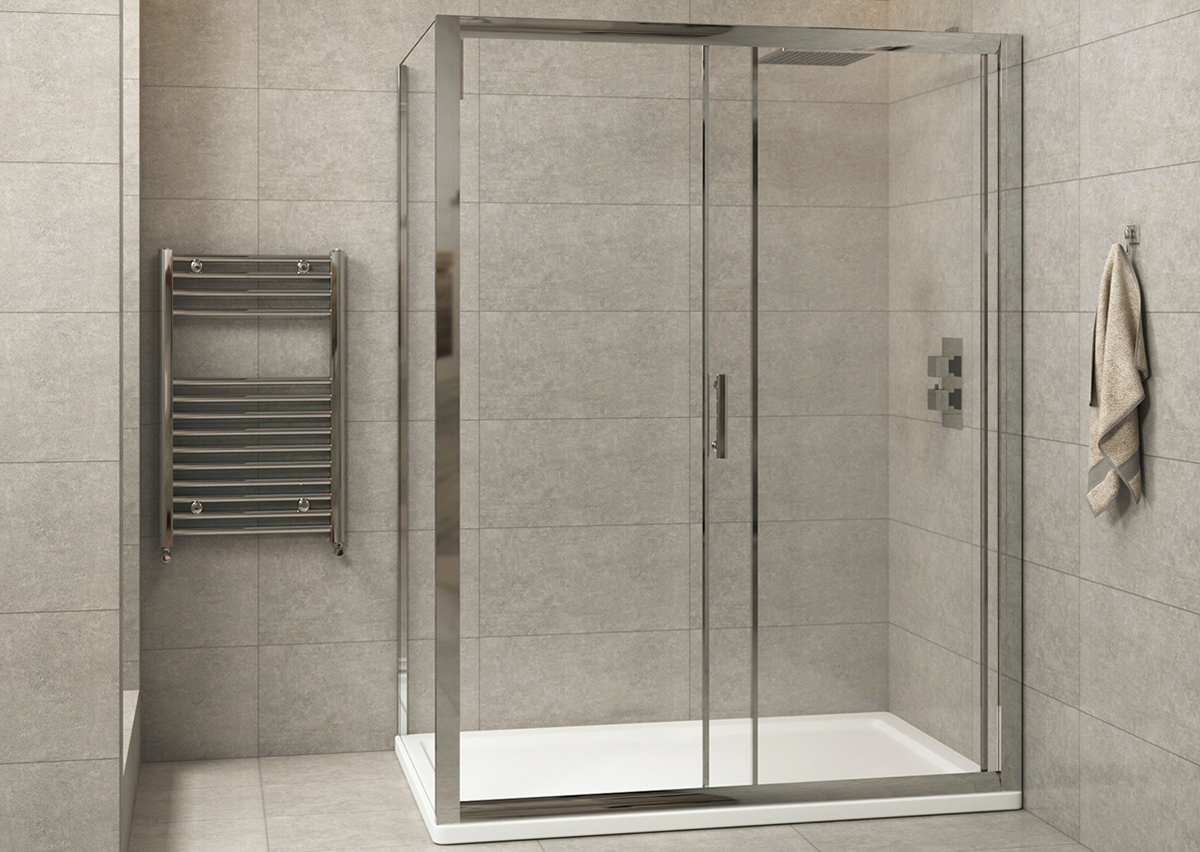
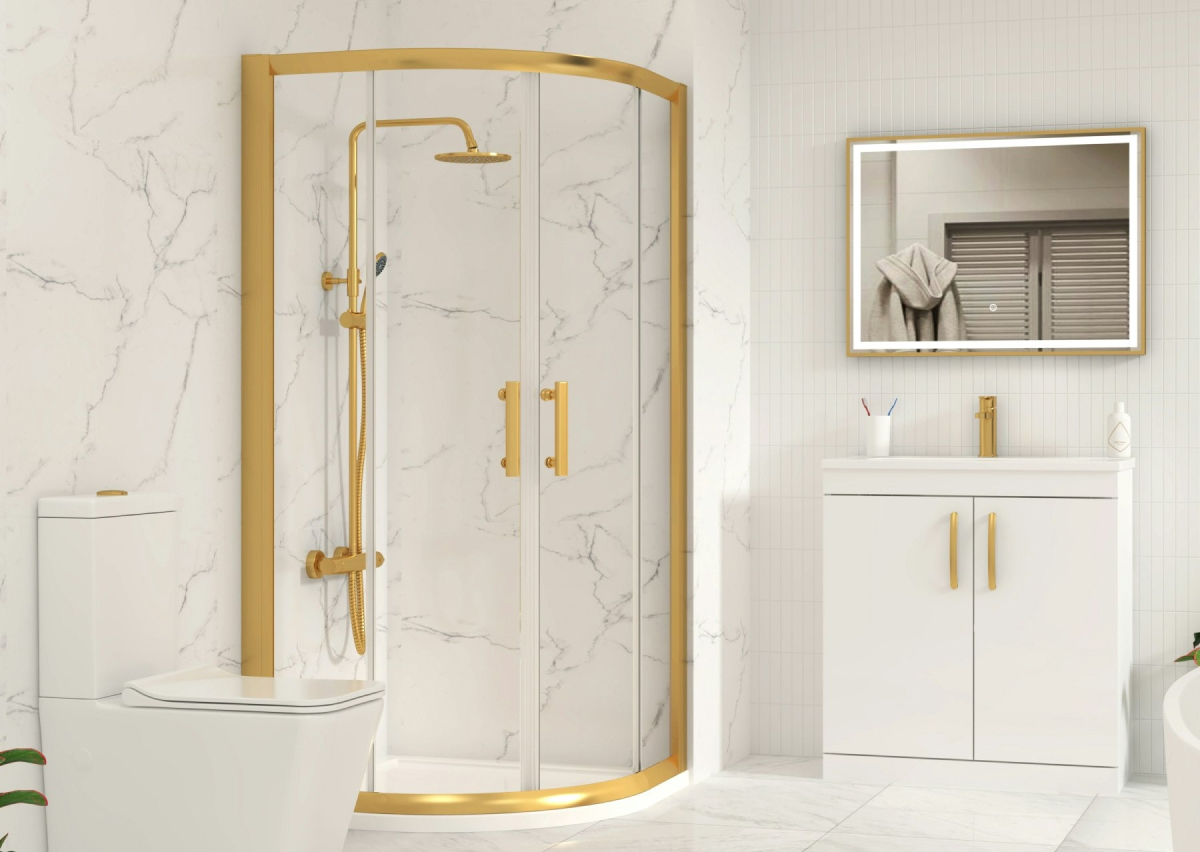
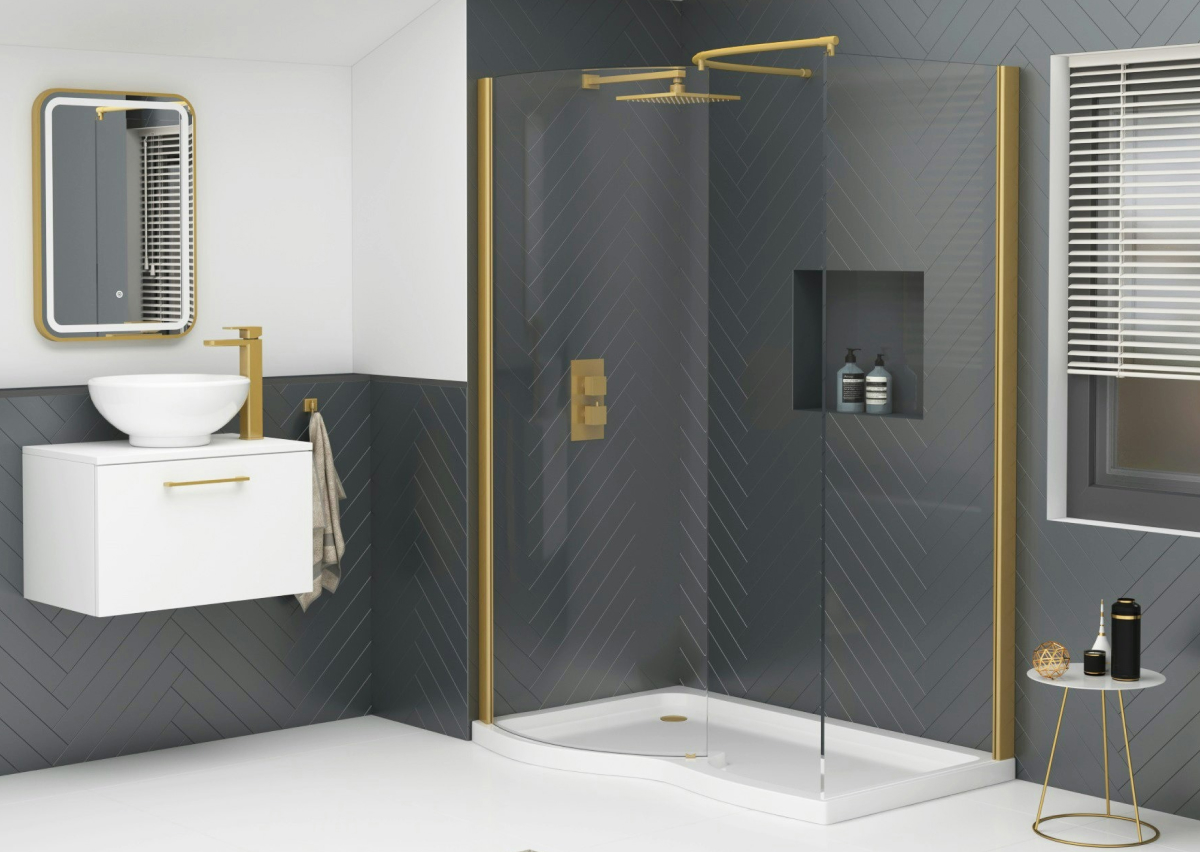
Installing Splash Screens
Another important thing is to integrate the shower screens around your shower area. The open design of wet rooms can be contained by fixed glass panels to prevent water splashing around the toilet or vanity, while maintaining the minimalist vibe.
How to Create a Wet Room
Creating a wet room can seem like a bold move, but with careful planning it can fundamentally change how your bathroom functions and looks. If you’re a total DIYer, or going to hire a wet room fitter, these are the key ingredients to create a successful wet room, whether you’re creating it from fresh or converting an existing room.
Start with Waterproofing (Tanking)
The basic foundation of a wet room is its waterproof efficiency. This process, called tanking, is the application of a waterproof layer to all floor and wall surfaces in preparation for water contact. It’s a non-negotiable step that prevents your subfloor and walls from permanent water damage, rot and mold - you don’t want to cut corners on waterproofing. A nicely tanked room can keep your wet room solid for years with absolutely no leaks or maintenance issues.
Build the Right Floor Gradient and Drainage
Unlike most bathrooms, wet rooms require a floor that subtly slopes towards a central or linear drain. This gradual slope also allows for maximum drainage, so water flows effectively and never pools. In many cases this is going to involve some careful use of a pre-formed shower tray former or screed-made custom fall. Nailing this slope is crucial, it’s what makes the ‘walk-in’ feature work and safe.
Choose Non-Slip Flooring and Waterproof Wall Finishes
Safety and style go hand in hand when it comes to wet rooms. For the flooring, the easily cleanable non-porous surfaces such as ceramic or porcelain tiles, natural stone, or waterproof laminated vinyl are ideal in a wet room because they will keep the water out of the core of the building and are easy to keep clean. Choose from textured or anti-slip finishes, particularly on the floor, to avoid slipping. For walls, continuous tiling or large format tiles minimize the number of grout lines, which makes your space feel that much cleaner and more luxurious.
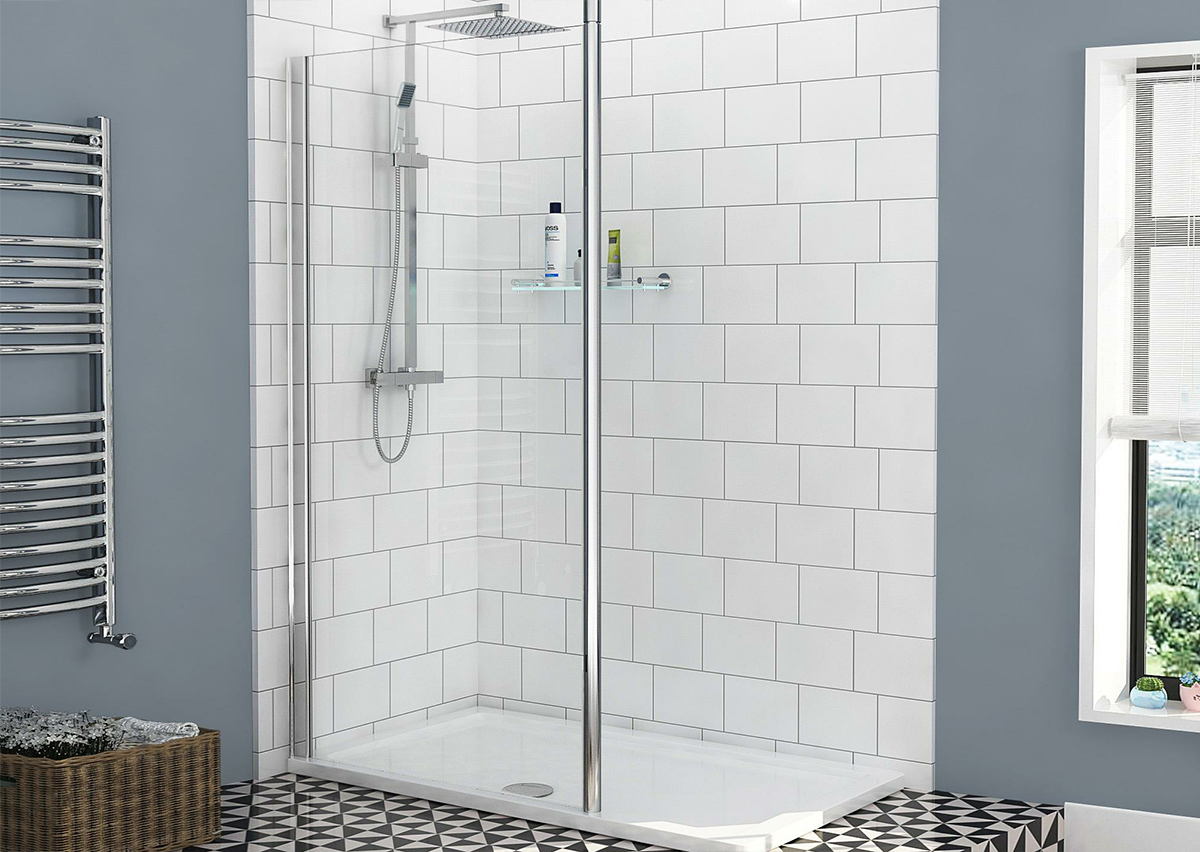
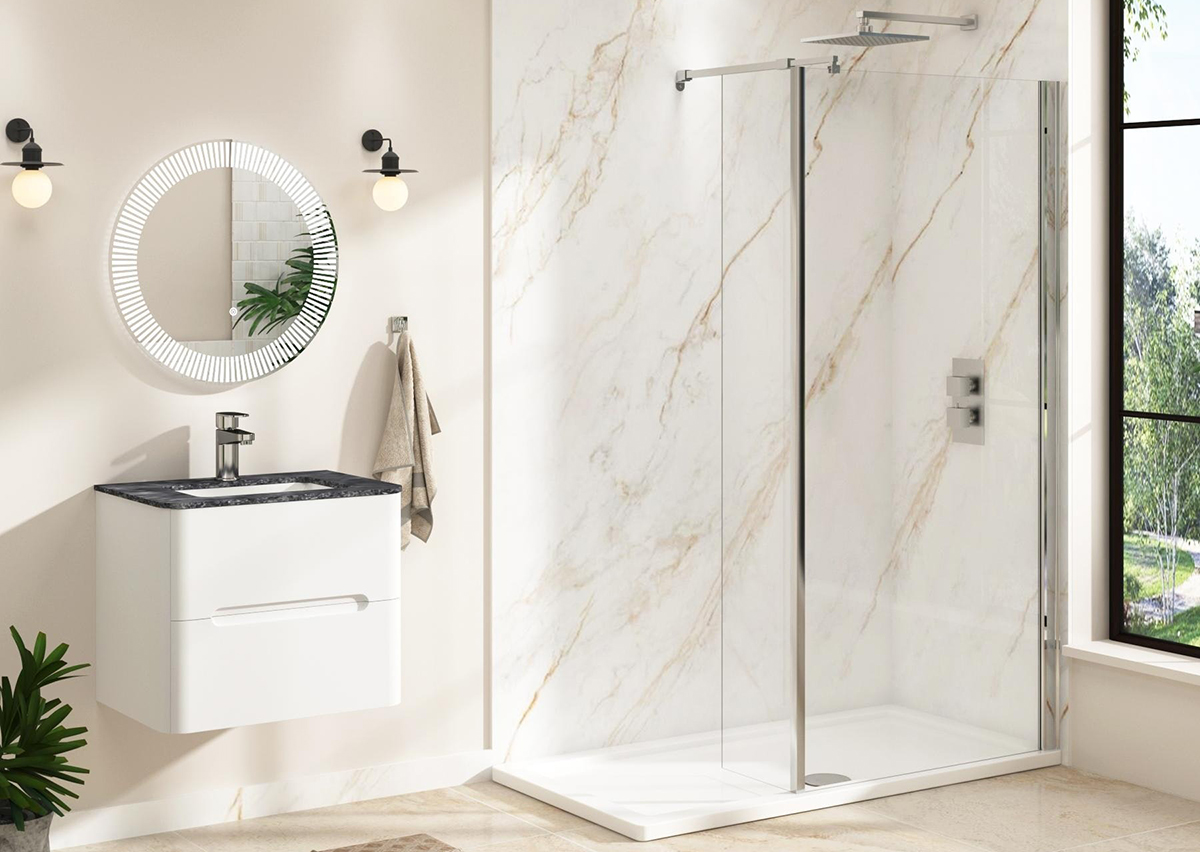
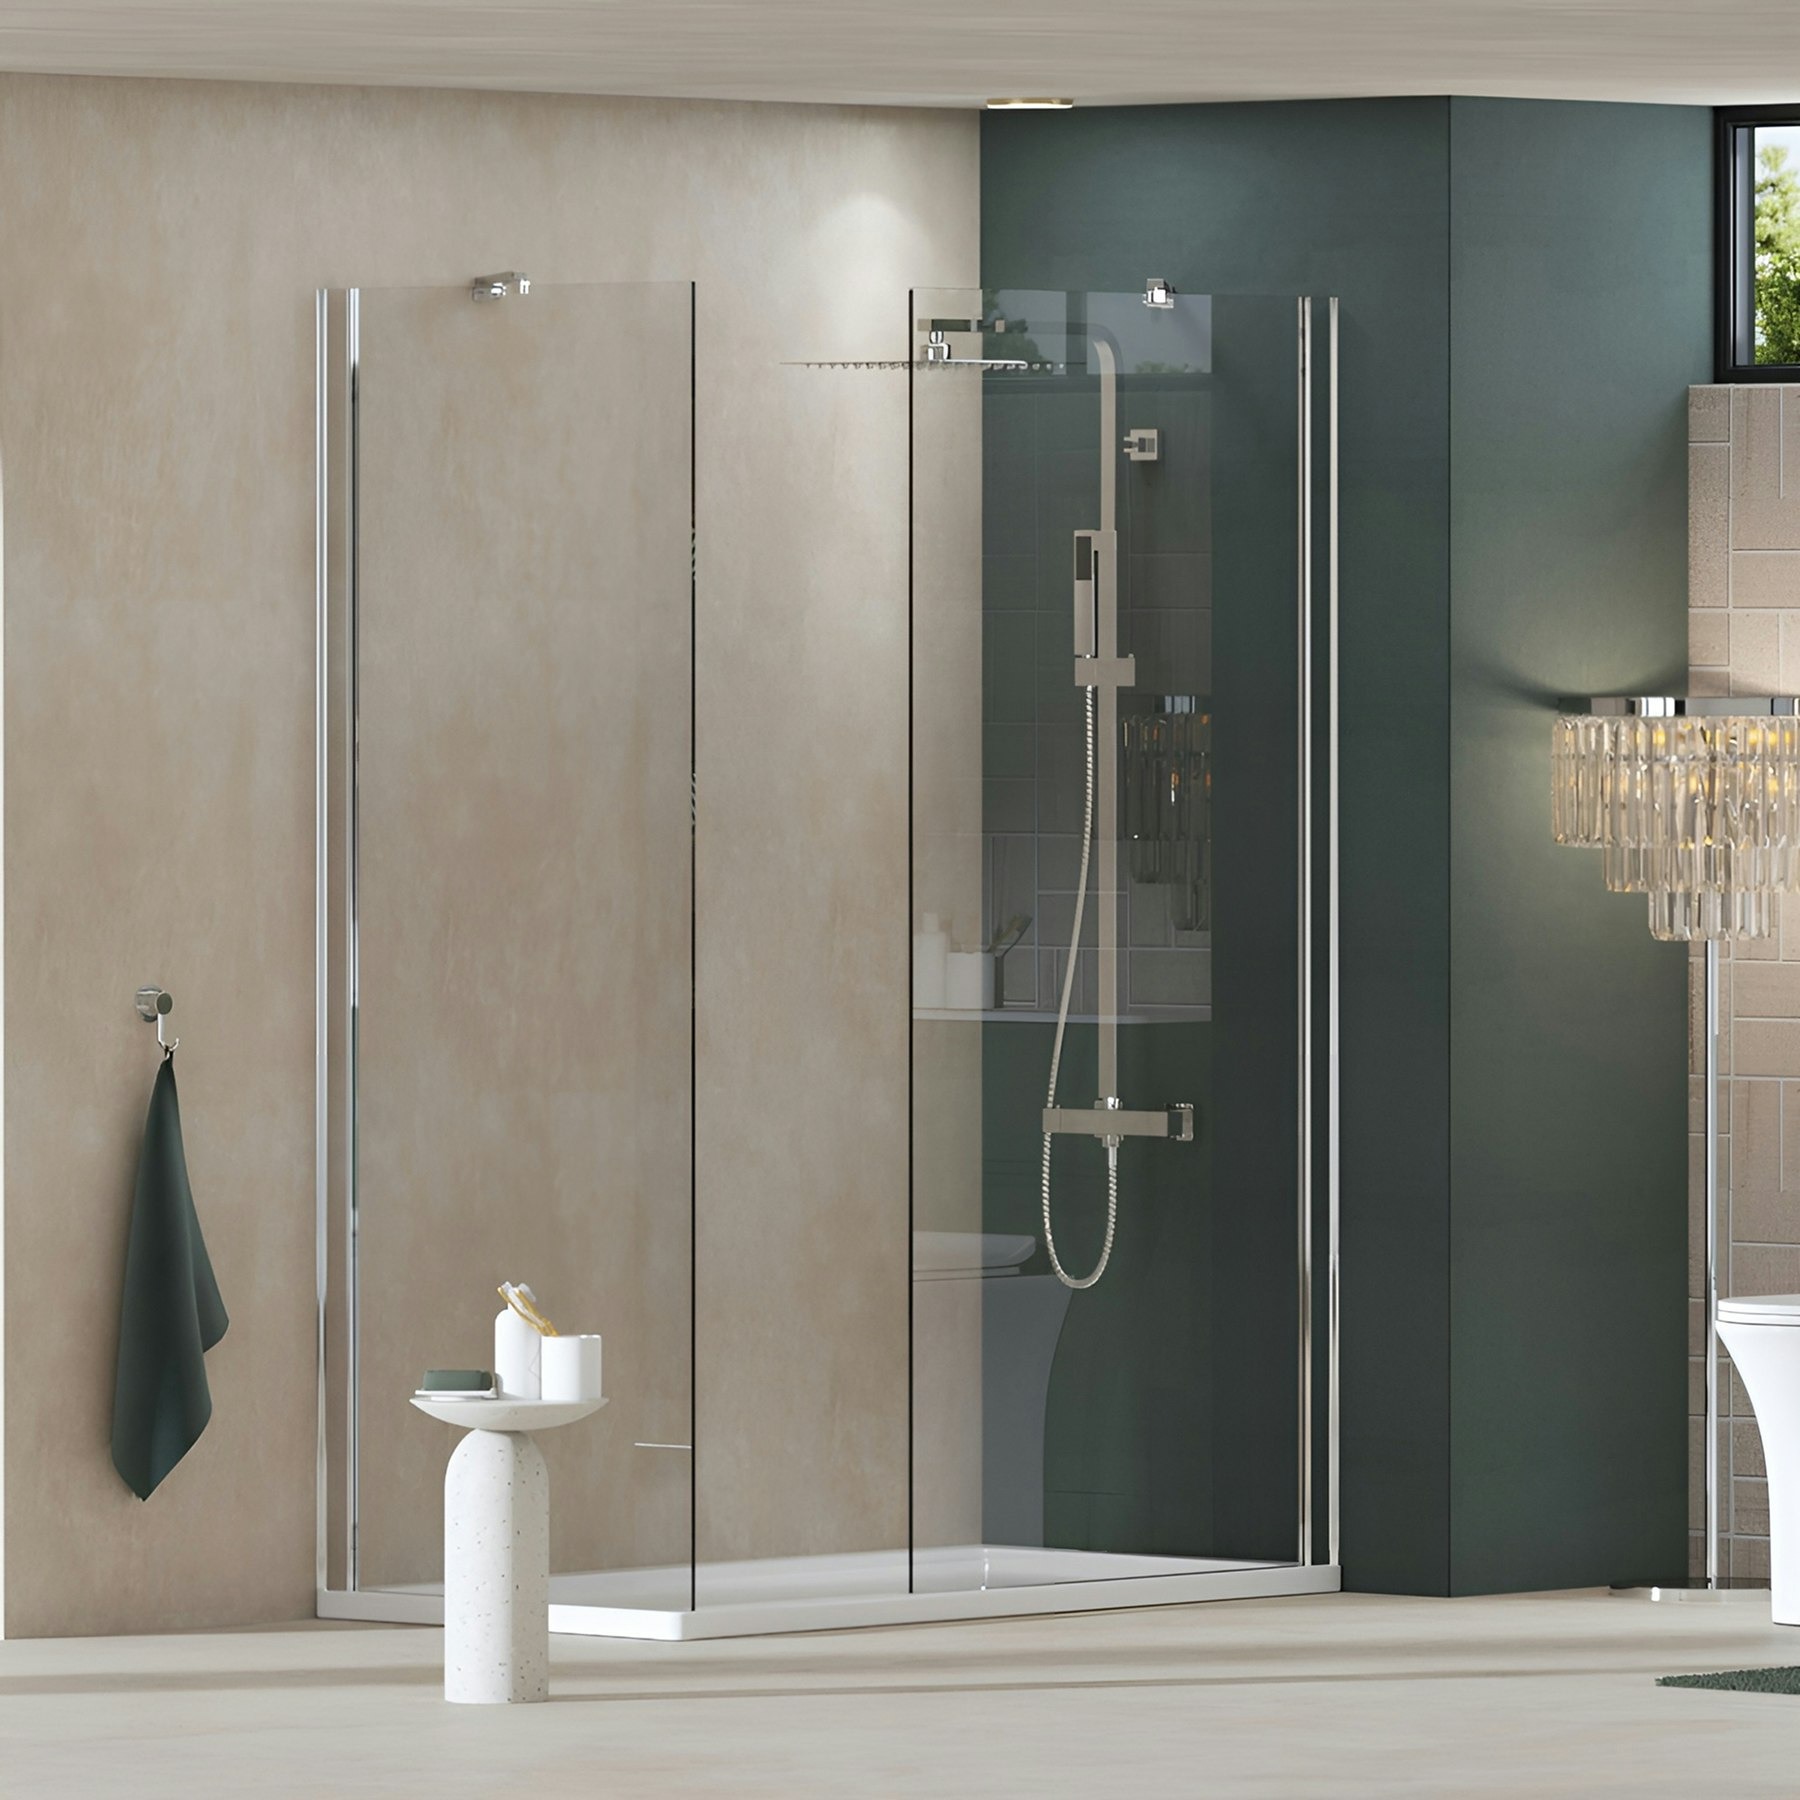
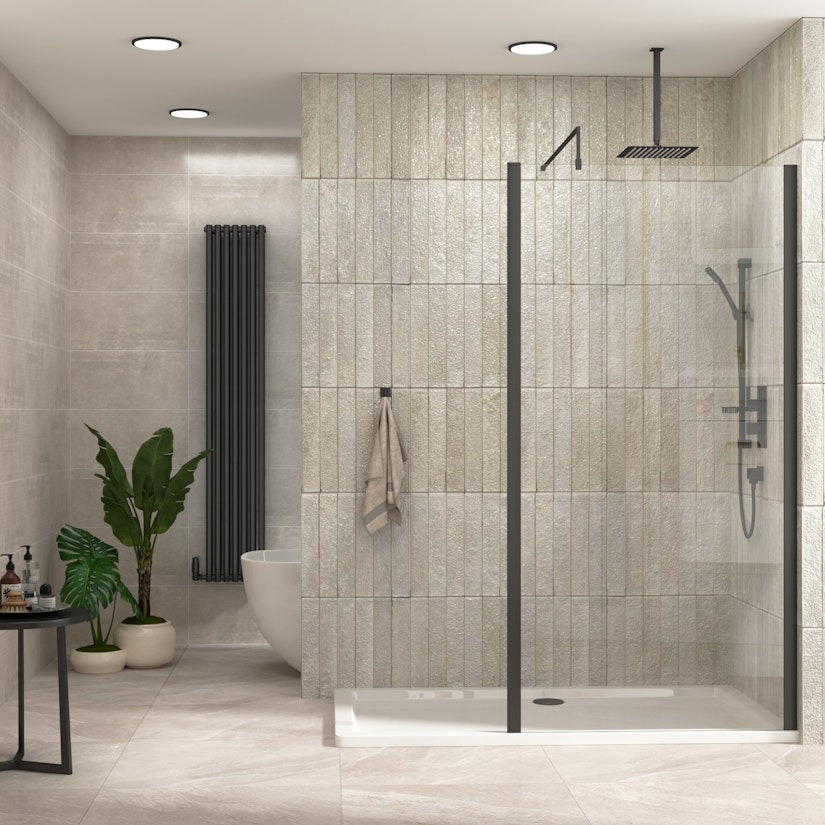
Install a Frameless Glass Shower Screen (Optional)
While wet rooms can be left completely open, many homeowners opt for a glass panel to prevent splashing. This screen preserves the open-planned vibe but ensures that water remains within the showering area, so other areas of the bathroom are not splashed as much. When you're looking to keep the look clean and contemporary, you'll want to consider frameless or hinged versions.
Invest in Durable Fixtures and Fittings
Your fixtures need to stand up to constant moisture and temperature changes. Choose corrosion-resistant materials like stainless steel, brass, or anodized aluminum for taps, mixers, shower heads, and handles. Thermostatic mixers and rainfall shower heads are popular choices that enhance comfort while keeping the design modern and functional. Wall-mounted taps can also save space and create a cleaner appearance. Don’t overload the space with too many design elements, select one or two standout features and keep the rest understated.
Ensure Proper Ventilation
Proper moisture management is key in a wet room. And, since the whole room is vulnerable to water and steam, a decent extractor fan is important to avoid condensation, mold and damp. Opt for a fan with humidity sensors or timers to automatically regulate airflow and keep the room fresh and dry — especially in a windowless bathroom.
Add Underfloor Heating (Optional)
Given that the wet room underfloor can be wet, underfloor heating isn’t simply a luxury, but a practical improvement. It will help the floor to dry quicker therefore, slip risks are lessened, it also discourages the growth of mold. Combine with a heated towel rail to keep towels warm and the room inviting, particularly during the middle of the winter.
Reliable Tools and Installation Materials
To create wet room yourself, you need specific tools and materials like spirit level, tile cutter, notched trowel, waterproof grout, sealant gun and silicone sealer. The quality tools help to smooth and accurate, especially when you are laying tiles and waterproofing process.
Note: It is possible to DIY-a-wet room with the right guidance, but there are some critical areas that may be best left to the professionals –such as the plumbing, tanking and creating a suitable gradient in the floor. If there is a small mistake at this initial step, the consequences for the ensuing constructions can be long-term.
Additional Wet Room Design Tips
The very definition of a wet room extends beyond its waterproofing and layout to the union of beauty and functionally working together. Smart design decisions help the room look cool and classy whilst staying functional and safe for everyday use. Here are a few expert-approved ways to step up your wet room design before buying:
a. Stick to a Minimal Palette
Neutral shades such as whites, greys, beiges, or matte blacks keep a clean and modern look. When you keep the color palette to a minimum, it makes the room feel big and airy, which is nice when you have a small bathroom. You can still get creative with textures and accessories and not clutter your look visually.
b. Use Textural Contrasts
The two-tone effect not only looks great, but it’s even more functional. For instance, when using a glossy finished tile for walls, it reflects light and helps keep the room looking vibrant, whereas with a textured (or anti-slip) finish for the floor will ensure a safe environment without compromising on style. Think about natural stone, fluted tiles or wood-look porcelain for warmth and interest.
c. Use Ambient Lighting
Laminated, or layered, lighting is the secret to a good wet room. Recessed ceiling lights offer primary illumination but LED strip lights around mirrors, alcoves or under vanities add ambient coziness. This pair turns your shower or wet room into a spa like an experience, especially when it’s dark.
d. Introducing Subtle Boundaries
Some splash control is necessary for even an open plan wet room. Use frameless glass panels, or partial shower screens to prevent water splashes while having a visual through-line to show off the space. They also simplify cleaning and prolong the life of your floor and fixtures outside the shower area.
e. Maximize Storage without Clutter
Perfect for storing everything from extra blankets and pillows to your child's stuffed animals. For a clean, minimalist look, opt for built-in options like wall niches, floating shelves or hidden cabinets. Such storage solutions, which keep goods off the floor, can help prevent bulky furniture from encroaching on the room and closing it in.
f. Use Statement Fixtures Wisely
For further enhancing the look, use wall-mounted taps, rainfall shower heads, and matte black or brushed brass fixtures as elegant and smart design options. Pick the one or two standout pieces and leave the rest of the fittings simple to prevent too much going on.
Common Mistakes to Avoid When Designing a Wet Room
By not making these mistakes, you’ll spare yourself the big headache and bills in future. A smart plan will help keep you from the chaos of the wet room going wild.
1. Neglecting or Incomplete Waterproofing
The most catastrophic mistake is not completely waterproofing every surface. Even a small leak can start to affect structural integrity or promote the growth of mold over time so ensure that the tanking is complete from floor to ceiling.
2. Incorrect Floor Sloping & Poor Drainage
If the wet room floor isn’t sloped correctly, water can pool or drain very slowly. Always measure gradients accurately to ensure water runs smoothly to the outlet.
3. Using Slippery or Unsuitable Tiles
Shiny tiles are neat and clean and look good, but they can also be a very slippery surface. Always consider the tiles which are rated well to use in wet conditions, and don’t skip on the quality of the grout between the tiles since poor grout quality can affect the waterproofing of the surface.
4. Not Installing a Splash Barrier
Leaving the space completely open might seem ideal, but it can cause water to soak surrounding areas. Adding a minimalist screen helps spray directly while maintaining an open look.
5. Lack of Proper Ventilation
Wet room moisture control is key to success. If you don’t have a good extractor fan or the right airflow in your bathroom, chances are you’ll end up with a damp smell in the future, peeling paint or a spot of mold.
6. Installing Non-Waterproof Fixtures
Timber cabinetry or low-quality fittings may rust when exposed to constant moisture. Always choose fixtures made for wet zones, such as stainless steel, brass, or marine-grade finishes.
How Much Does It Cost to Design a Wet Room?
The price of a wet room varies based on room size, material quality and whether it’s a new build or a renovation. For a lower end budget, a basic wet room costs from £1,500 to £3,000, and this will include all the essentials (waterproofing, drainage and tiling).
A mid-range wet room with further specifications, like underfloor heating, a high-quality screen and improved tiles, could cost between £4,000 and £6,000. For high-end, luxury models involving custom tilework, mood lighting, designer fixtures and the integration of smart tech, costs around £7,000 to £10,000, or above. Labour and structural modifications are also considerations when it comes to your pool budget.
Final Thoughts
Making a wet room is about opening a whole new experience in your home and ensuring that it will function for many years to come. From securing waterproofing to choosing the right materials that strike the perfect balance between good looks and protection, everything counts. Just steer clear of the ones that’ll set you up, put in enough good planning, and allow good design to happen. Whether DIY or perfectionist build, the perfect wet room can totally transform the way you experience daily showering.