Post Contents [hide]
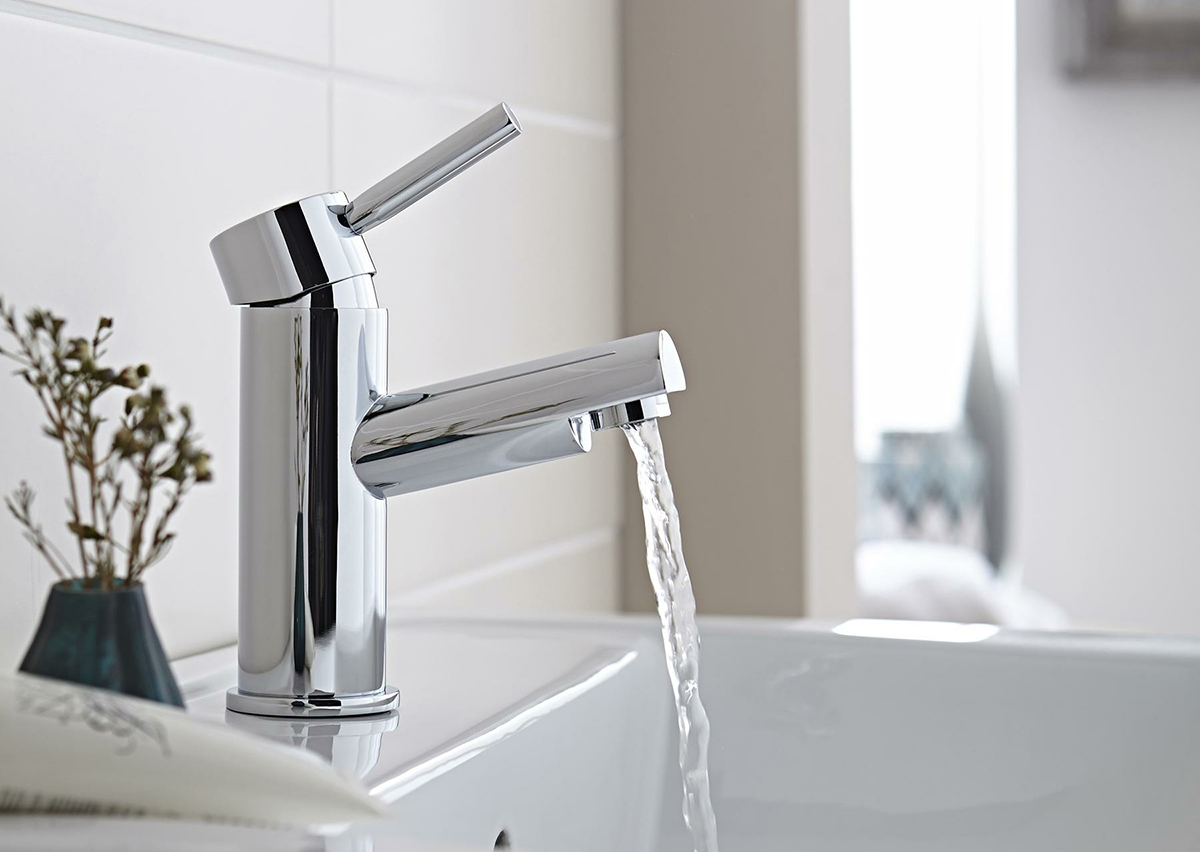
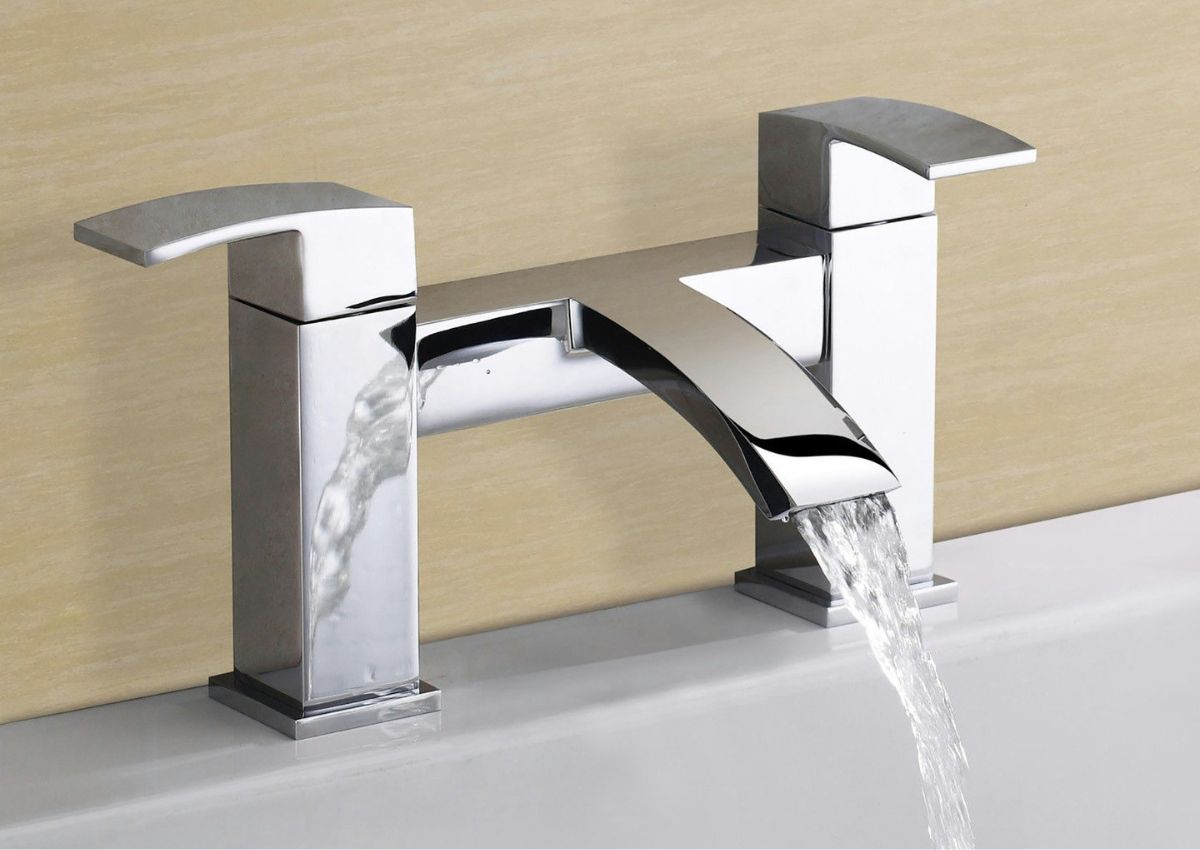
Recently, I found my bathroom tap dripping constantly, which was a real nuisance for me. Fixing it required replacing a tap washer that seemed like a lot of hassle and I decided to call a plumber who would have cost me at least £50, almost as much as the tap itself costs. But then I remembered stumbling on some startling statistics from Thames water: a single dripping tap in the UK wastes up to 5,500 litres of water annually, which is enough to fill a small swimming pool.. With 3.1 billion litres lost daily nationwide due to leaks according to the National Audit Office, I realized my “small” drip was part of a massive problem.
So, it needs a quick fix sooner than later or I will feel guilty. After some research on the internet learning how to change a tap washer, I decided to try replacing the washer as DIY. To my surprise it turned out to be much simpler than I expected.
In this blog, I will be sharing my experience of replacing a washer in a mixer tap with you.
Role of Bathroom Tap Washers and Other Components
Before we discuss fixing a leaking bathroom tap, it is important to understand the role of tap washer and other components.
A washer is a small but significant part of a tap mechanism that forms a seal to stop water flow when closed. It is a ring-shaped component made of rubber, nylon, or plastic. Over time, the washer can degrade, leading to leaks or drips. So, changing a tap washer usually is the solution for fixing a leaking bathroom tap.
In addition to the washer, a bathroom tap usually consists of the following parts.
Handle: Controls the flow of water.
Spindle: A metal rod that connects the handle to the valve.
Washer: A rubber or plastic disk that seals the valve to prevent water leakage.
Tap Body: The main housing of the tap.
How To Change a Tap Washer Step-by-Step Guide:
Here, we have all the steps you will need to take to replace a tap washer. Remember, the method is almost similar for most bath taps and sink taps.
What Tools You Will Need For Replacing a Tap Washer
Gather the following tools and materials for fixing a leaking bathroom tap. .
-
Adjustable wrench
-
Basin wrench (if needed)
-
Screwdriver (if needed)
-
Pliers
-
Replacement taps washer(s)
-
PTFE tape
-
Cloth or rag
Turn Off the Water Supply
Before you start fixing a leaking bathroom tap, it is important to turn off the water supply for your entire home. Find the stopcock often located under the sink, near the water main, or in the basement. Simply turn the valve clockwise to shut off the water supply.
Drain the Tap
Next, you must release any remaining water from the tap you’re repairing. Open it and let the water spill out. This will make it easier to work on tap,
Prepare The Area
It is a good idea to place a towel beneath the tap to catch drips. Keep all the tools listed above nearby to avoid unnecessary interruptions.
Remove the Tap Handle
Most tap handles have a small screw hidden under the decorative cap. It holds the handle in place. Use the screwdriver (flathead) to remove this screw. Once unscrewed, lift off the lever handle.
Access the Washer
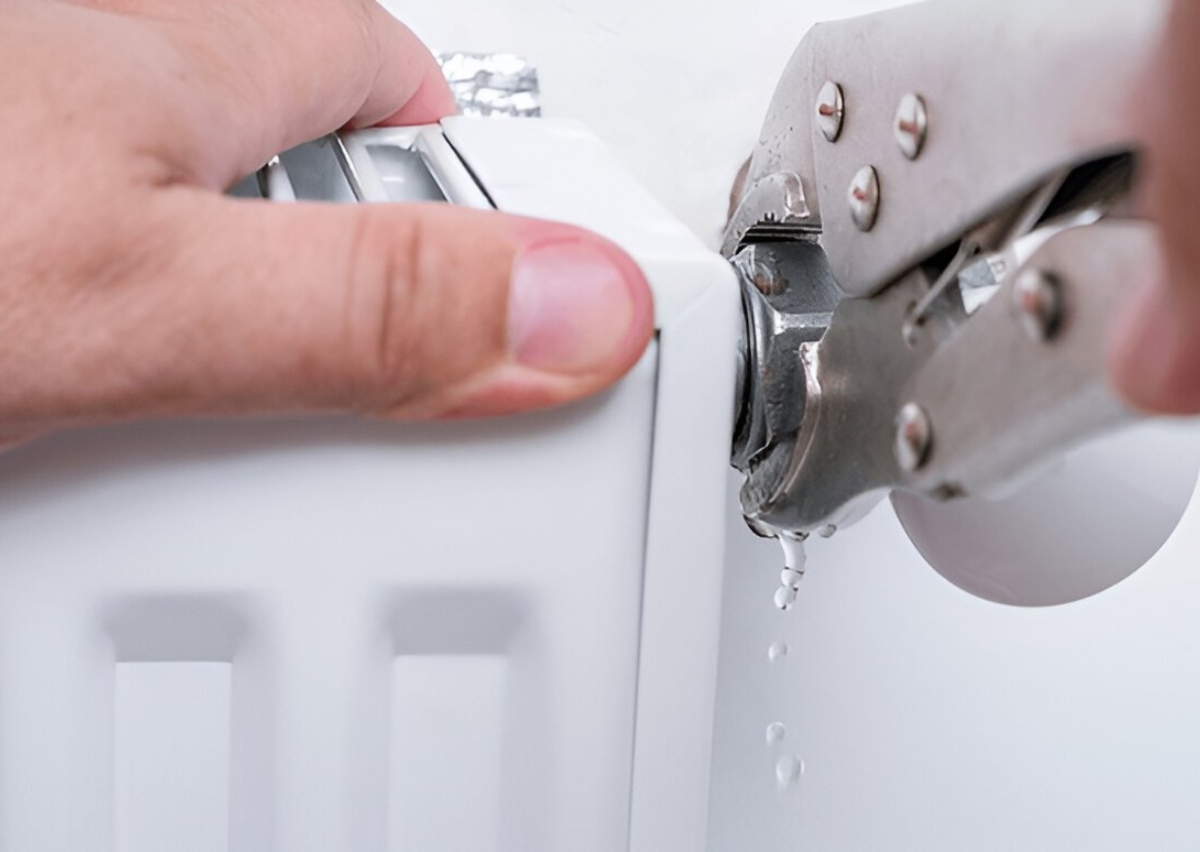
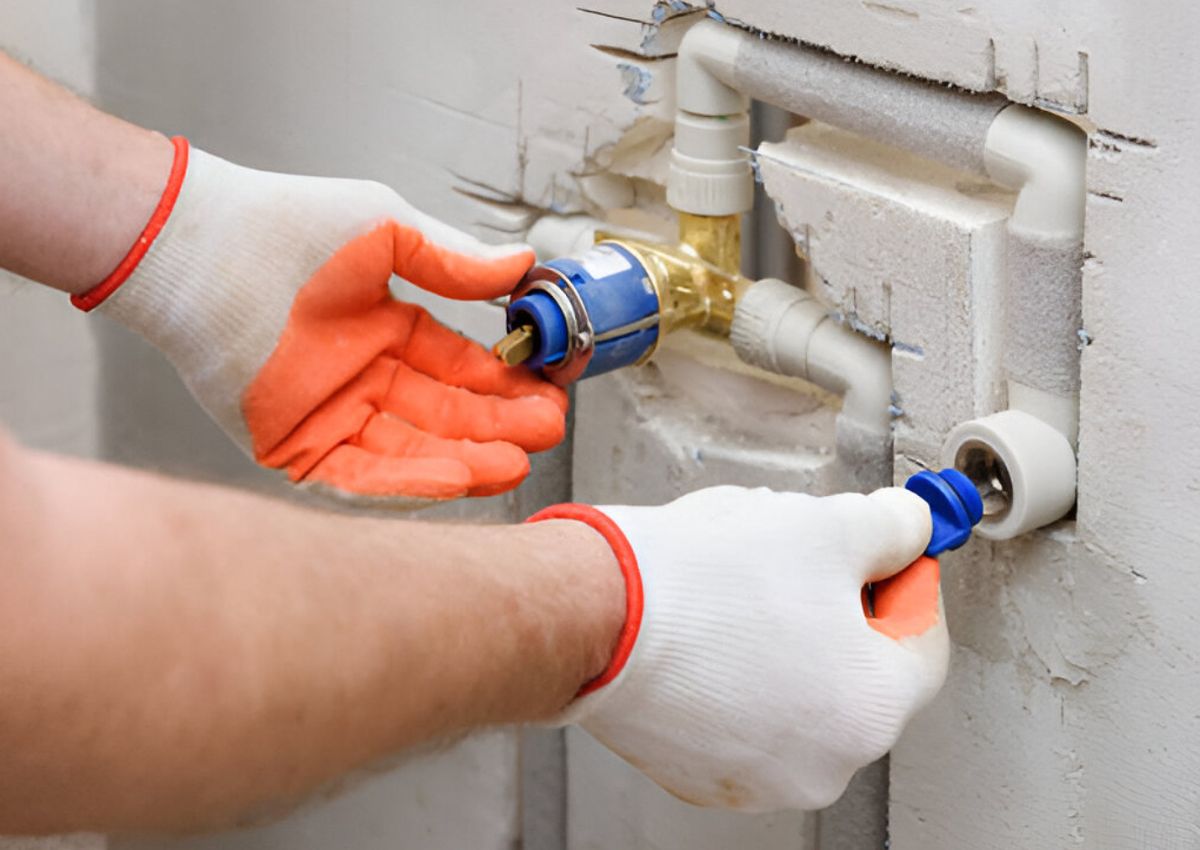
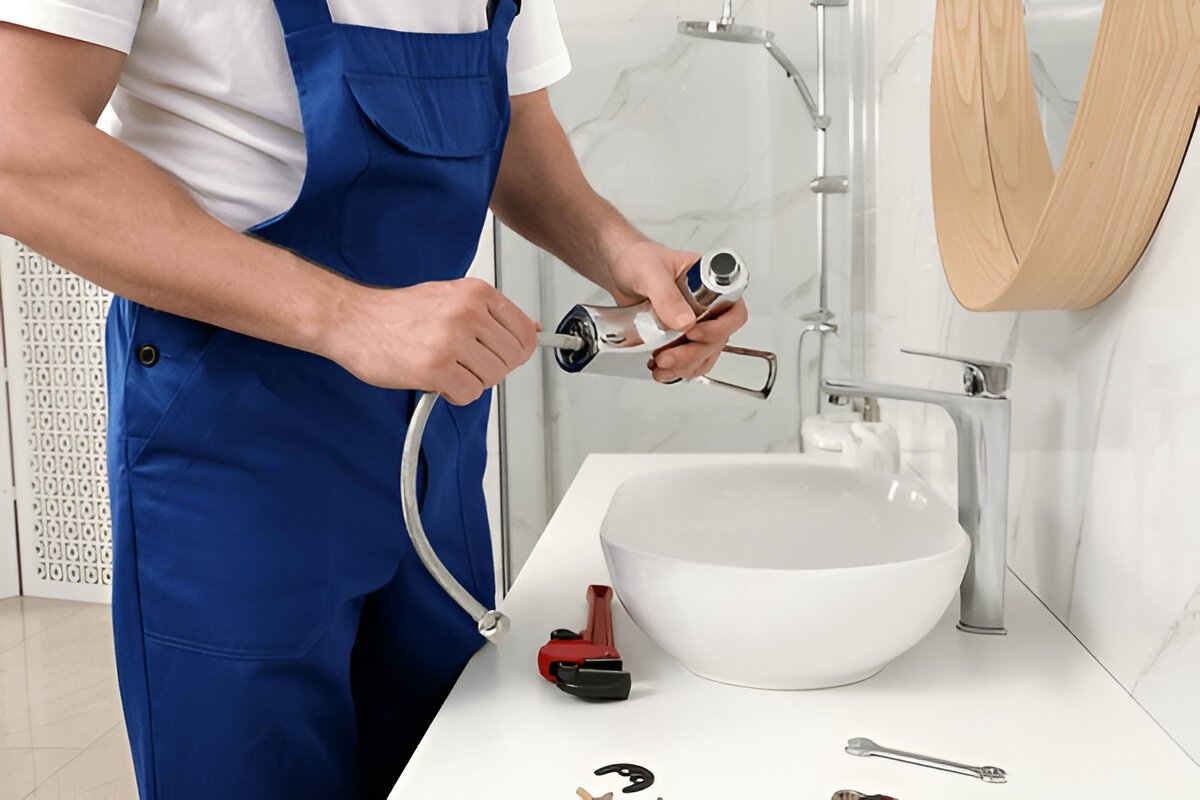
Once the lever handle (spindle) is unscrewed, the whole mechanism of the ta will be visible. You will need to access the washer using the adjustable spanner by unscrewing the body or valve. Don’t apply too much force else it may get damaged. Once you are able to remove the valve, locate the existing washer held in place with a small screw.
Replacing a Tap Washer.
The washer is a small rubber or plastic disk located at the end of the spindle. Simply remove the screw holding the washer and take out the washer by using pairs of pliers. Check the washer for wear, cracks, or damage. Replacing a tap washer is the only solution if it's worn out. To replace it, slide the new washer onto the spindle. Remember, the washer should be of the same size to fit correctly. Ensure it sits securely in its slot and tighten the screw gently to avoid damage to the washer. Wrap some PTFE tape around the spindle threads to ensure a tight seal.
Reassemble the Tap
Finally, you can reassemble the tape by reattaching the valve or body to the base and tightening it with the help of a spanner. Fit the tap handle back onto the valve and secure it tight with a screw. You can now place the decorative cape on it to hide the screw.
Turn On the Water Supply and Test the Tap
Once reassembled, it’s time to test the tap for any leaks. Slowly reopen the stopcock and see whether the dripping has stopped. Ensure everything operates smoothly as expected. If leaks persist, you will need to replace the spindle or tap body.
Additional Tips and Tricks
Here we have additional tips and tricks for fixing a leaking bathroom tap.
-
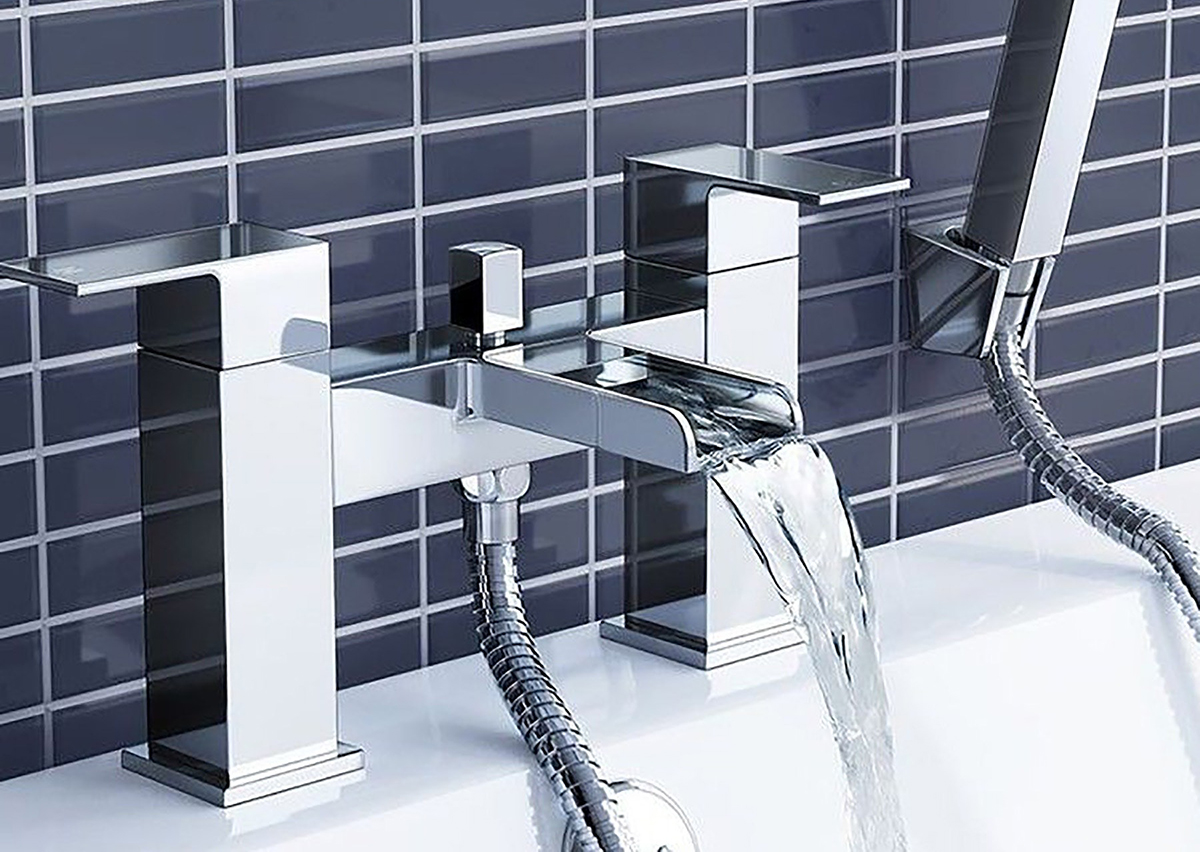
Since there are a variety of tap types available, the process of changing the tap washer may differ slightly. Most common types of bath taps and sink taps in the UK include compression taps, ceramic disc taps, and mixer taps.
-
If it's the first time you are handling such a task, take photos of the disassembling of the tap to remember how it fits together.
-
The leaks around the threat will need you to wrap PTFE tape around the spindle and the tap body before reassembling.
-
If you're unsure about any step or encounter difficulties, it's best to consult a professional plumber.
Common Tap Problems and Solutions
Here we have discussed solutions for fixing a leaking tap without calling a plumber.
-
Most of the time, a dripping tap can be fixed by adjusting the spindle packing nut. You can try tightening it slightly, but be careful not to overtighten it.
-
A leaking bath tap or a sink tap is usually a sign of a worn-out washer or damaged spindle. You can replace worn-out parts or the entire tap body to resolve this problem.
-
Worn-out washers or loose components may make taps noise. You will need to resolve it by replacing the worn parts and tightening the loose parts.
Ending Thoughts
Leaking bathroom taps is a common problem that results in wasting water and driving up your utility bills. Replacing a tap washer as DIY can easily solve this problem. Not only can it save repair costs, but it also gives you a big sense of accomplishment. So, next time your tap starts dripping, don’t hesitate to try fixing it yourself.
Frequently Asked Questions
How to tell if a tap washer needs replacing?
A dripping, leaking or noisy bathroom tap even when fully turned off is a sure shot sign of washer problem. Over time, washers degrade and wear out due to water pressure and friction resulting in leaks. In most cases you would not have any other fix rather than changing the tap washer.
How do I know what size tap washer to buy?
It is important to buy the right size of washer when replacing a tap washer. For the correct size, you will need to check the size of the existing washer. Simply remove the old washer and measure its diameter. Alternatively, you can take it to the hardware store for the match. Most bathroom taps in the UK use standard size like ½ inch or ¾ inch. If unsure, consult the taps manual or ask a store representative/ sales assistant for help.
How do you fix an O-ring leak?
You will need to replace an o-ring in the tap to stop the leak. Replacing an o-ring involves turn off water supply and disabling the tap to locate the o ring around the spindle. Remove the existing one and replace it with a new one of the same size. Reassemble the tap by ensuring everything is tightly secured to prevent future leaks.
How to make a rubber gasket seal better?
Gasket seals are crucial for a water tight connection. To create you should start by cleaning the surface where the gasket sits to remove the debris or old sealant. Apply a thin layer of grease to the gasket to improve its functionality and sealing ability. The gasket should be properly aligned and tightened to create a watertight seal.
Why is my bathroom tap still dripping after replacing the washer?
The dripping bathroom tap after changing the tap washer is a sign of some other problems. It means the valve seat ( the surface the washer presses against ) might be damaged or corroded. You may get the same problem if the washer size is wrong or not installed correctly. Check the valve seat for wear and ensure the washer fits snugly to the space.
How to stop a leaking bathroom sink tap in the UK?
You can try fixing the leaking tap by first trying to tighten the tap to see if it stops the leak. If not, replace the washer or O-ring depending on the type of leaks. In case it does not solve the problem, the valve seat may need repairing or replacing. For stubborn leaks, consider consulting a plumber to ensure the issues are fully fixed.
Do I need a plumber to replace a bathroom tap washer?
No, not necessarily. Replacing a tap washer is a fairly simple and straightforward DIY task that requires basic tools like a spanner and a screwdriver. However, if you’re unsure or uncomfortable working with plumbing, hiring a plumber ensures the job is done correctly and safely.
How much does it cost to fix a bathroom tap leak in the UK?
DIY bathroom tap washer replacement may cost between £1-£5 for a new washer or O-ring. If you hire a plumber, the average cost ranges from £50-£100, depending on the complexity of the job and your location.
What size tap washer do I need for my bathroom tap?
Most UK bathroom taps use standard washers, typically 1/2 inch or 3/4 inch in diameter. To be sure, remove the old washer and measure it, or check the tap’s manual for specifications. If in doubt, take the old washer to a hardware store for a match.
Common reasons why bathroom taps leak after changing the washer?
Leaks can persist if the valve seat is damaged, the new washer is the wrong size, or the tap wasn’t reassembled correctly. Worn-out O-rings or loose components can also cause leaks. Always double-check the installation and inspect the valve seat for wear.