Installing a bathroom cabinet is a great way to add extra storage to your bathroom. However, if you are on a budget, and want to know how to hang it on your own, then you are at the right place. In this blog post, we will outline the steps necessary to hang a bathroom cabinet with ease.
DIY Installation of a Bathroom Cabinet
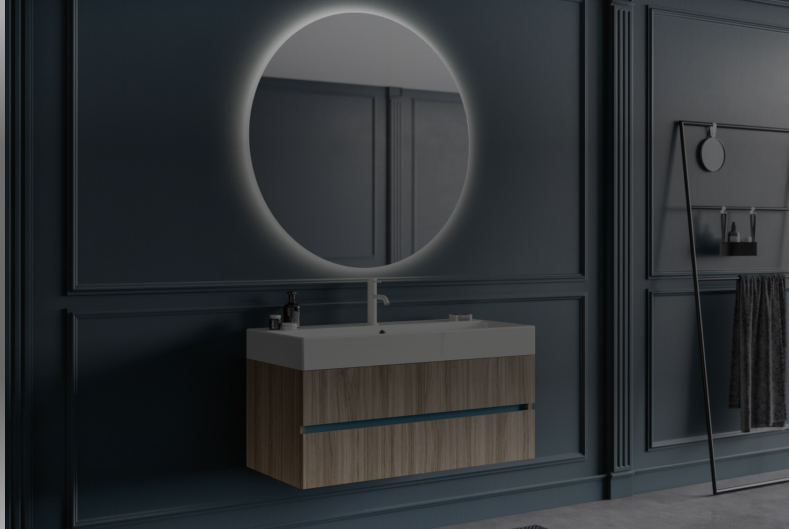
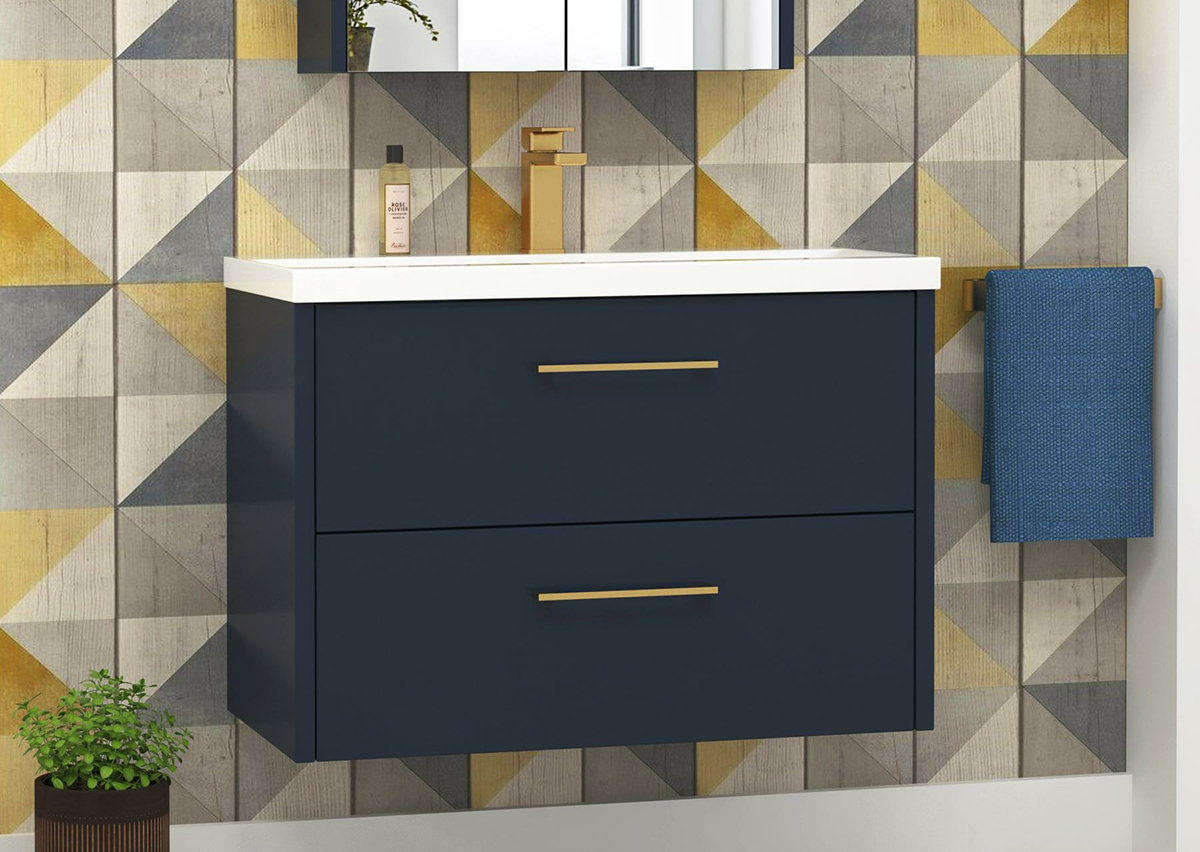
Besides vanity units, wall-mounted storage cabinets have been found to be the most widely adopted storage fixture in modern bathrooms. Like your typical kitchen cabinets, bathroom cabinets are mainly found as pre-built structures. However, in case you are dealing with unusual dimensions in the room, you can also have cabinets custom-built to your preference.
Unlike the case with bathroom vanities, you don't need to devise a complete renovation plan to hang a bathroom cabinet. Rather you can tackle it as a DIY project. Even though it may require some careful measurements and a variety of tools, a steady hand with a passion for working is all you need to amplify your bathroom's storage space. So, without further ado, let's get on with it.
Required Tools:
Before you take on the project, make sure your toolbox inventory includes the following items:
- Pre-assembled cabinet unit
- Wall brackets
- Measuring tape
- Pencil
- Spirit level
- Electric drill and drill bits
- Masking tape
- An adequate supply of relevant screws and wall plugs
DIY Step by Step Procedure for Hanging a Bathroom Cabinet
Step 1. Do Your Homework:
Before you start the installation procedure, do your homework. Make sure the section of the wall you have selected to install the fixture is sturdy enough to bear the weight of the cabinet unit and the amenities inside.
In the case of drywall, you can use a pipe or cable detector to figure out whether there's a cavity inside the wall or not. Not to mention, steer clear of any electrical lines and plumbing pipes as well. You don't want to drill a hole straight into the plumbing line and end up flooding the entire room.
Moving on, check to see whether the listed instruments are available or not. Also, make sure the cabinet unit also has wall brackets alongside. In case the cabinet door presents too much of a hassle to buckle down, perhaps you should consider dislocating it for easier handling.

Step 2. Measure and Mark the Dedicated Spot:
Once you have made sure the place you're going to mount the cabinet is sturdy, durable, and devoid of any internal fittings, now it's time to finalise the spot. For instance, if you are considering installing one right above your vanity unit, make sure it sits at the centre of the sink.
Be careful and clever while taking the measurements. Start by marking out the middle point of the cabinet on the wall beside it. Now sketch out a line to the point where you will install the cabinet. To prevent any errors in the measurement, place the cabinet against the wall to see whether it sets according to the centre point marked on the wall.
Next up, extend the centre line that starts from the cabinet level down to the edge of the vanity unit. Now repeat the procedure at the back of the cabinet. Similarly, measure the distance from the top end of the cabinet to the embedded wall fixings. Don't forget to use a spirit level for better accuracy.
Step 3. Be Mindful While Drilling:
Drilling holes in a wall may seem one of the easiest tasks in the entire project, unless you have to drill on a tiled wall. The problem with glossy tiles is that they offer very little friction causing the drill bit to skid as soon as you start the drill.
The best way to deal with it is by applying masking tape over the drilling spot. Since it has a coarse surface, you can easily drill holes in the wall. Make sure you drill the holes exactly the size of the wall plugs. Push in the wall plugs, hold down the wall brackets in the front, and fasten them with the help of screws.
Step 4. Install the Cabinet Unit:
Hold the cabinet unit carefully on the lined fixings and slot it firmly into place. Before you fix it into place, check the positioning and level of the wall with a measuring tape and spirit level. Once everything is set perfectly into place, screw down the fixings from the inside of the cabinet, making it one of a whole.
Now reattach the cabinet door, pop on the cover caps, erase the pencil markings on the walls and the cabinet, and there you have it. The storage cabinet has now become part of your bathroom.
FAQs about Hanging a Bathroom Cabinet:
What Do I Need to Hang a Bathroom Cabinet?
To hang a bathroom cabinet, you will need some basic tools and supplies. First, you'll need a stud finder to locate the studs in your wall. You'll also need a drill and screws to attach the cabinet to the wall. Finally, you'll need a level to make sure your cabinet is hung straight. You will also need wall brackets, measuring tape, a lead pencil or a marker, an electric drill, masking tape, spirit level, and screws and wall plugs, etc. If it is the first time you are going to DIY a hang wall cabinet, then you can use our guide and follow each step discussed here.
How Do You Attach a Bathroom Vanity to a Wall?
Installing a bathroom vanity is a relatively simple process, but it's important to do it correctly in order to avoid any damage to your home. The first step is to find the studs in the wall, which can be done by using a stud finder or simply knocking on the wall until you hear a solid sound.
Once you've found the studs, mark their location, so you know where to drill the holes for the screws. Next, position the vanity against the wall and use a level to make sure it's straight. Then, drill pilot holes into the vanity at the stud locations and use screws to attach and secure it to the wall. Be careful not to overtighten the screws, as this can damage both the wall and the vanity. Finally, attach any handles or knobs to the doors and drawers, and your new vanity will be ready for use.
How Do You Attach a Bathroom Cabinet to a Tiled Wall?
When it comes to bathroom cabinets, there are a few different options for attaching them to tiled walls. The first is to use adhesive strips. These strips are easy to use and can be found at most hardware stores. Simply peel off the backing and press the strip onto the wall. Once it's in place, press the cabinet against the wall and wait for the adhesive to dry.
Another option is to use toggle bolts. These work by screwing into the wall and expanding on the other side. To use them, drill a hole in the wall that's slightly smaller than the bolt itself. Then, insert the toggle bolt through the hole and pull it tight.
The last option is to use screws and anchors. You can start by drilling a hole in the wall, then insert an anchor. Next, screw a screw into the anchor. Repeat this process until the cabinet is securely attached to the wall. Whichever method you choose, make sure that you attach your bathroom cabinet securely to avoid any accidents.

Can I Mount a Cabinet on a Dry Wall?
Although it is possible to mount a cabinet on a drywall, it is not recommended. Drywall is not as strong as other types of wall material, so it may not be able to support the weight of the cabinet. In addition, drywall is susceptible to damage from nails and screws, so it is more likely to crack or become otherwise damaged when mounting a heavy object like a cabinet. If you do decide to DIY mount a cabinet on drywall, be sure to use large, heavy-duty screws and anchors to help support the weight. And be sure to choose a location where the drywall is thick and supports multiple studs for added strength. With proper preparation and installation, mounting a cabinet on drywall can be done successfully. But it is important to understand the risks involved before taking on this project.
How Much Space Should Be Between a Vanity Unit and Wall?
In most cases, it is best to leave at least six inches of space on all sides of the vanity measured from its side. However, if you measure it from the midpoint of the sink, then it should be around 15 inches. You should double up the space from in front of the vanity unit. So, it will be at least 30 inches from the front. This will ensure that there is enough room for doors and drawers to open and close properly, and it will also help to prevent the unit from feeling cramped.
What Screws to Use in a Bathroom Cabinet?
Screws come in various types. You should look for their material before using them for a bathroom cabinet. You will also need to think about the cabinet material, its weight, and the content that you will put in it. In case the cabinet is lightweight, you can use deck screws that you also use for dry walls. Otherwise, the plywood or MDF cabinet will require stronger and longer screws. Therefore, brass and stainless-steel screws will be a perfect choice. These materials are also suitable for damp and humid environments.