Post Contents []
- Tools & Materials Needed for a Bathroom Radiator Replacement
- Optional tools but Helpful
- Step I: Turn Off the Heating System & Isolate the Radiator
- Step II: Drain the Old Radiator
- Step III: Remove the Old Radiator
- Step IV: Prepare the New Radiator
- Step V: Install the New Radiator
- Step VI: Refill the System & Test
- Post-Installation Check
- Common Mistakes to Avoid
- When to Call a Professional
- Final Thoughts
- FAQ's
Replacing a bathroom radiator as a DIY might seem daunting but with the right tools and a little experience using them, you get it done quickly and easily. I've personally tackled this project recently, and in this blog, I am going to provide you with all the information you need to confidently install a new bathroom radiator.
Tools & Materials Needed for a Bathroom Radiator Replacement
Here we have a list of tools and materials needed for DIY replacement of the bathroom radiator.
-
Adjustable wrench or basin wrench
-
Screwdrivers (flathead and Phillips)
-
Pipe cutter or hacksaw
-
Radiator bleed key (or flathead screwdriver for modern valves)
-
PTFE tape (plumber’s tape)
-
Spirit level
-
Bucket and old towels
-
Safety gloves and goggles
Optional tools but Helpful
-
Pipe threader or reamer (for smoothing cut pipes)
-
Infrared thermometer (to check heat distribution post-installation)
-
Pipe freeze kit (if you can’t drain the full system)
-
Flexible pipe connectors (for misaligned pipes)

Step I: Turn Off the Heating System & Isolate the Radiator
-
Safety first, you should start by turning off your central heating system and allow it to cool for at least 1-2 hours.
-
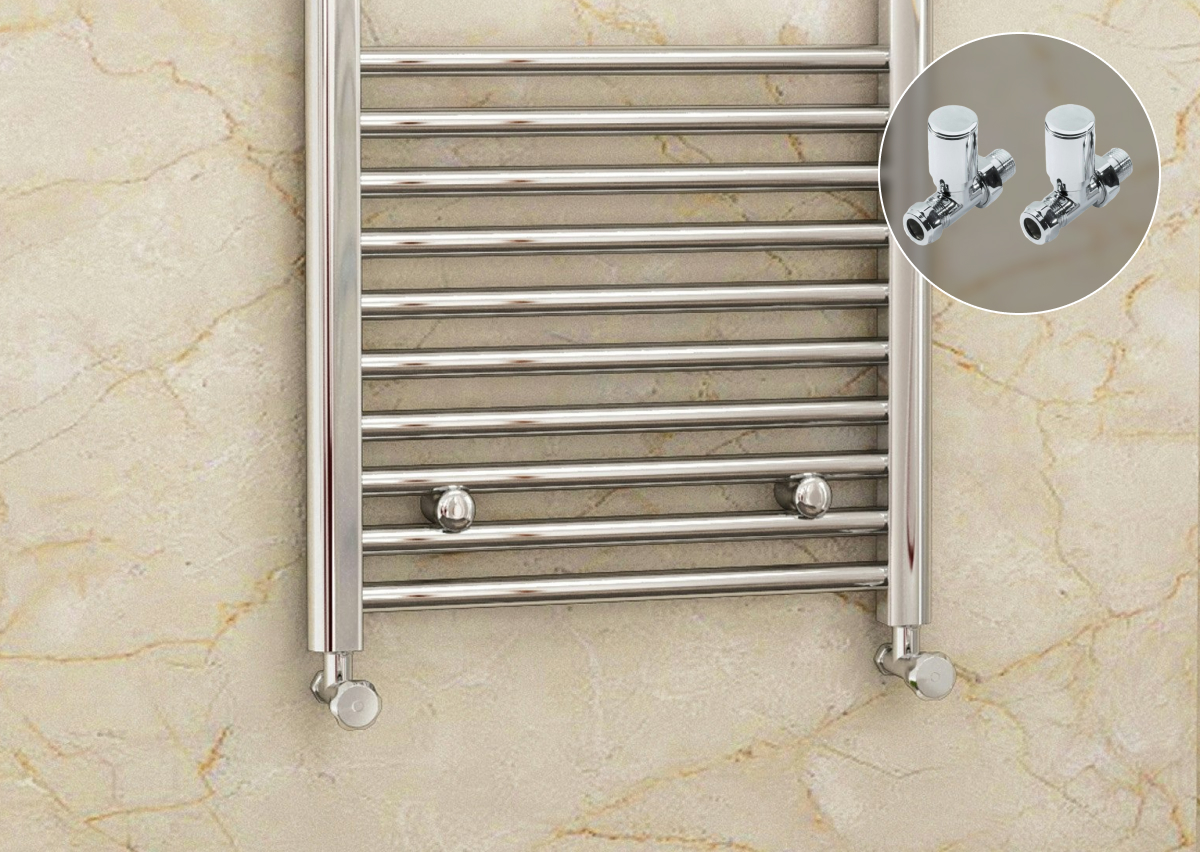
Once the cooling period is over, you can isolate the radiator. For a radiator with thermostatic valves, turn the valve head clockwise to the 0 or frost symbol. Alternatively, close the lock shield valve (usually on the opposite side by removing the plastic cap and turning the valve clockwise with an adjustable wrench.
-
If you are unsure about how to isolate the radiator, then shut off the main water supply and drain the entire system.
Pro Tips:
-
Label pipes with masking tape to avoid confusion during reinstallation.
-
For combi boilers, check the pressure gauge after draining—you may need to repressurize later.
Step II: Drain the Old Radiator
-
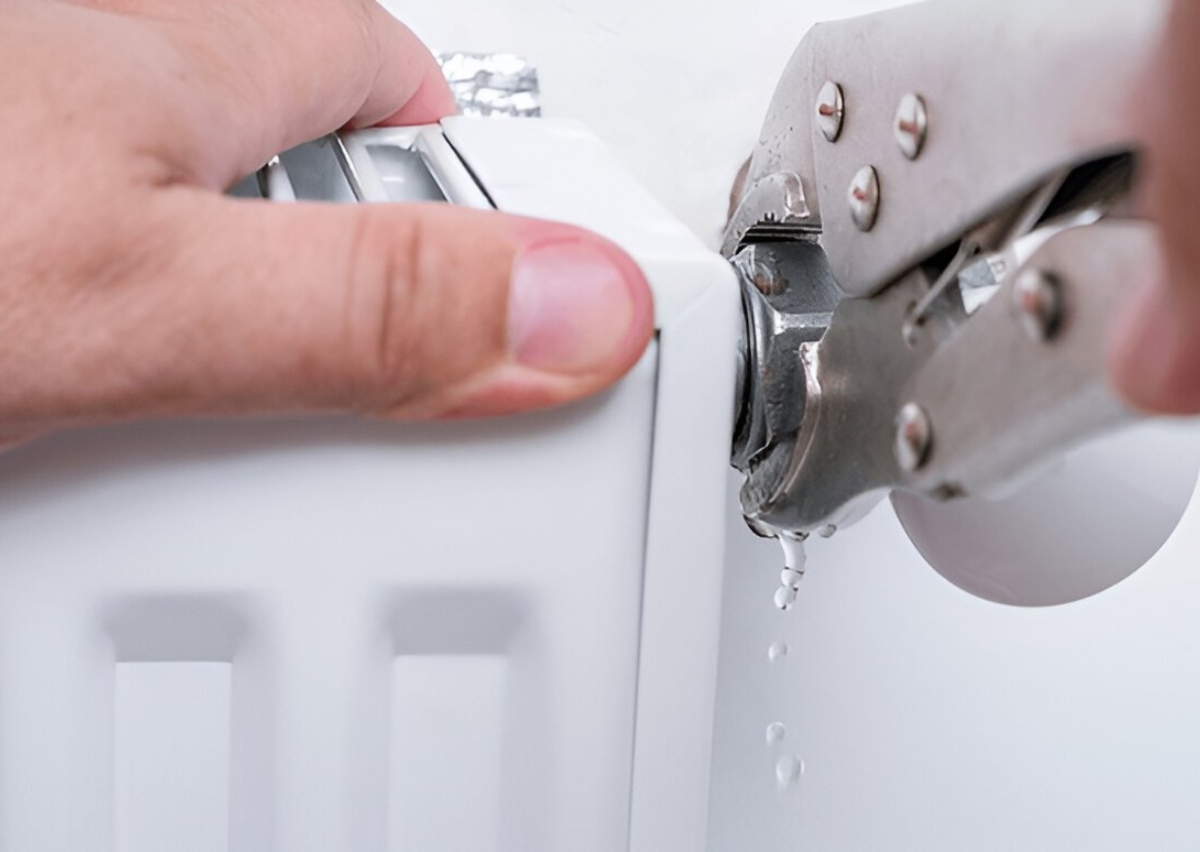
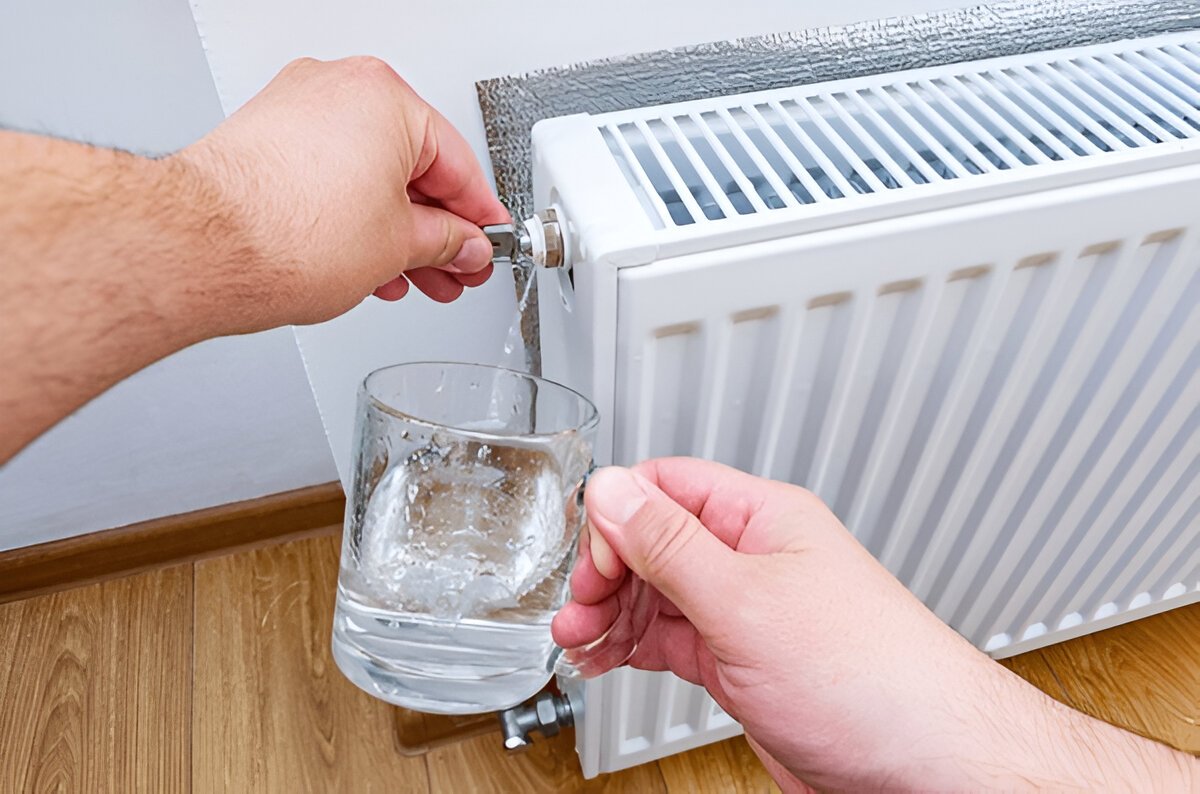
Next, you will need to drain the old radiator. Ensure the bucket is positioned under the drain valve (located at the bottom of the radiator)
-
Now you will need to open the bleed valve. Use the radiator key or a screw driver to slowly turn the valve counter clockwise at the top of the radiator. This releases air and allows for water to flow out.
-
You may consider attaching a hose to the drain valve (if available) or letting water empty into the bucket positioned already. Keep the bleed valve open until the water stops flowing.
-
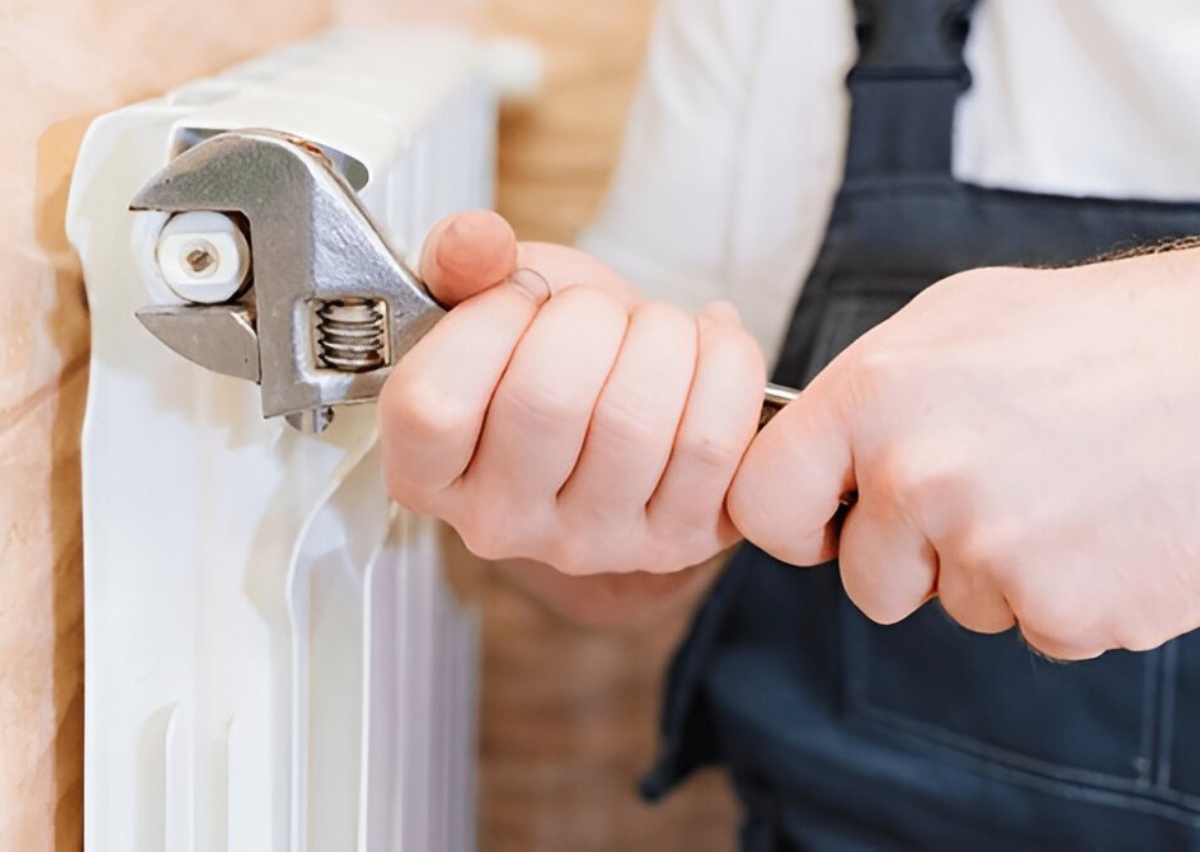
Use an adjustable wrench to loosen the nuts connecting the radiator to supply pipes. Have towels ready for residual water.
Step III: Remove the Old Radiator
-
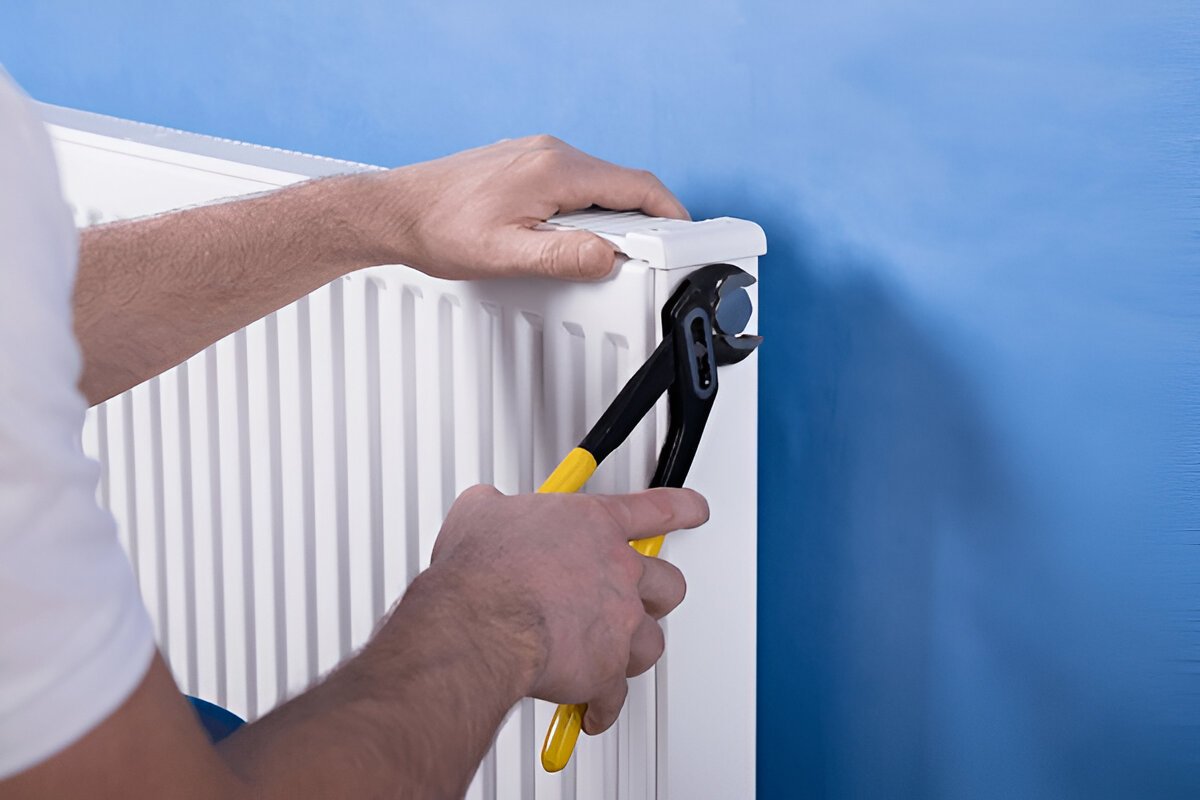
Once the old radiator is drained, you can now safely remove it. There are 2-3 brackets attached to most radiators. You will need to unscrew these brackets to remove the radiator. Use a screwdriver or drill to remove them from the wall.
-
Radiators can be heavy. Therefore, ask for help for lifting it or use a radiator lifter strap.
-
Repair any holes or cracks with filler before installing a new unit.
-
Don’t forget to wear gloves to avoid sharp edges on the old radiators.
Step IV: Prepare the New Radiator
-
Now it's time to prepare the new radiator. You must first measure the radiator to ensure the new one’s width, height, and pope centers match the old unit.
-
Create a water-tight seal by wrapping PTFE tape clockwise around the valve threads. We recommend 3-4 layers for optimum sealing.
-
If you wish to pre-paint the radiator then use heat-resistant paint and let it cure fully before installation.
Pro Tip
-
If you are installing a towel rail, pre-assemble brackets and check hinge alignments.
Step V: Install the New Radiator
-
To install the new radiator, use a spirit level to mark the drill point to mount the bracket. If the wall is made of plasterboard, you will need to use heavy duty wall anchors.
-
Once the bracket is mounted, simply hang the radiator by lifting it onto the brackets ensuring its levelled.
-
Tightened all the connections using an adjustable wrench. Ensure it's not overtightened which can strip the threads.
-
In case you notice misaligned pipes, use flexible connectors or adjust pipe lengths with a pipe cutter.
-
Apply the silicone sealant around the pipe entry points to prevent drafts.
Step VI: Refill the System & Test
Test the newly installed radiator system
-
You should ensure that bleed and drain valves are closed.
-
For the combi system use the filling loop until the pressure gauge reaches up to 1-1.5 bars.
-
Bleed the radiator by opening the bleed valve with a key until water flows steadily without hissing air.
-
Conduct a thorough check of joints and valves for leaks. Tighten it slightly if required.
Post-Installation Check
- You can now conduct a post-installation check by turning on the heating and monitoring the radiator’s heat distribution.
- An infrared thermometer can be used to identify cold spots that may be signs of trapped air in the system.
Common Mistakes to Avoid
Make sure you avoid the following mistakes when planning for a radiator replacement.
-
Don’t skip PTFE tap as it may cause leaks at valve connections
-
Ignoring the pipe alignment forces stress on joints, leading to a long-term leaks
-
Overtightening the fittings damages the threads and seals.
When to Call a Professional
You should call a profession if
-
The pipes are corroded or the system uses outdated single pipes plumbing.
-
If you are using an electric heated towel rails that requires electric expertise
Final Thoughts
Replacing a bathroom radiator as a DIY is a rewarding project. Take it as a learning experience, and with this guide, you have all the information on hand to tackle the radiator replacement with confidence. You'll not only save money but also gain the satisfaction of knowing you've improved your home.
FAQ's
Can I Replace a Bathroom Radiator Myself?
Yes, DIY bathroom radiator installation is possible with some knowledge and experience of using plumbing tools. However, it may depend on the complexity of the system. For complex systems or where you need to install new pipes, hiring a plumbing professional is recommended.
How Much Does It Cost to Replace a Radiator in the UK?
The cost of replacing a radiator in the UK depends on various factors such as the complexity of the task, your location, the duration required, etc. Generally, you should expect for £200 to £400 for professional installation. DIY replacement on the other hand will cost you £50 to £150 including material and radiator.
Do I Need to Drain the Whole System to Replace a Radiator?
No, not always. Systems with isolation valves don't need to change the radiator by draining the entire system.
What’s the Best Radiator for a Bathroom?
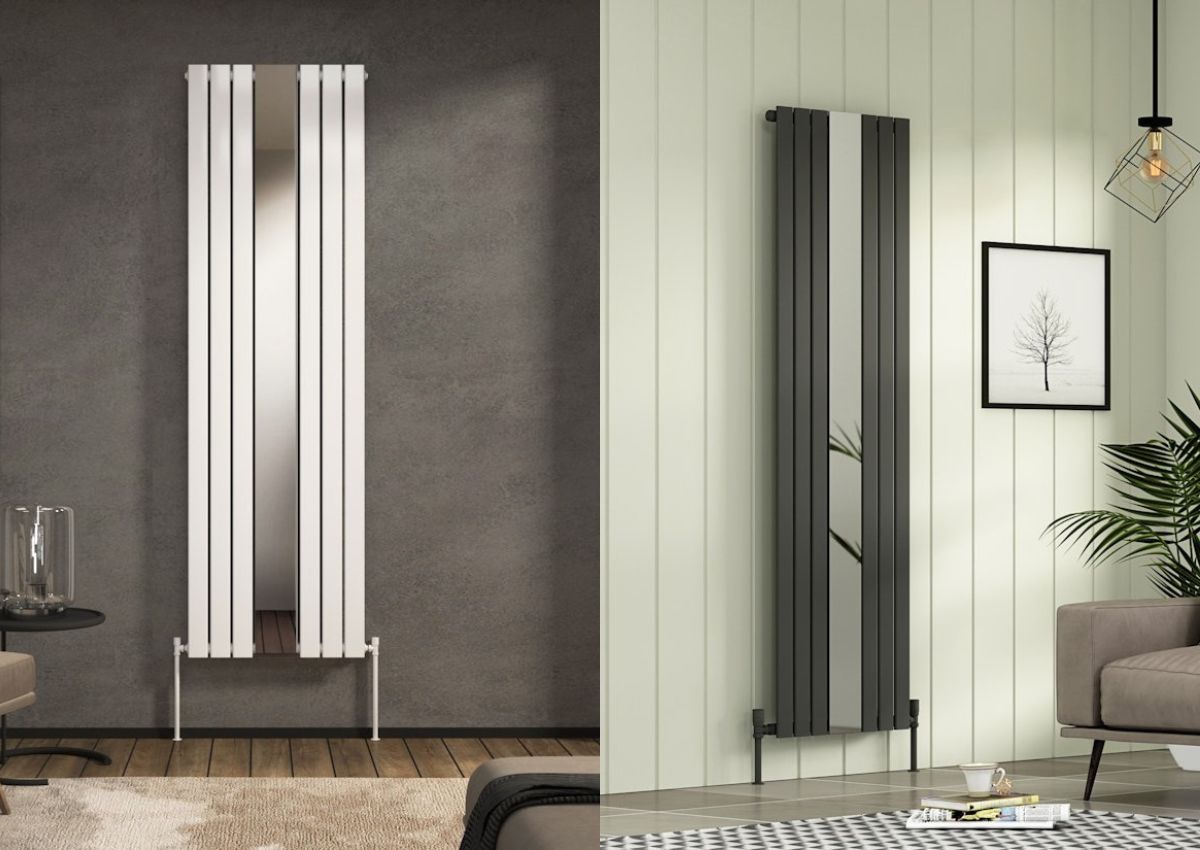
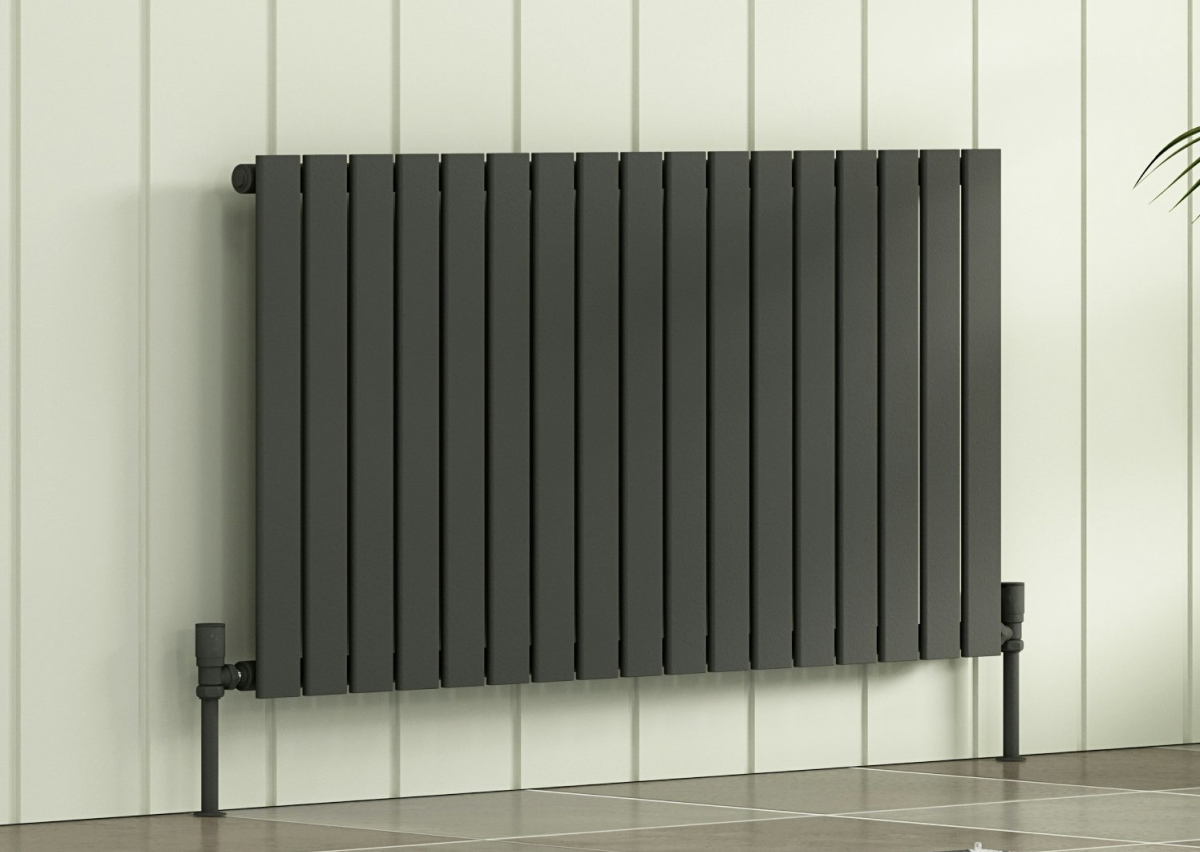
The choice of radiator for your bathroom depends on your specific requirements. Towel radiators are generally ideal for drying clothes and heating small bathrooms. They can also be a secondary source of warmth in medium and large bathrooms. Compact radiators are another choice great for small spaces due to space saving design. Column radiators on the other hand are a stylish addition for creating a classic look. Bathroom radiators can also be categorized in horizontal and vertical designs.
Can Removing a Radiator Cause Problems?
Yes, removing a radiator can cause several issues if not done correctly. These problems may include system pressure drop, leaks, and water damage, airlocks in pipes, and heat imbalance. You can avoid these problems by ensuring the system is properly drained, connections are sealed and the heating system is balanced after removal.